2006 Niagara Style
Mirror
This mod should work for all early model
"Highlander" hard wall showers that do not have a mirror.
I say should, just be sure to measure before you begin the project so you
are sure the mirror will fit.
All photos are
thumbnails, click to see an enlarged version
One of the things that has bothered me from the first day in
our Santa Fe was the mirror installed in the "Vanity Mate". It
was surely designed by someone who worked in a fun house, as with the bend in it
it never gives a true reflection. When I looked into a 2006 Niagara I was
amazed, Fleetwood had come up with a wonderful mirror. For those of you
who have been in this year/model you know what I'm talking about. For the
rest of you, check it out below....
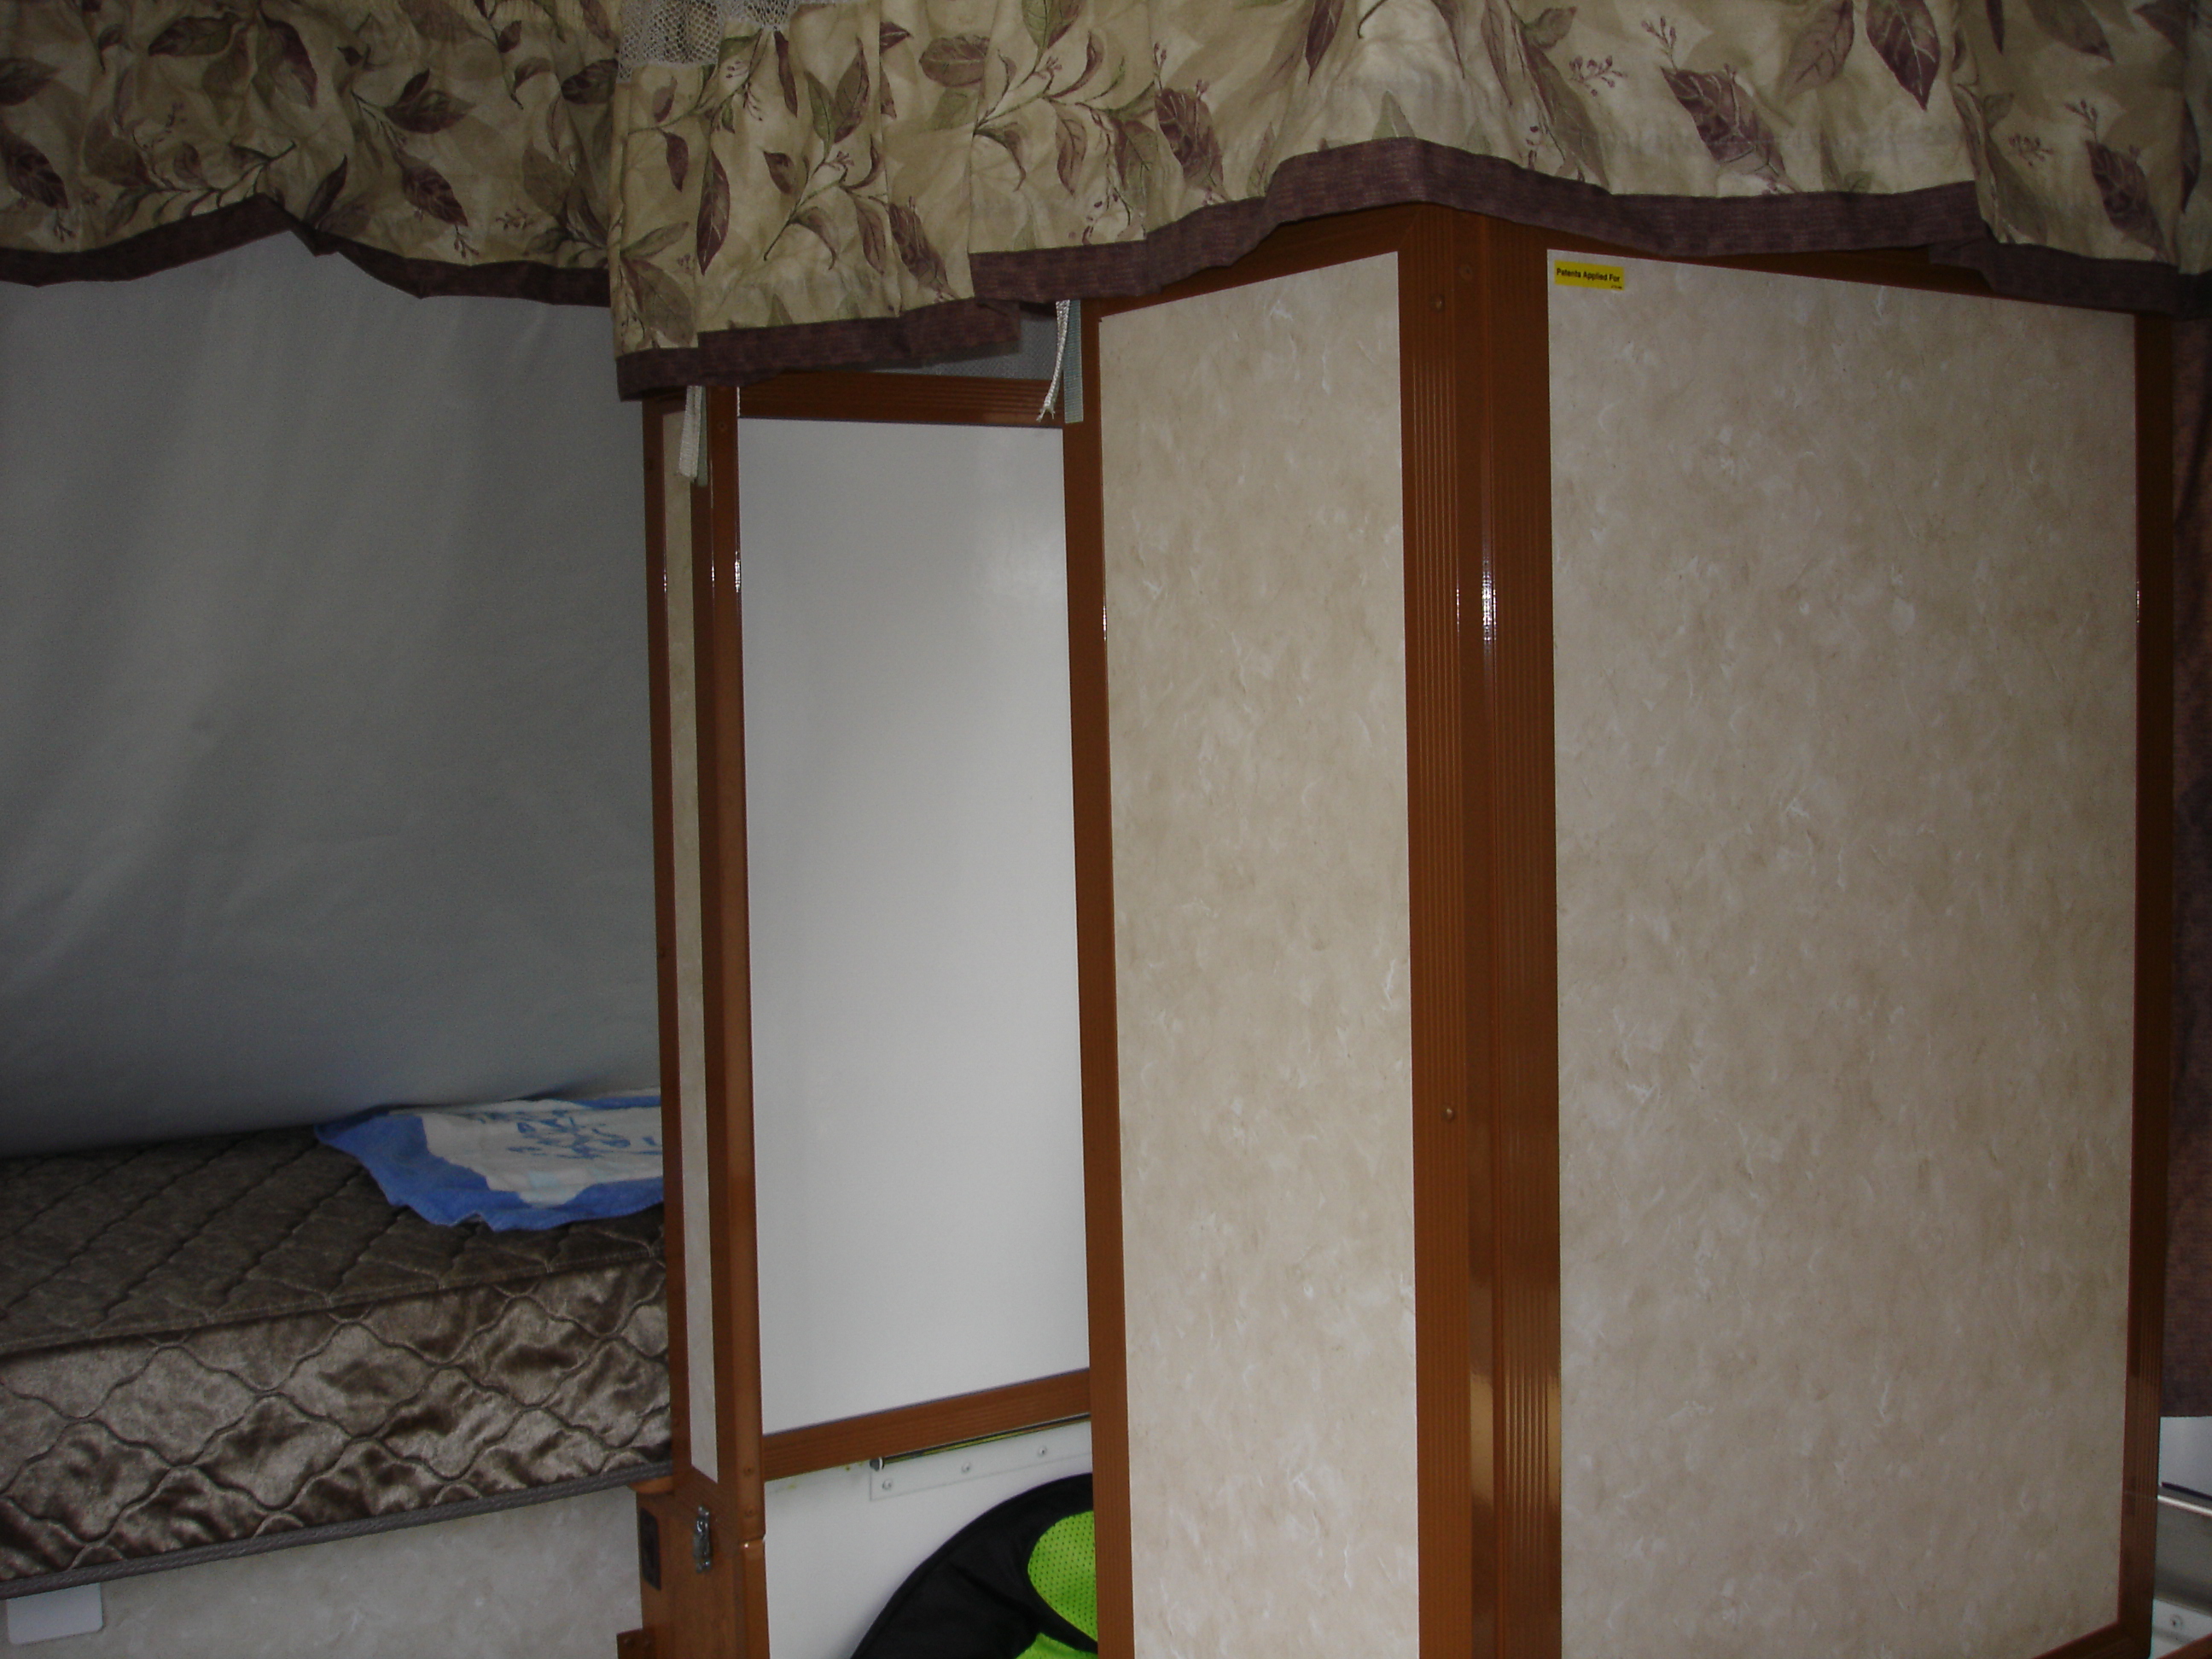
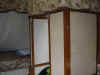
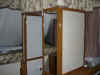
| The photo to the right is the standard
hard wall shower in my 2005 Fleetwood Niagara. You will note
that the door is not in place (as a matter of fact we never carry it
with us). The upper panel, just to the right of the door
section on the 2006 model has a mirror in this space rather than the
decor panel in 2005 Niagara or the previous years Hemlock. I
decided I wanted one!
|
 |
| So, my first step was to visit my local
Fleetwood Folding trailer dealer. In my case that is Peco Campers in Tucker, GA.
I asked at the parts department if just the mirror was available and
after a few days checking they called and advised that it was.
So, I ordered one. If you want one, the Fleetwood part number
(your dealer may not be as on the ball as Peco) is 4772A9001, Shower
Wall Mirror.
|
|
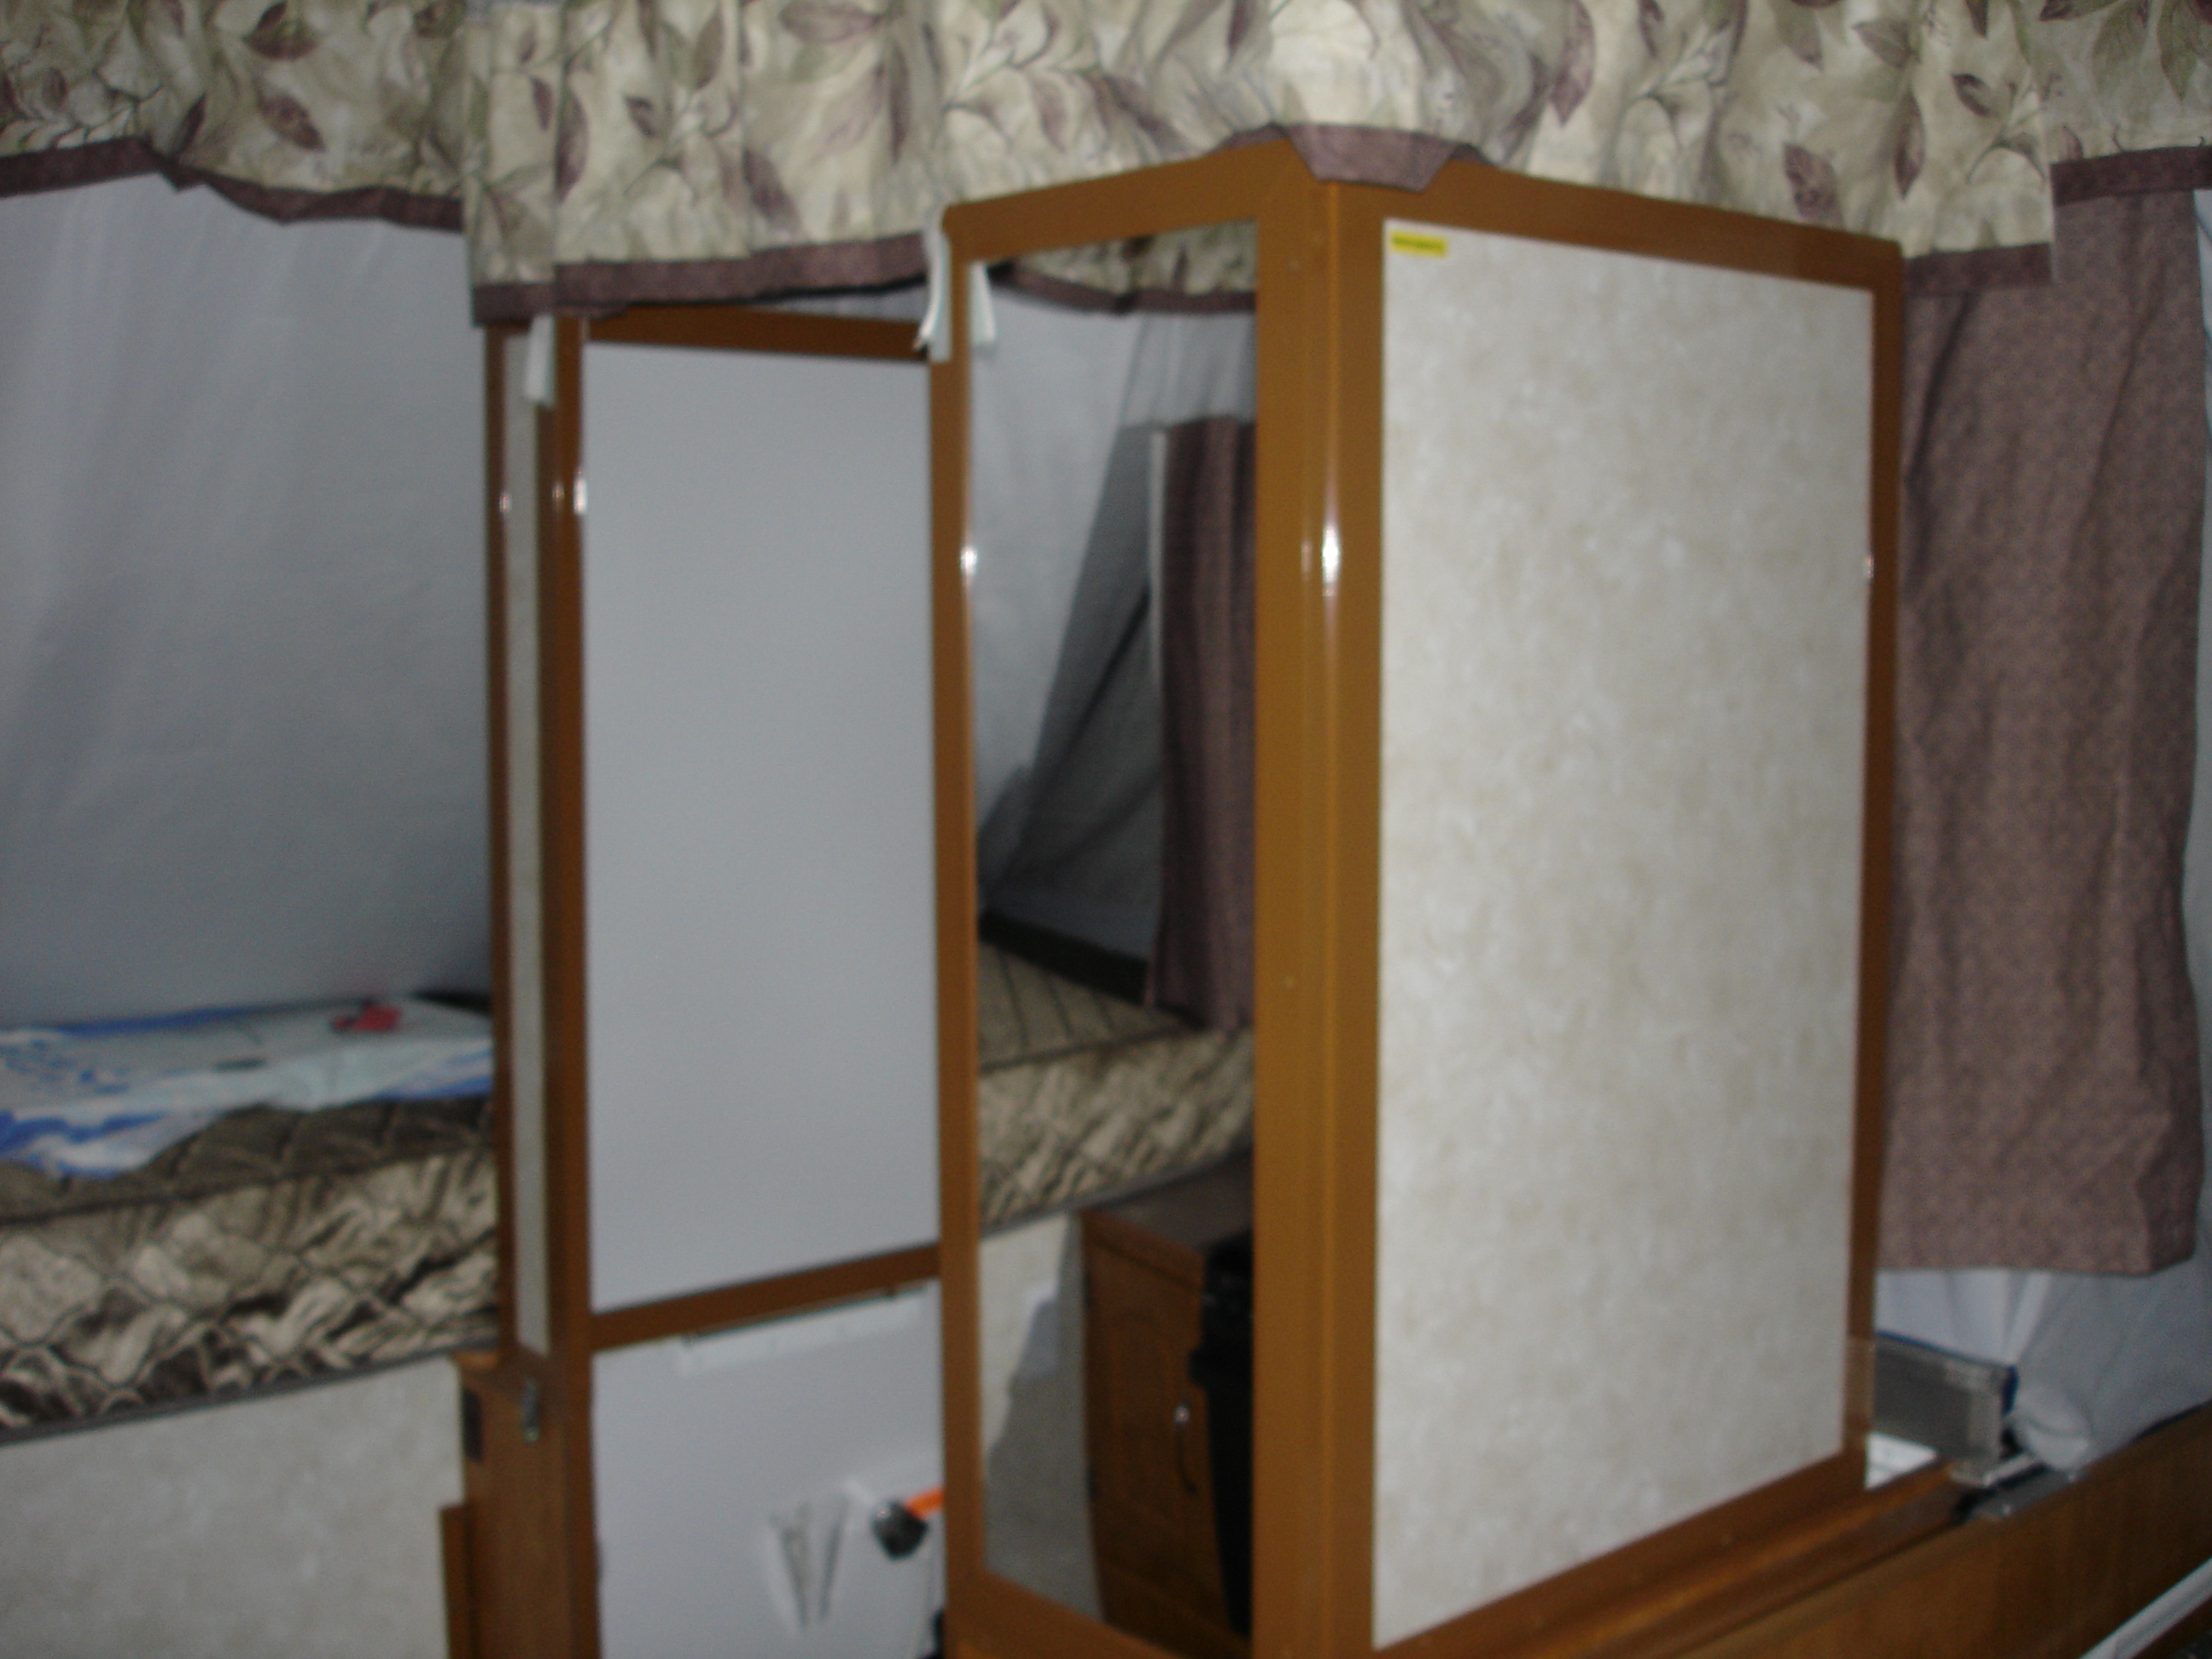
| Once I had the mirror in hand I had to
figure a way to install it. The diagram at the right shows
just the upper shower panel that the mirror will be installed
in. I removed the three screws on the right side that holds
this panel to the rear wall of the shower. Be careful,
as soon as you remove these screws the rear shower wall wants to
fall over, don't ask how I know this.
Once the panel is off, you need to drill out the rivets that hold
the panel together. Now, while I removed many rivets and
almost completely disassembled the whole panel, you really only need
to remove four. |
 |
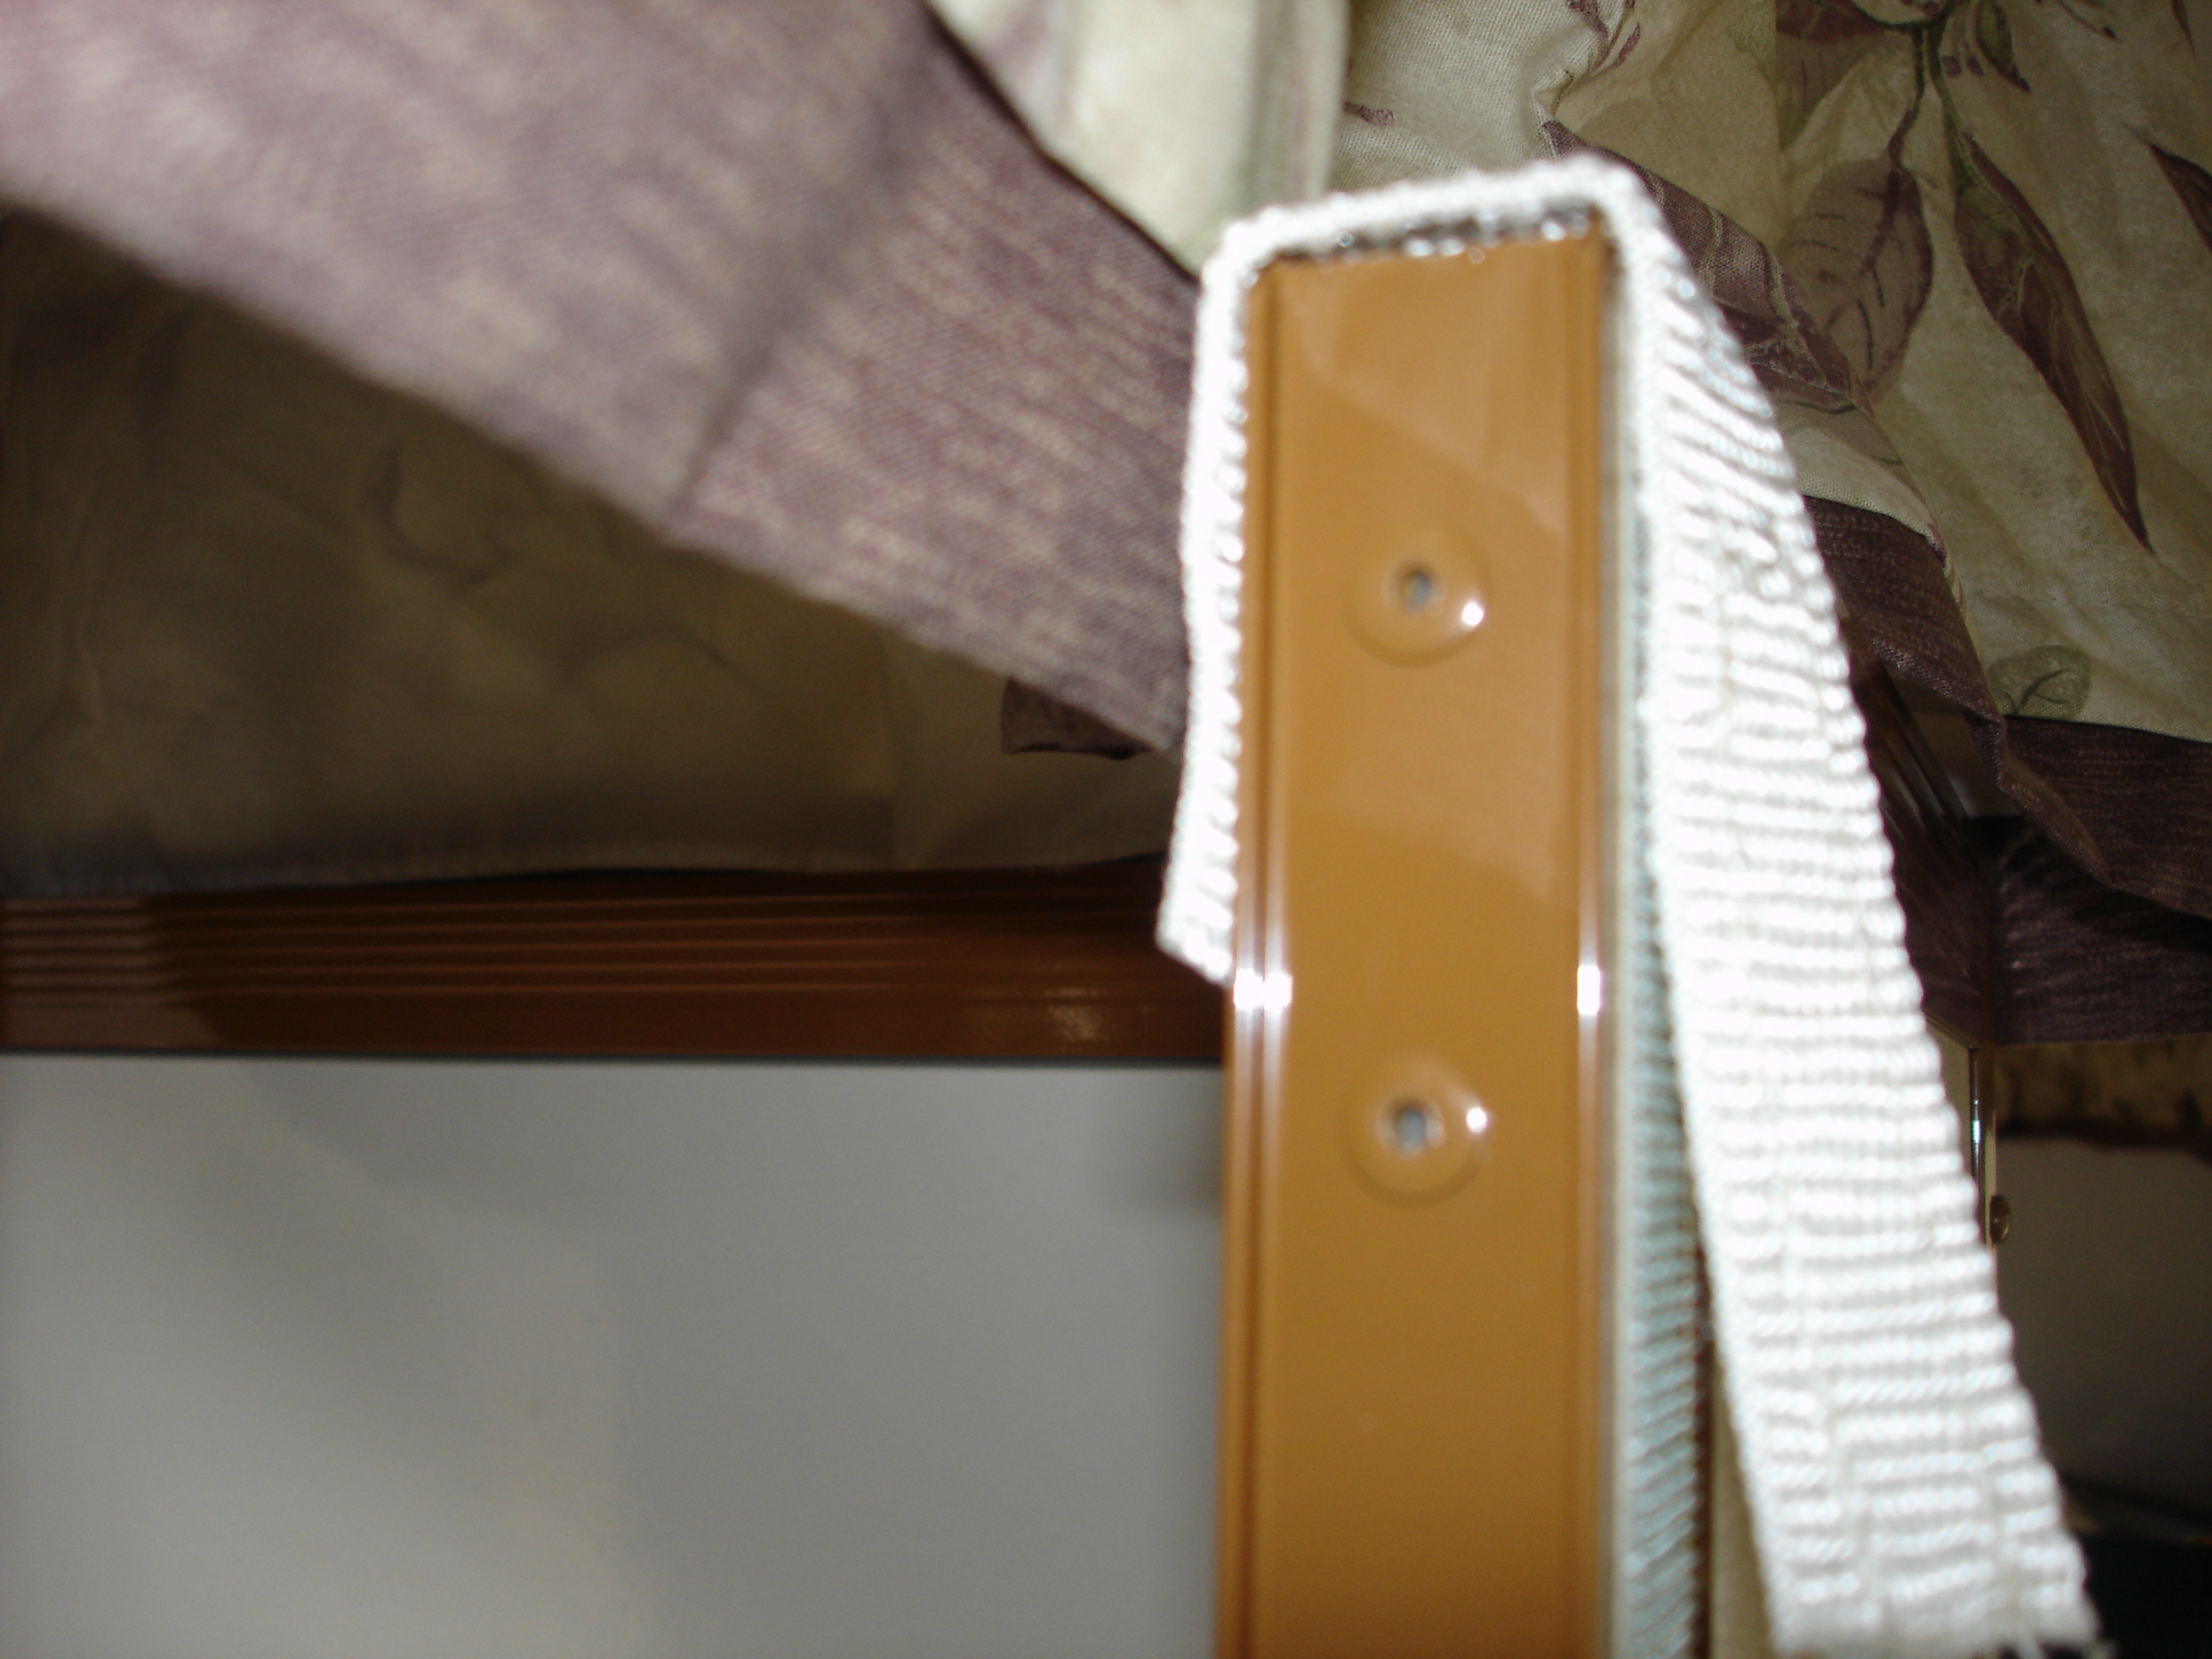
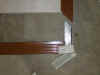
| Using a 3/16" drill bit drill out
the four rivets on the top and bottom of one side of the
panel. I chose the door side only because originally I thought
I'd be able to drill out the rivets while the three screws were
still in place. While the side rivets are pictured to the
right, the ones on the top are exactly the same.
|
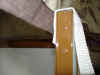 |
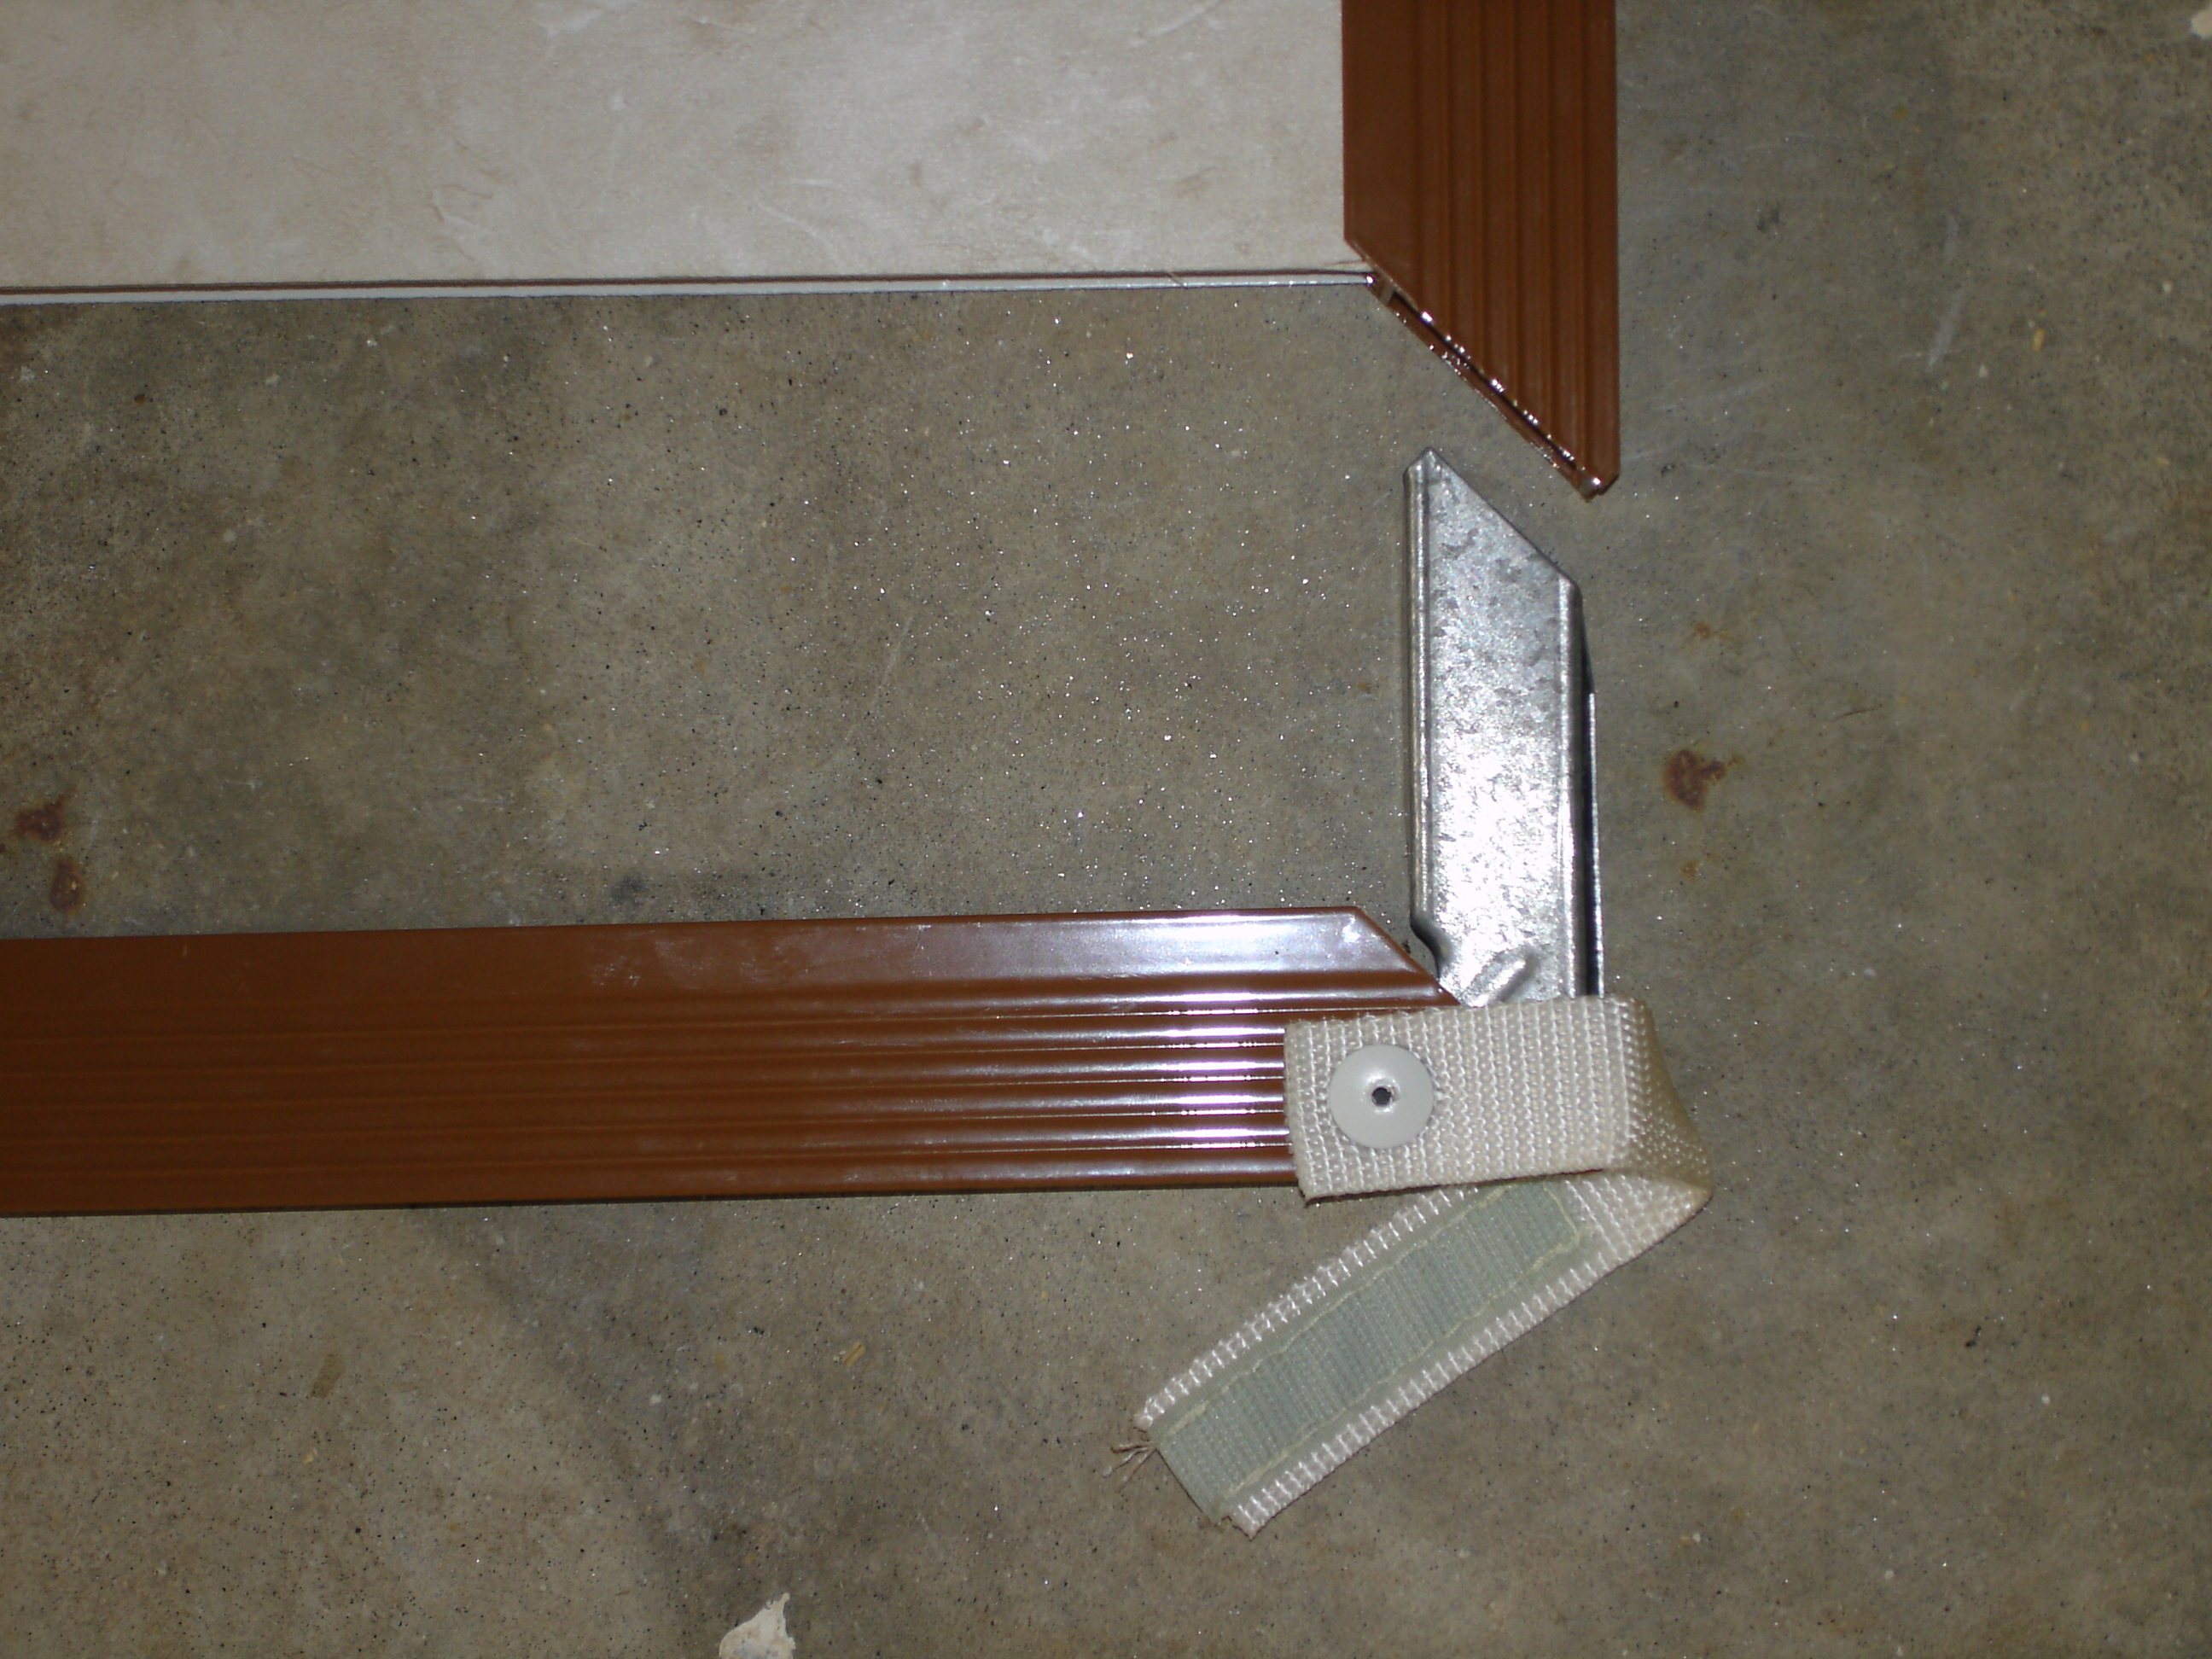
| Once the four rivets are removed, pull
in the direction of the blue arrows and the side should slide off
the panel. Once apart, the corner of the panel should look
like the photo to the right. If it will not slide apart for
you, make sure all of the old rivet has been removed from the hole.
Now, I'm sure Fleetwood would tell you to remove the existing
decor panel and replace it with the mirror. Well, I found that
it works just as well to leave the existing luan panel in place and
to slide the mirror in over the top of it. Note, remove the
protective plastic cover from the mirror before you install
it. The frame will cover all edges of the mirror and it will
be difficult to remove later.
Now, once the mirror is in place it is time to reassemble the
panel. Note, on the white shower side there is a gray gasket
over the edge of the white panel. Just make sure this is in
place as you begin to slide the brackets back into the
corners. As it begins to come together you need to ease the
mirror and white panels into the brown edge bar as they come back
together. Just take you time and don't force
anything. Once you have the panel reassembled, just use
a hand pop rivet tool to replace the four rivets removed.
Note, FFT used 3/16" aluminum rivets. My local Home Depot
didn't have any in this size, so a stop by Peco Campers
and I had the stock FFT rivets (part # 4747-2558 in silver, brown is
a special order) |
|
| Hold the panel in place and replace the
three screws removed in step number one above. With less than
30 minutes work time and less than $70 I now have the new style
mirror! |
 |
|
|
|