Home
Our Camping Experience

FAQ Page

Guest Book

Natasha Pages:
About Natasha
Natasha Pictures
How Could You?
Doggie Dictionary
Camping With Your Dog

Camp Site Pages:
Our Trips
Fort Wilderness
DC Camping

Camper Pages:
Our Camper
Tow Vehicle
Site Statistics

Modification & Service:
Detachable Power Cable
Modified Drawers
Mirror
Single Drain System
Drill Lift System
LED Light System
Accumulator Tank
Florescent Light
Bike Rack
Outside Shower
Batteries in a PU
Bed End Tray
Battery Charge Cable
Stove Counter
AC Brace
WH Wind Guard
RV Plug @ Home
Awning Base
12v Power Adaptor
Battery Meter
Water Level Indicator
Tongue Jack Service
Our Bunk

Information:
Camping With Your Dog
Camping Checklist
Dry Camping
Pop Up Brakes
Break Away Switch
Campsite Safety
Towing & Hitch Info
Sway Information
Gray Water
Porta Potti
RV Air Conditioning 
Pop Up Tires
Changing a Flat Tire
Pop Up Refrigerator
Camp Site Power
Trailer Dolly
Folding Camp Table
Awning Base
Level Your PopUp
Winterize Your PopUp
Spring Set Up
Camp Cooking Accessories
Buying a Used PopUp
Message Board Shorthand

Camping Links:
PopUpTimes
Camping Links
Camping Club Links
Manufacturer Links

GSD Links:
MidAtlantic GS Rescue
GS Rescue of LA
Virginia GS Rescue
Flying Dog Press


Replacing the Outside Stove Countertop

I had been thinking about this project all winter (OK, winter is not that long in Maryland) but had forgotten to keep the HP LP gas stove out of the pop up when I winterized.  Then I saw a message posted by Lee on the Pop Up Times Message Board titled "Wider Countertop for Coleman Outdoor Stove".  Now I knew I need to do this project.  I had originally planned to make this counter top 3 to 4 feet long, turned 90 degrees from the side of the camper with an adjustable leg holding up the end not supported by the camper.  When I saw Lee's design I decided it was a much easier solution to the problem of no cooking counter top space.

All photos are thumbnails, click to see an enlarged version


Stove.jpg (15943 bytes)To the left is the "stock" Coleman high pressure outside stove that cam on our Santa Fe. The rear is held in place by a hinged type bracket affixed to the side of the camper.  As you can see there is no room around the stove for work space.
Swelling.jpg (13256 bytes)Additionally,  you can see that the "stock" counter has started to "swell" form water getting into the chip board it is constructed from.  This is after 1 camping season of usage under an awning.

StoveParts.jpg (37592 bytes)I decided to use a pressure formed board (kind of like chip board) but it has a higher resistance to water swelling.  This is sold in home improvement stores as pre formed shelving in various widths and lengths.

To the left you see all of the parts I purchased for this project:

1 Board $3.00 -    1 quart Epoxy-Enamel Marine Deck Paint   -  1 can paint thinner $1.97  -2 throw away brushes 

LayOut.jpg (22475 bytes)After removing all the LP Gas stove hardware form the old counter top I clamped the old top over the new board and marked the cut out.  As you can see from the photo I only added a little "new" counter top to the right of the stove with the majority of the new space to the left. NOTE: Take the length of your LP gas hose into account when deciding how to orient the new counter or you will need to purchase a new longer hose.

DrillBit.jpg (11000 bytes)The old counter top cutout is not entirely square.  It has rounded corners and has four "bump outs" where 4 bolts pass through.  I selected a drill bit of the same radius to "round" the corners and create these bump outs.

CutOut.jpg (24213 bytes)This photo shows the new counter top with the holes drilled, just before I used my saber saw to make the cut out for the stove.  As I have trouble cutting a straight line I clamp a straight edge to the work surface for my saw to follow.
DryFit.jpg (24564 bytes)
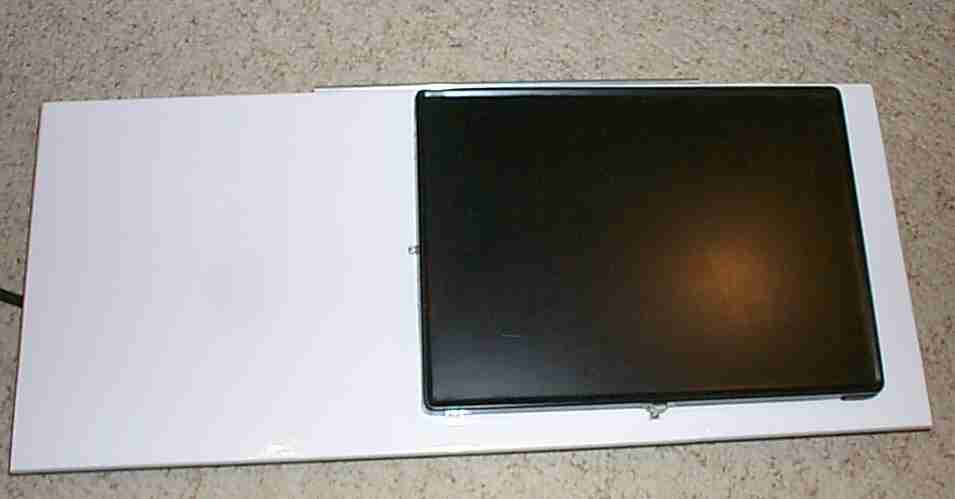
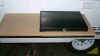
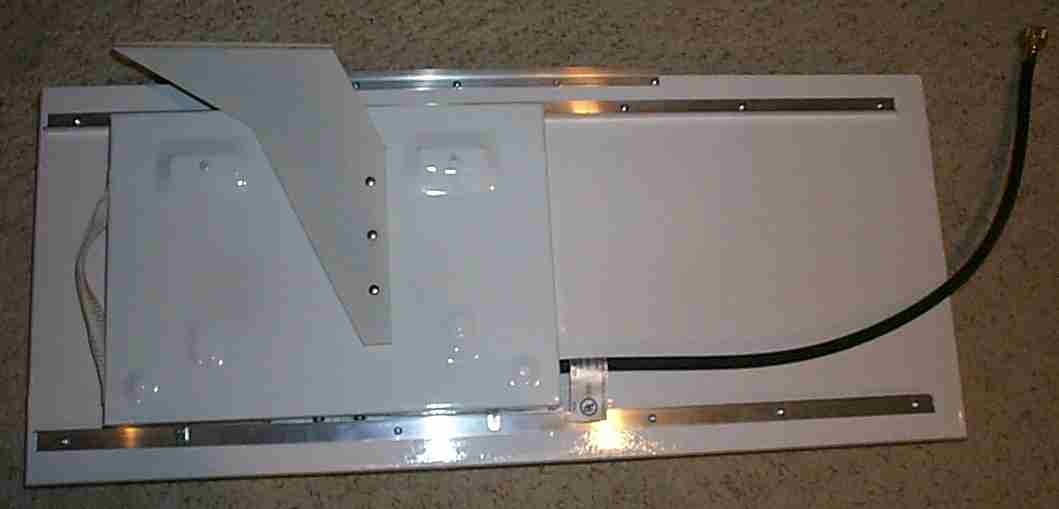
The photo to the left shows the new counter top, before being painted as I made a "dry fit" to see if everything fit.
HPStove.jpg (18849 bytes)Here is the top of the stove after painting.  I am still not sure if the Epoxy-Enamel Marine Deck Paint will hold up to the use this counter will get.  I may need to add a few coats of urethane for greater durability.
HPStoveBack.jpg (18917 bytes)Here is the bottom of the counter.  Note the 2 aluminum "L" brackets I added the length of the shelf for added support.


Thanks again to Lee for giving me the idea of an easier way to complete this project!

After completing the project, I was at my dealer and asked about these countertops.  I was reminded I was still under warrant and they gave me a new stock countertop!

Hit Counter


Copyright © 2001-2007  TRH [tim5055]     All rights reserved   Our Privacy Policy
 

Home  |  E-Mail Tim  | Frequently Asked Questions  | Guest Book