|
|
||||||||||||||||||||
|
Natasha Pages: Camp Site Pages: Camper Pages: Modification & Service: Camping Links: GSD Links:
|
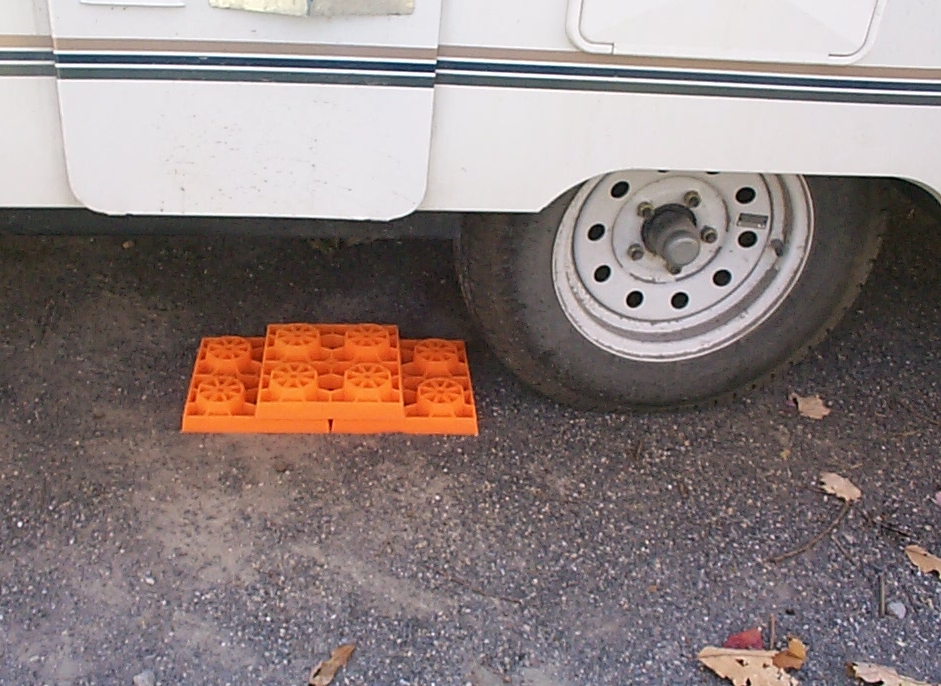
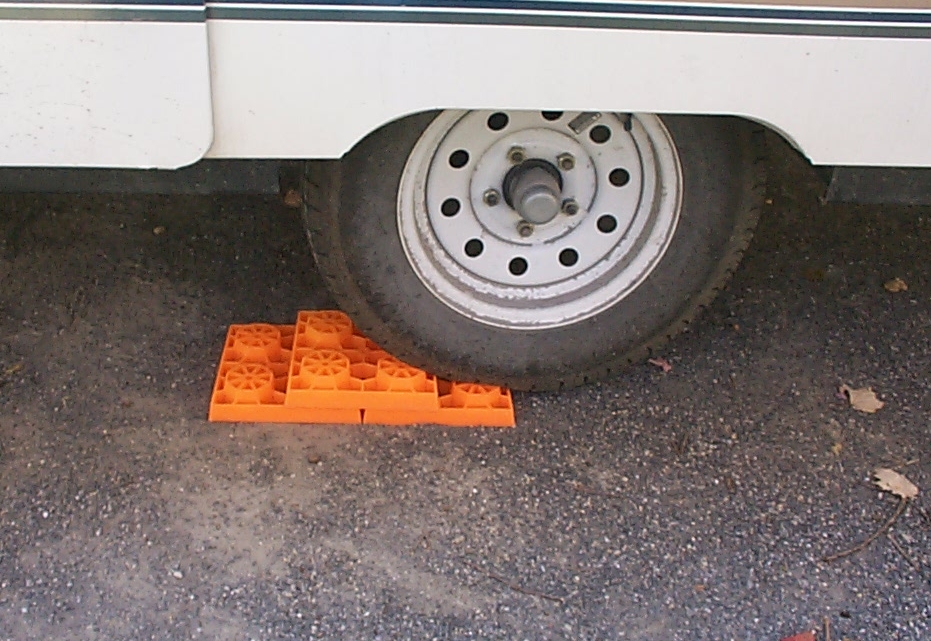
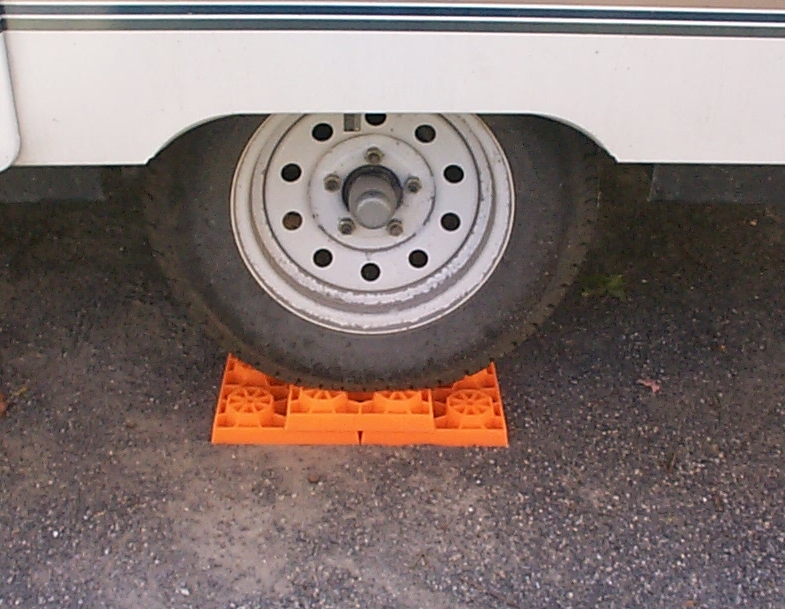
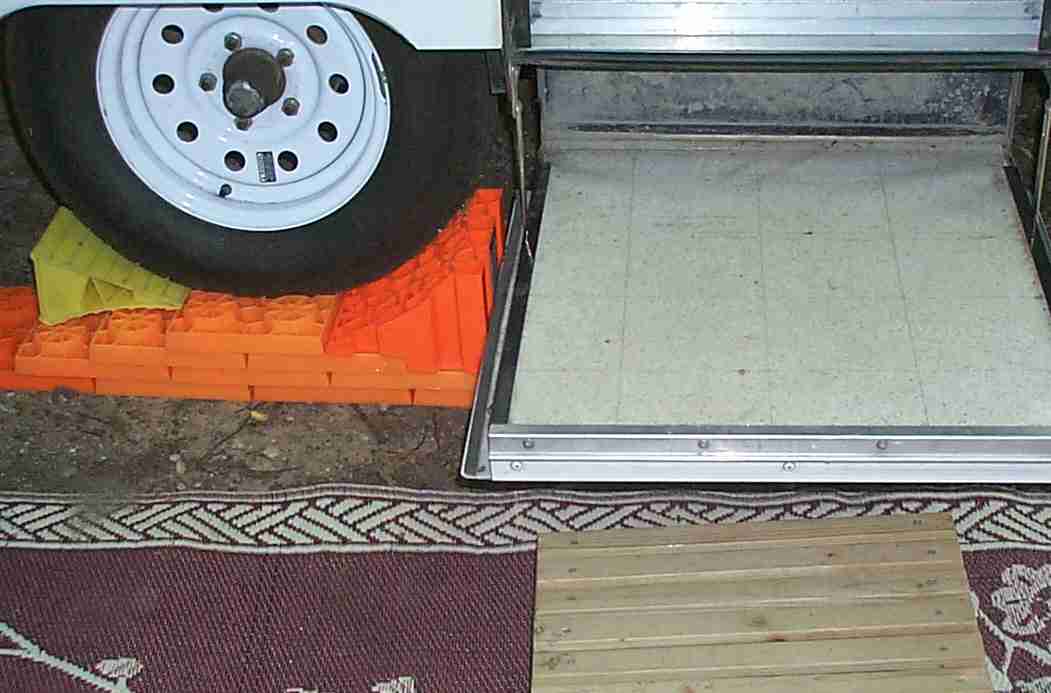
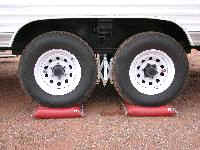
Leveling Your Pop Up Unfortunately, every campsite we visit is not perfectly level. To assist in leveling, you can either use 2 X 6 boards stacked on each other or purchase a commercial product designed for the purpose. As I always like "toys", I had to buy a commercial product (Lynx Levelers) which is pictured below. Leveling your pop-up is actually a very simple procedure, but one that is very necessary. In addition to just feeling uncomfortable living in a "home" that is not level there are several mechanical systems that may not operate properly if the pop up is not level. First, moving objects like doors may tend to bind/stick or pop open depending on the degree of "off level" you are set up. If you have a 3 way refrigerator the the operation of the unit may be negatively affected by an off level situation. Generally you level the pop up side to side first, then front to back. Once you select your campsite and maneuver the pop-up to the final location use a bubble level (I use a 6 inch level that I place on the back bumper, side to side) to see which side needs to be raised. Remember the object you are trying to level is the pop up floor, so if you use the back bumper, make sure it is parallel with the floor. If it's not, or you don't have a bumper you can just open the door and set the level on the floor. Levels are available that attach to the front and side of the pop up so you always have a level available. While some people use a jack to jack up the low side and then push wood under the wheel, I find it easier to pull up onto lynx levelers to raise the side. While I use the lynx levelers, wood cut to a sufficiently long length and width to support the tire can be used. Many people carry boards in varying lengths and thickness to account for varying terrain. Once the pop up is level side to side, chock the wheels BEFORE you disconnect from the tow vehicle or you may be in for a surprise! Once disconnected from the tow vehicle, I move the level to the tongue of the trailer in a front - rear orientation to adjust the front to back level. Keep in mind that there are some situations in which you may want to set up slightly OFF level. One of these situations is when you use an air conditioner that allows water (condensation) to run off of the roof. In this situation you would want the awning side of the pop up to be slightly higher to allow the water to run off the back, unused side of the pop up. While I use a 6 inch carpenters "torpedo" level there are many options available in style of level. many people buy stick on RV levels that permanently attach to the side and front of the pop up, constantly showing the state of level. In most cases, the corner stabilizers of the pop up are not designed to "jack up" the pop up to level it or even momentarily to allow you to place wood or other objects under the low side tire.
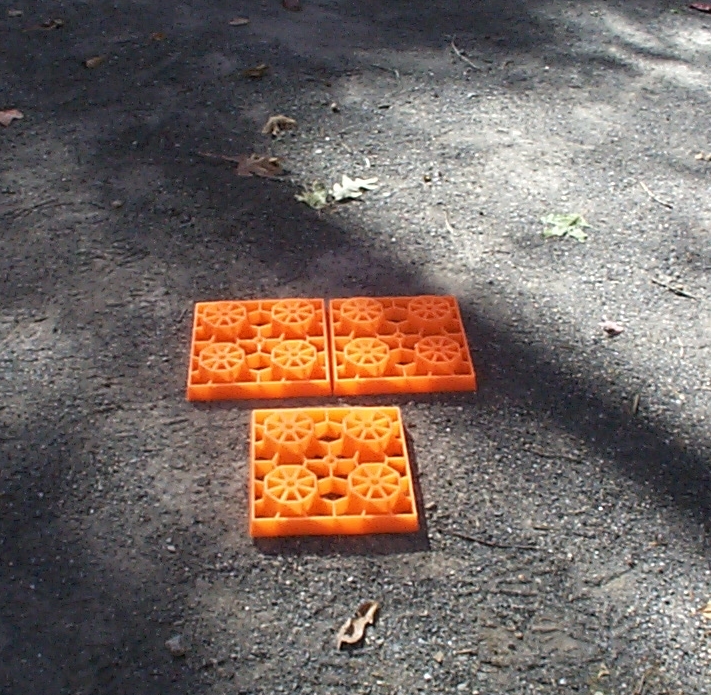
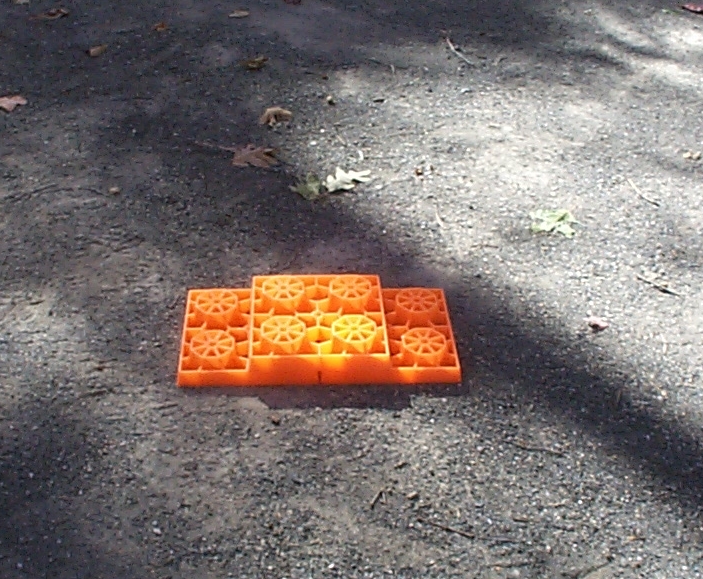
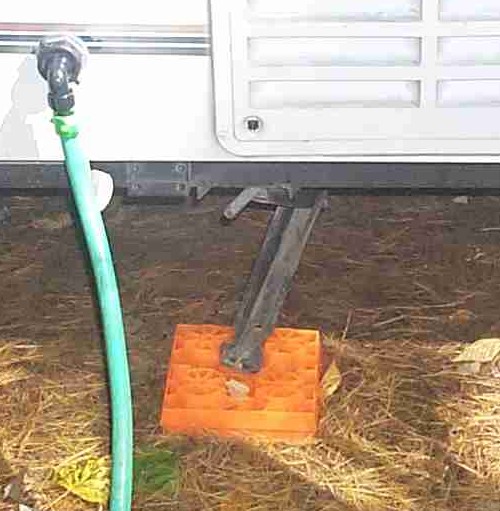
Lynx Levelers I chose "Lynx Levelers" which are designed to stack like leggo blocks to allow you to achieve almost any raise you need on the low side. All photos are thumbnails, click to see an enlarged version
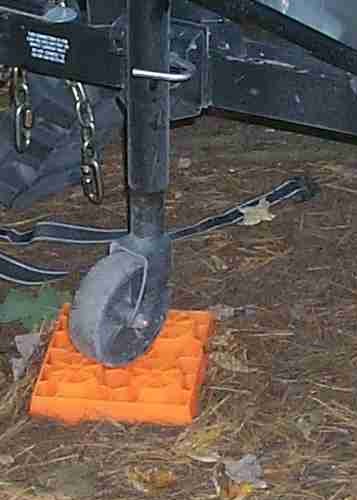
Other Uses The Lynx Levelers can be used for things other than leveling the pop-up.
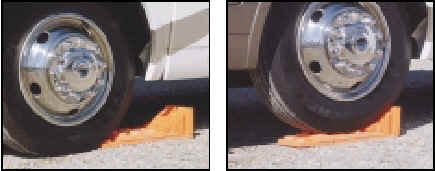
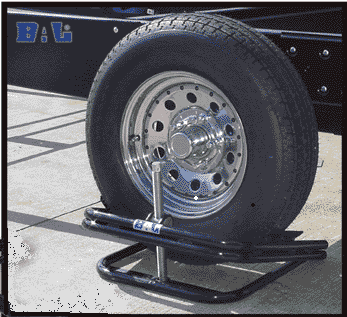
BAL Leveler Another commercial product for leveling your pop up is a BAL Leveler. This product slips under the low wheel and then cranks the tire up into the level position.
LEVEL-AIR inflatable leveling device
Revised: May 08, 2007 |
|||||||||||||||||||
|
Copyright © 2001-2007 TRH [tim5055] All rights reserved Our Privacy Policy
| ||||||||||||||||||||

 never
seen the device in action, I have read positive reports about
them.
never
seen the device in action, I have read positive reports about
them.