Raise the Roof!
All photos are thumbnails, click on a
picture to see a larger version
Well, the batteries for my cordless drill
finally died and I needed new ones. WOW, $65 for each battery! Thinking
about it, that is half the cost of a new "heavy duty" drill. Hmmmm, if
I have a heavy duty drill - I can use it on the roof like everyone
talks about.
Well, $265 for the drill and another $30 for the socket genie. What a neat system.
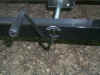 |
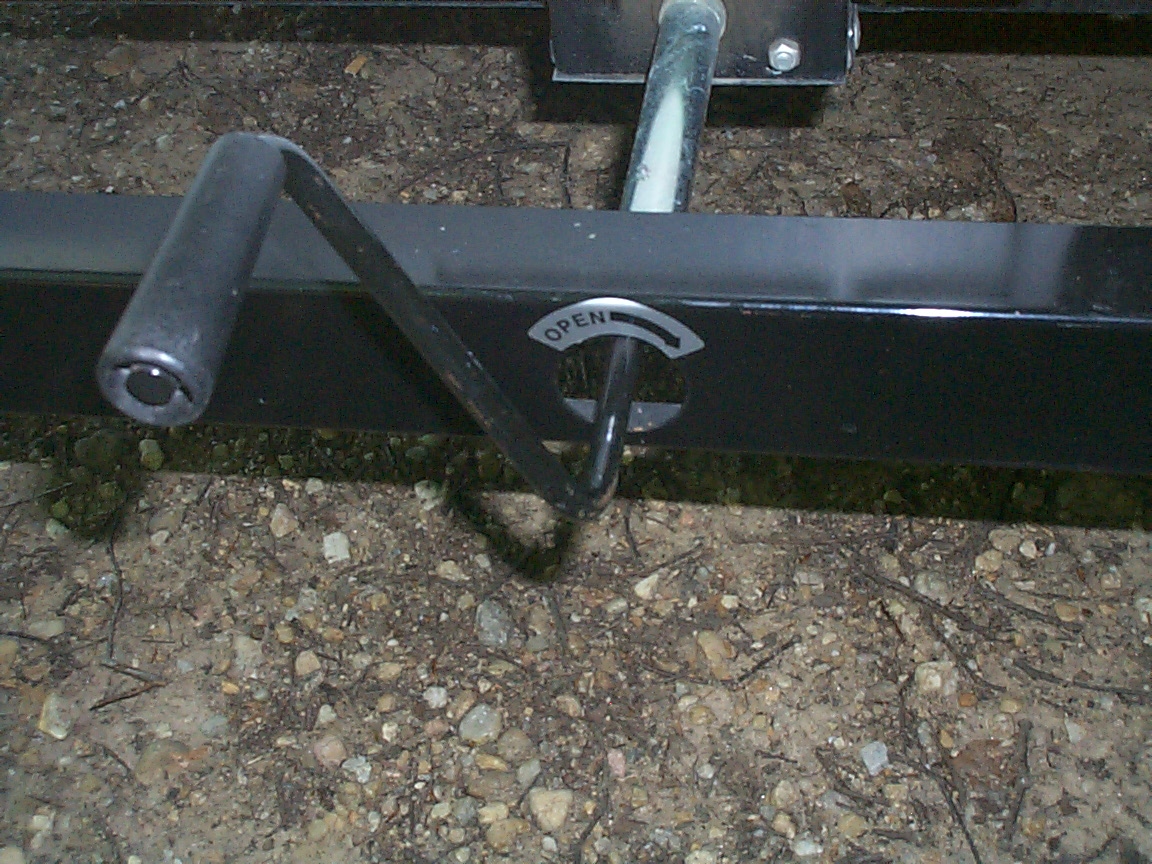
Here you see the stock handle supplied
by Fleetwood Folding Trailers to raise the roof of their pop up
campers. While I never counted, I have been told it is 67
cranks to raise the roof. |
 |
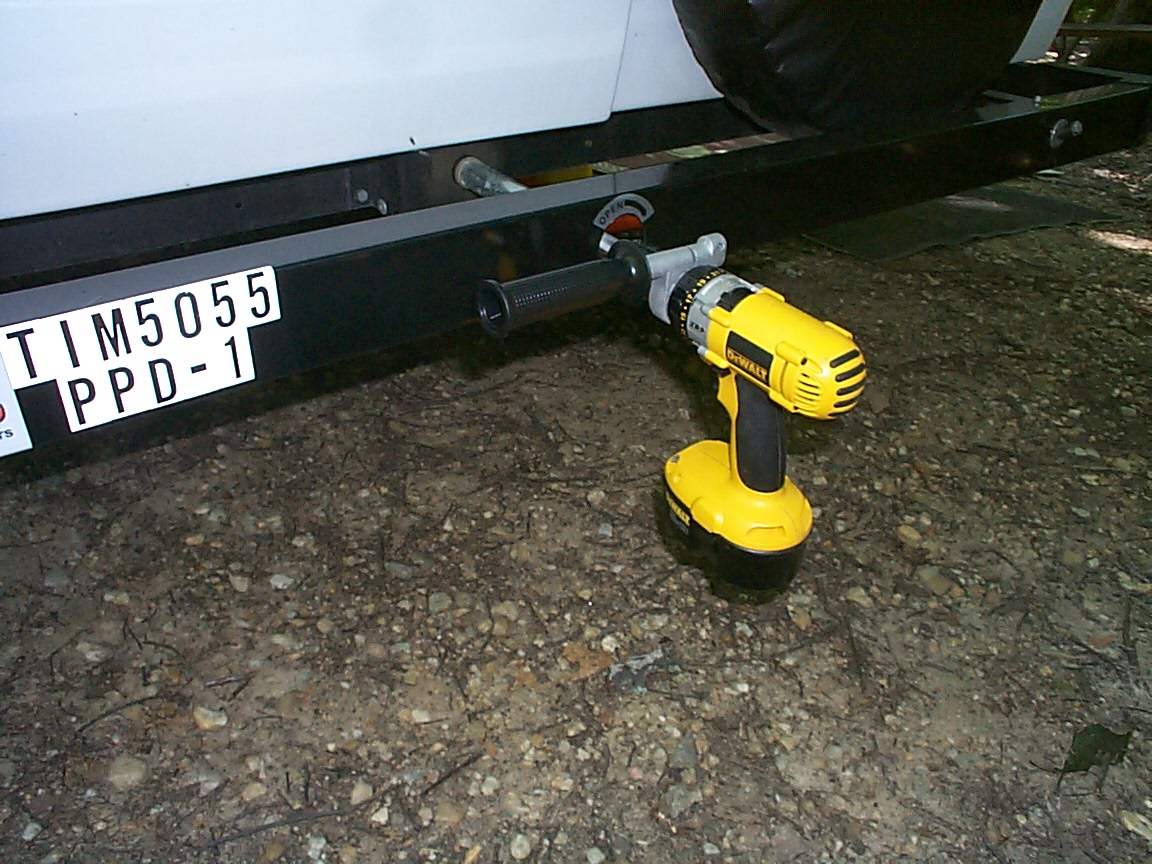
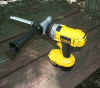
While FFT sells an optional electric
lift unit, the price is a little high and owners have reported
reported a poor maintenance experience . Here you see the
aftermarket option.
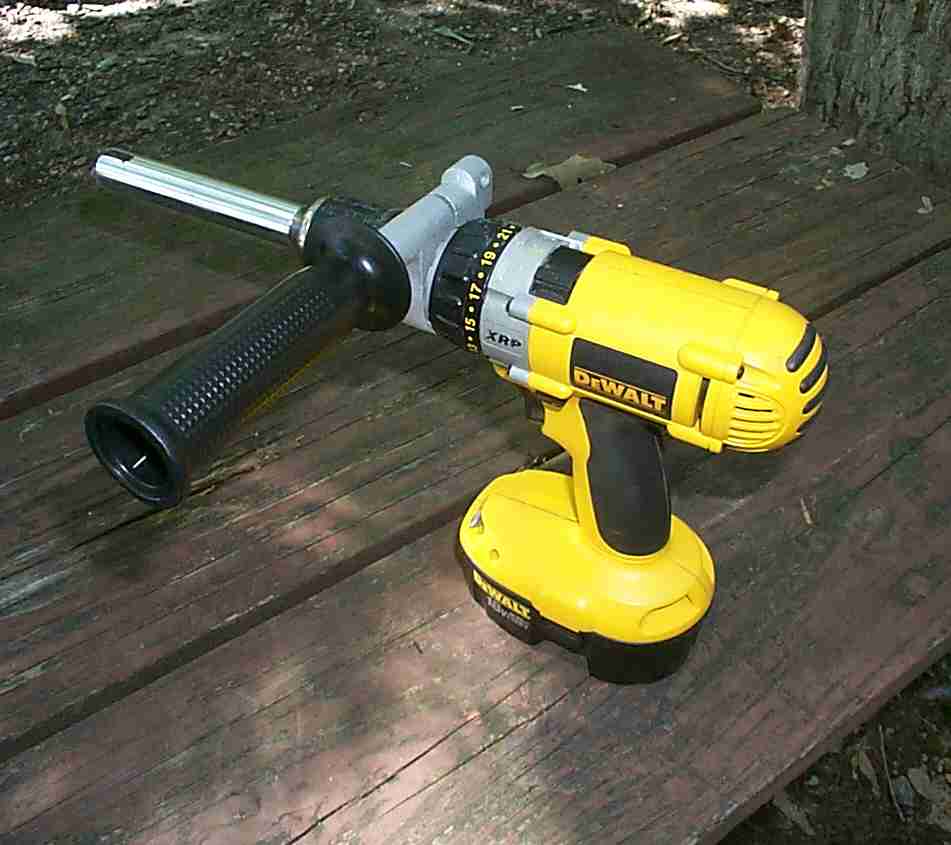
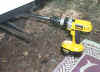
You need a "Heavy Duty" drill. This includes a
minimum of 18v, all metal transmission/gears and a minimum of 400
inch pounds of torque. Figure in the $300 range for a drill with
these features
|
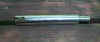 |
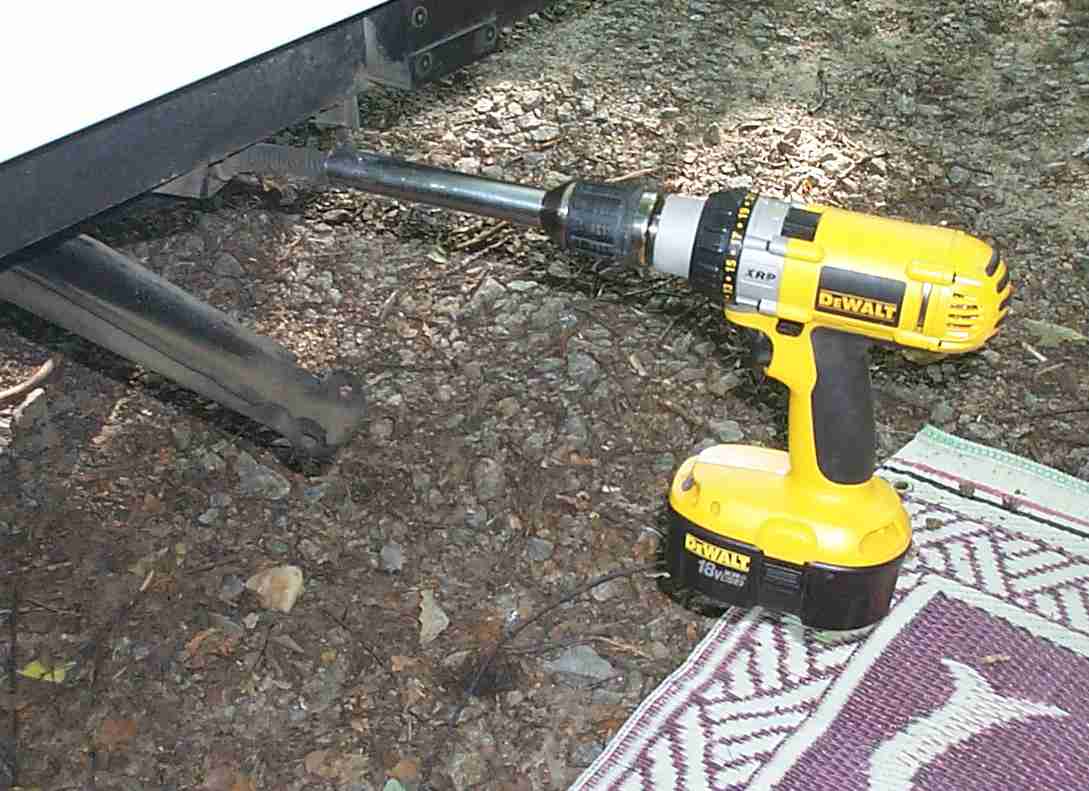
Add to that a "Socket
Genie". This solid steel adaptor takes the place of
your crank handle. Note they are made in two styles;
1. Coleman/FFT {7/8" round)
2. Goshen Lift style (7/8" square)
|
 |
If possible, get a drill with a side
handle attachment. When you are talking 400+ inch pounds of torque,
you can easily injure your wrist or arm if you do not have a secure
grip. A can't stress this enough, use the side handle! |
 |
Use is fairly straight forward:
1. Insert the Socket
Genie into the drill
2. Set the drill for low speed/high torque
3. insert the Socket
Genie into the lifter mechanism
4. Slowly raise the roof. Be careful to watch as you get
neat the top that you do not "over lift" the system.
Some folks who use a drill to raise the roof mark the rear lifter
arms to see when they are nearing the top.
|
 |
The drill/Socket
Genie can also be used to crank down your corner stabilizing
jacks if it uses the same socket as your lifter system |
Should you decide to use a drill to raise
your roof, extreme caution should be exercised! Take it slow and
easy. Damage to the pop up lifter system or injury to you are both
possibilities if you do not pay attention to what you are doing and take
it slow and easy.
|