|
Home
 Our
Camping Experience Our
Camping Experience
FAQ
Page
Guest
Book
Natasha Pages:
About
Natasha
Natasha
Pictures
How
Could You?
Doggie
Dictionary
Camping
With Your Dog
Camp Site Pages:
Our
Trips
Fort
Wilderness
DC
Camping
Camper Pages:
Our
Camper
Tow
Vehicle
Site
Statistics
Modification
& Service:
Detachable
Power Cable
Modified
Drawers
Mirror
Single
Drain System
Drill
Lift System
LED
Light System
Accumulator
Tank
Florescent
Light
Bike
Rack
Outside
Shower
Batteries
in a PU
Bed
End Tray
Battery
Charge Cable
Stove
Counter
AC
Brace
WH
Wind Guard
RV
Plug @ Home
Awning
Base
12v
Power Adaptor
Battery
Meter
Water
Level Indicator
Tongue
Jack Service
Our
Bunk
Information:
Camping
With Your Dog
Camping
Checklist
Dry
Camping
Pop
Up Brakes
Break
Away Switch
Campsite
Safety
Towing
& Hitch Info
Sway
Information
Gray
Water
Porta
Potti
RV
Air Conditioning
Pop
Up Tires
Changing
a Flat Tire
Pop
Up Refrigerator
Camp
Site Power
Trailer
Dolly
Folding
Camp Table
Awning
Base
Level
Your PopUp
Winterize
Your PopUp
Spring
Set Up
Camp
Cooking Accessories
Buying
a Used PopUp
Message
Board Shorthand
Camping Links:
PopUpTimes
Camping
Links
Camping
Club Links
Manufacturer
Links
GSD Links:
MidAtlantic
GS Rescue
GS
Rescue of LA
Virginia
GS Rescue
Flying
Dog Press
|
Our Land
We purchased 2.77 acres in western North
Carolina to begin the
process of building a retirement home and a place to park an RV
(coach). Projects we have completed include:
-
Putting in a well
-
Putting in a septic system
-
Building a "barn" (actually a large
garage that will eventually hold a Class "A" coach, but for now will
hold a pop up).
- We will be camping here a lot as the land
is currently infested with the Invasive species "Multiflora
rose" so a lot of work is going to be needed to clear it. I
can already tell lots of blood will be lost in this battle!
-
May 15, 2007 the well is in! 300
feet deep, with a flow of 20gpm. As there is no electric yet, the
pump is yet to come.
-
May 19, 2007, we have signed a contract
with Morton
Buildings to build the barn. The selected plan is 50 feet
deep and 36 feet wide with a 15' X 26' workshop area on the side. While
I could find a building less expensive, the research I did told me the
quality and warrantee of Morton Buildings could not be surpassed.
-
July 11, 2007, the building permit was
issued this morning and luck was on my side. The foundation
contractor had a crew available so we officially broke ground
today! I'll be there tomorrow afternoon to look around, take a
few photos and pull more weeds.
-
July 20, 2007 The plumbing
contractor has been at the site and the pre-slab plumbing is now in the
ground. It has passed inspection so the next step is pre treating
the ground for termites.
-
July 23, 2007 The pest control
company has treated the ground - next step is the steel and pouring the
slab.
-
July 31, 2007 Steel work started.
The vapor barrier is down and some of the re-bar is set. With an
inspection we will be able to pour concrete.
-
August 15, 2007 Well, the
inspections are finally over and the concrete is down. Just in
time because the building material is being delivered.
-
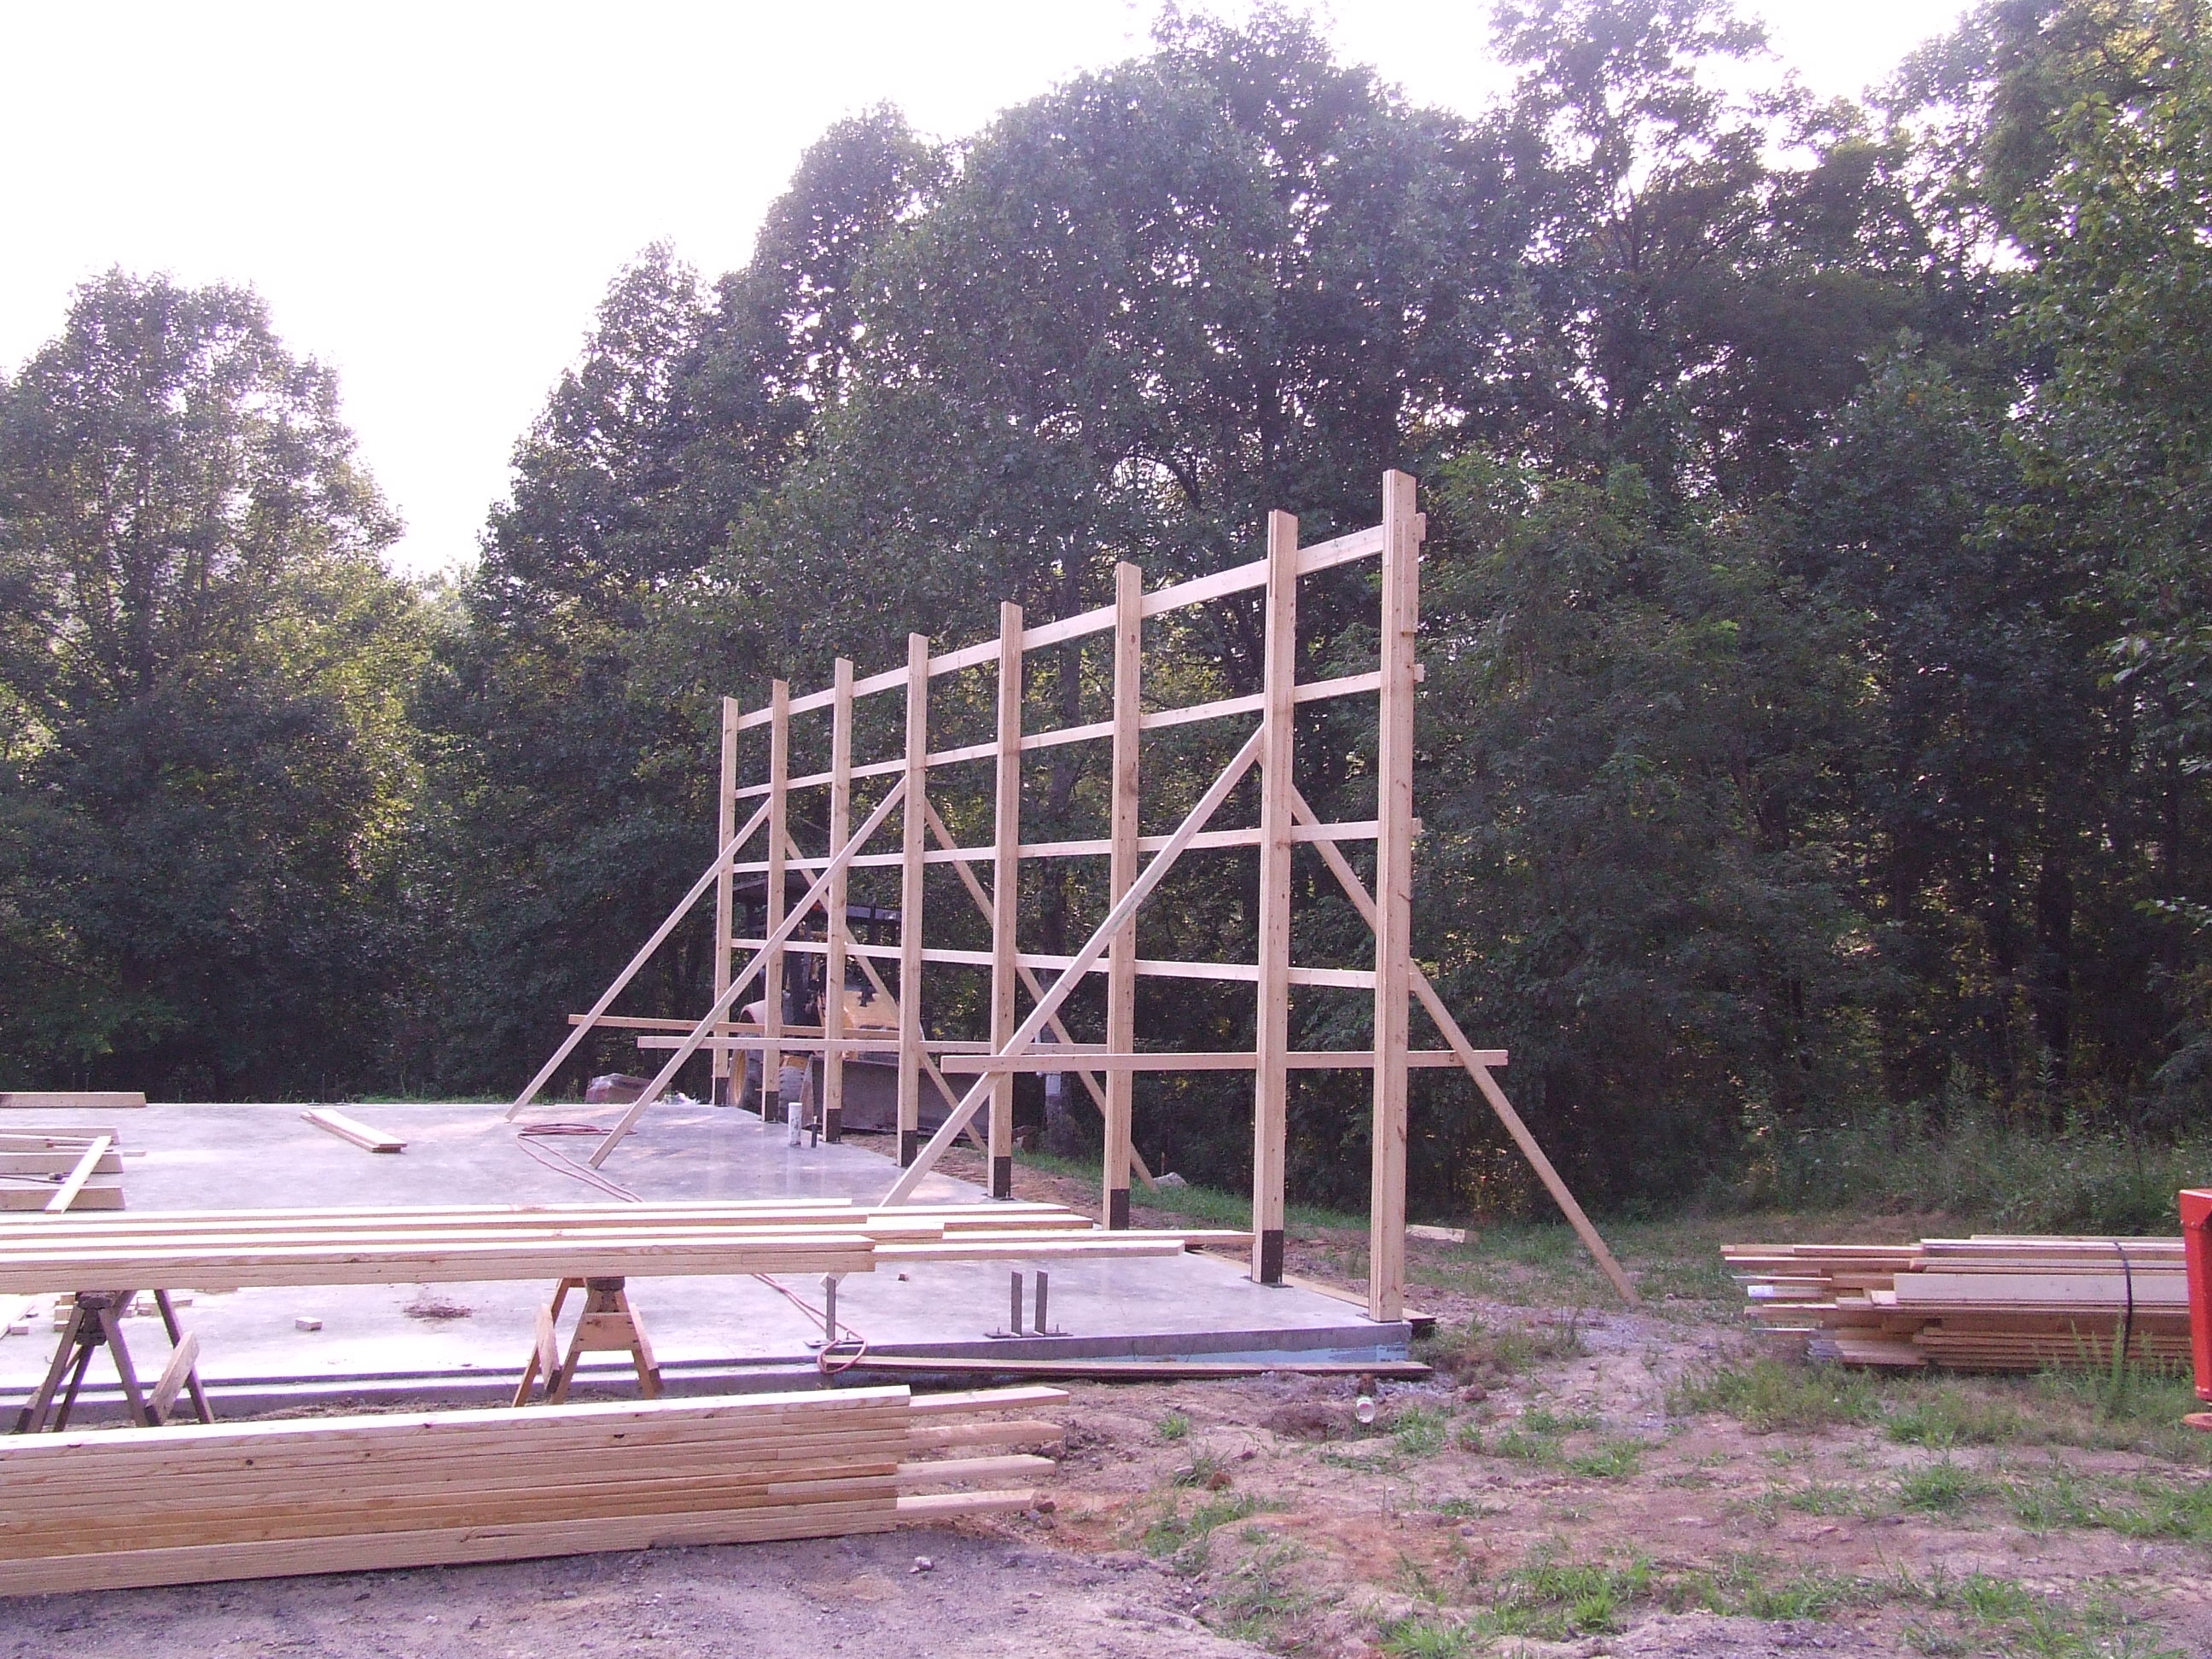
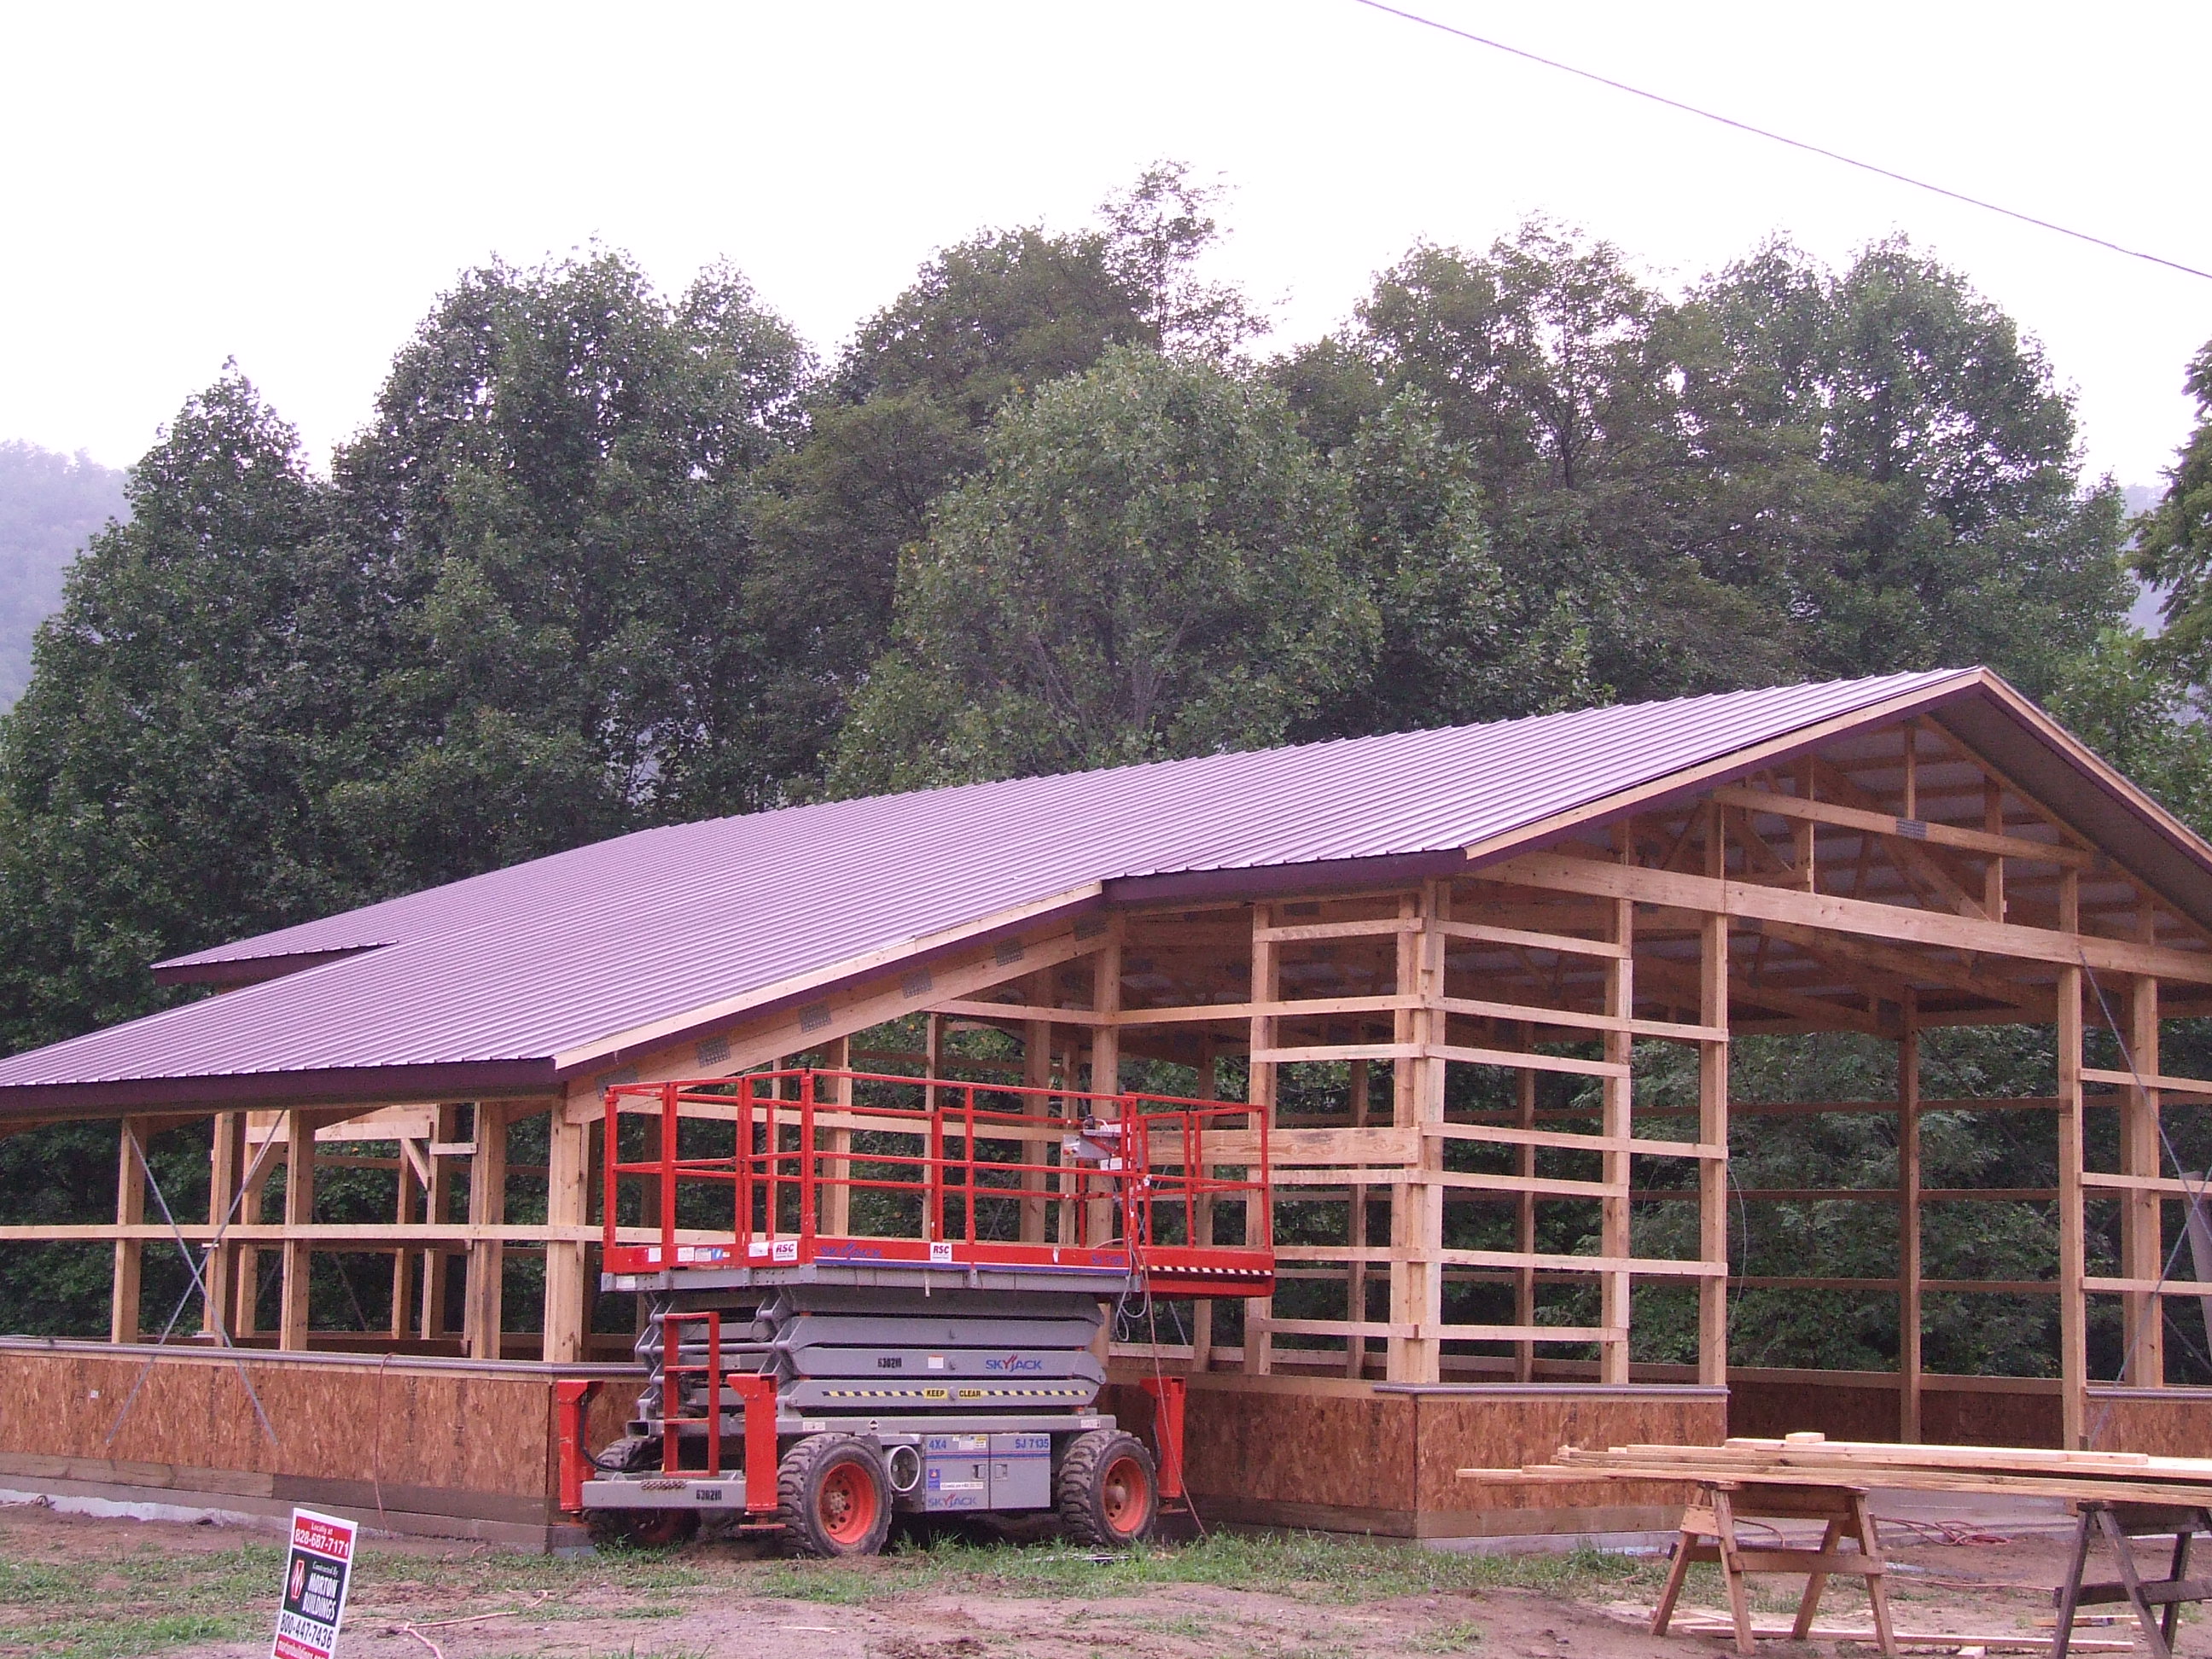
August 27, 2007 Construction
begins on the structure.
-
September 11, 2007 The shell of the
barn is complete! I must admit, working with the folks at Morton Buildings
has been fantastic! After the shell was complete the sales
consultant inspected the entire building and noted things I hadn't even
seen. While not an emergency, the work crew will return and touch
up some minor issues. This is a great company to deal with.
everyone I have come into contact with has been friendly and
professional and always leaves me with the feeling that I am their only
customer.
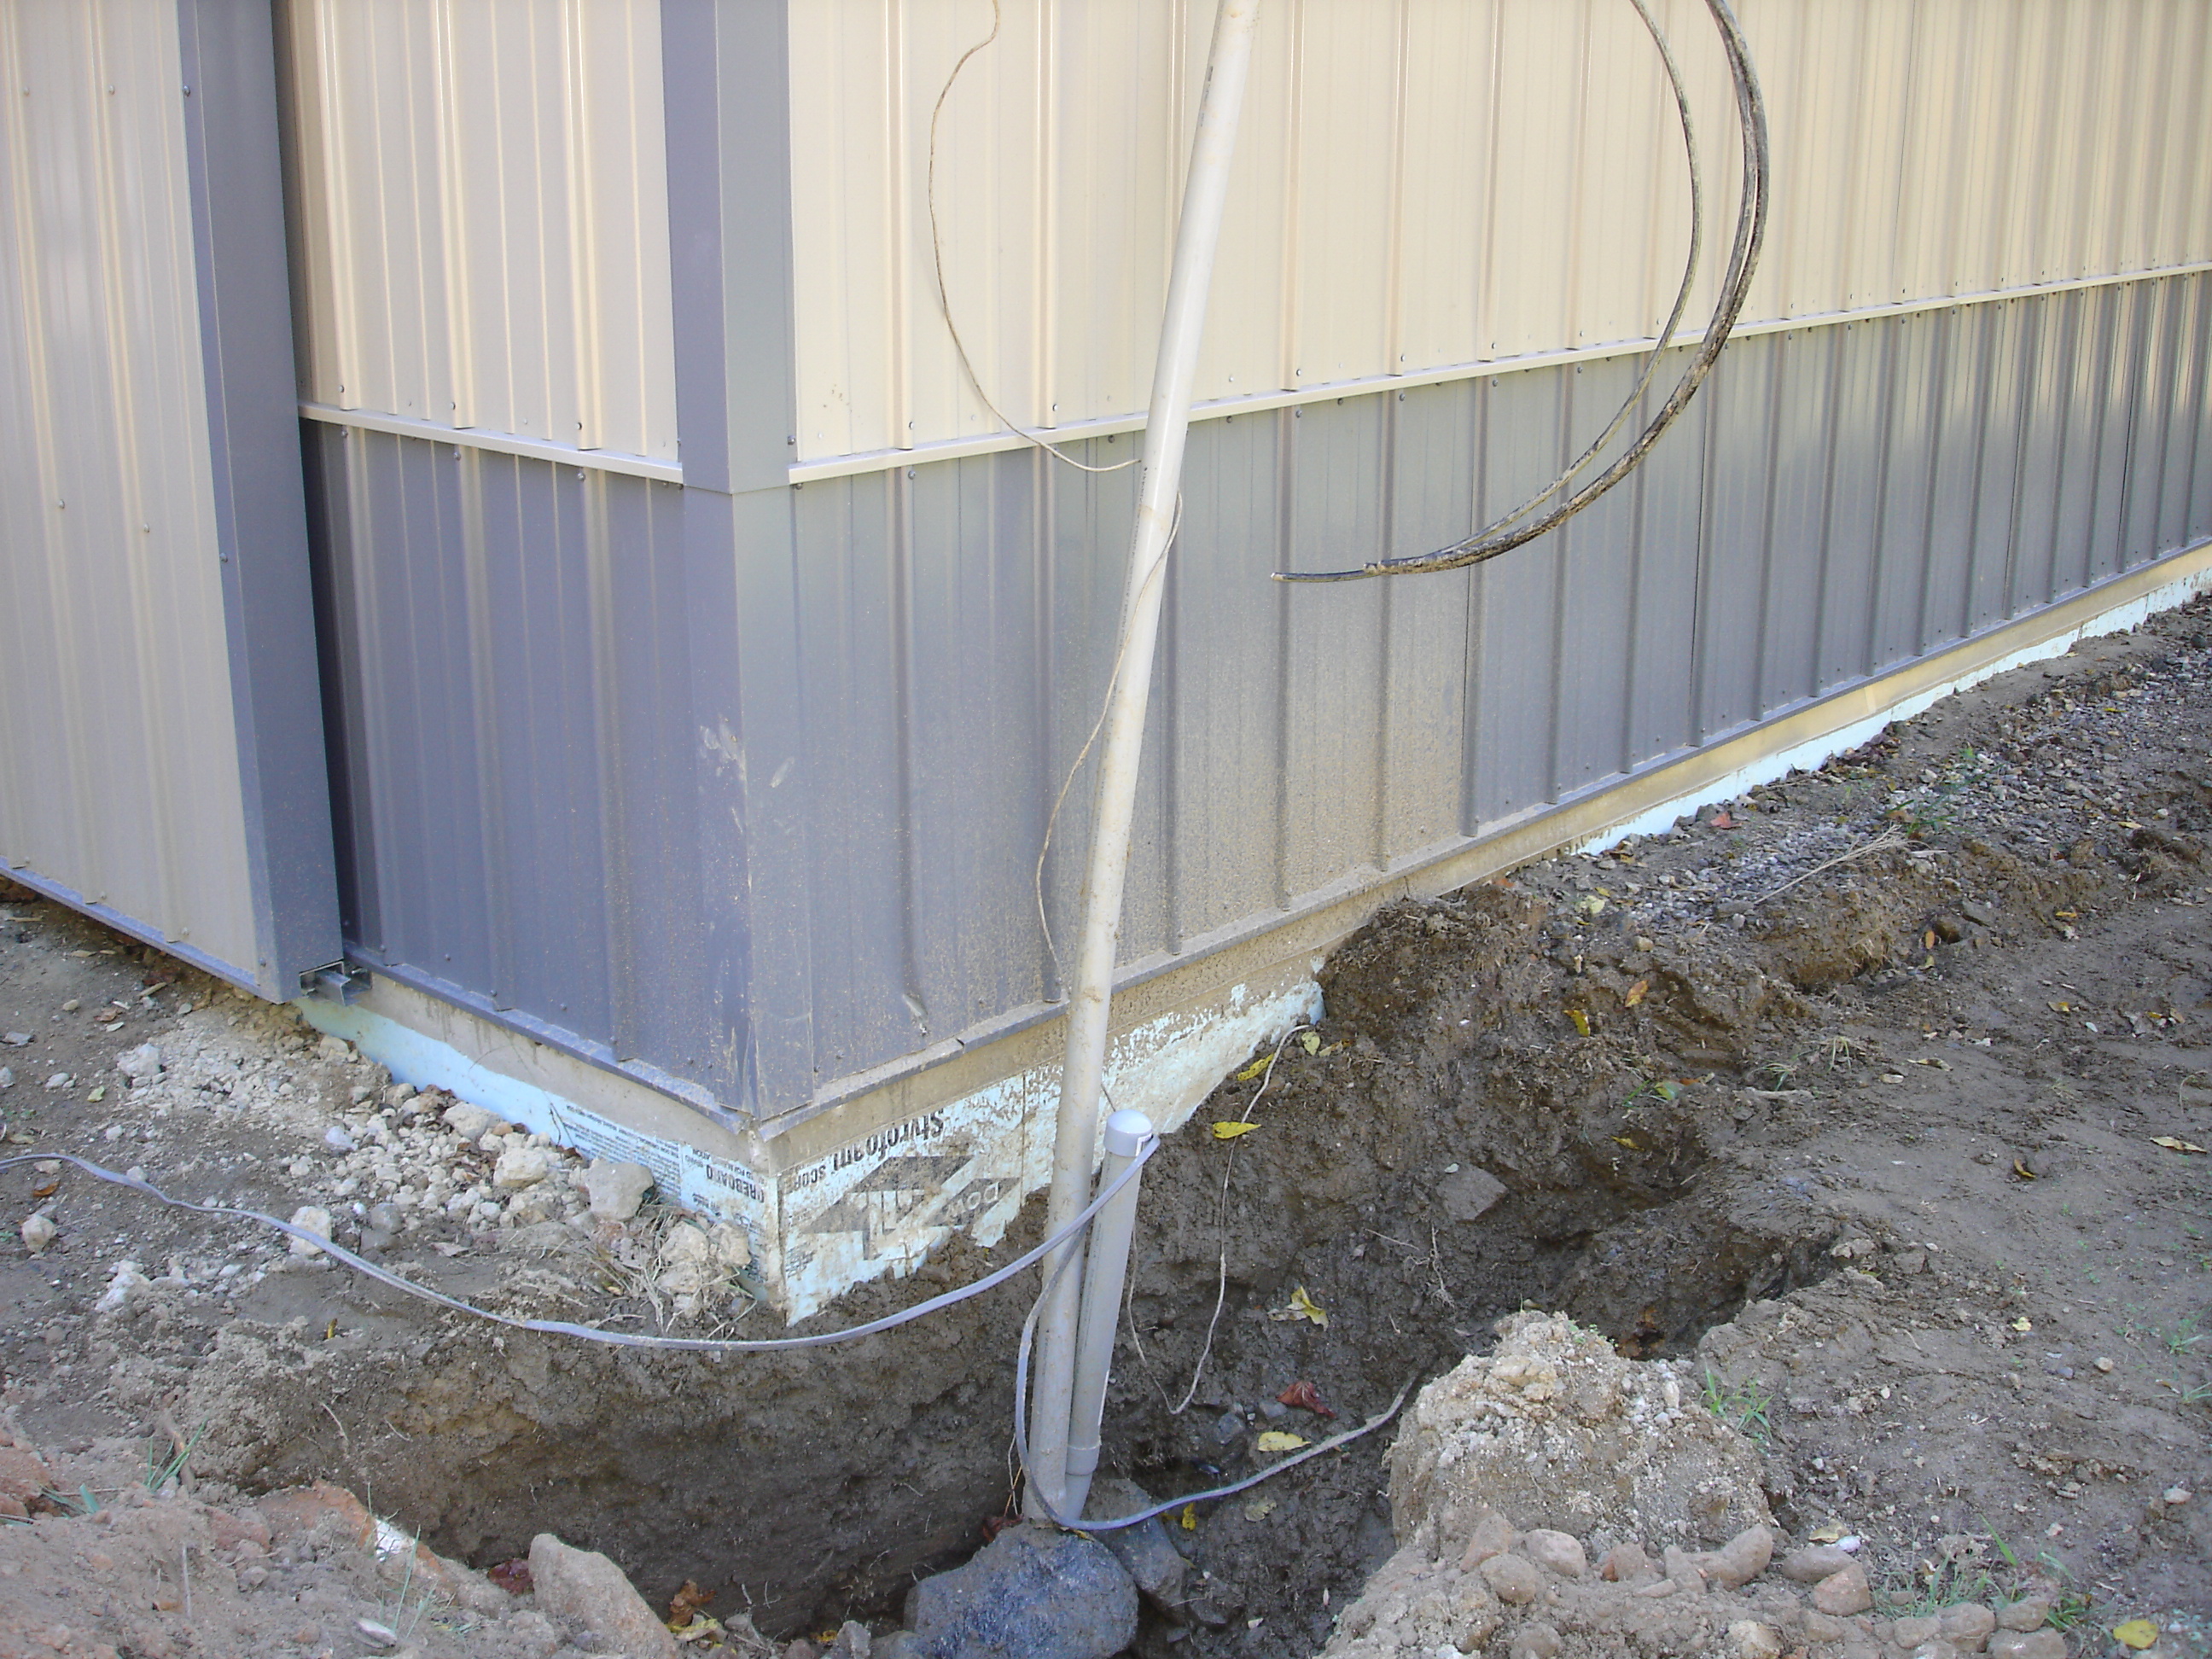
-
September 27, 2007 The pump, expansion
tank and water lines to the building are complete. Now all I need
is a little electric and I can pump water. Maybe I'll try it with
my generator.
-
October 8, 2007 I attached the
well to my generator and cold clear water began to flow! The
framing and rough plumbing have passed inspection and the septic system
is in progress. As always, photos below.
-
November 4, 2007 Things keep
moving along. So far I have passed framing, rough plumbing and
rough electrical. Once i get an insulation inspection I can start
with the drywall. Once at that stage there is only one more inspection,
the final for the certificate of occupancy. I'm shooting for
early December!
-
December 10, 2007 Well, the long
wait is over. While all the work is not done, the essentials are
in place. The county building inspector did the final inspection
today - we passed! Water, electric, plumbing, A/C and all the
"safety" issues have been taken care of. We have a
Certificate of Occupancy, so the electric company will now turn on the
power. Now comes the fun of hanging window shades, painting trim
and things like that. Lots of work to go, but we will have
electric, heat and a warm shower!
- April 2008 For now everything is livable. Time
around the property includes small projects and planning for the house.
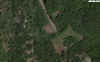 |
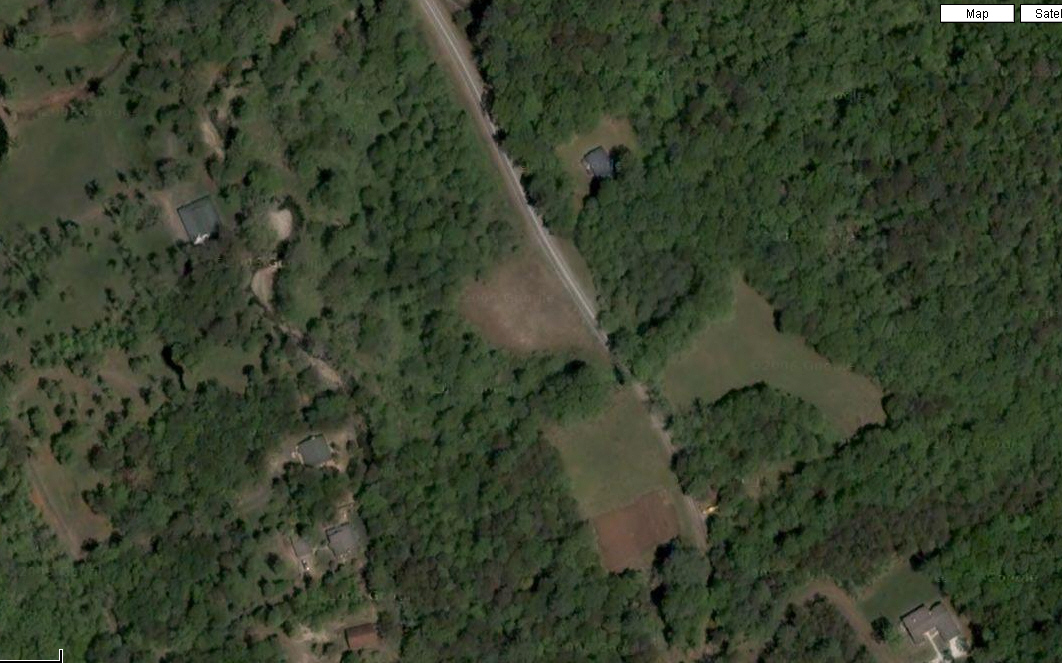
Running down the center of the
picture to the left is a trout stream in western North Carolina.
We purchased 2.77 acres on the right side of this stream across from
the houses in the picture |
 |
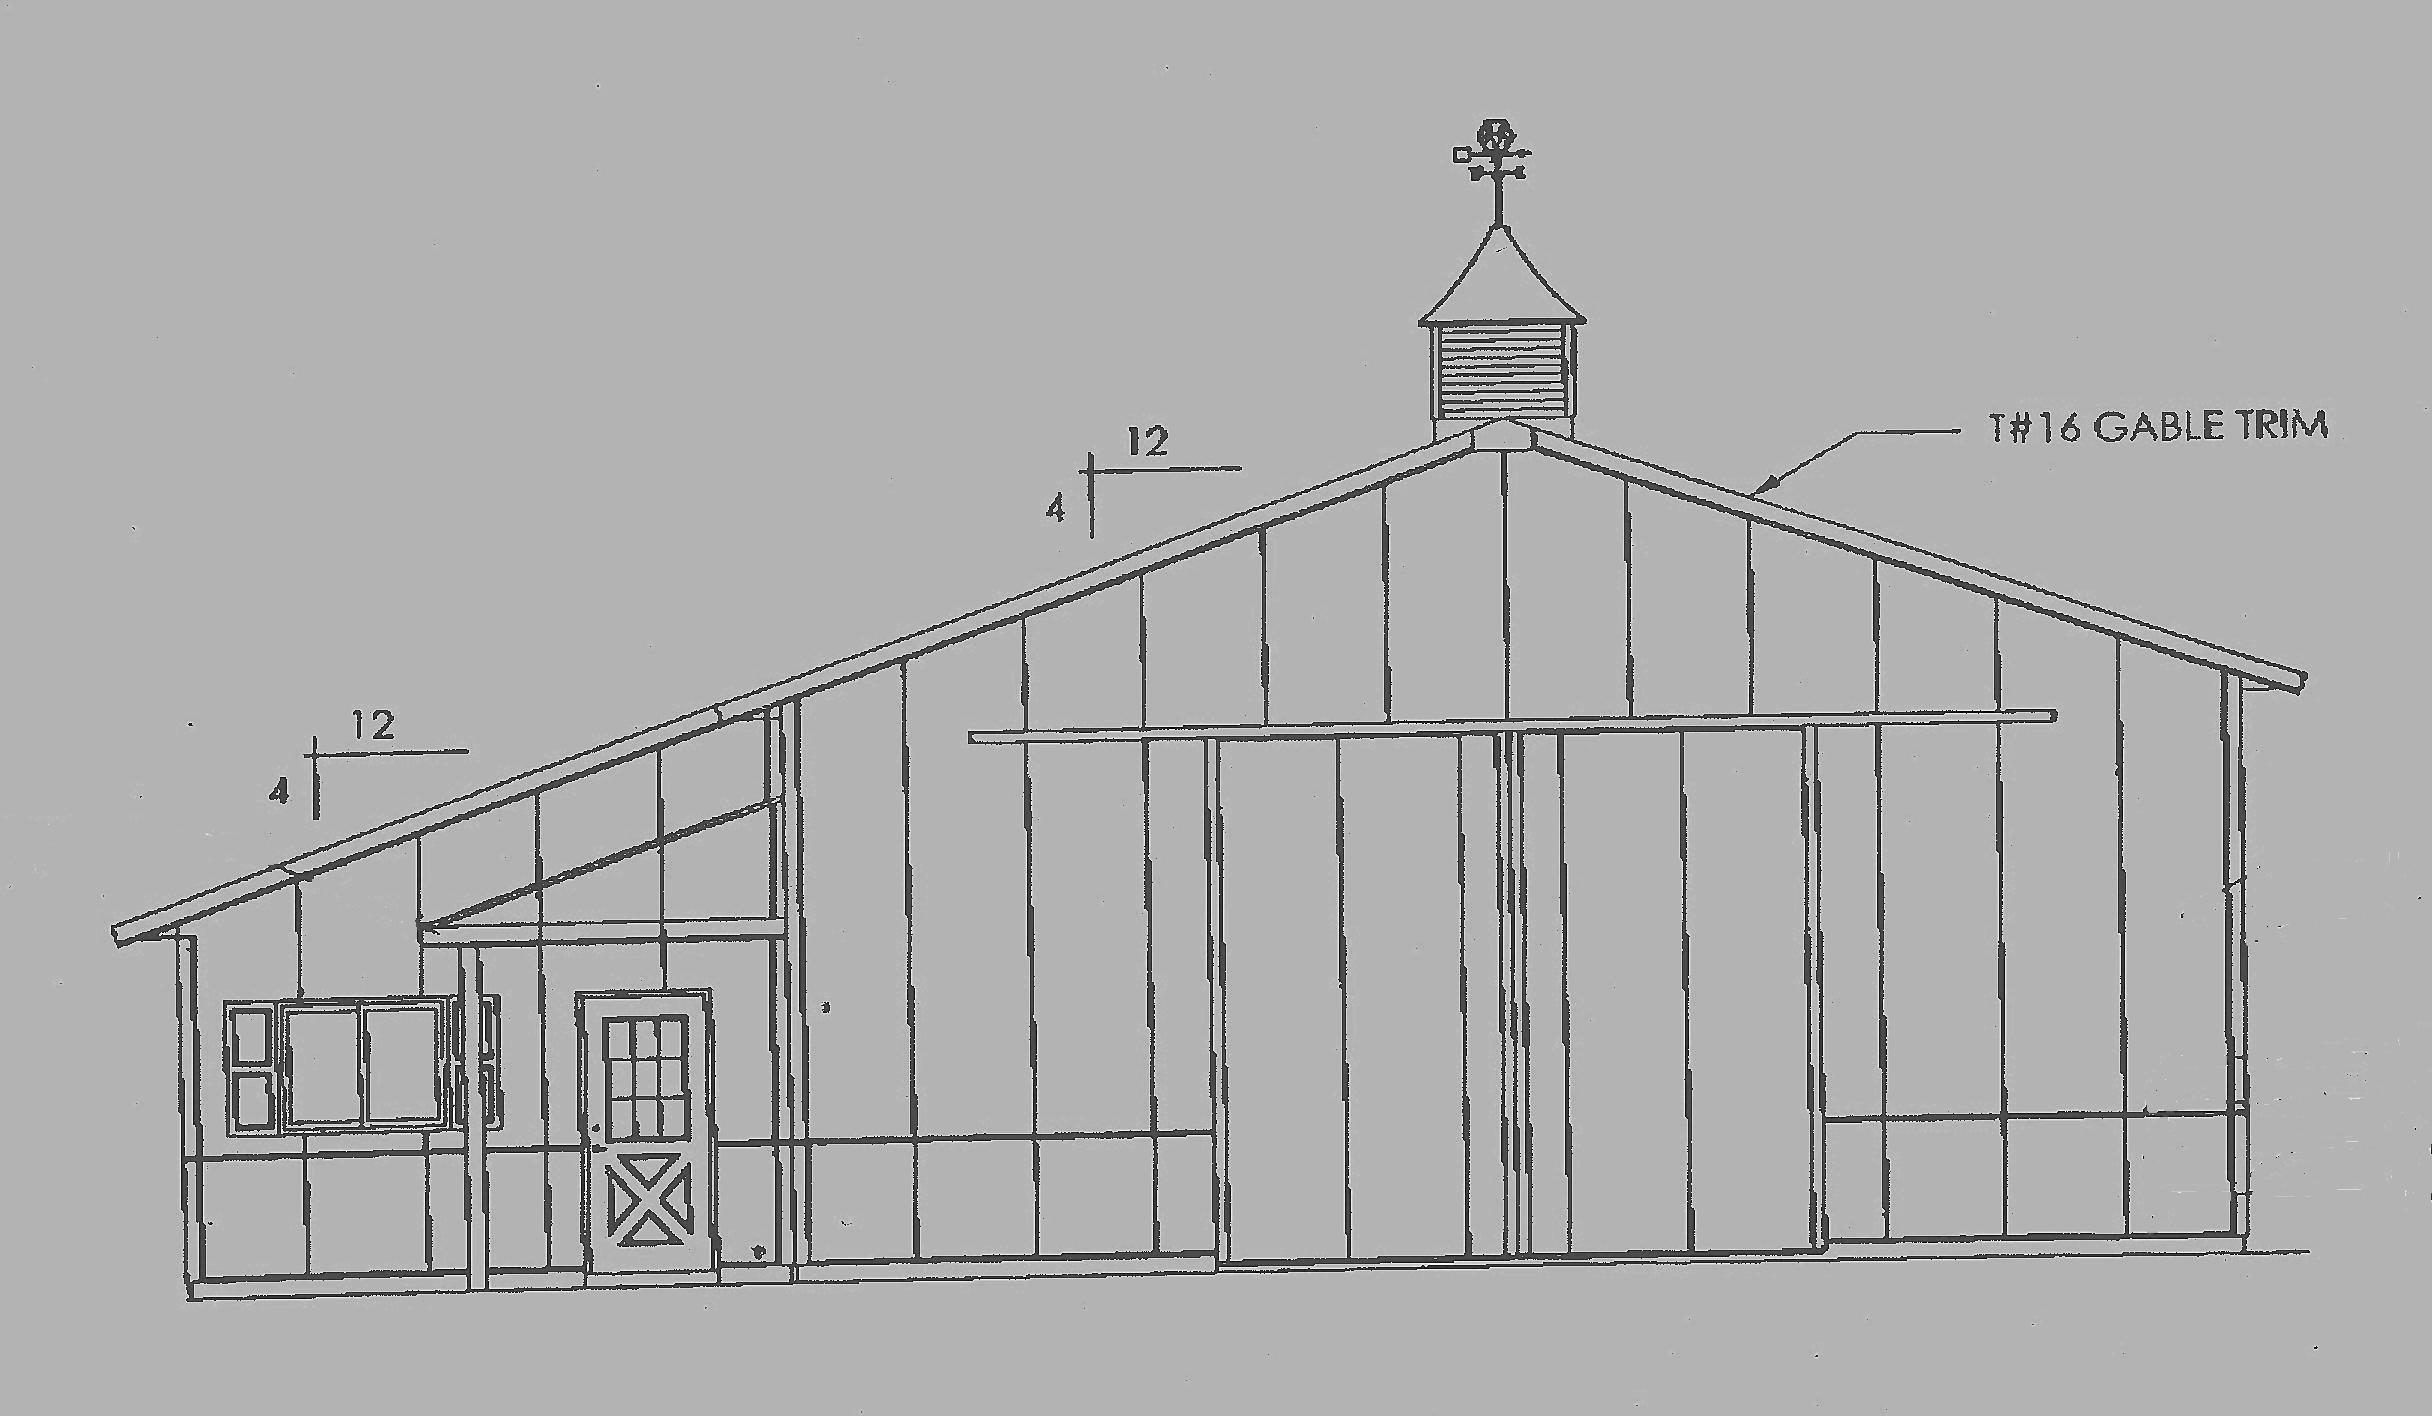
The design to the left is the basic
design of the RV Barn/workshop area. |
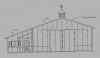 |
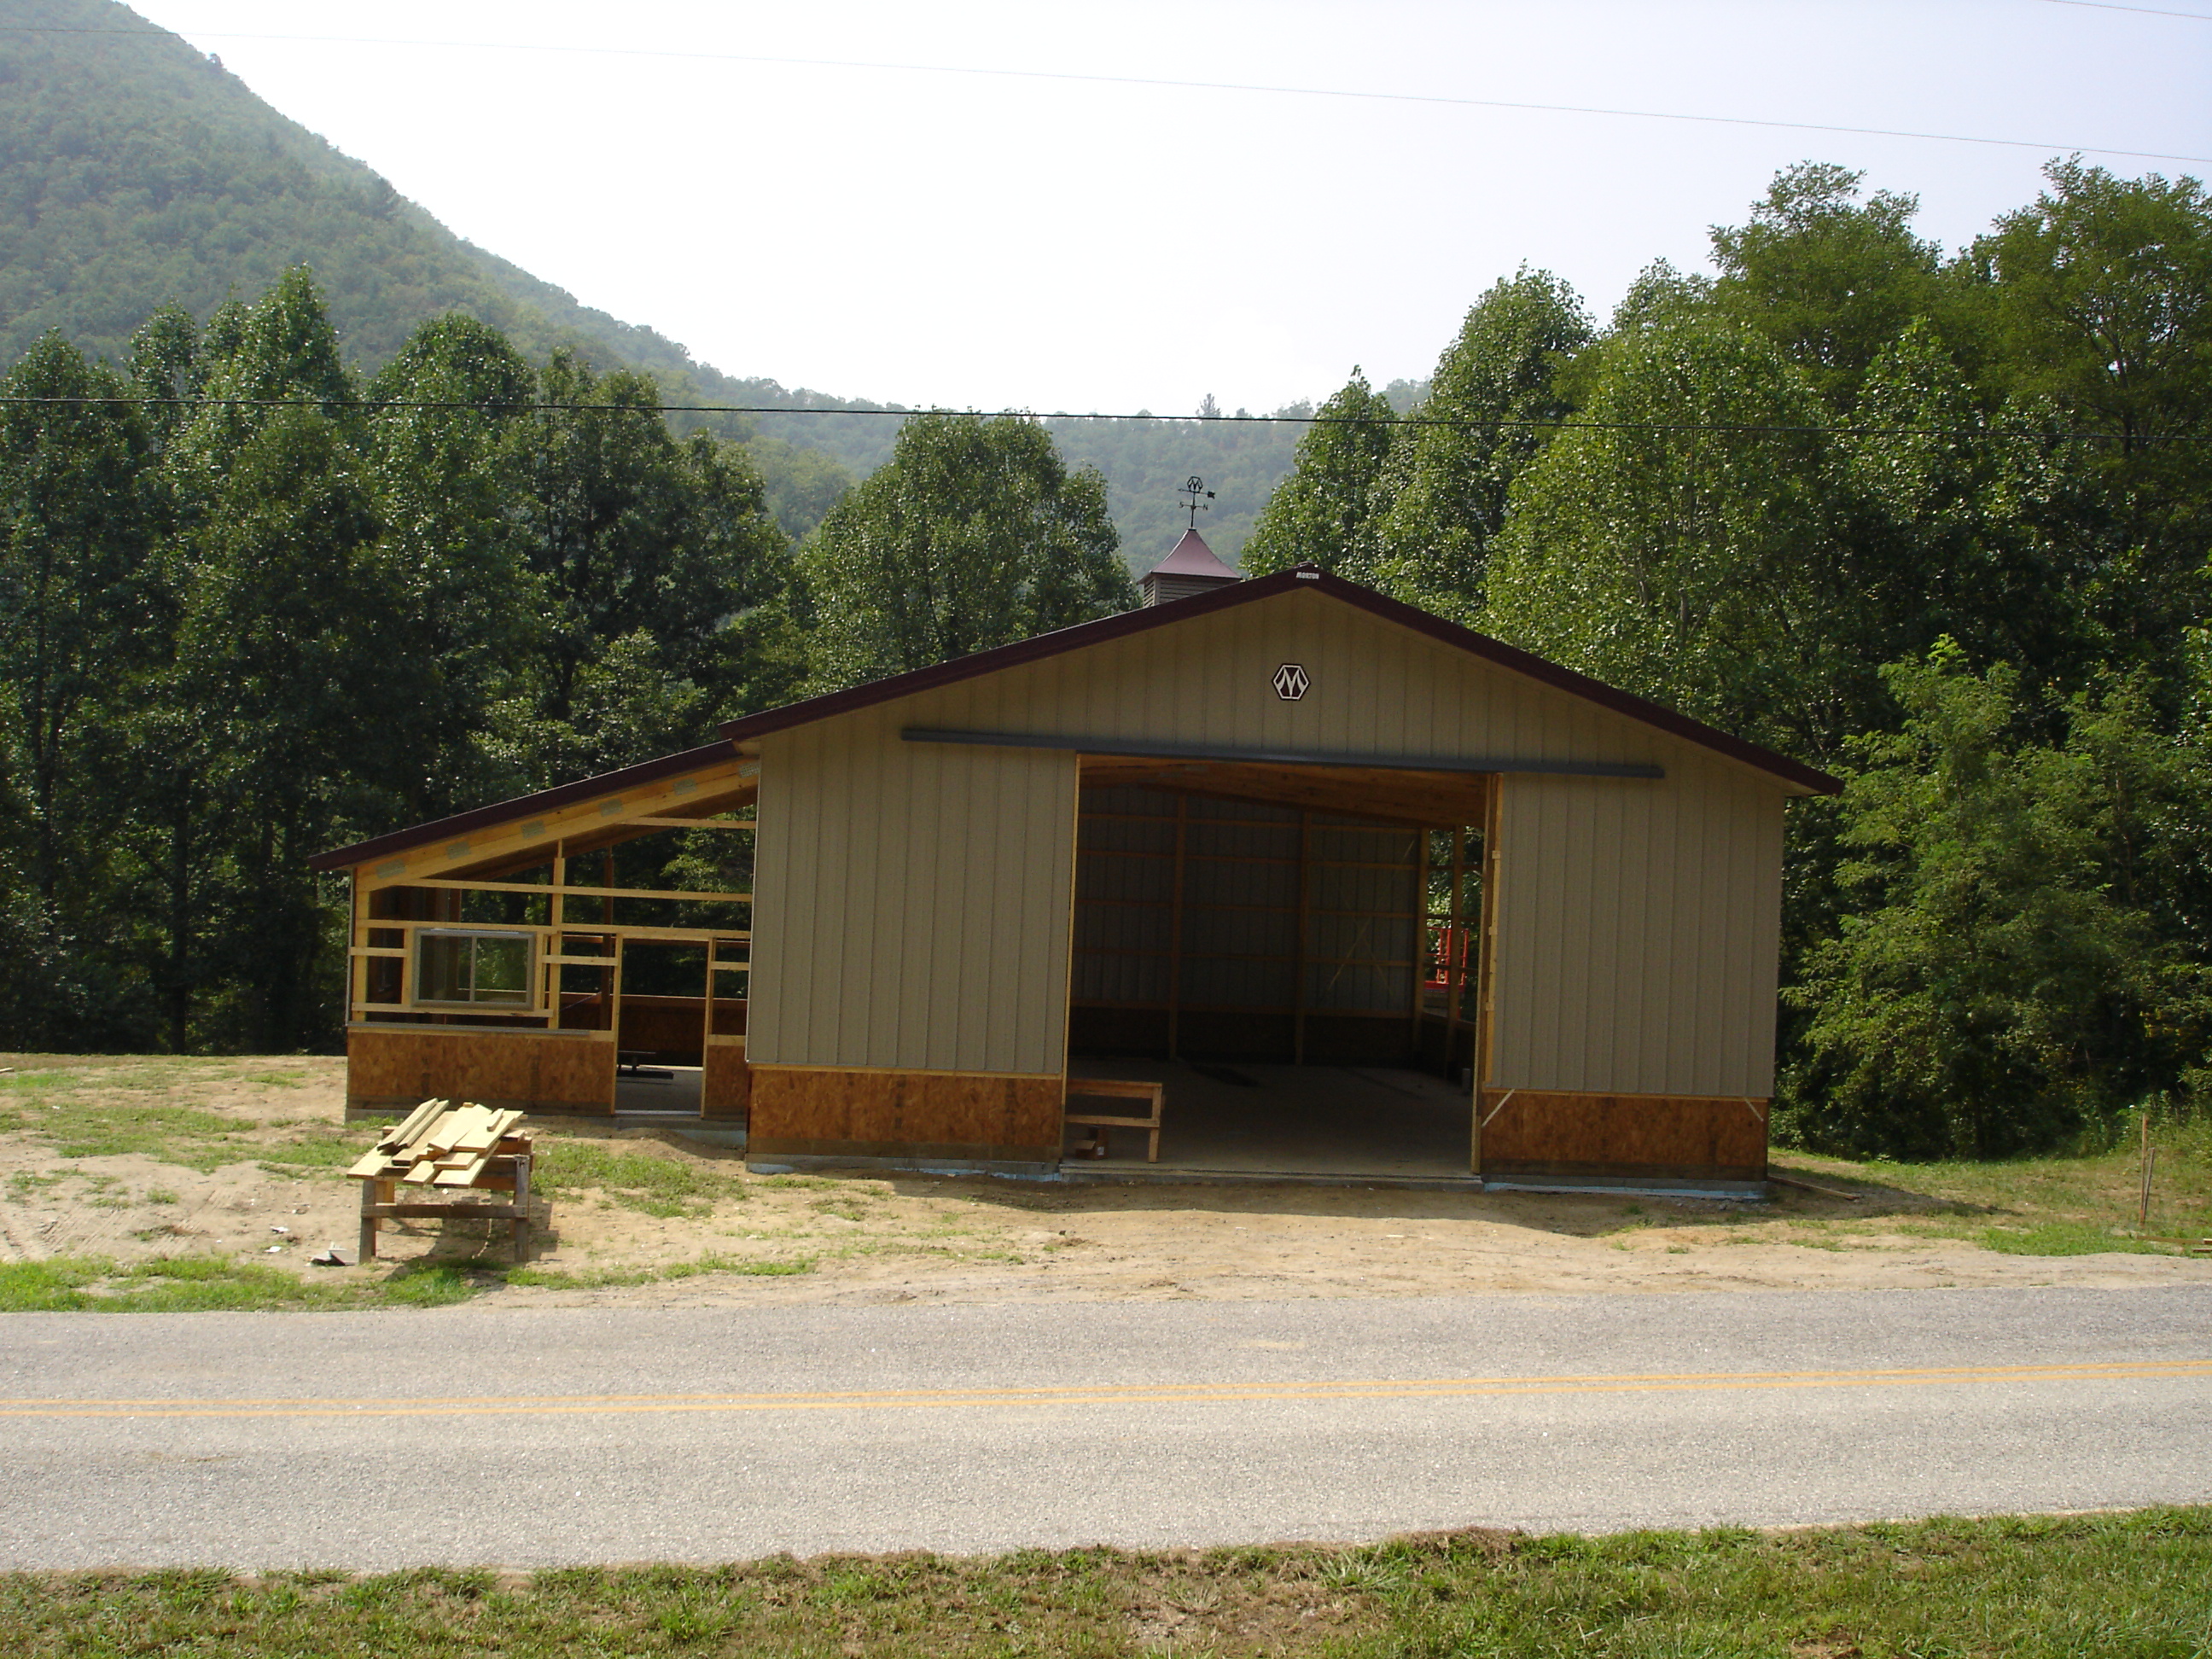
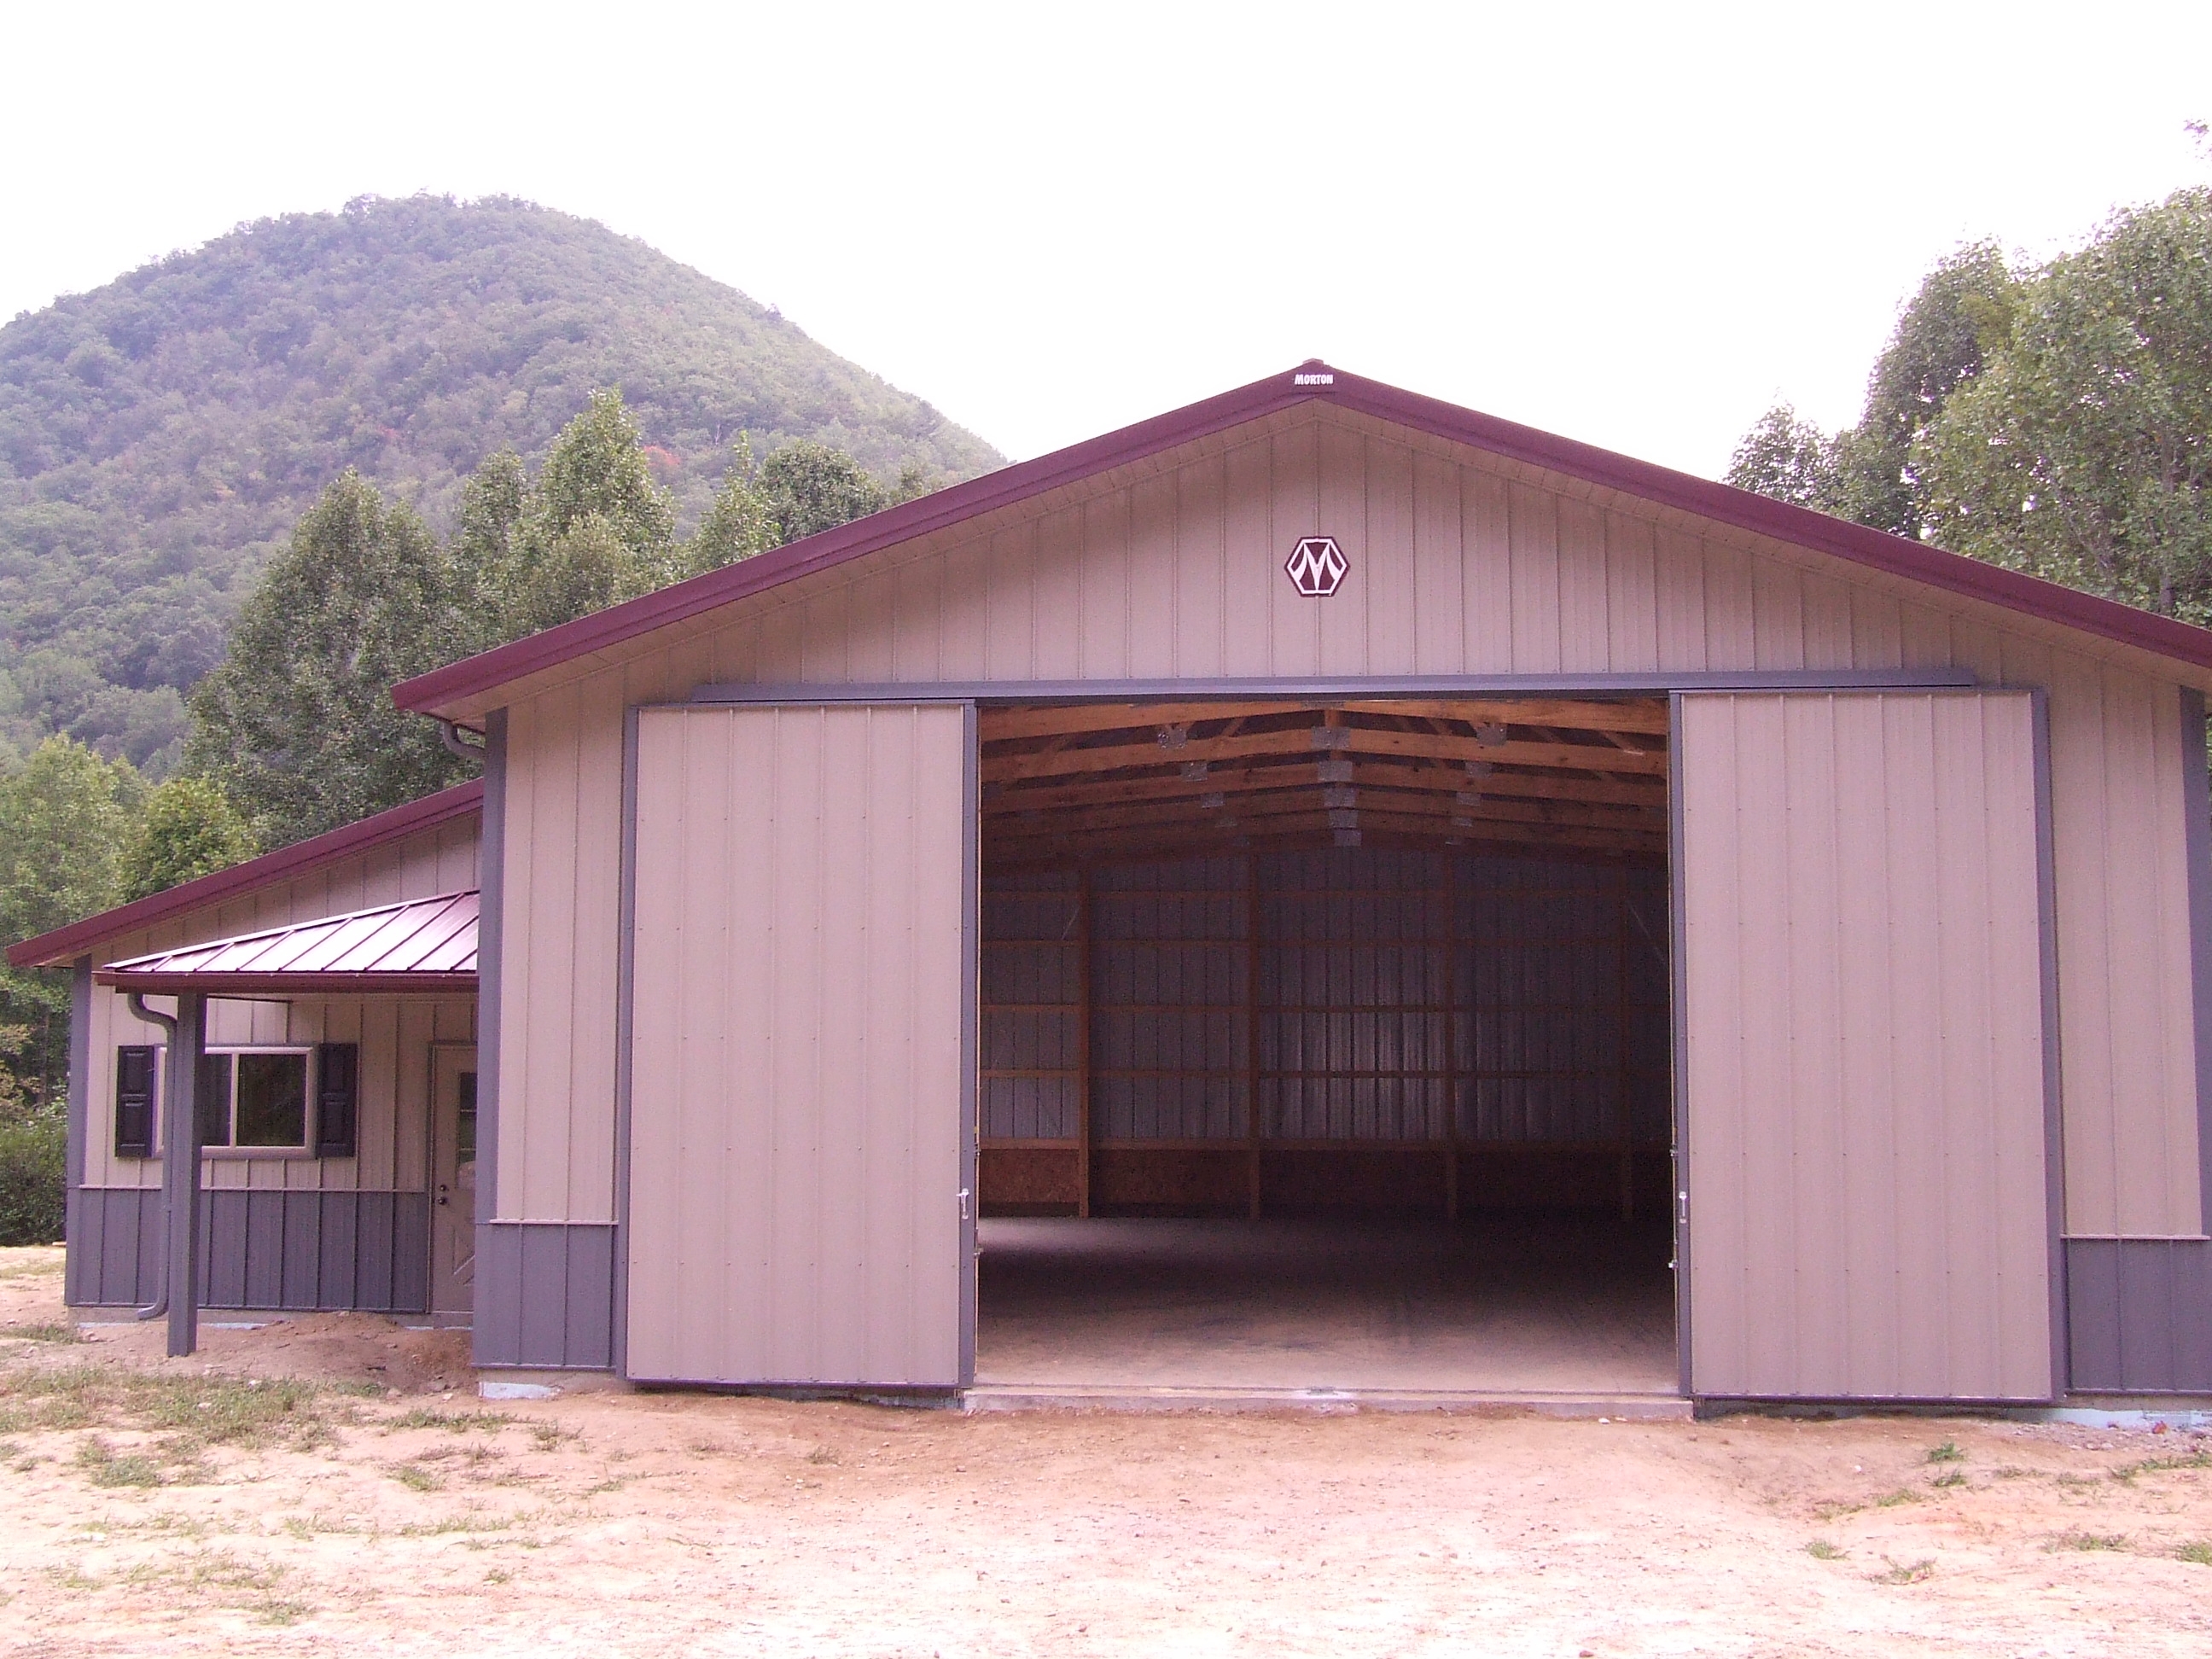
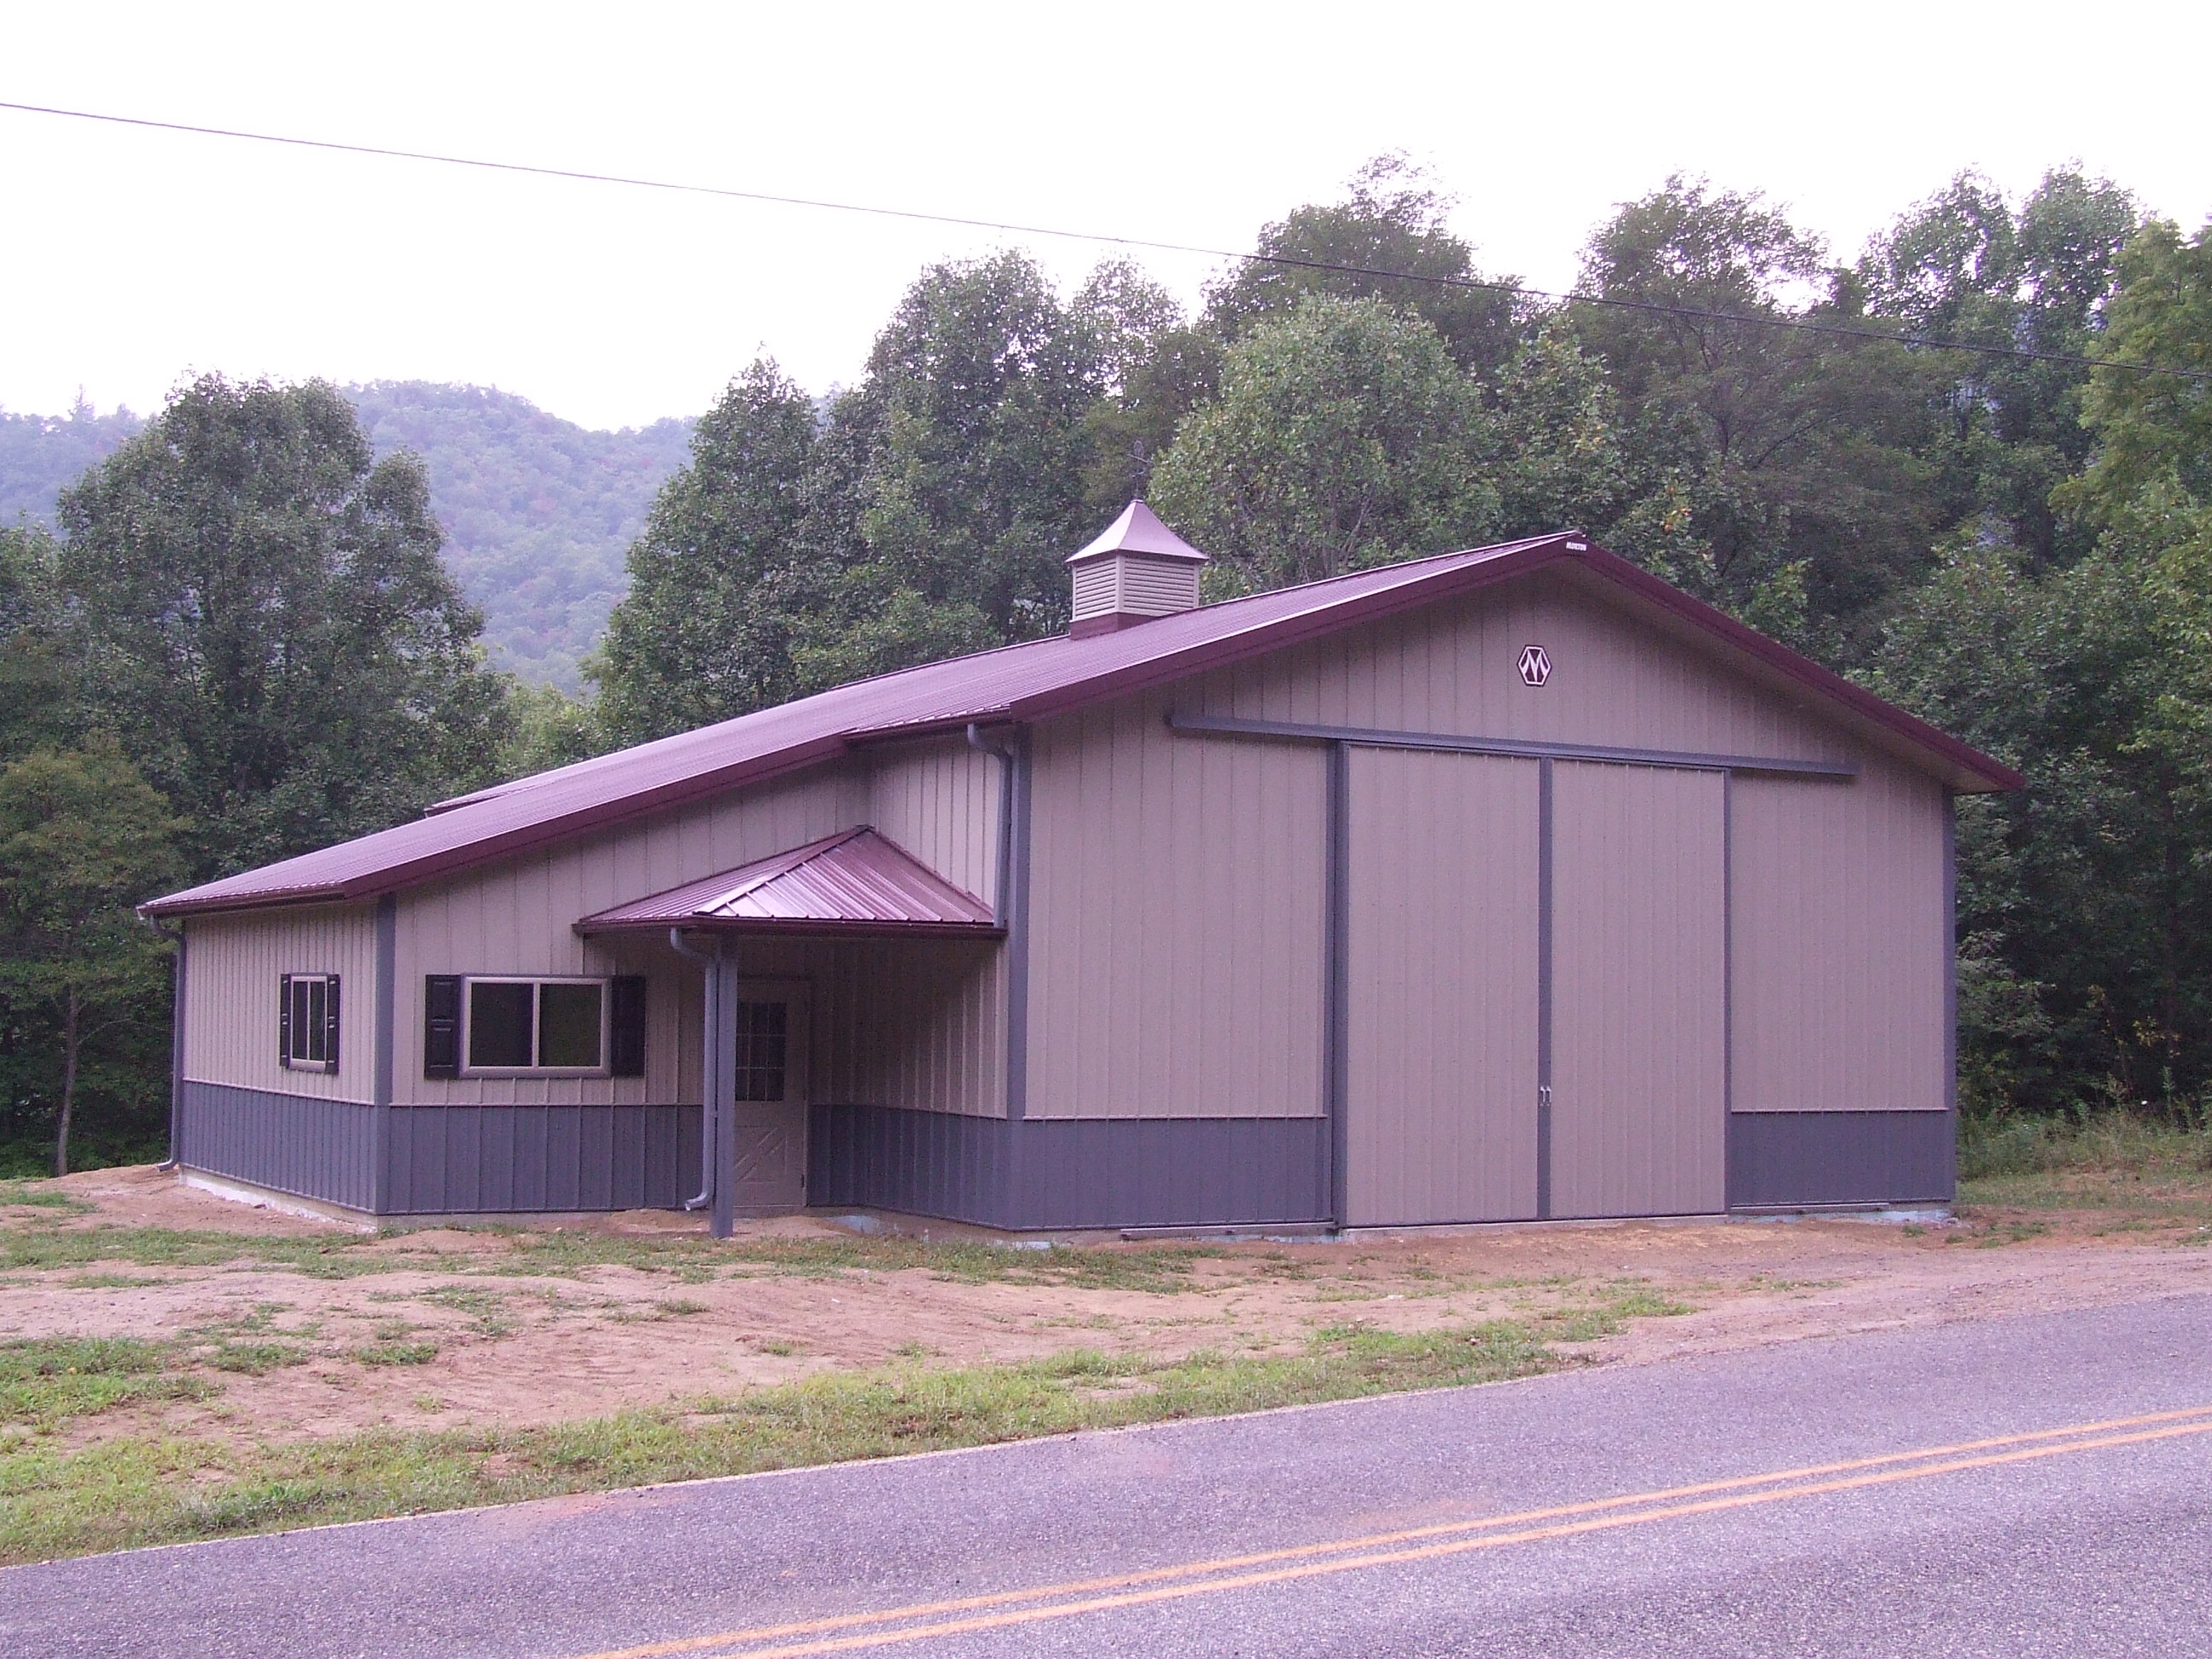
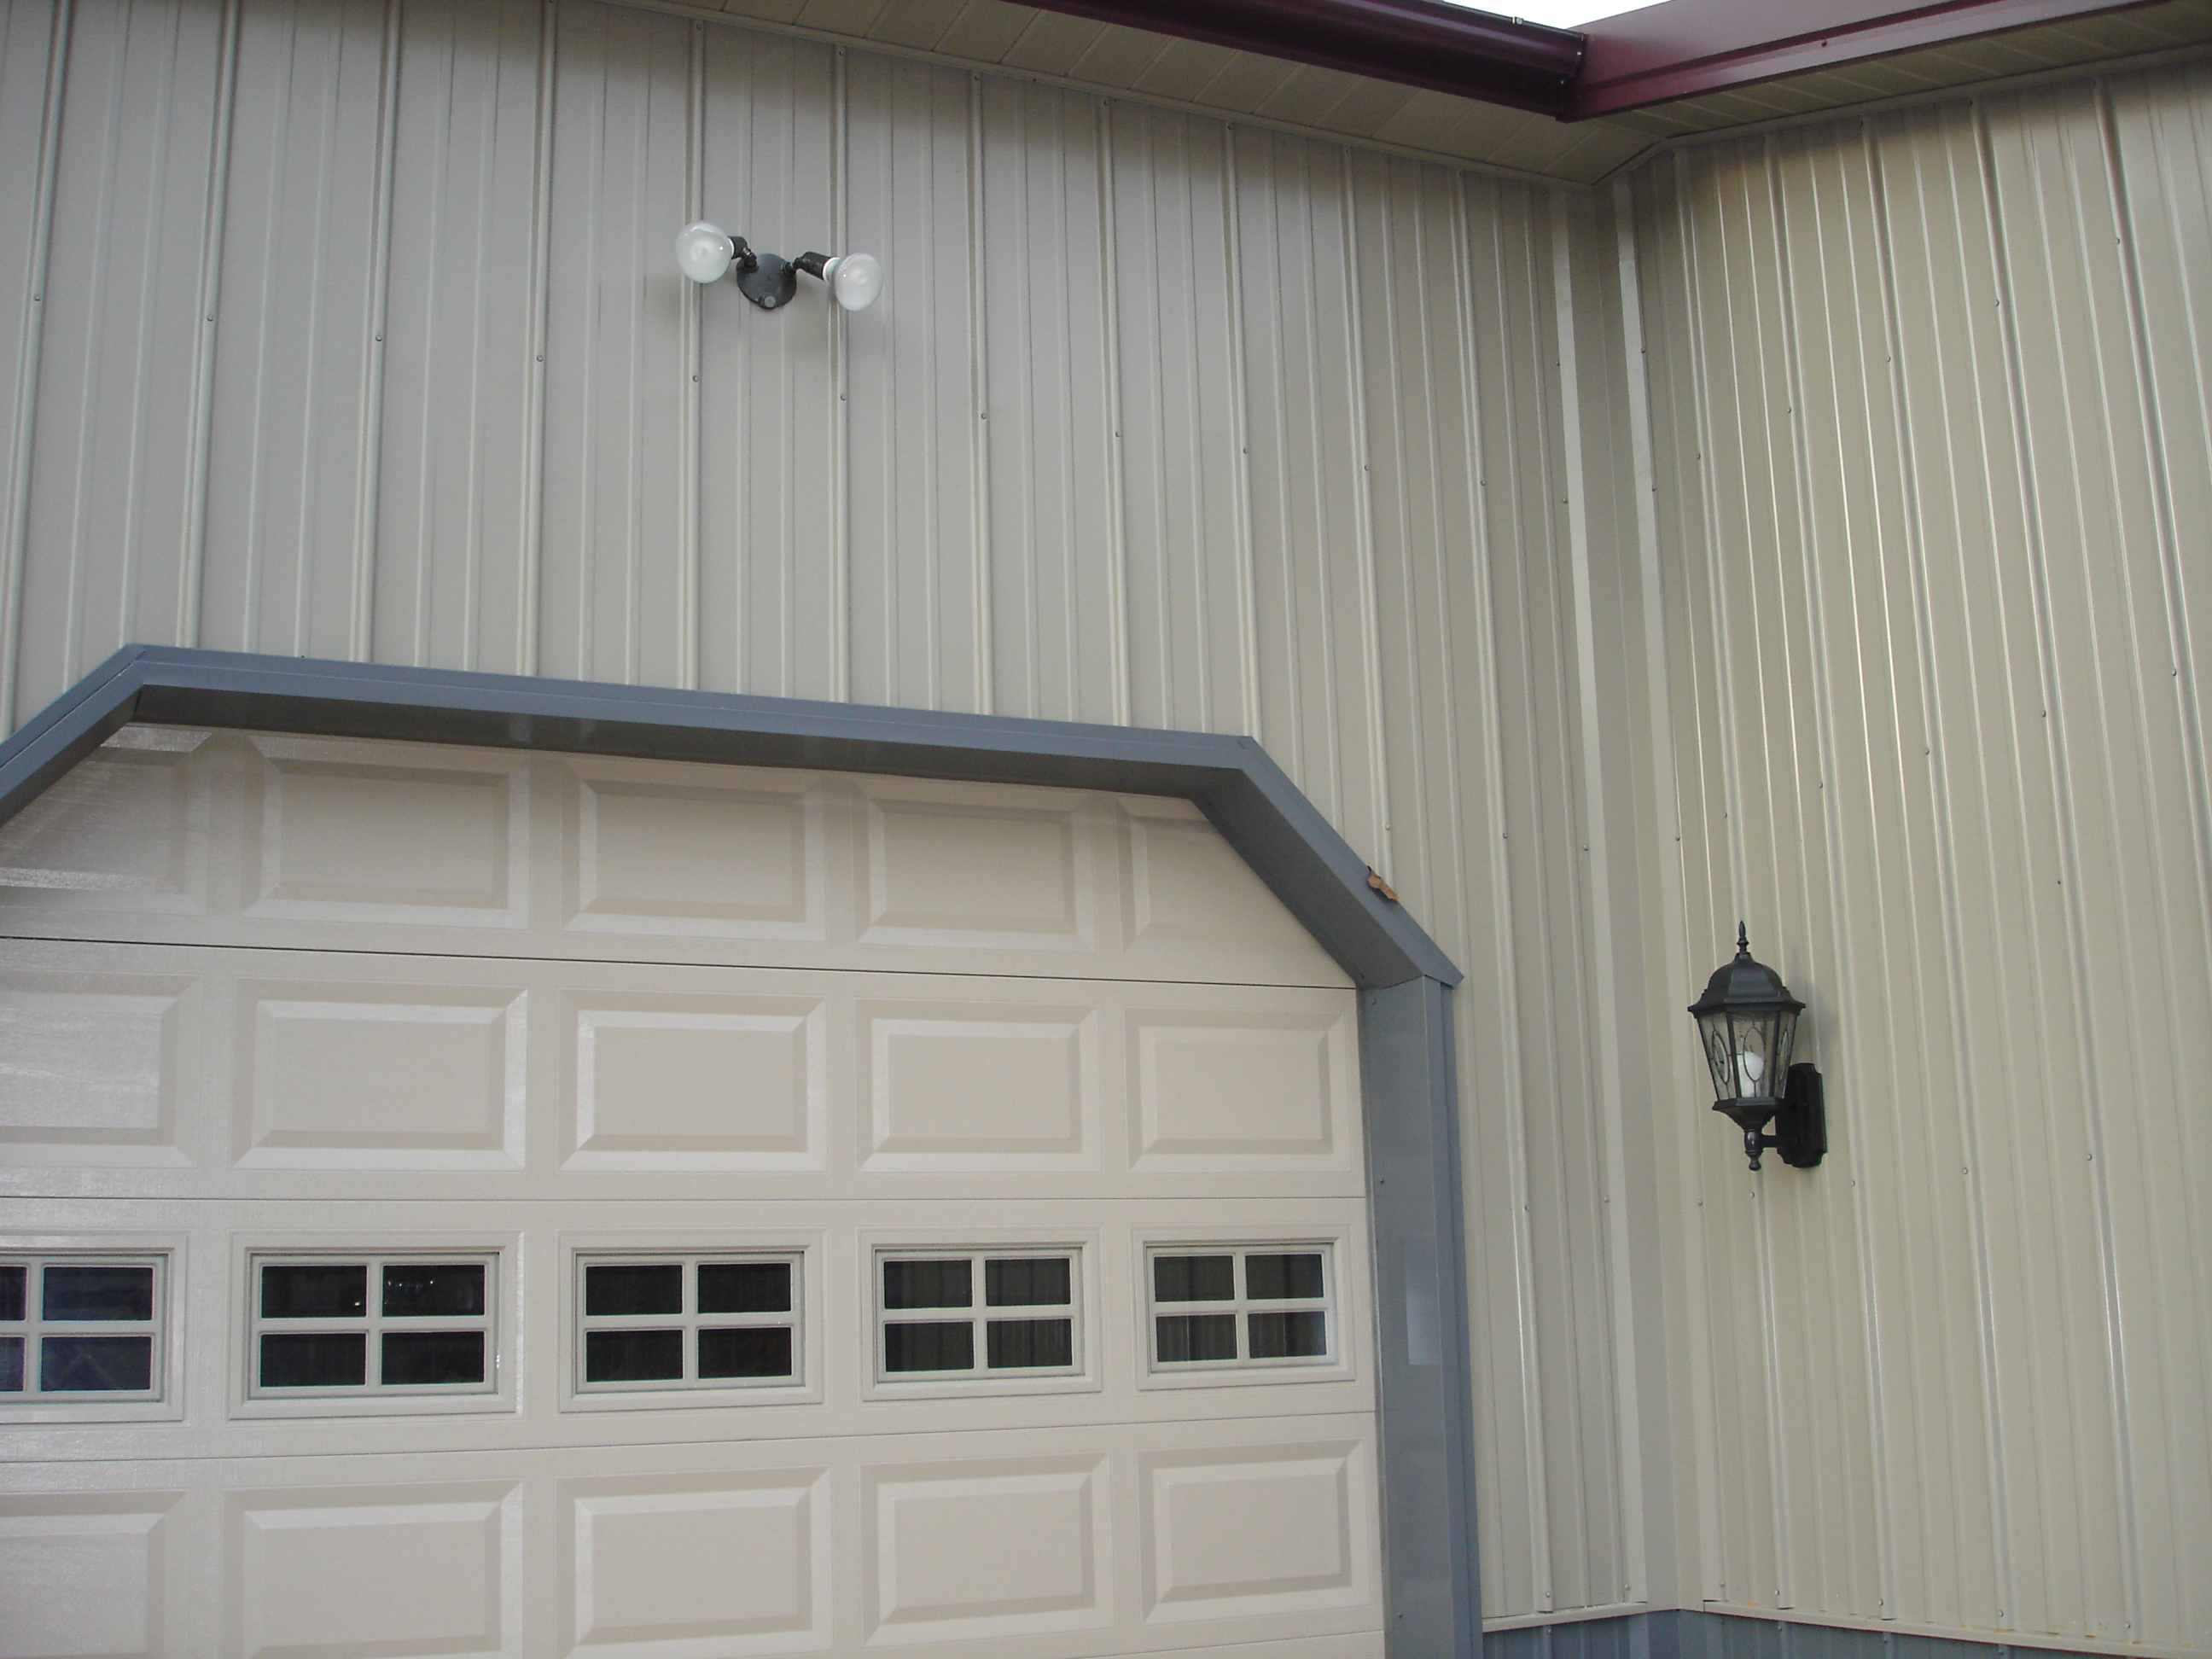
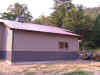
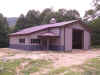
This is the end view of the
"Barn". The sliding door is 15' wide by 14' high. An 8' X
8' overhang covers the entry door. |
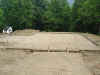 |
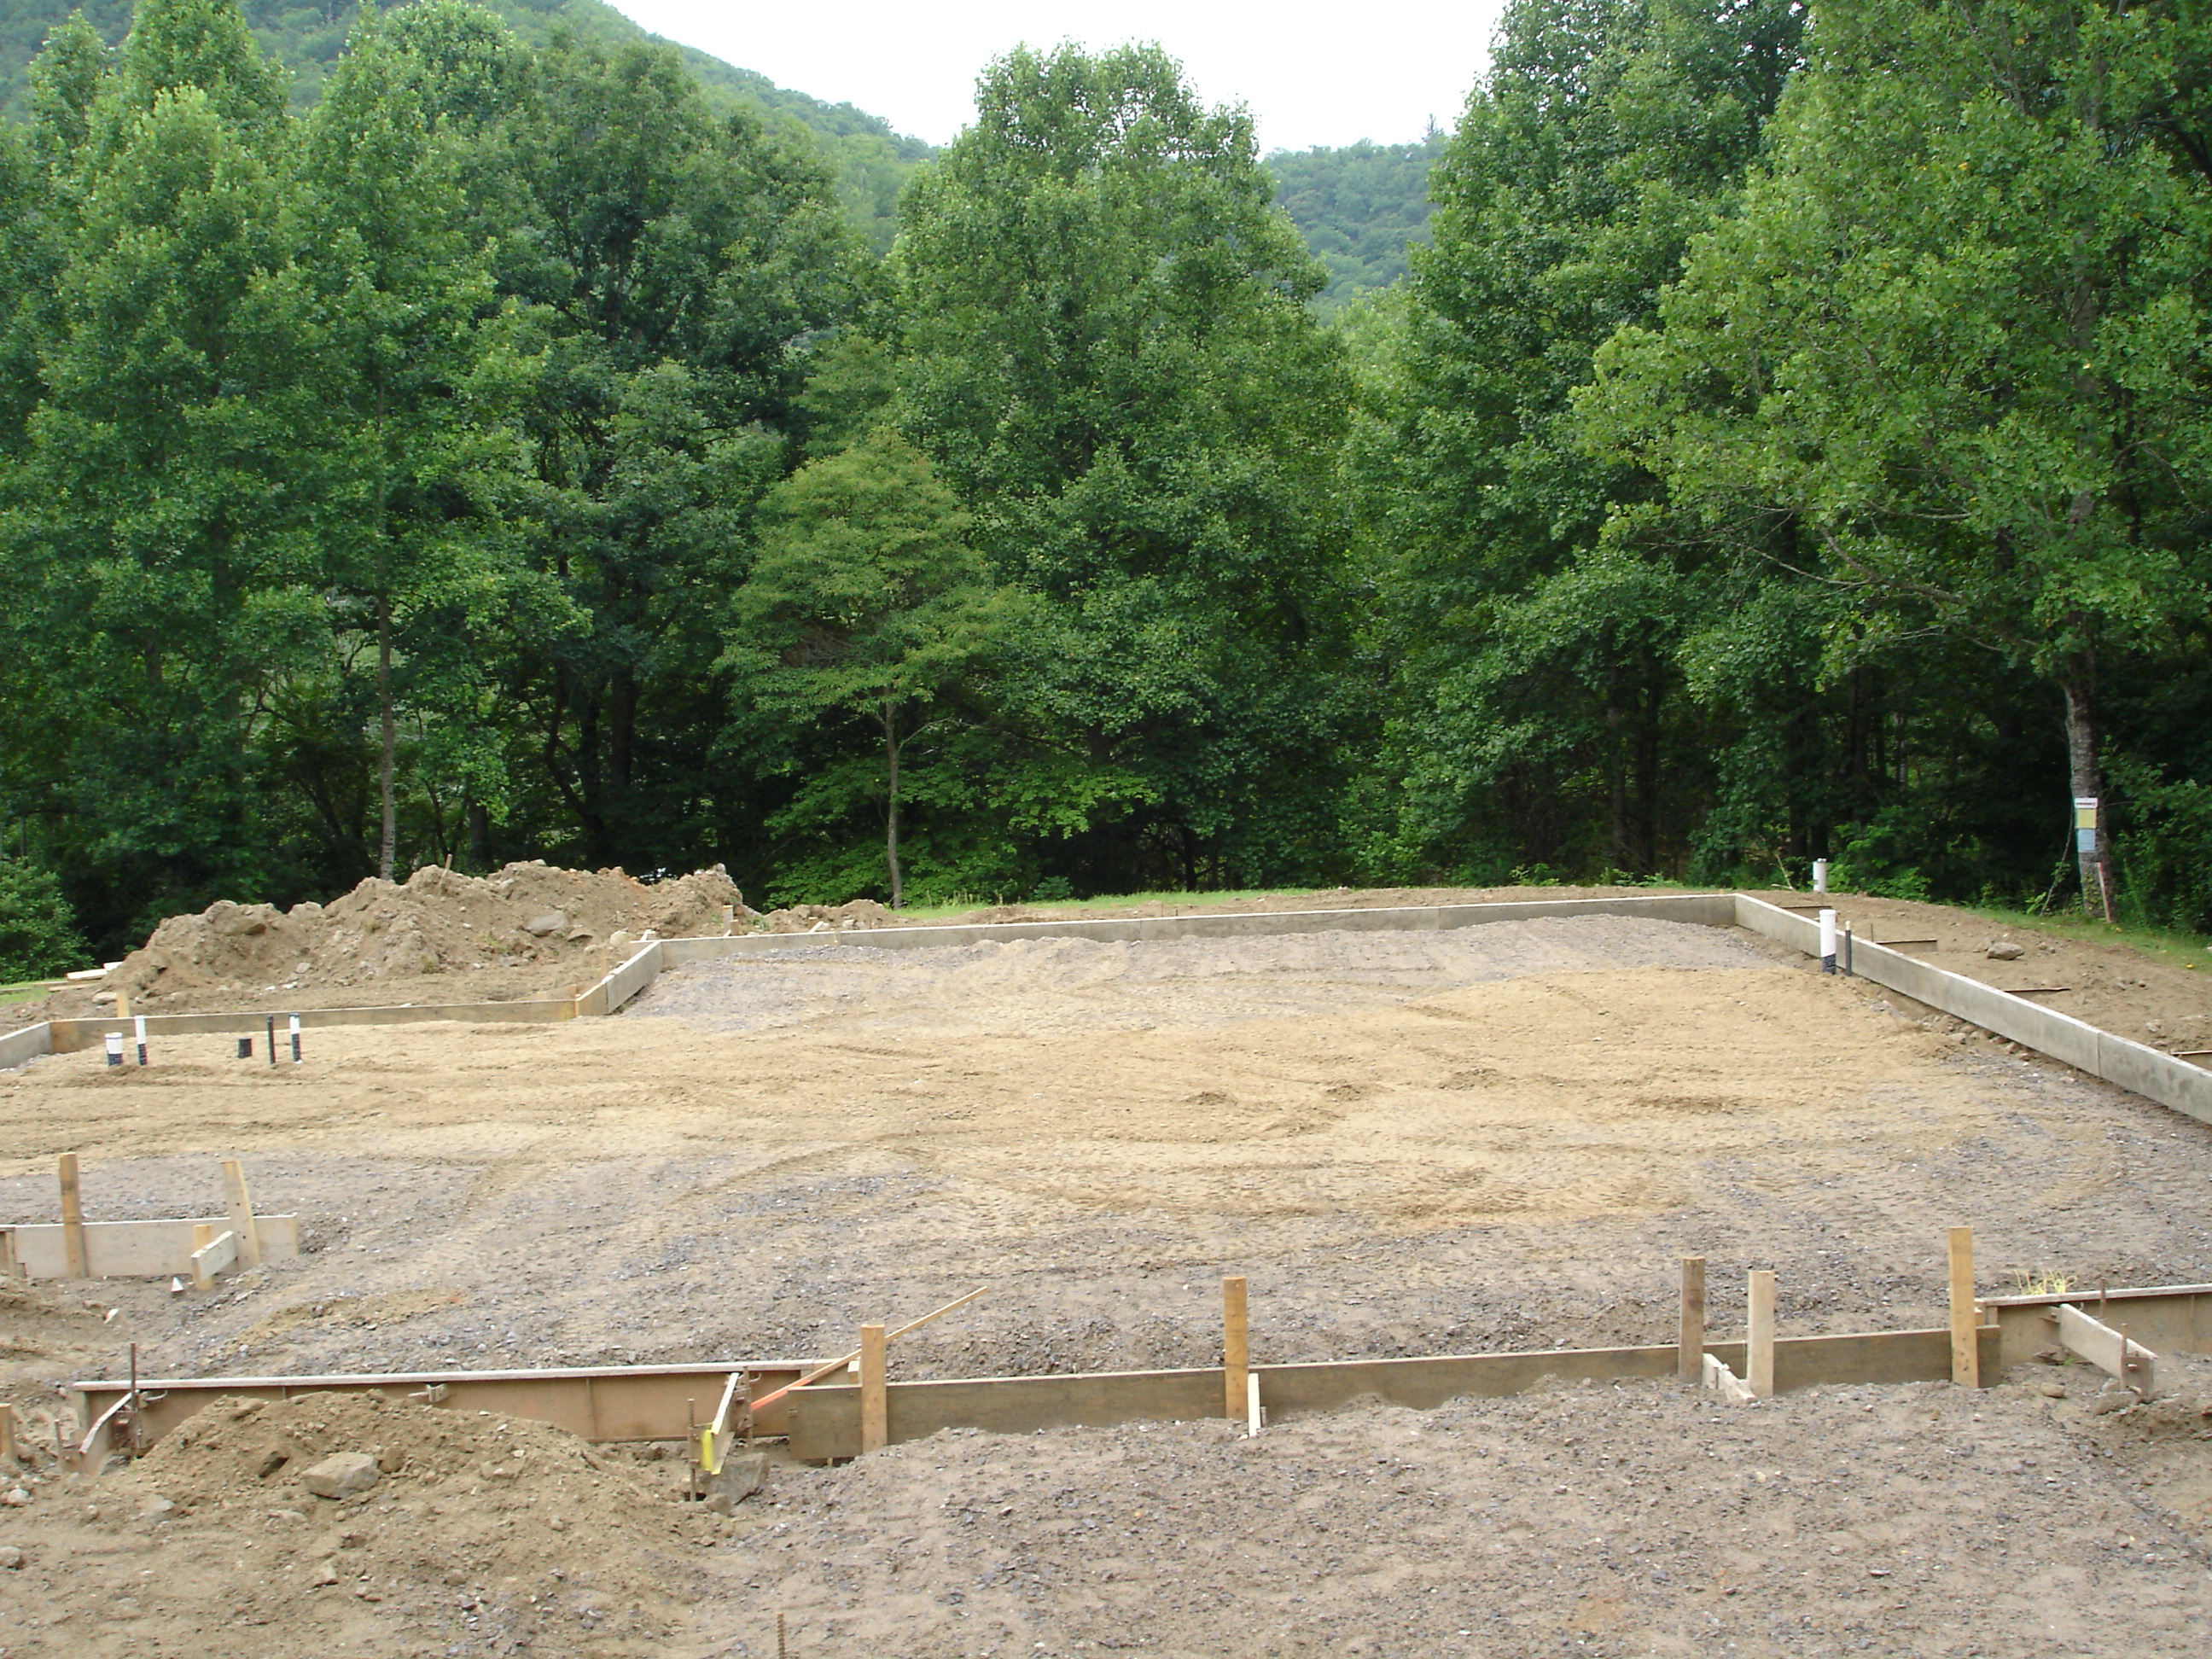
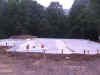
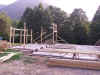
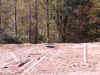
Well, as you can see we have broken
ground. The forms are in and no we are just waiting for the rough
plumbing to be installed and the termite control to be applied before
it is time to pour some concrete |
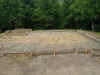 |
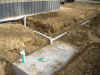
While it may not appear to be a lot
of change, the pre-slab plumbing is peaking up out of the gravel. |
 |
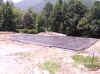
Well, work continues. Here the
vapor barrier is installed and the beginnings of the steel are in the
footers. If the rain will stop I may have concrete in a few days. |
 |
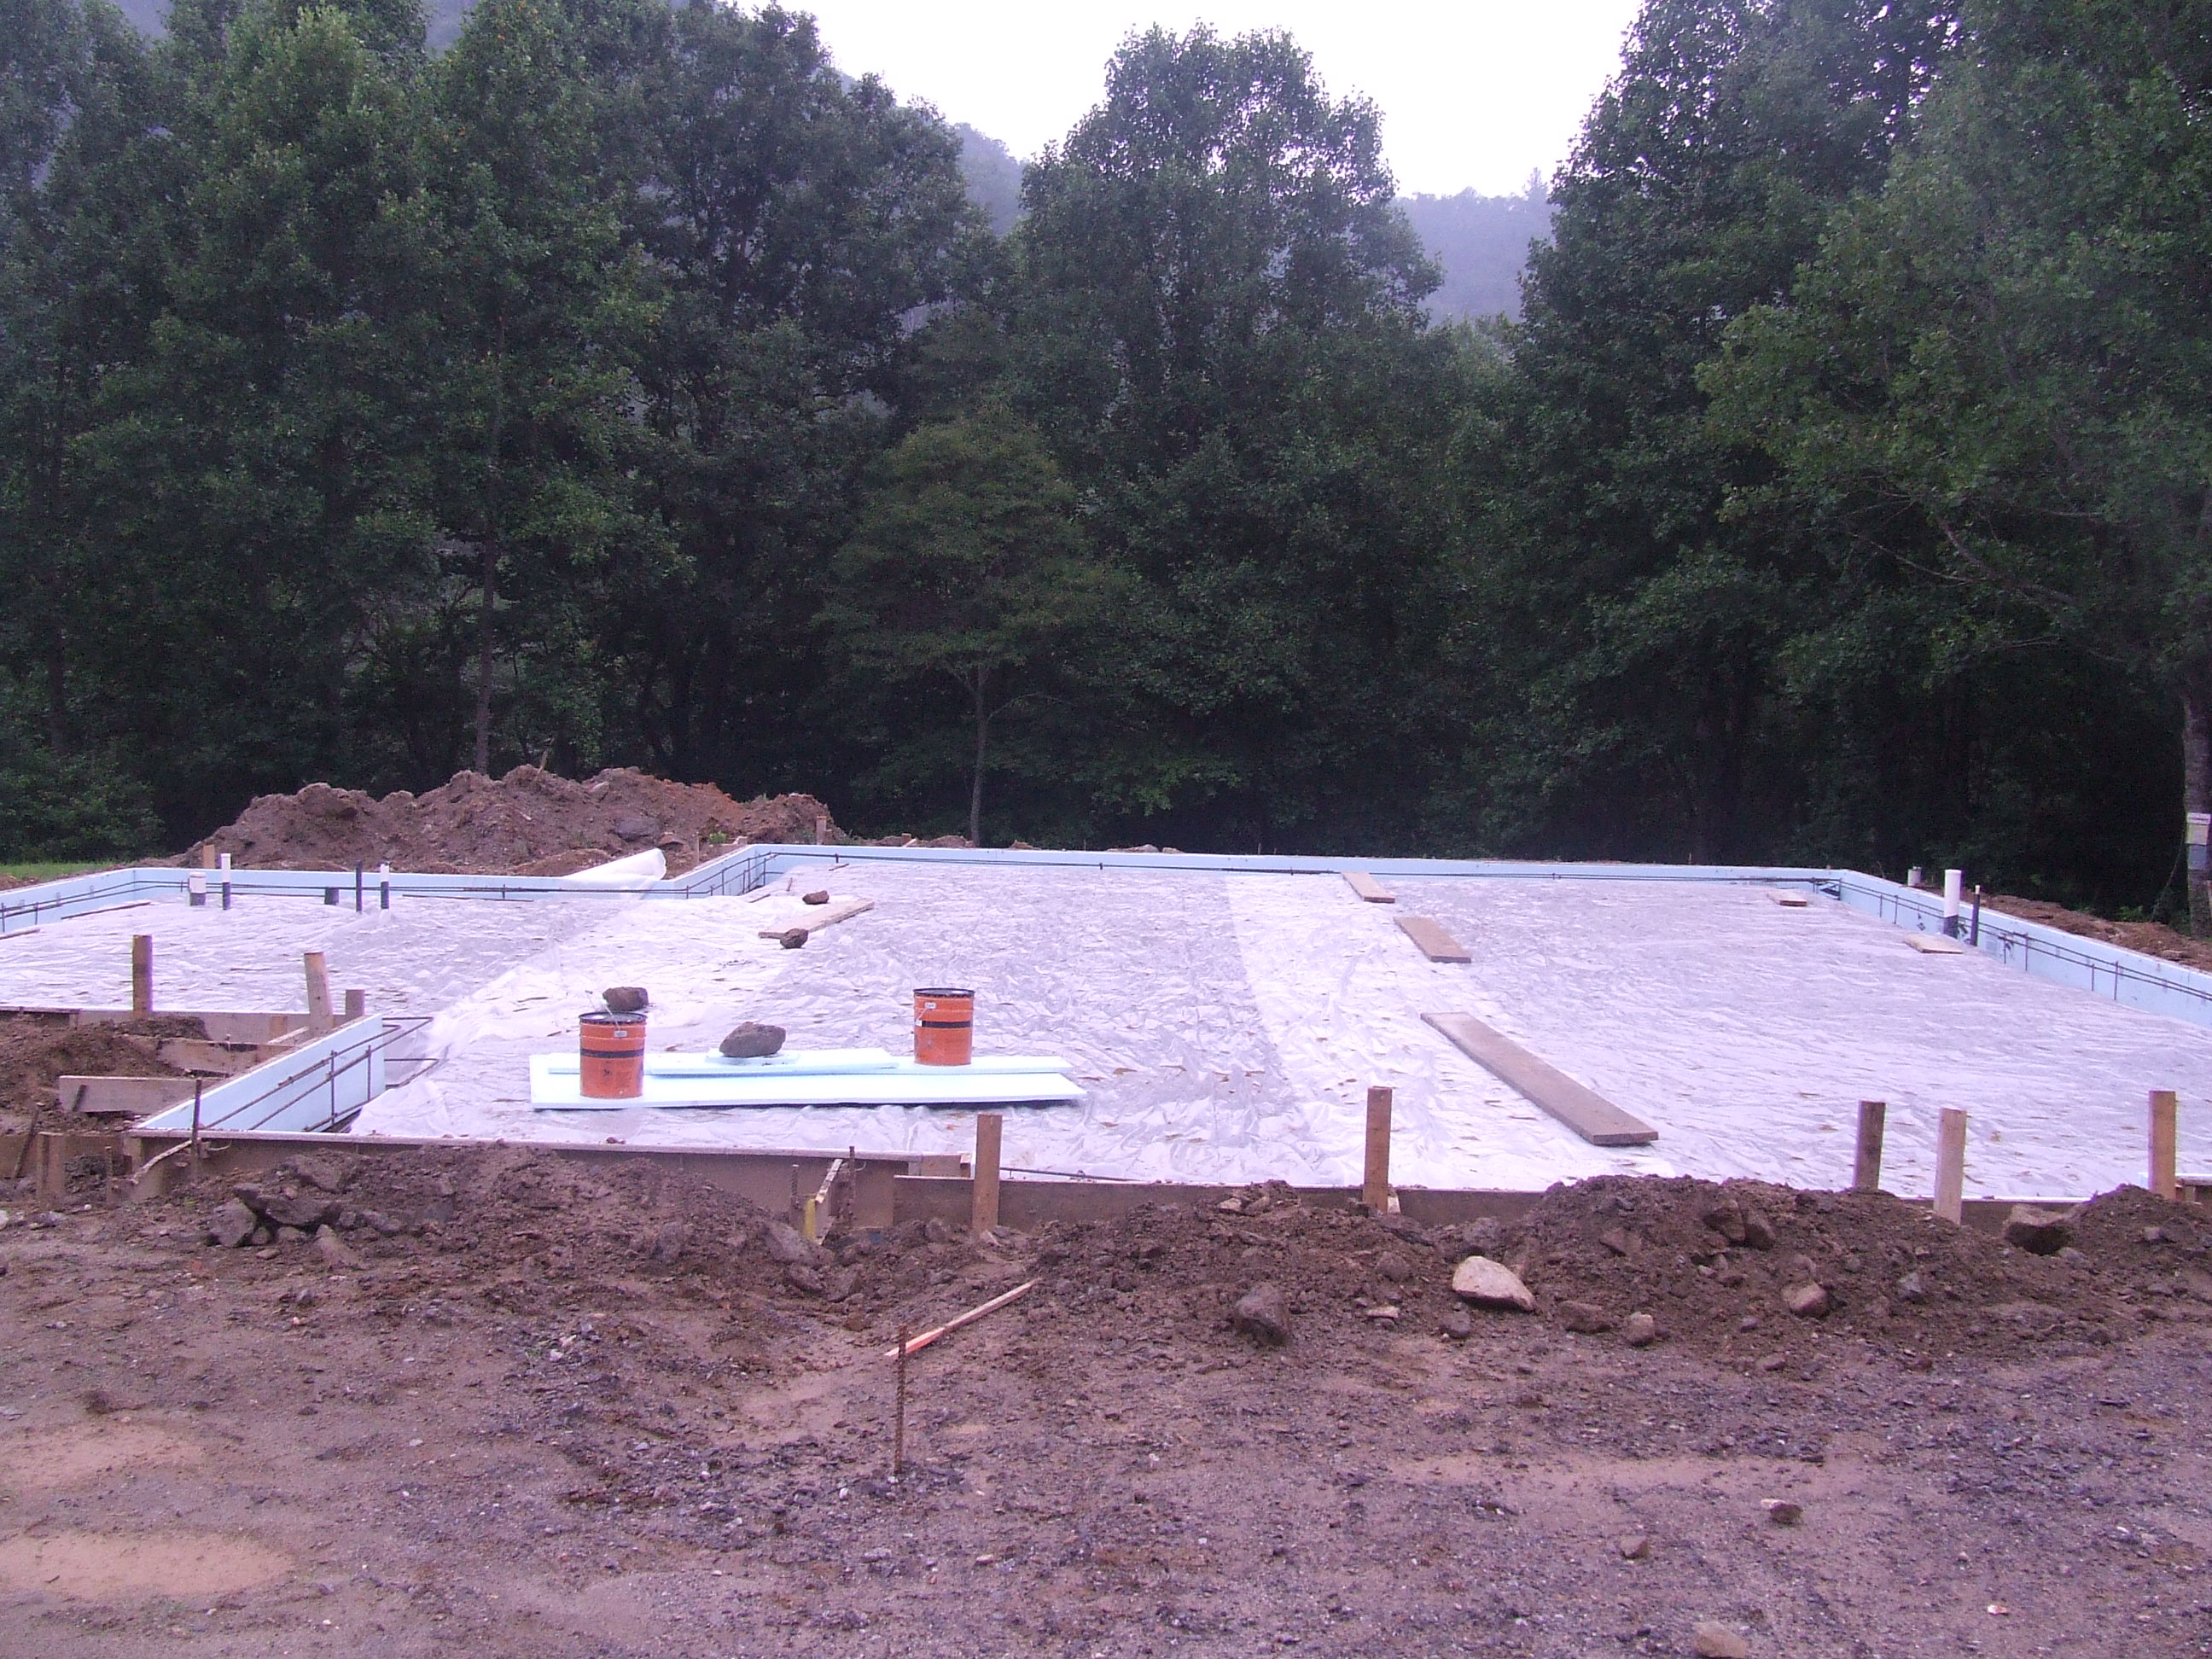
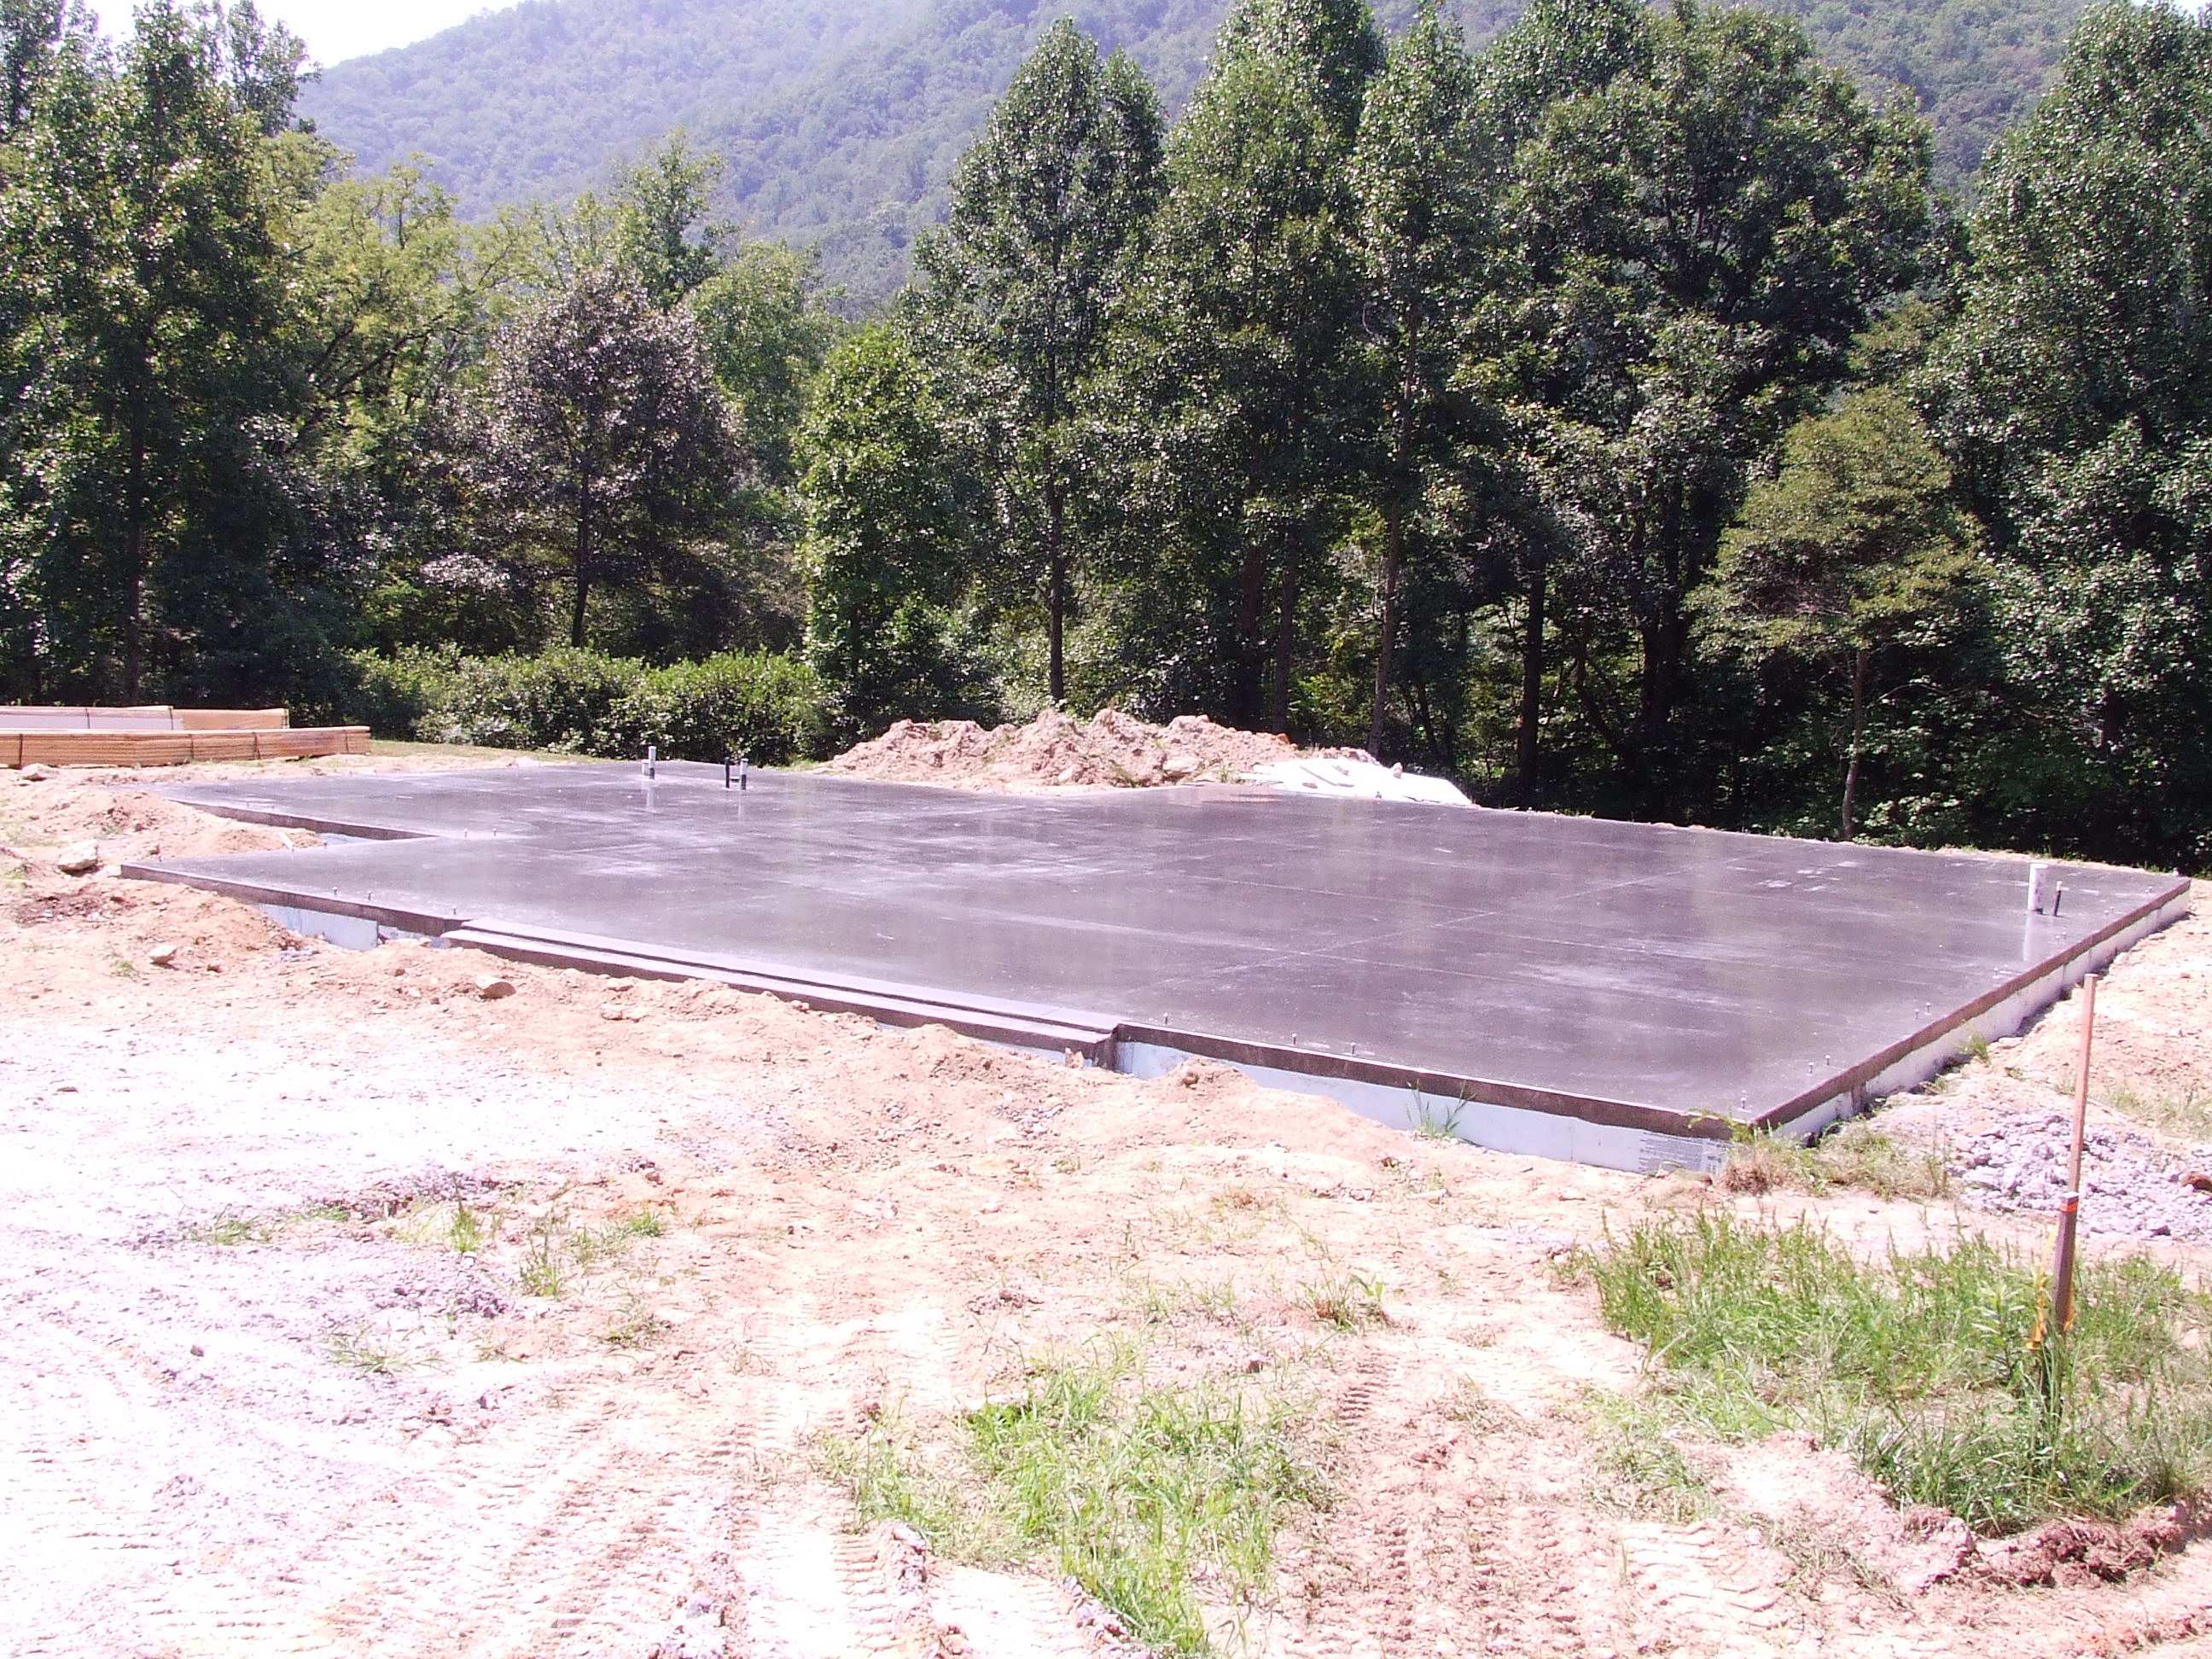
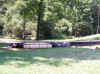
Here we have the slab poured. |
 |
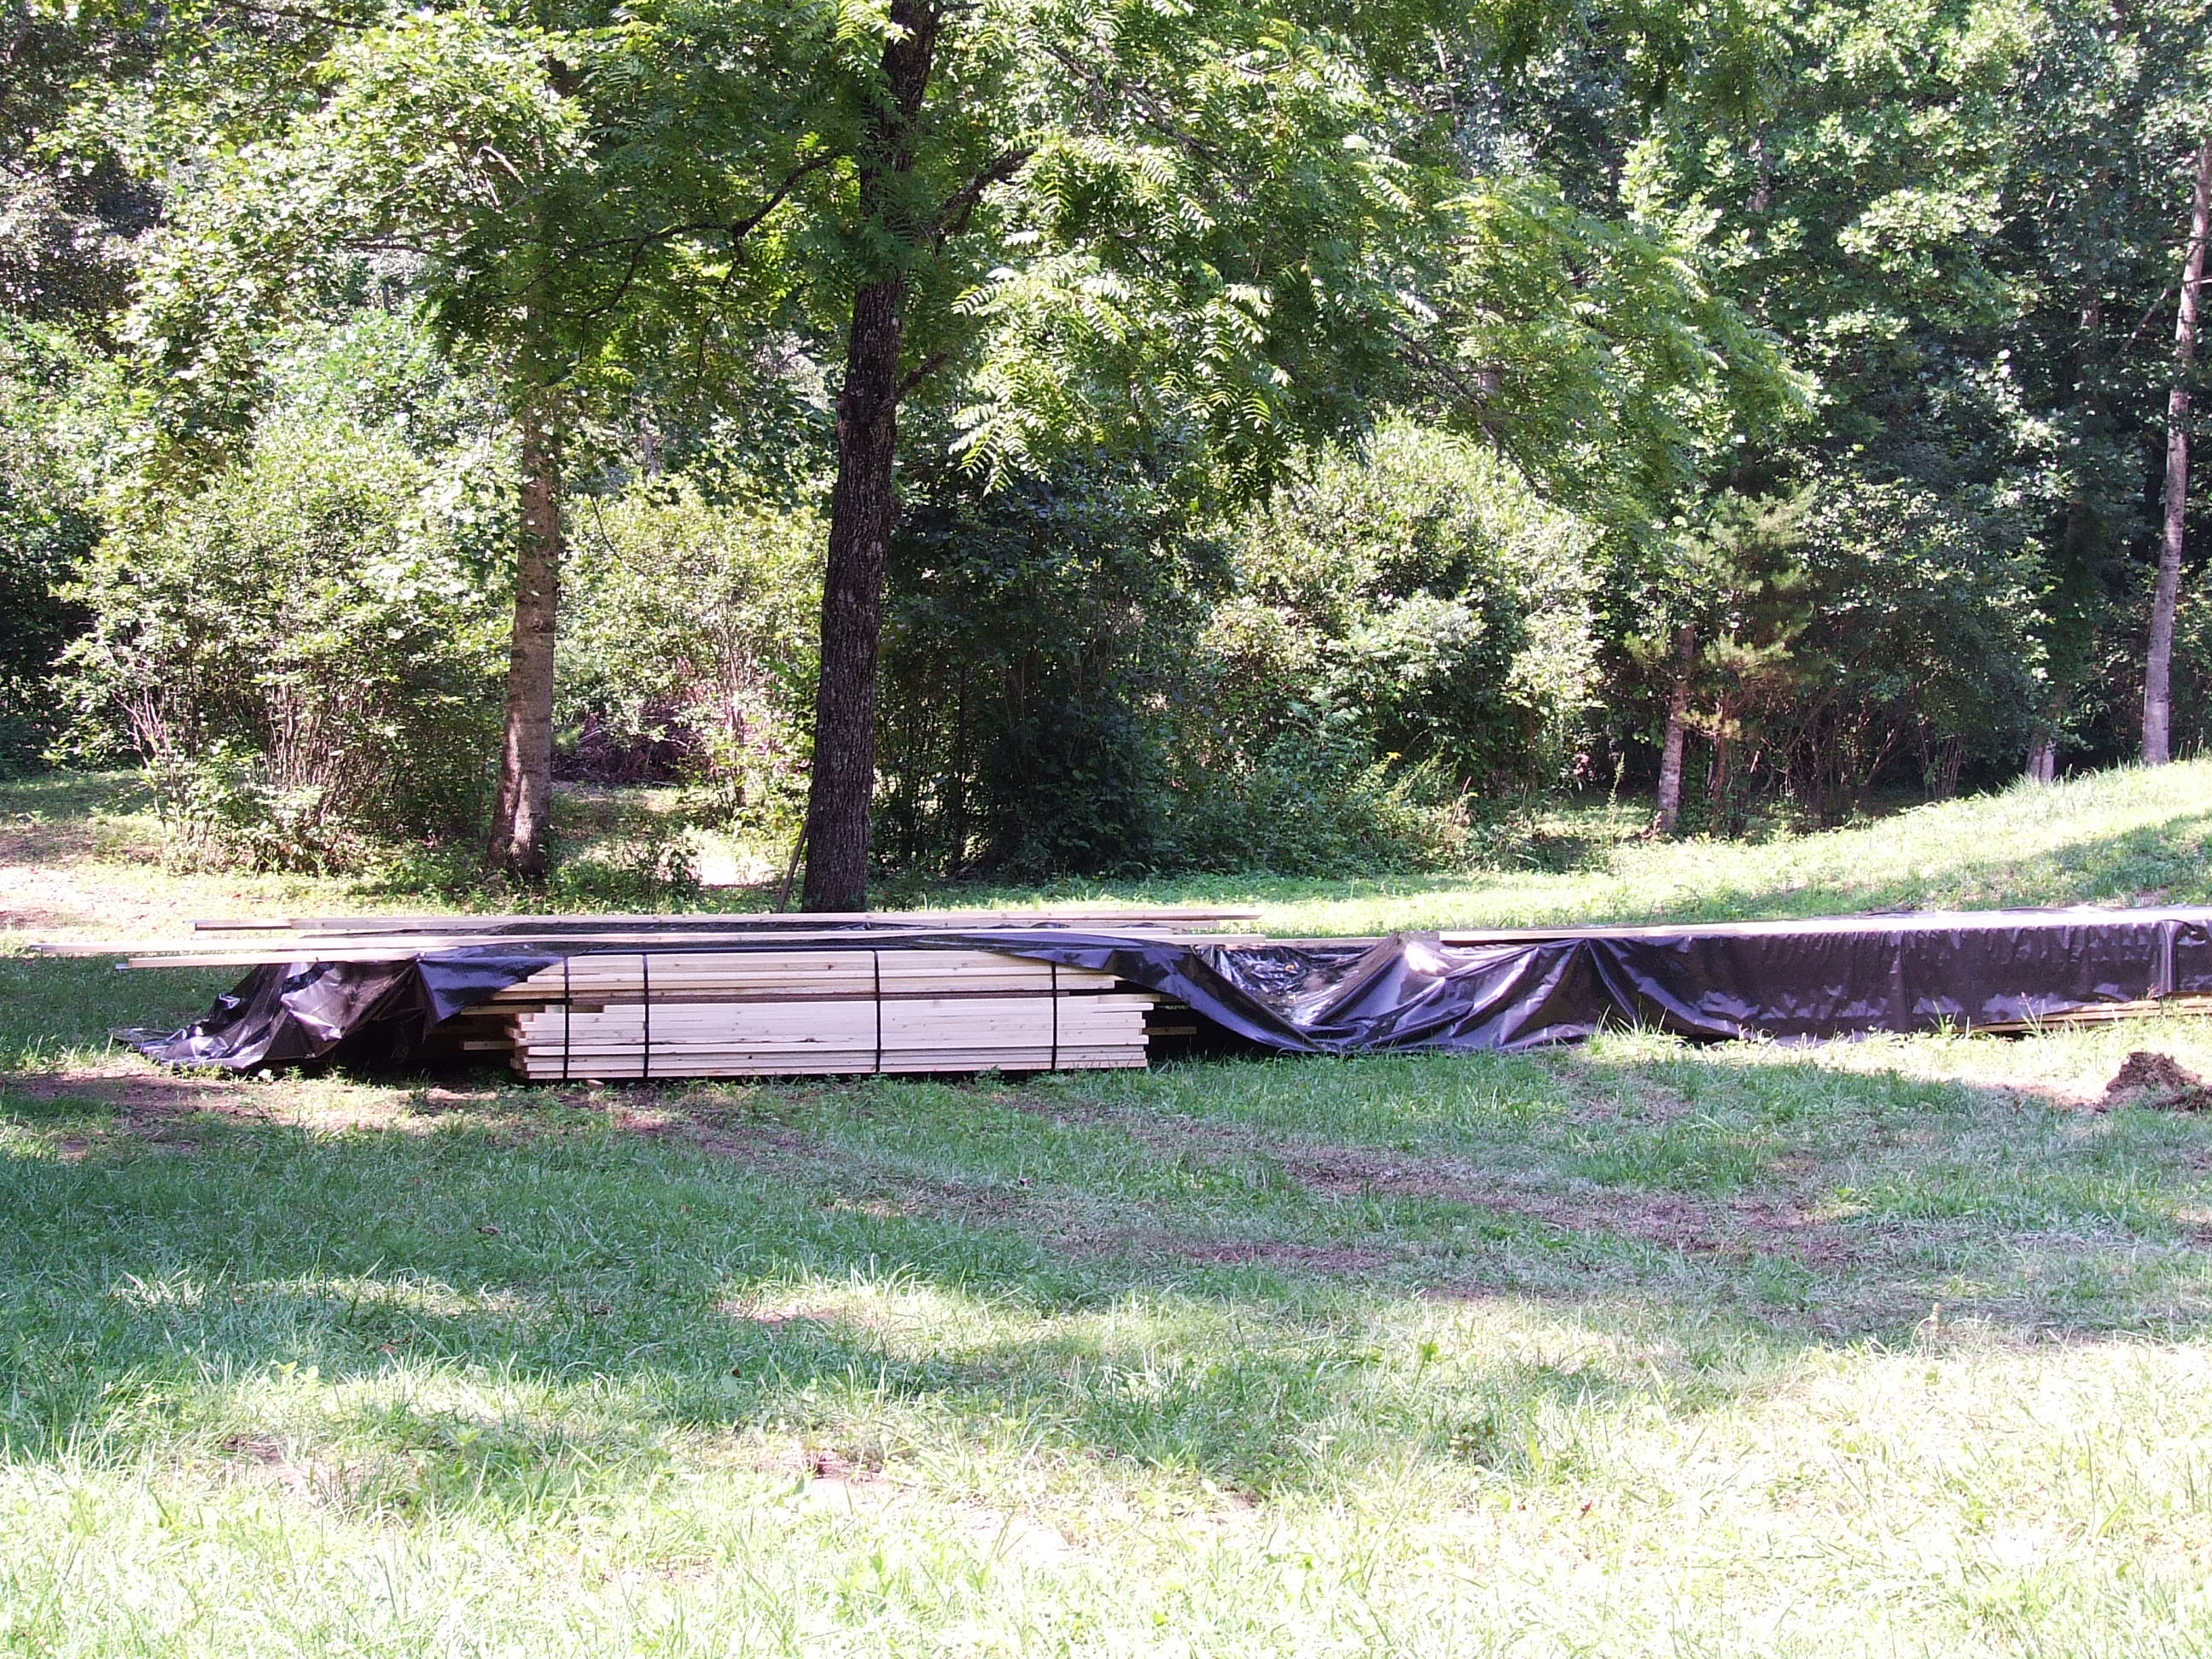
Part of the building material. |
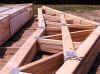 |
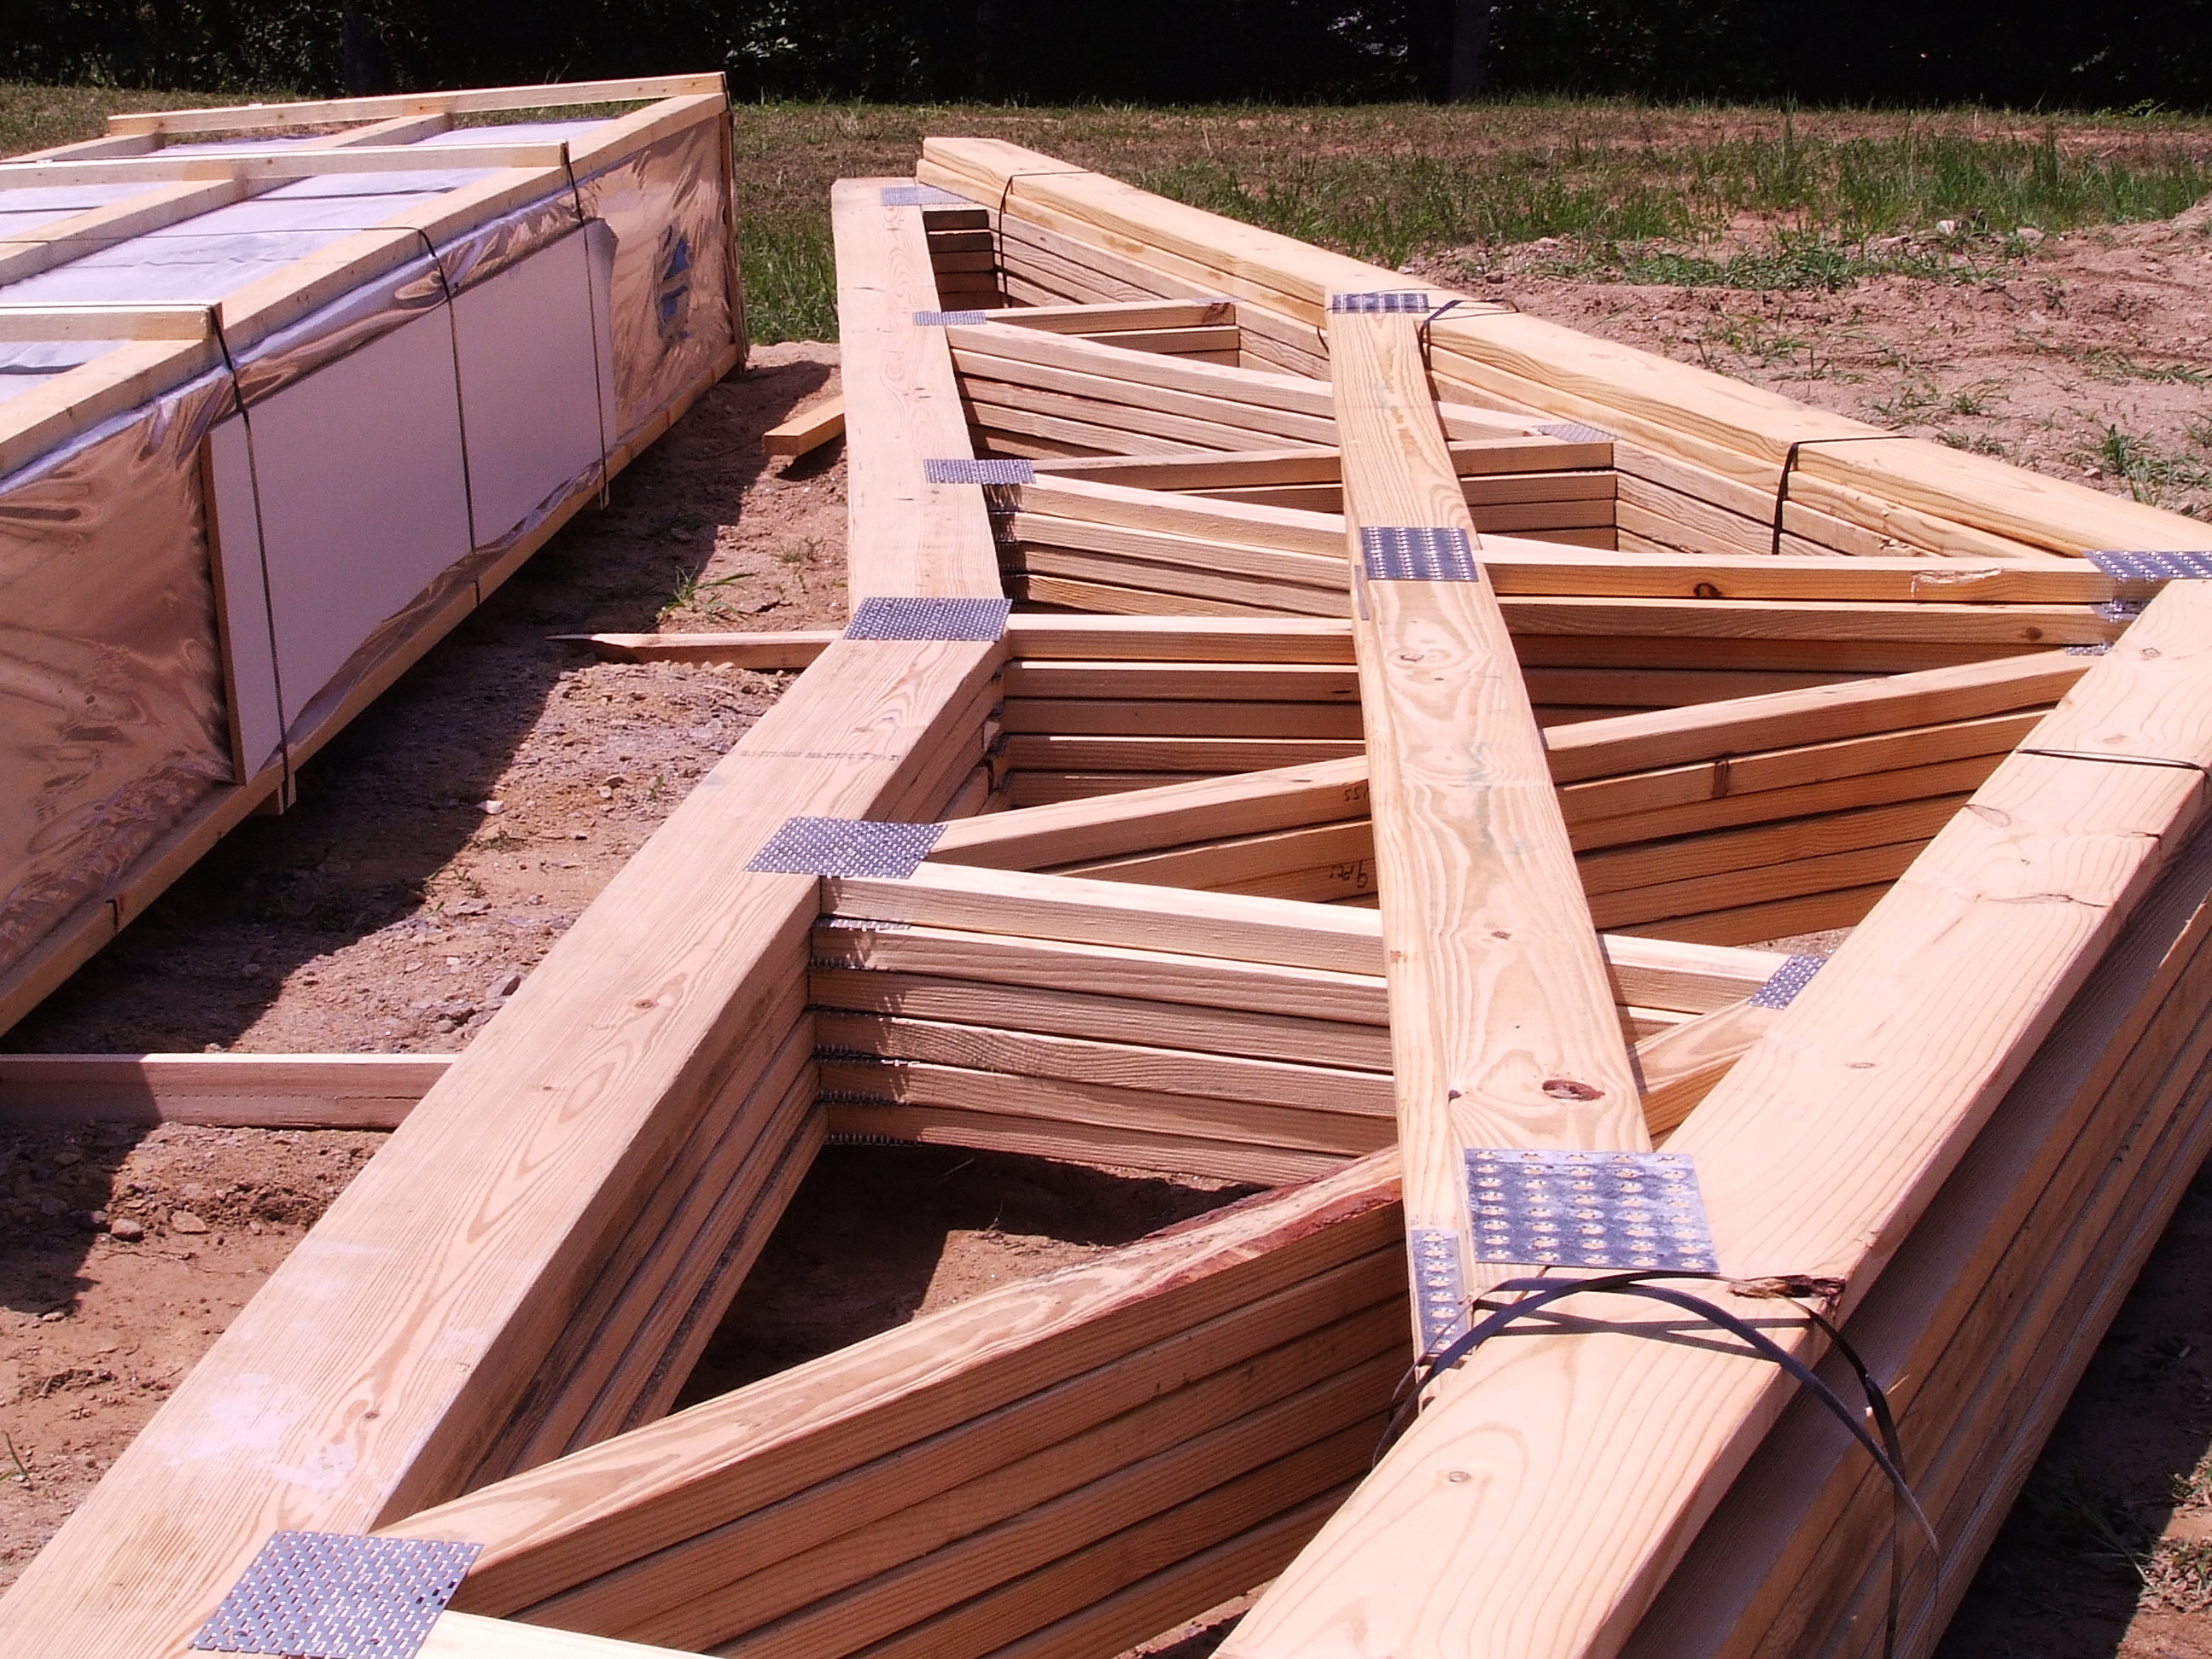
Trusses! |
 |
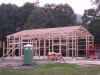
Well, construction has
begun!
Here is the end of day 1.
August 27. 2007
|
 |
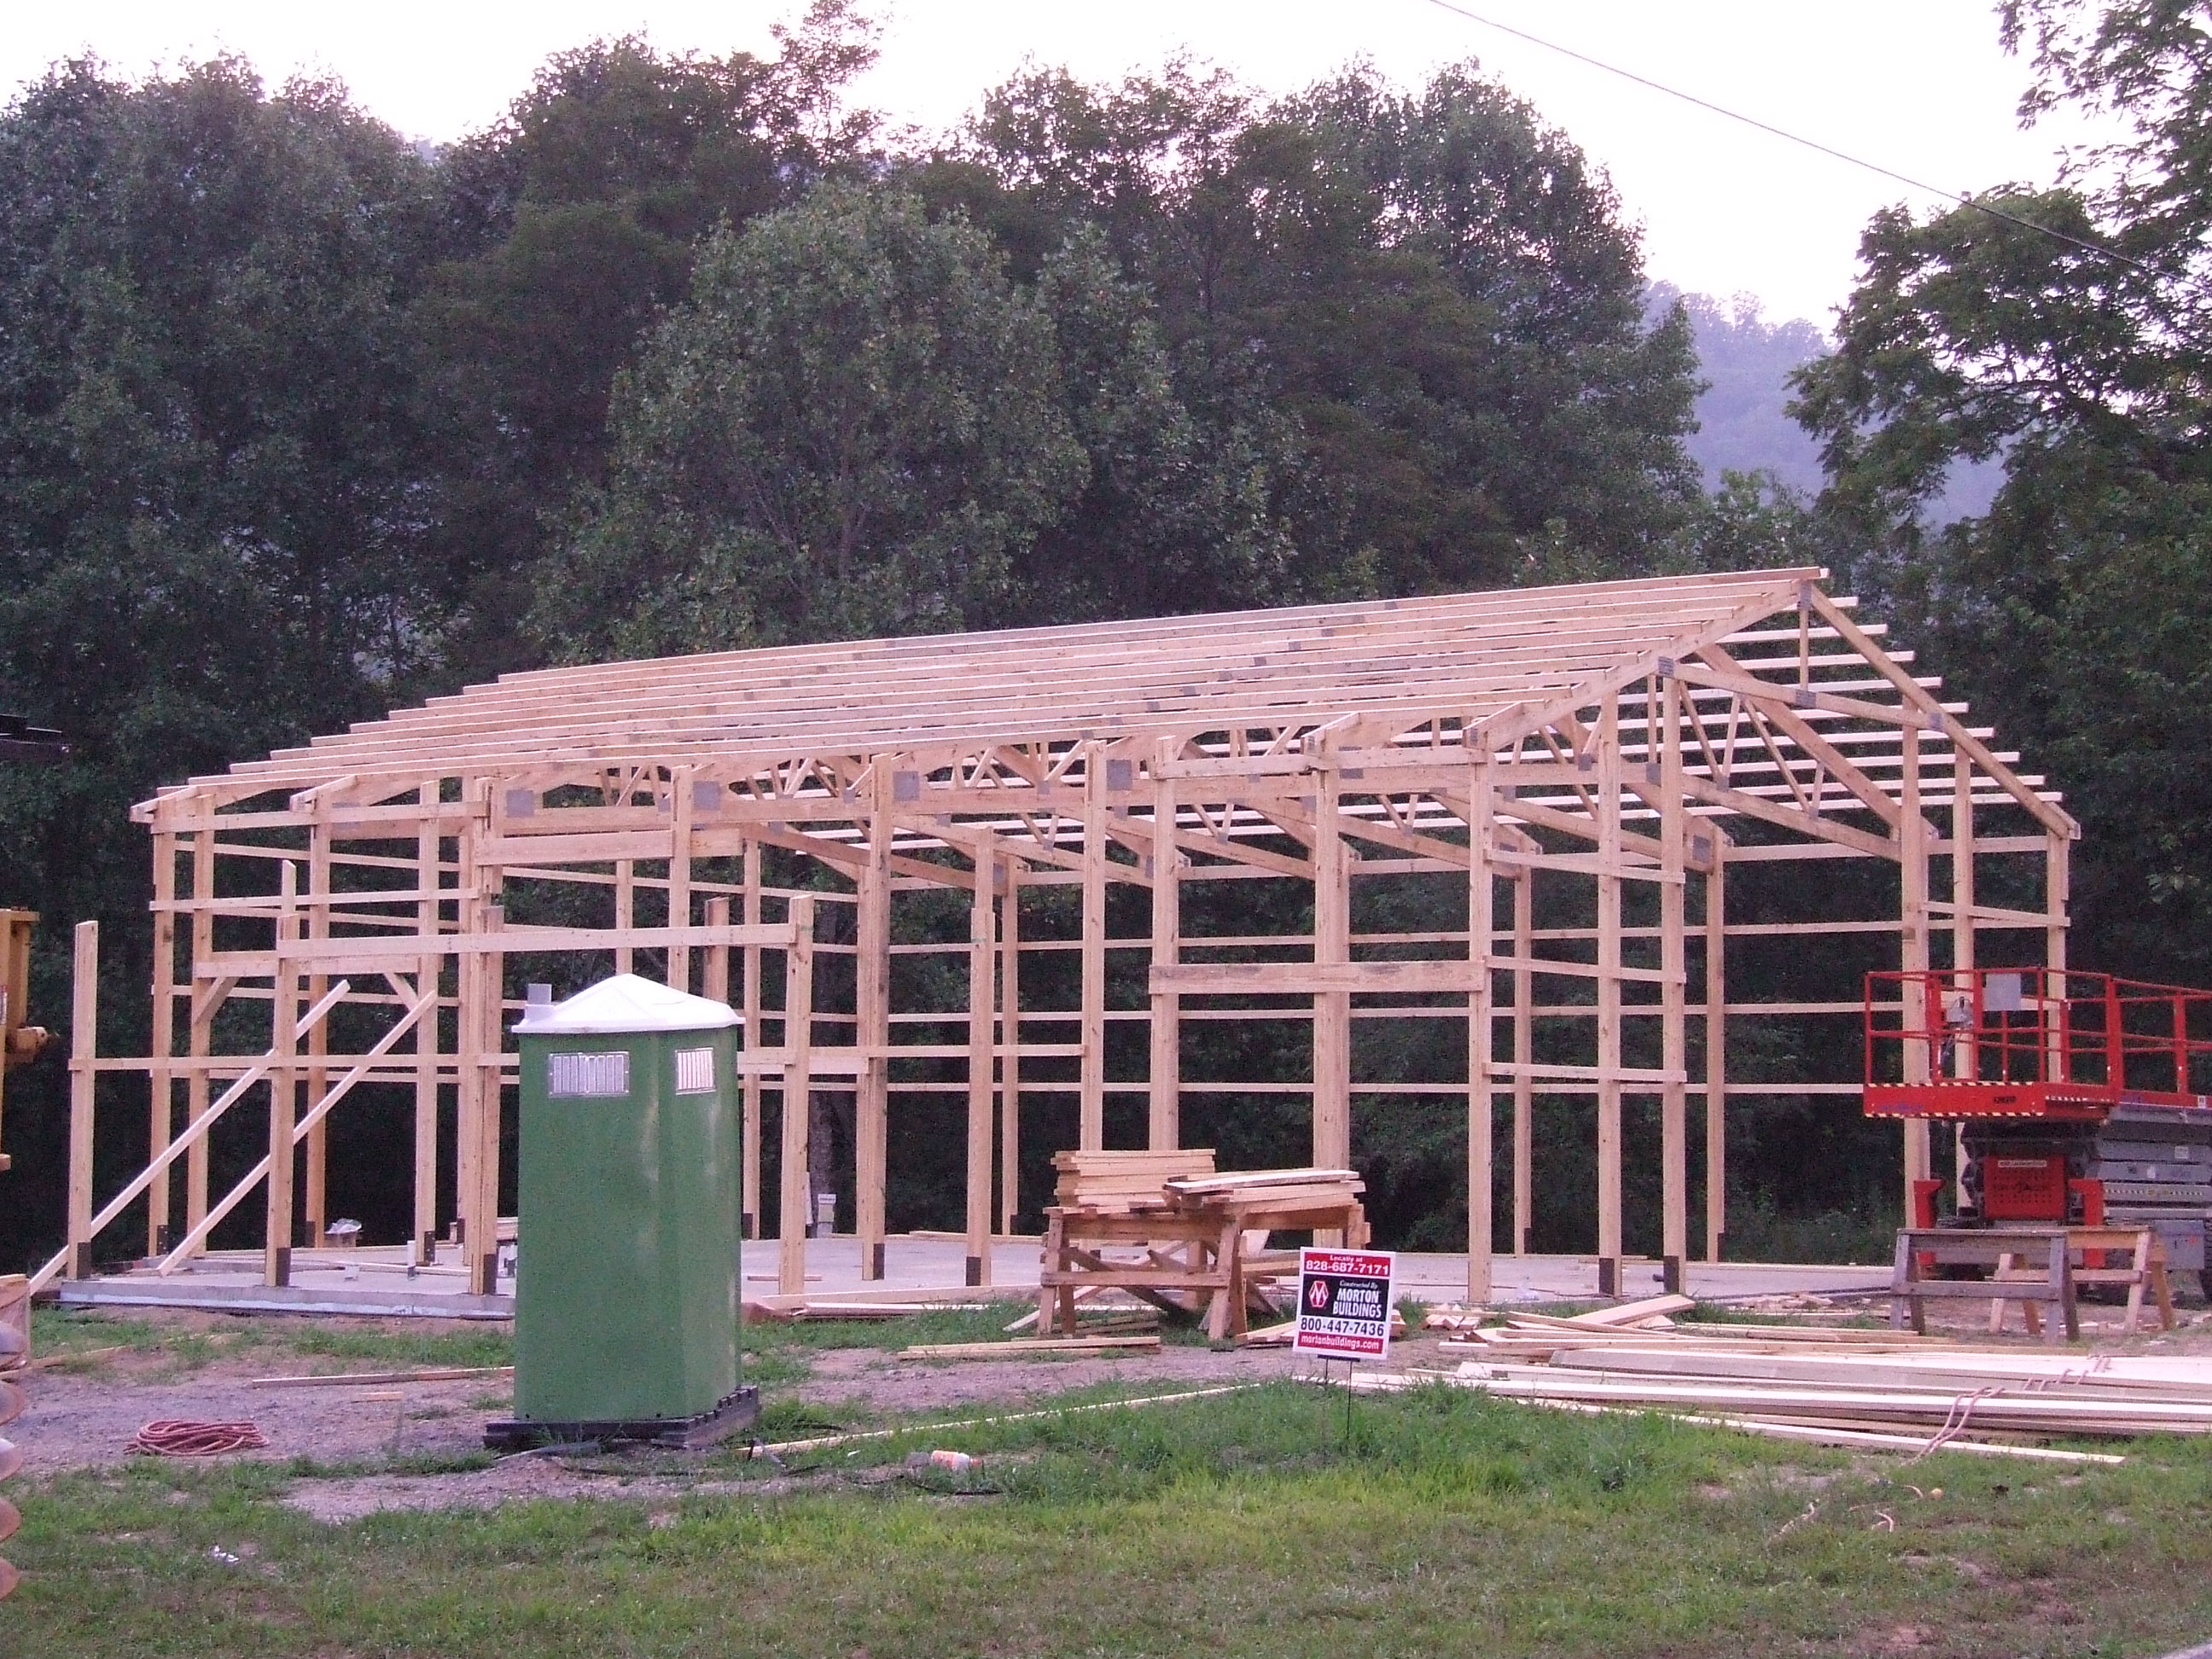
Day 2, it's starting to take shape.
August 28, 2007
|

 |
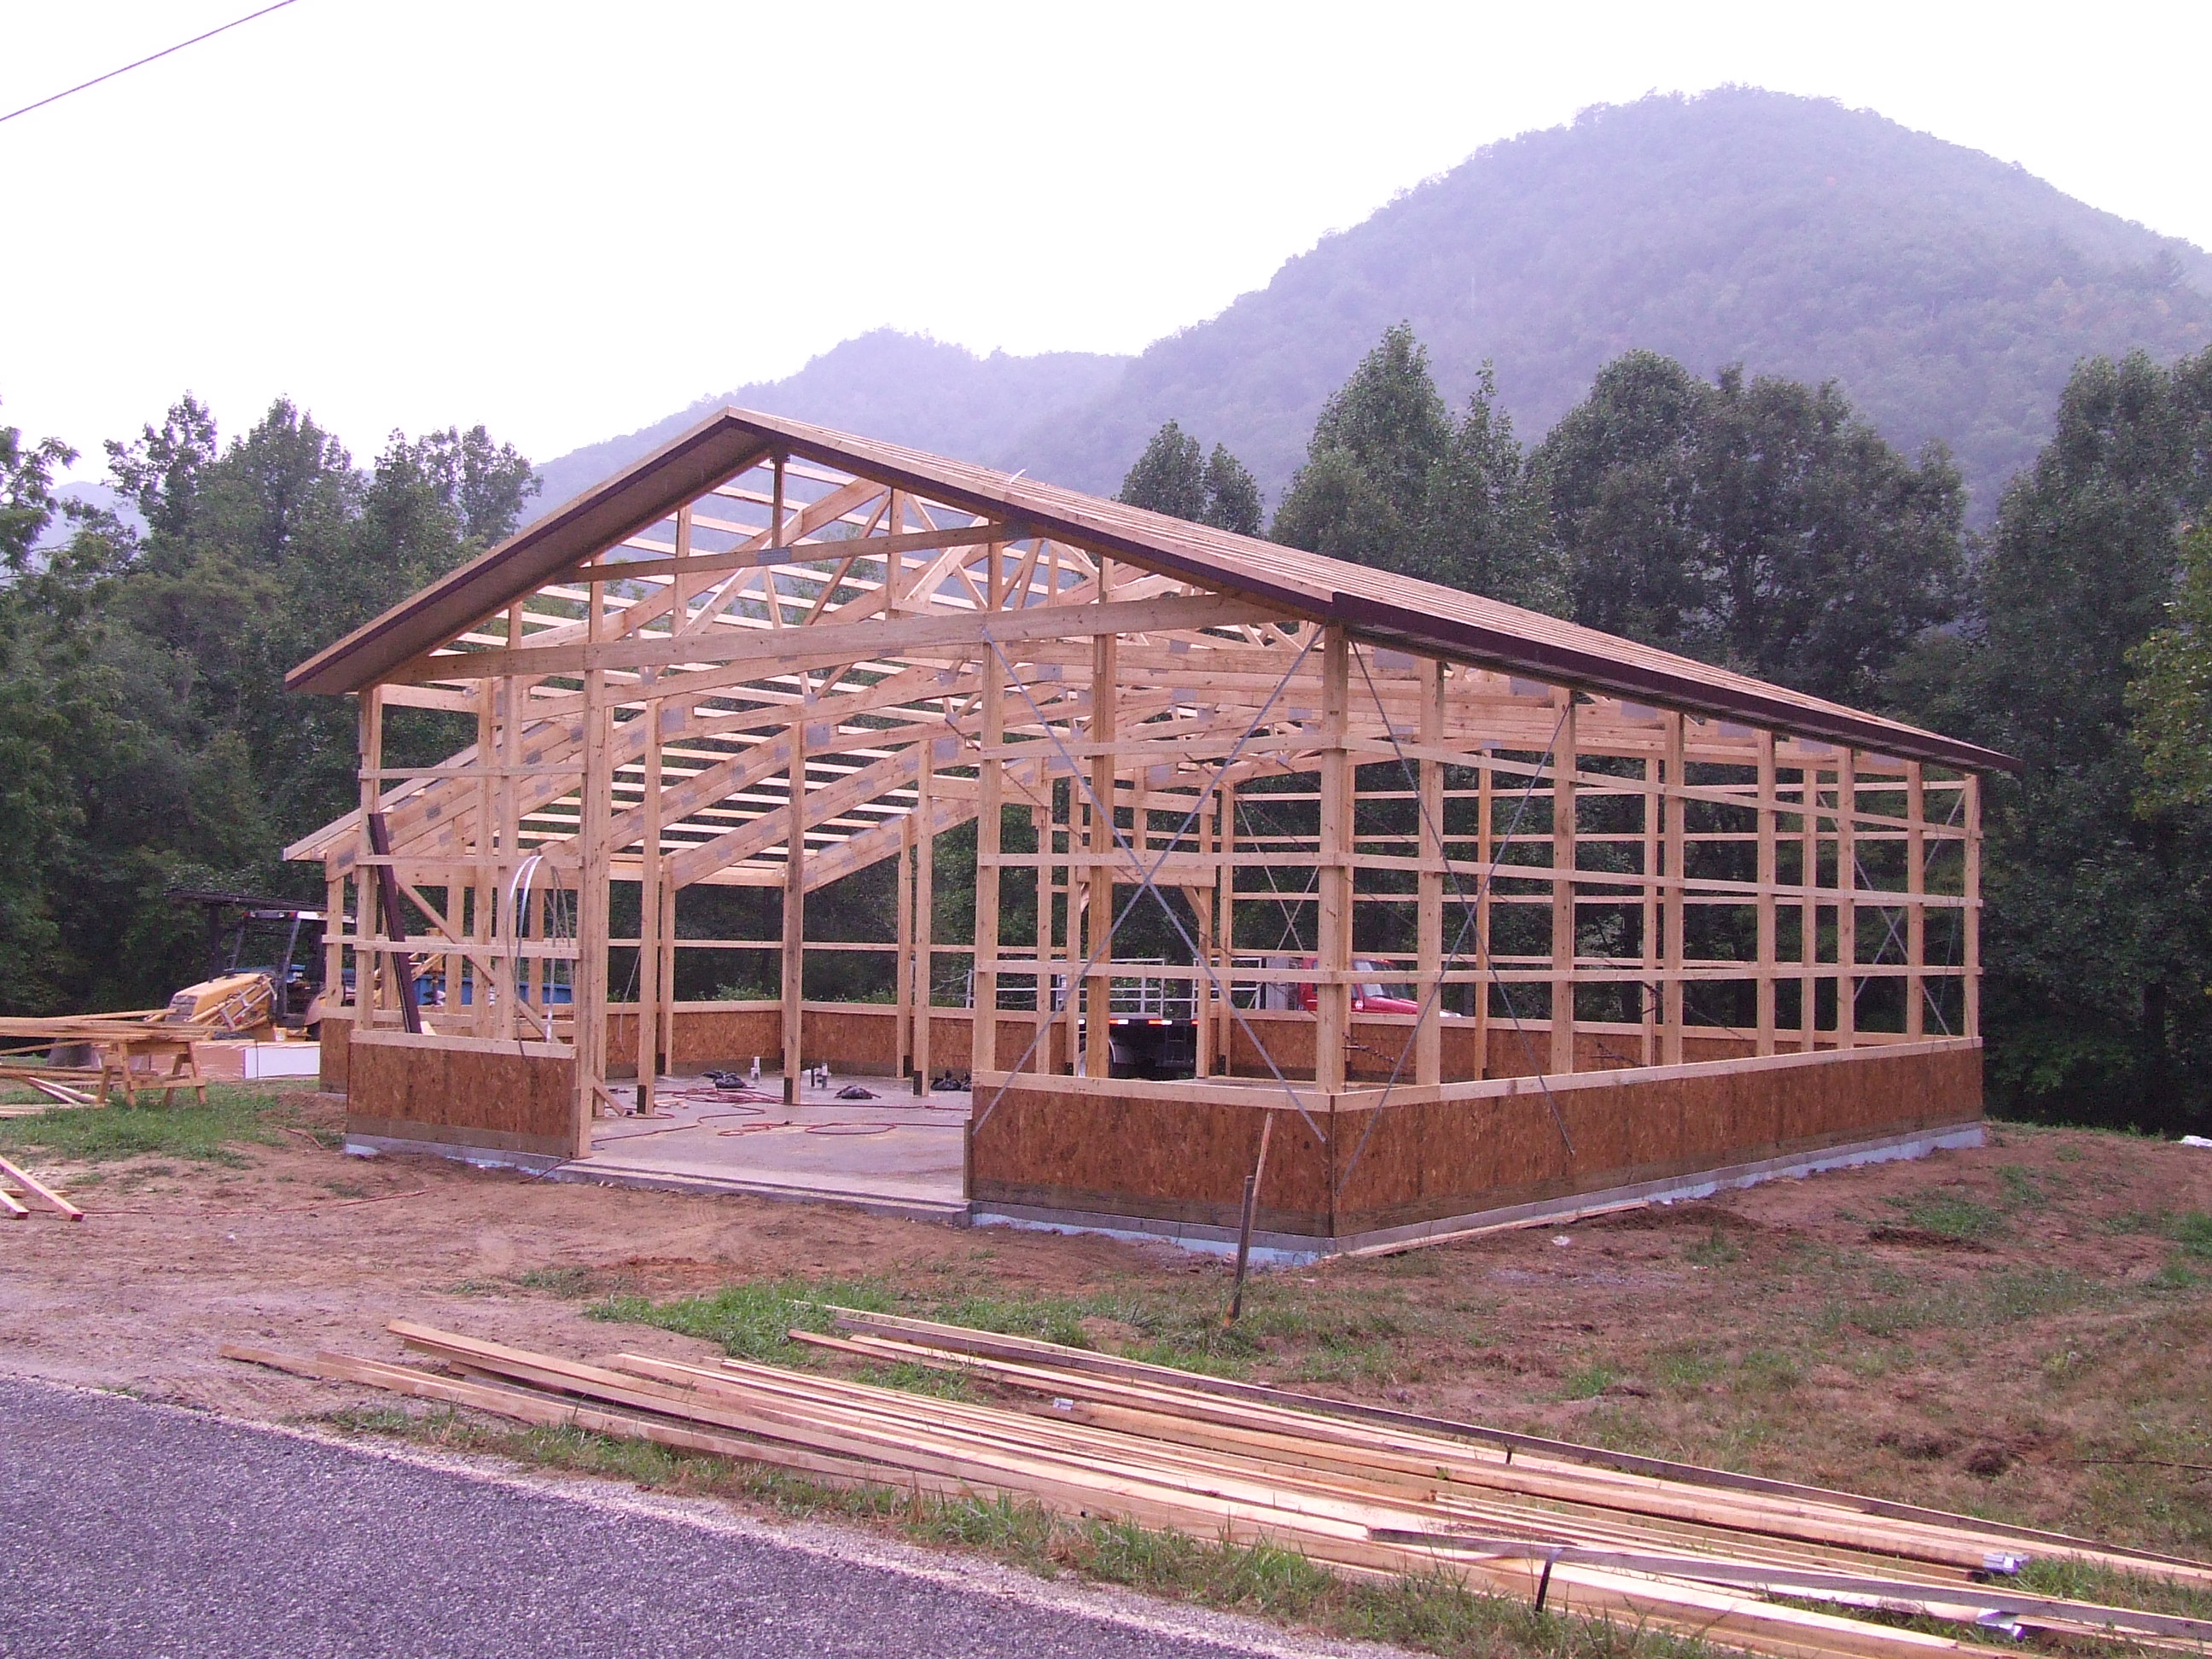
Day 3, I see even more progress!
August 29, 2007
|
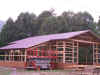 |
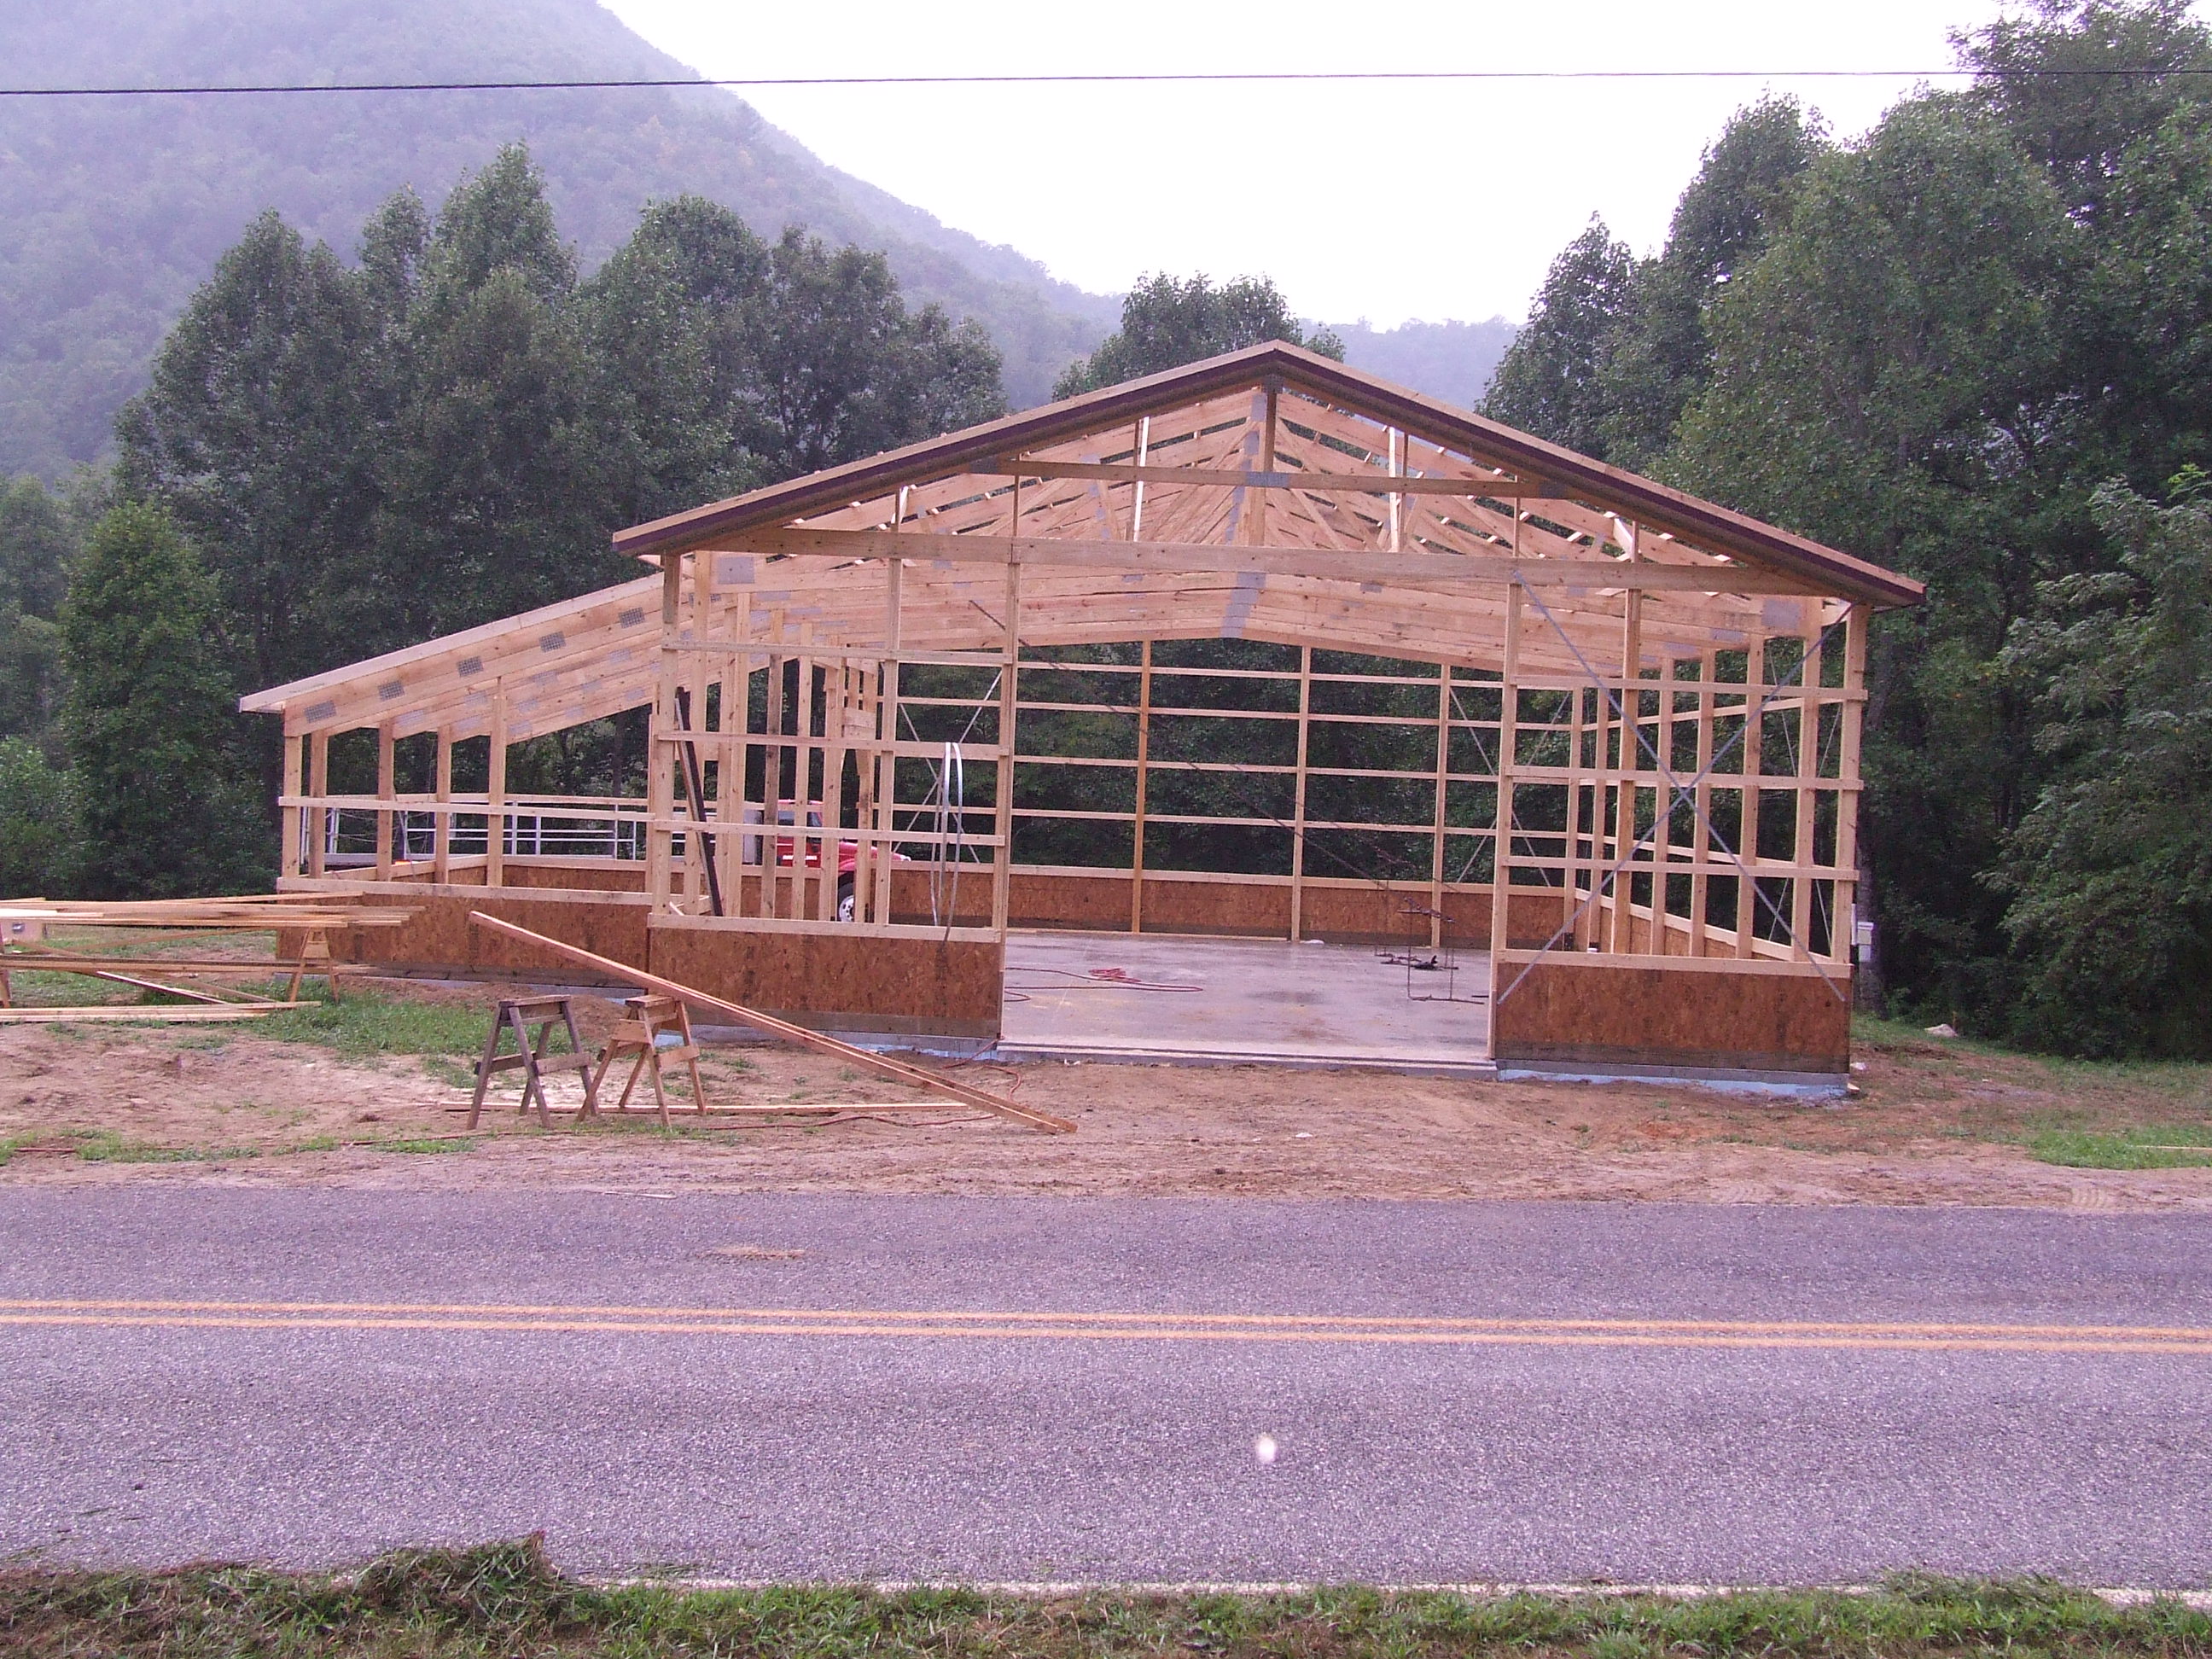
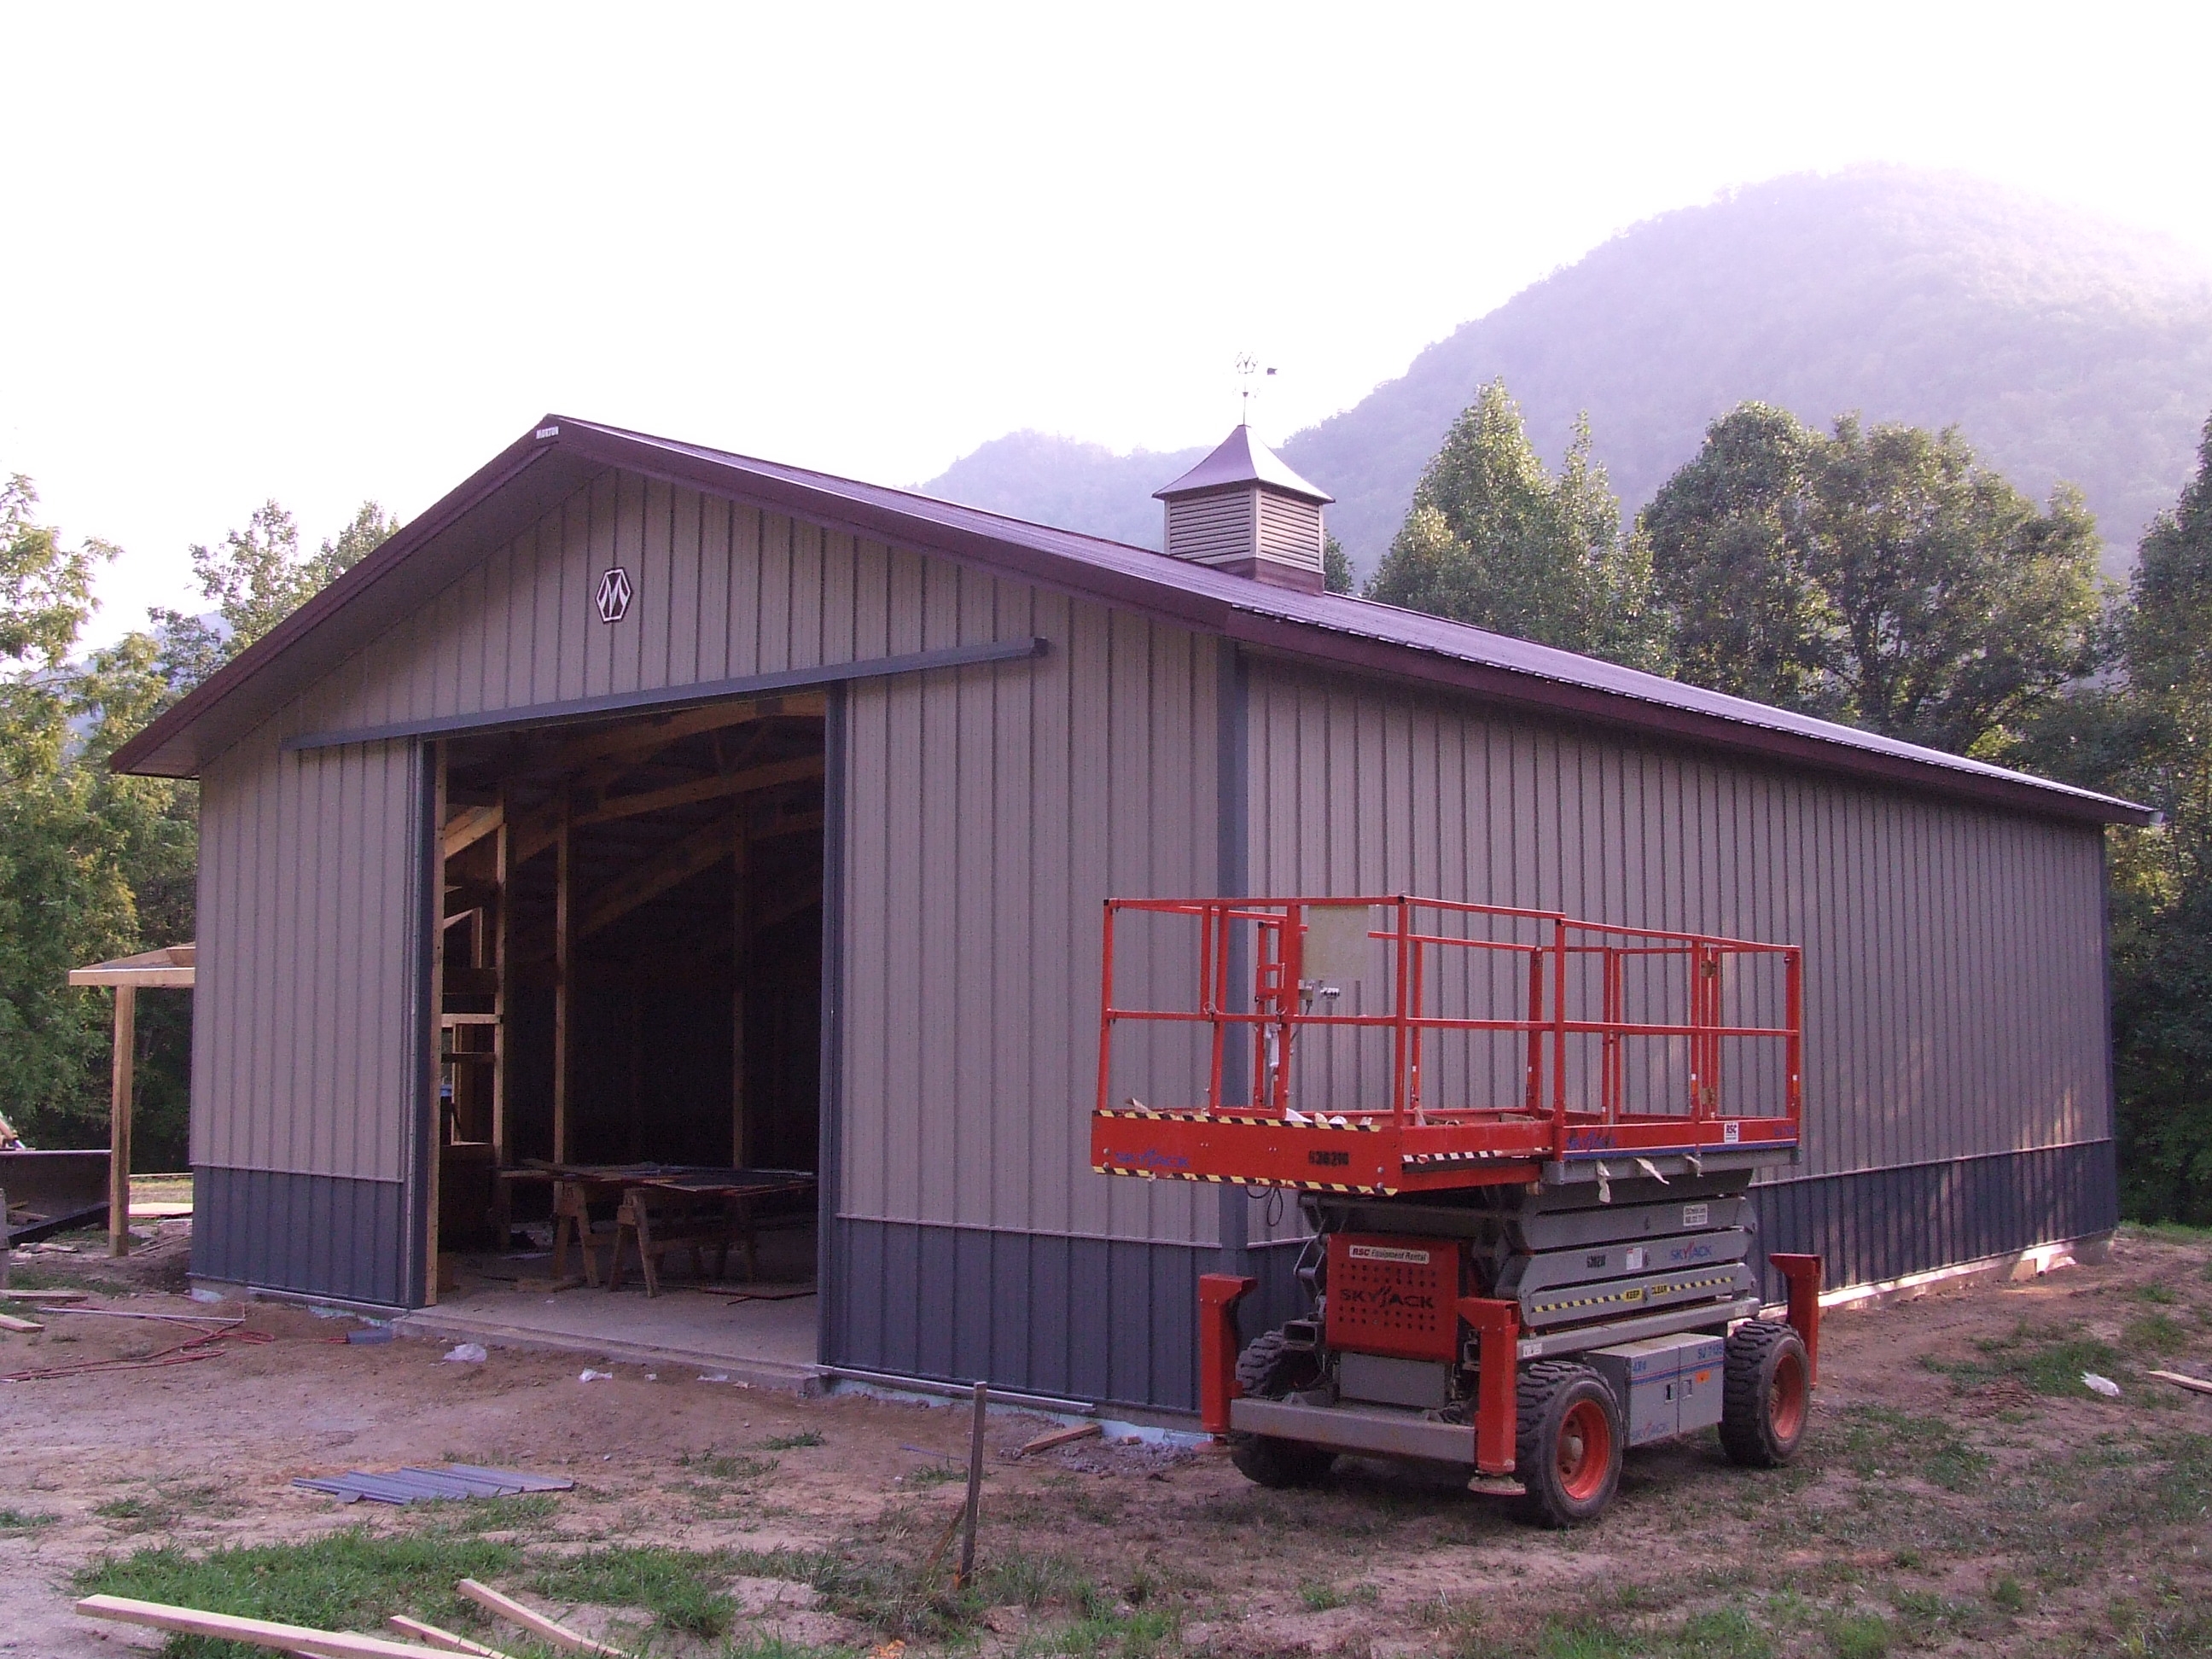
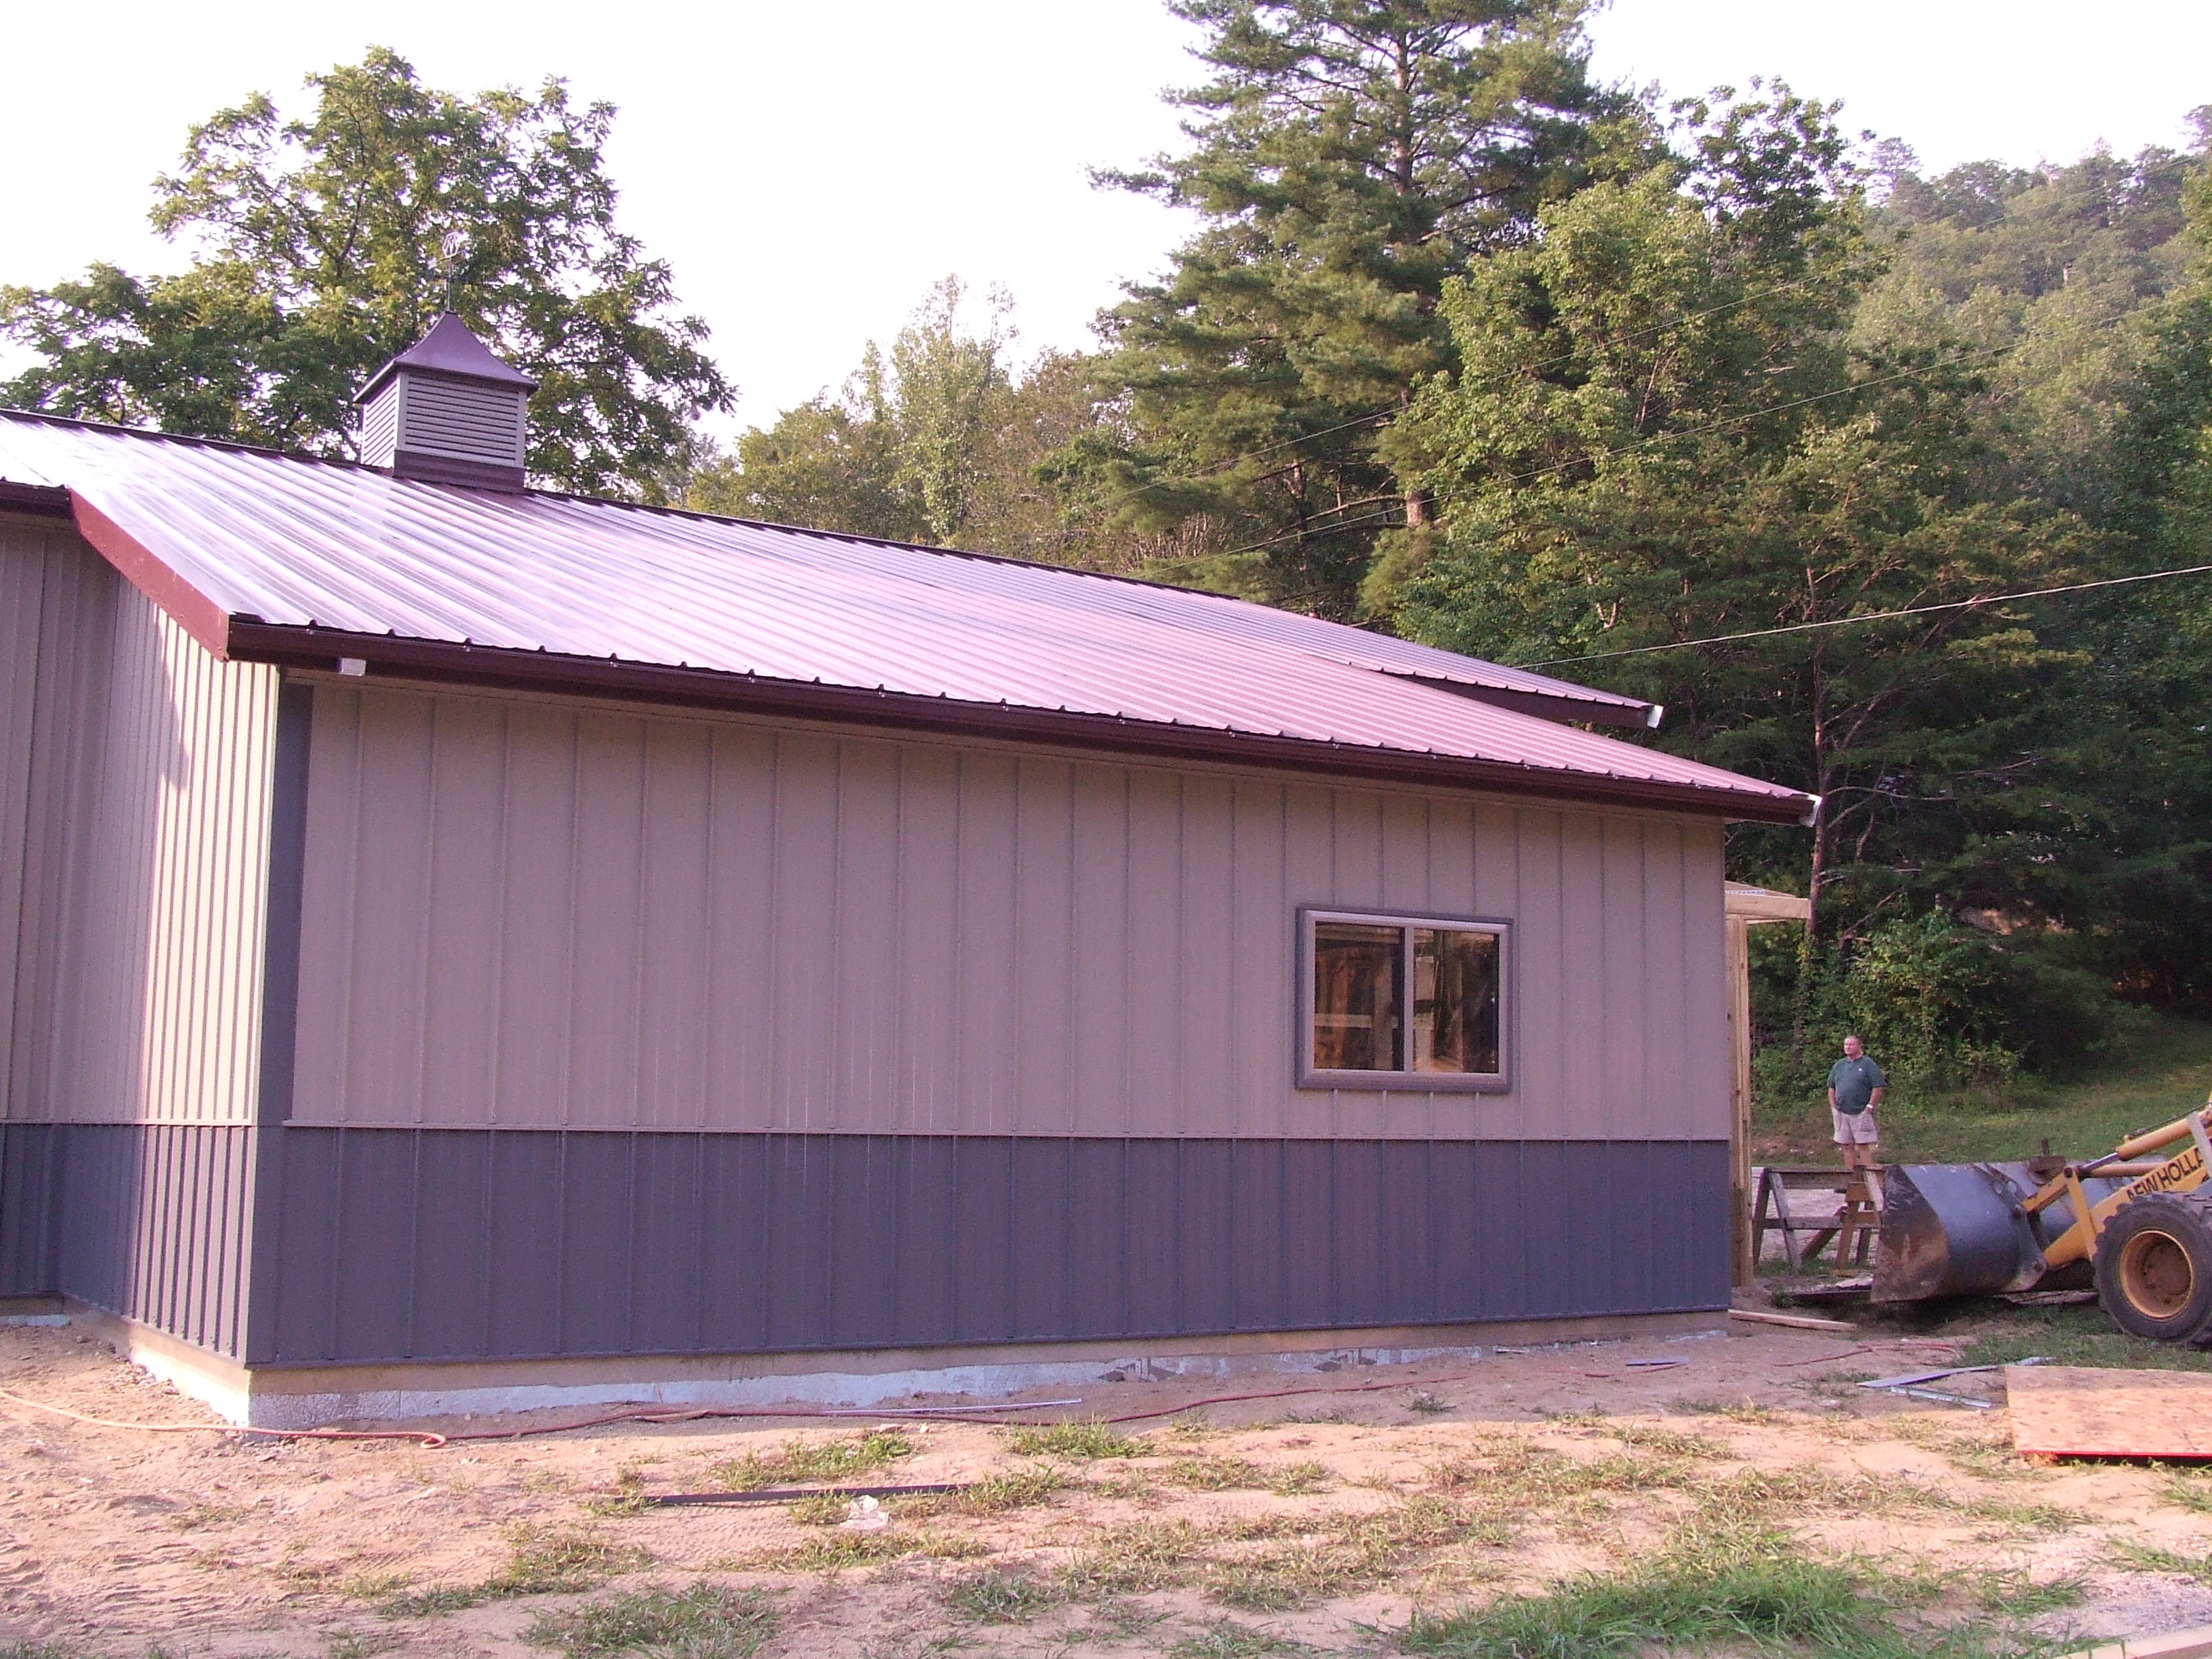
Day 4, You can now see the roof
color. I was hoping the walls would be up, but you can't ask for
everything.
August 30, 2007
|

|
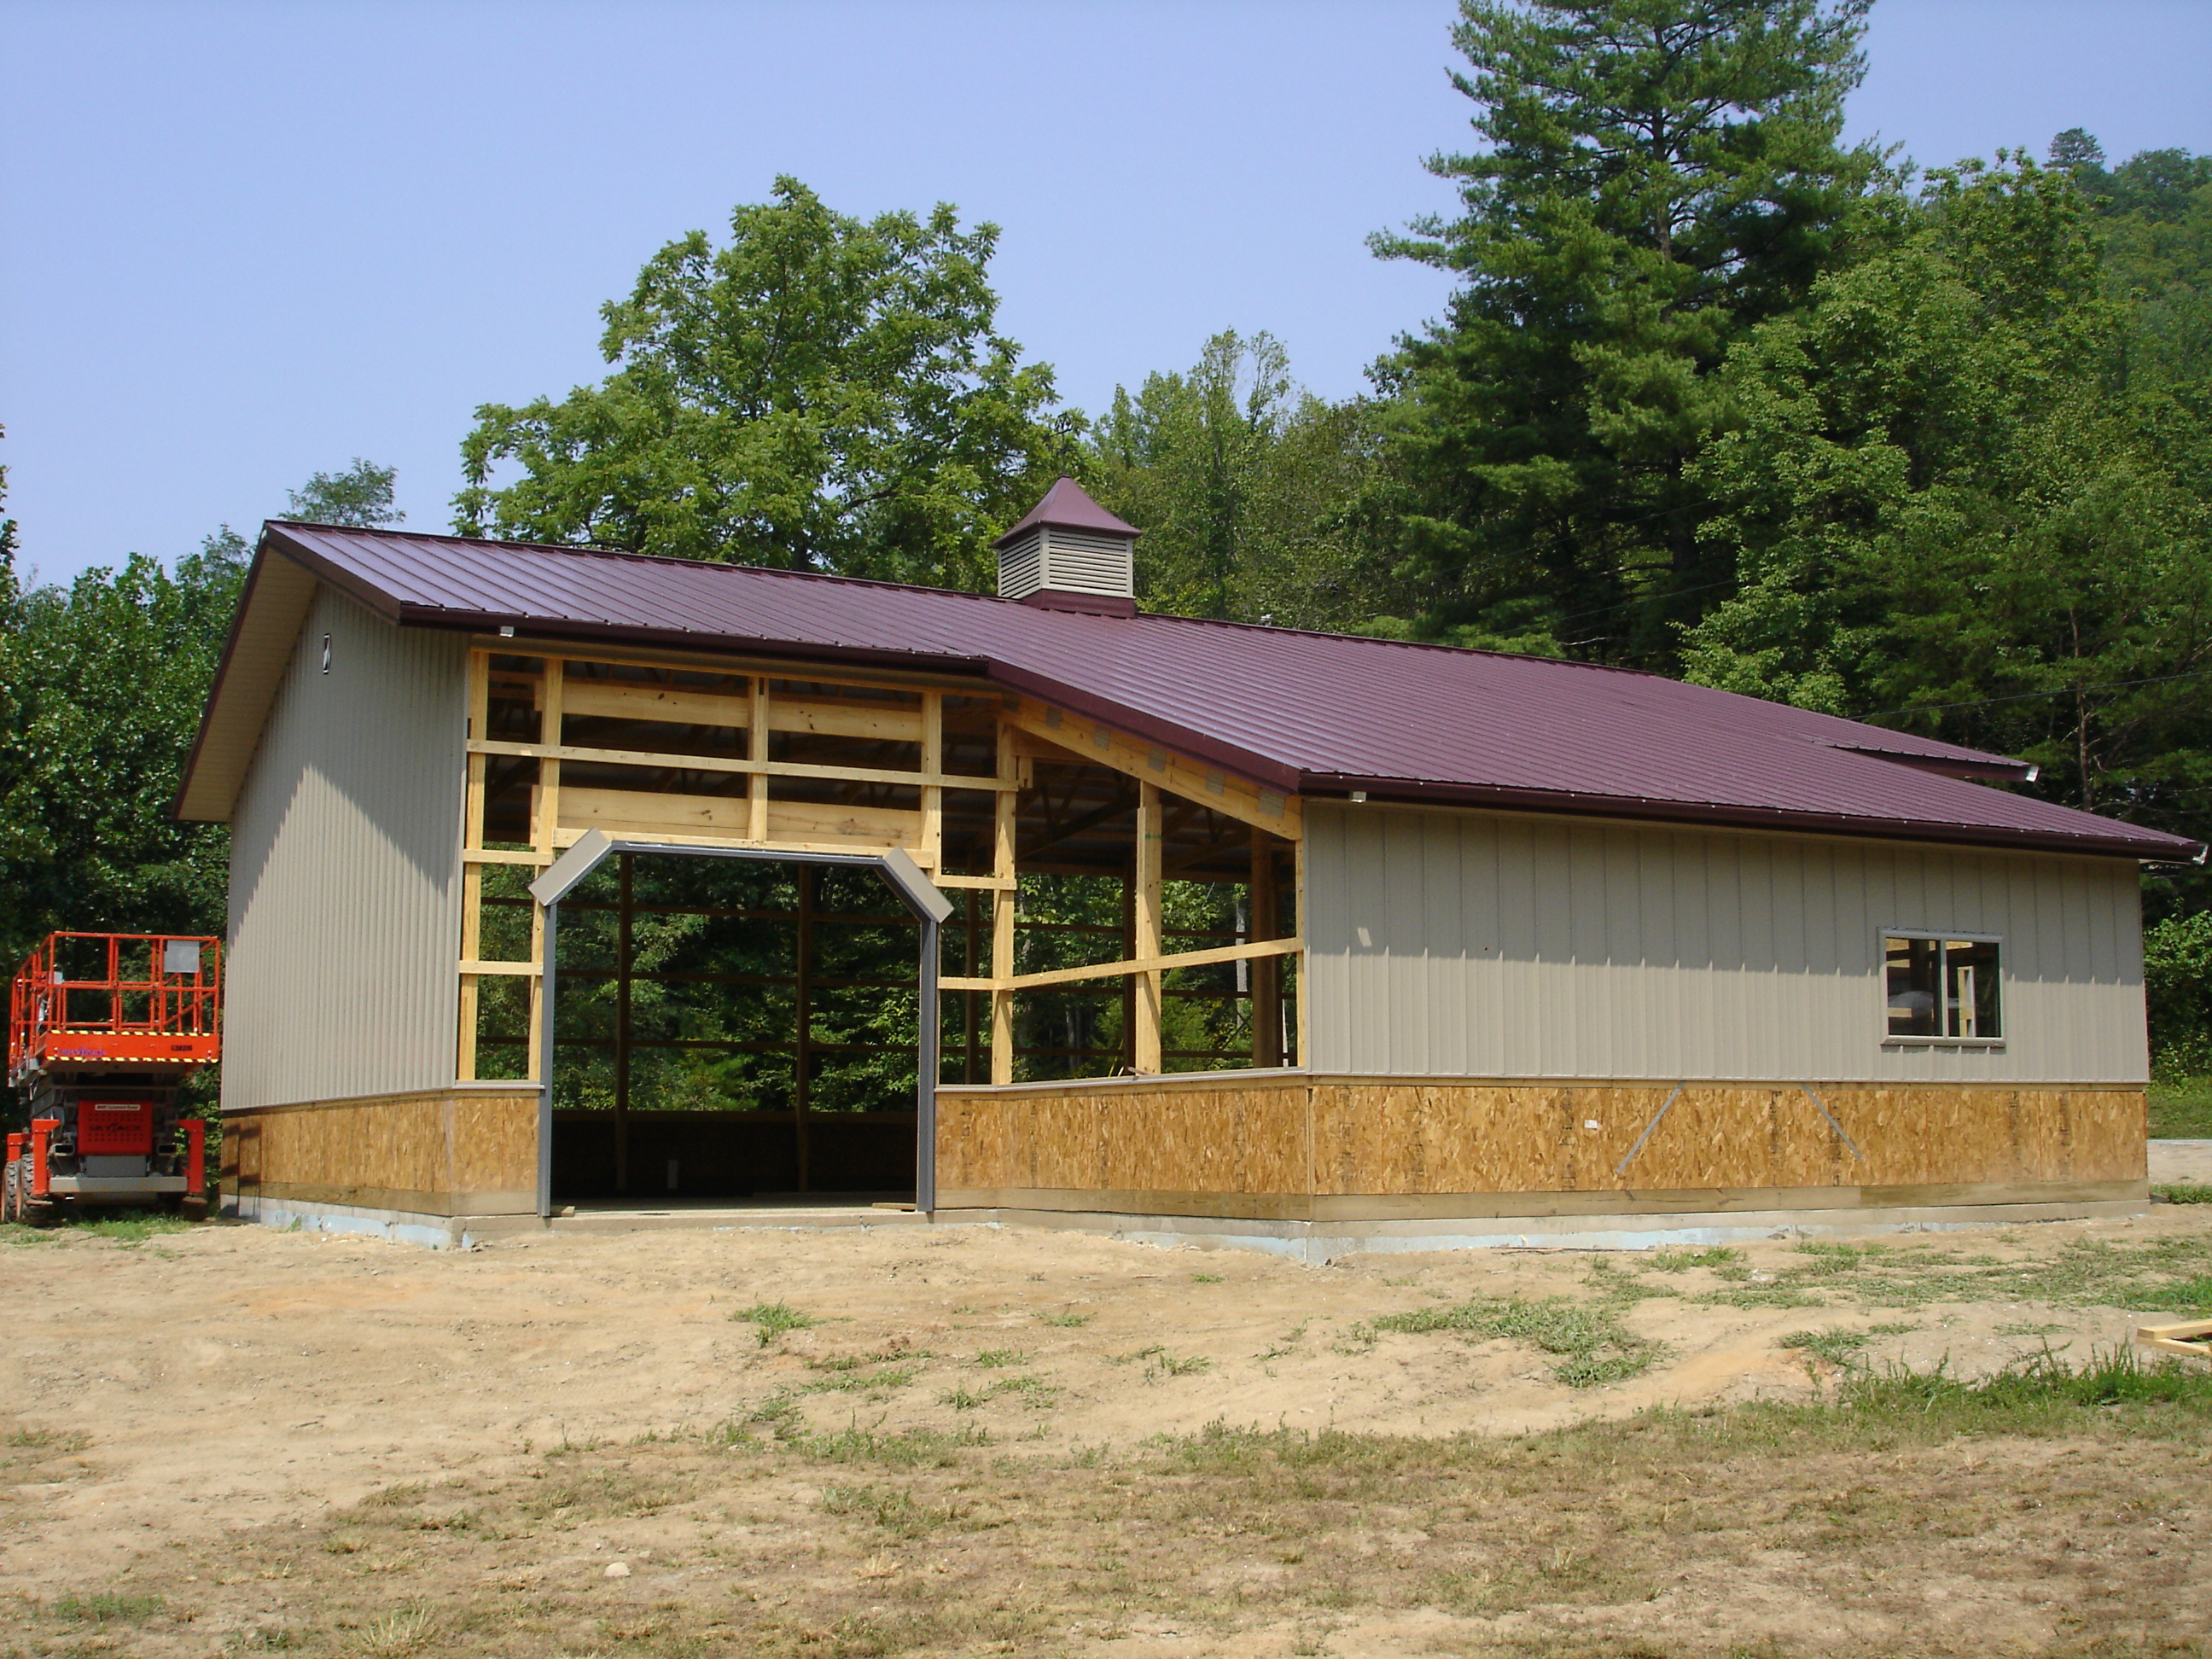
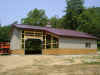
Day 5, the end of week #1.Several of
the walls are up and the windows are in. Trim is going up around
the garage doors and the cupola is on the roof!
Warning, these four photos are very large!
August 31, 2007
|
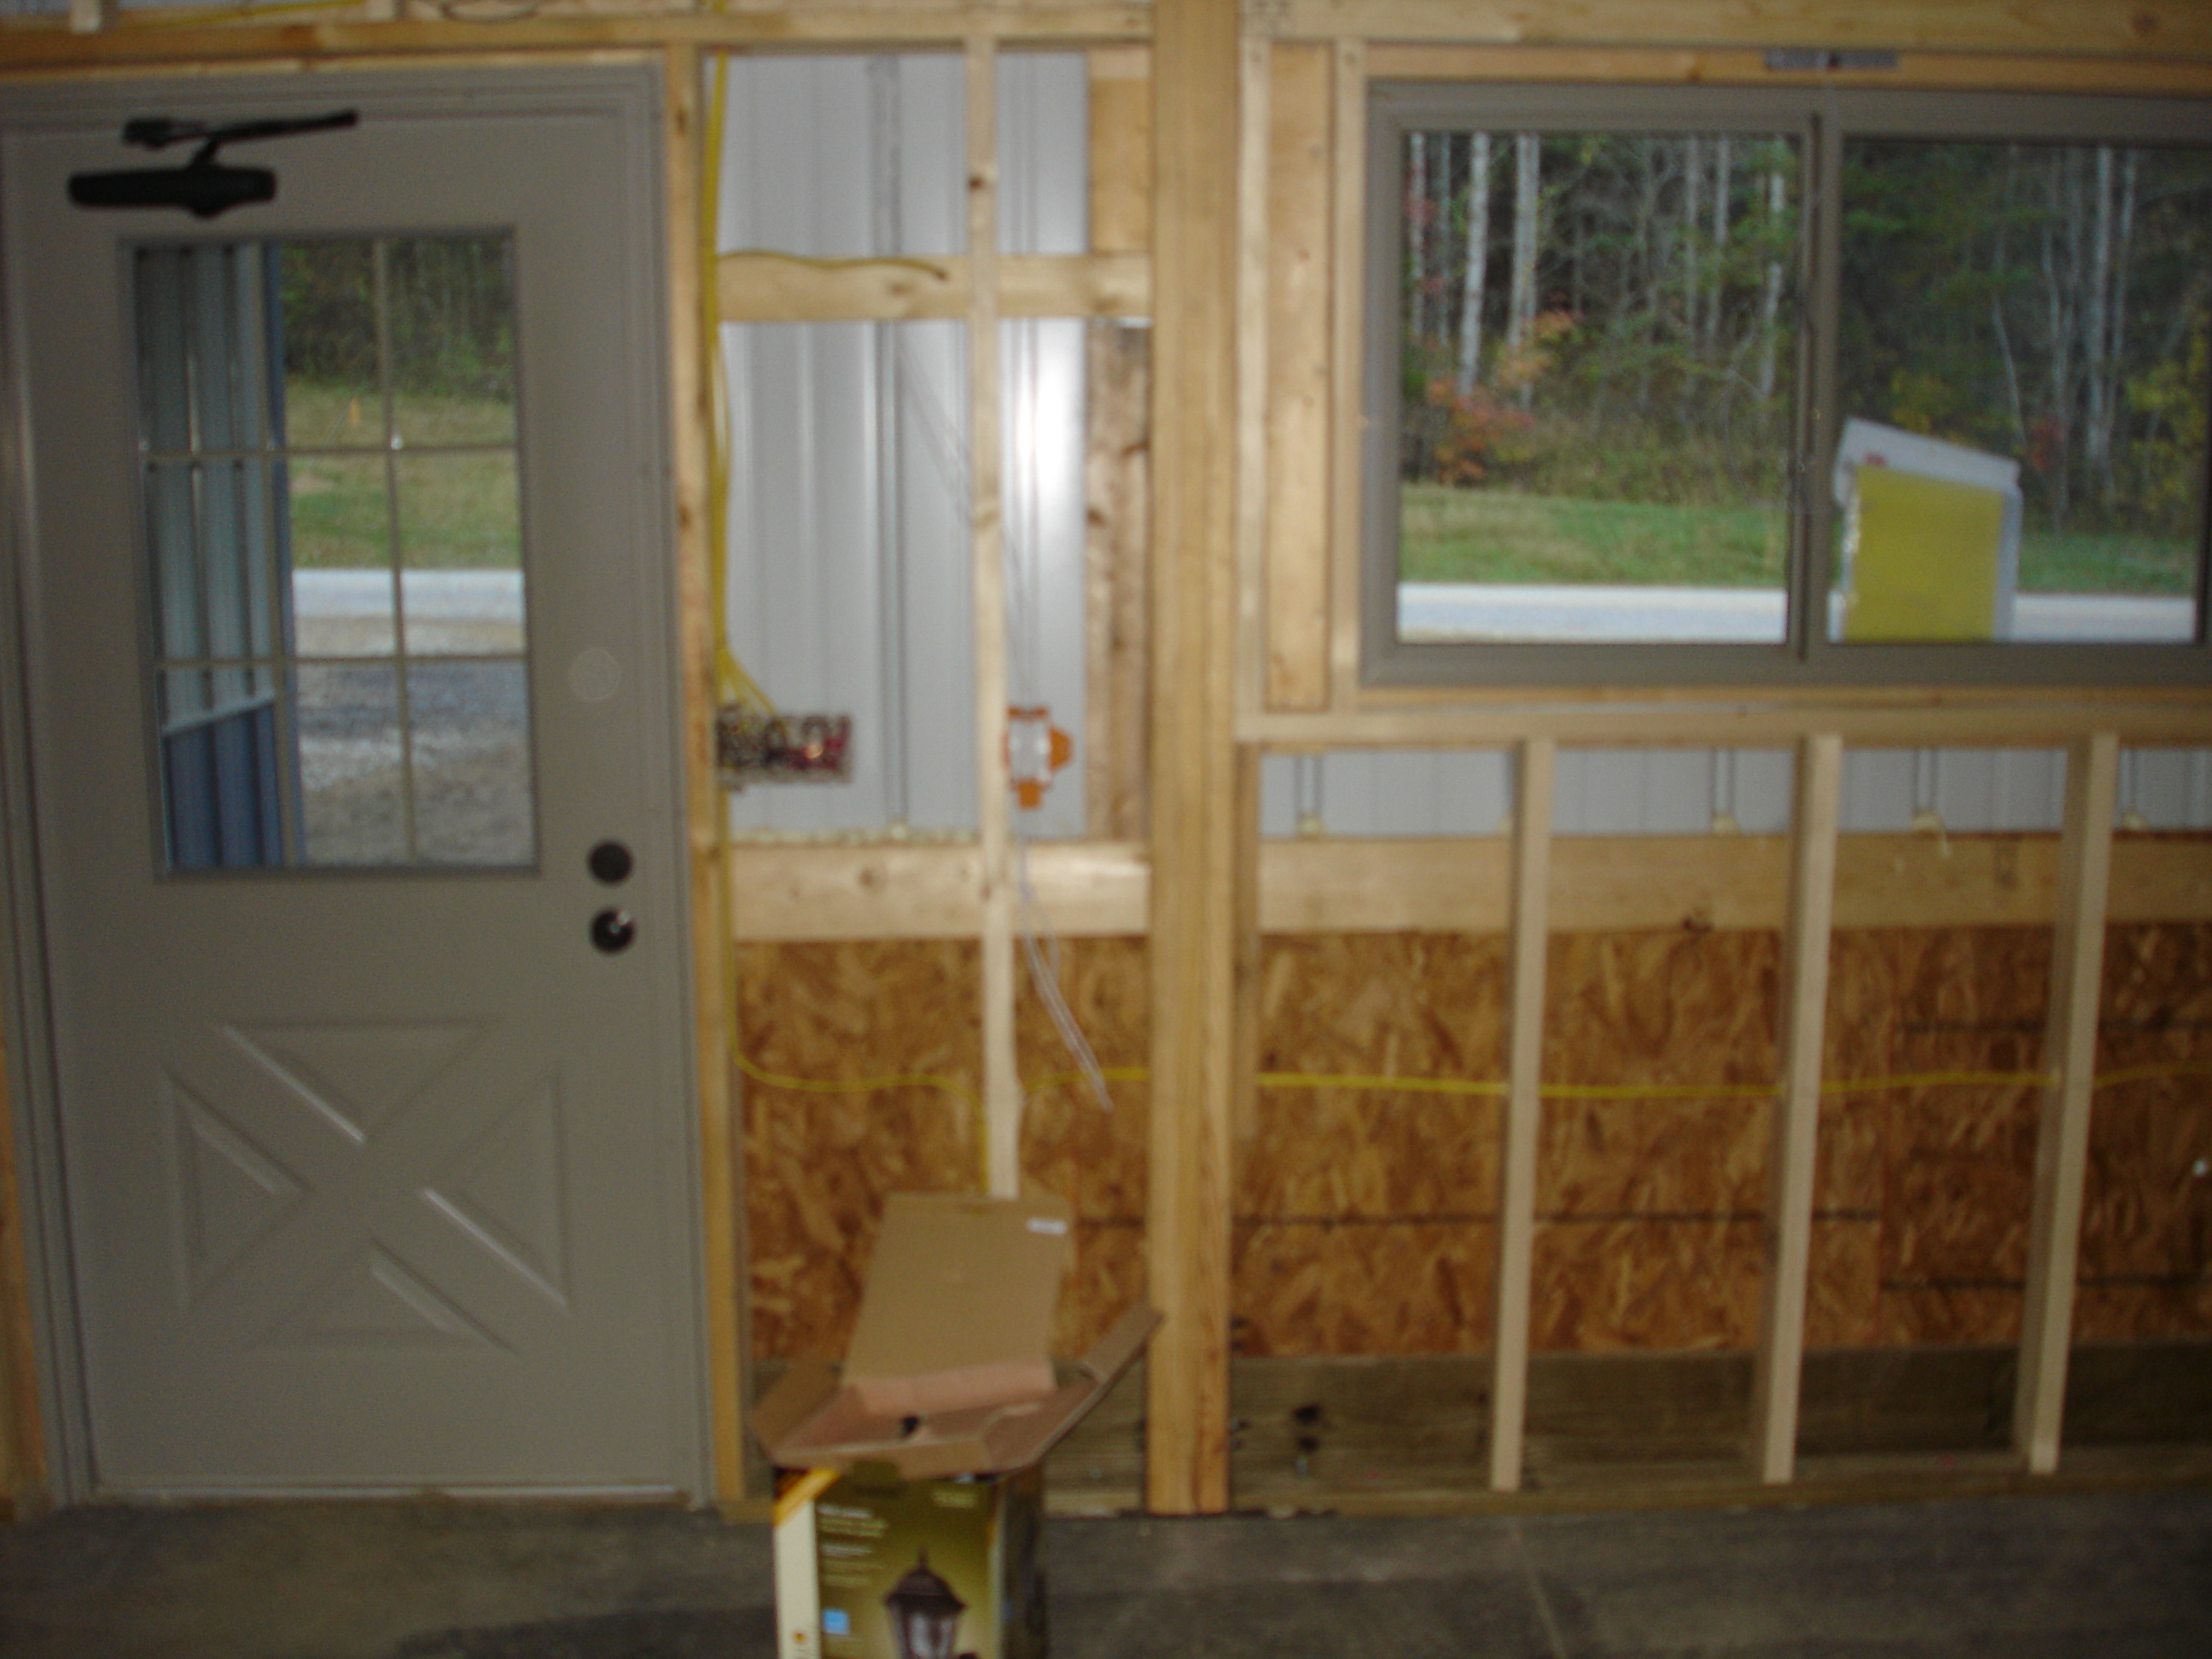
|
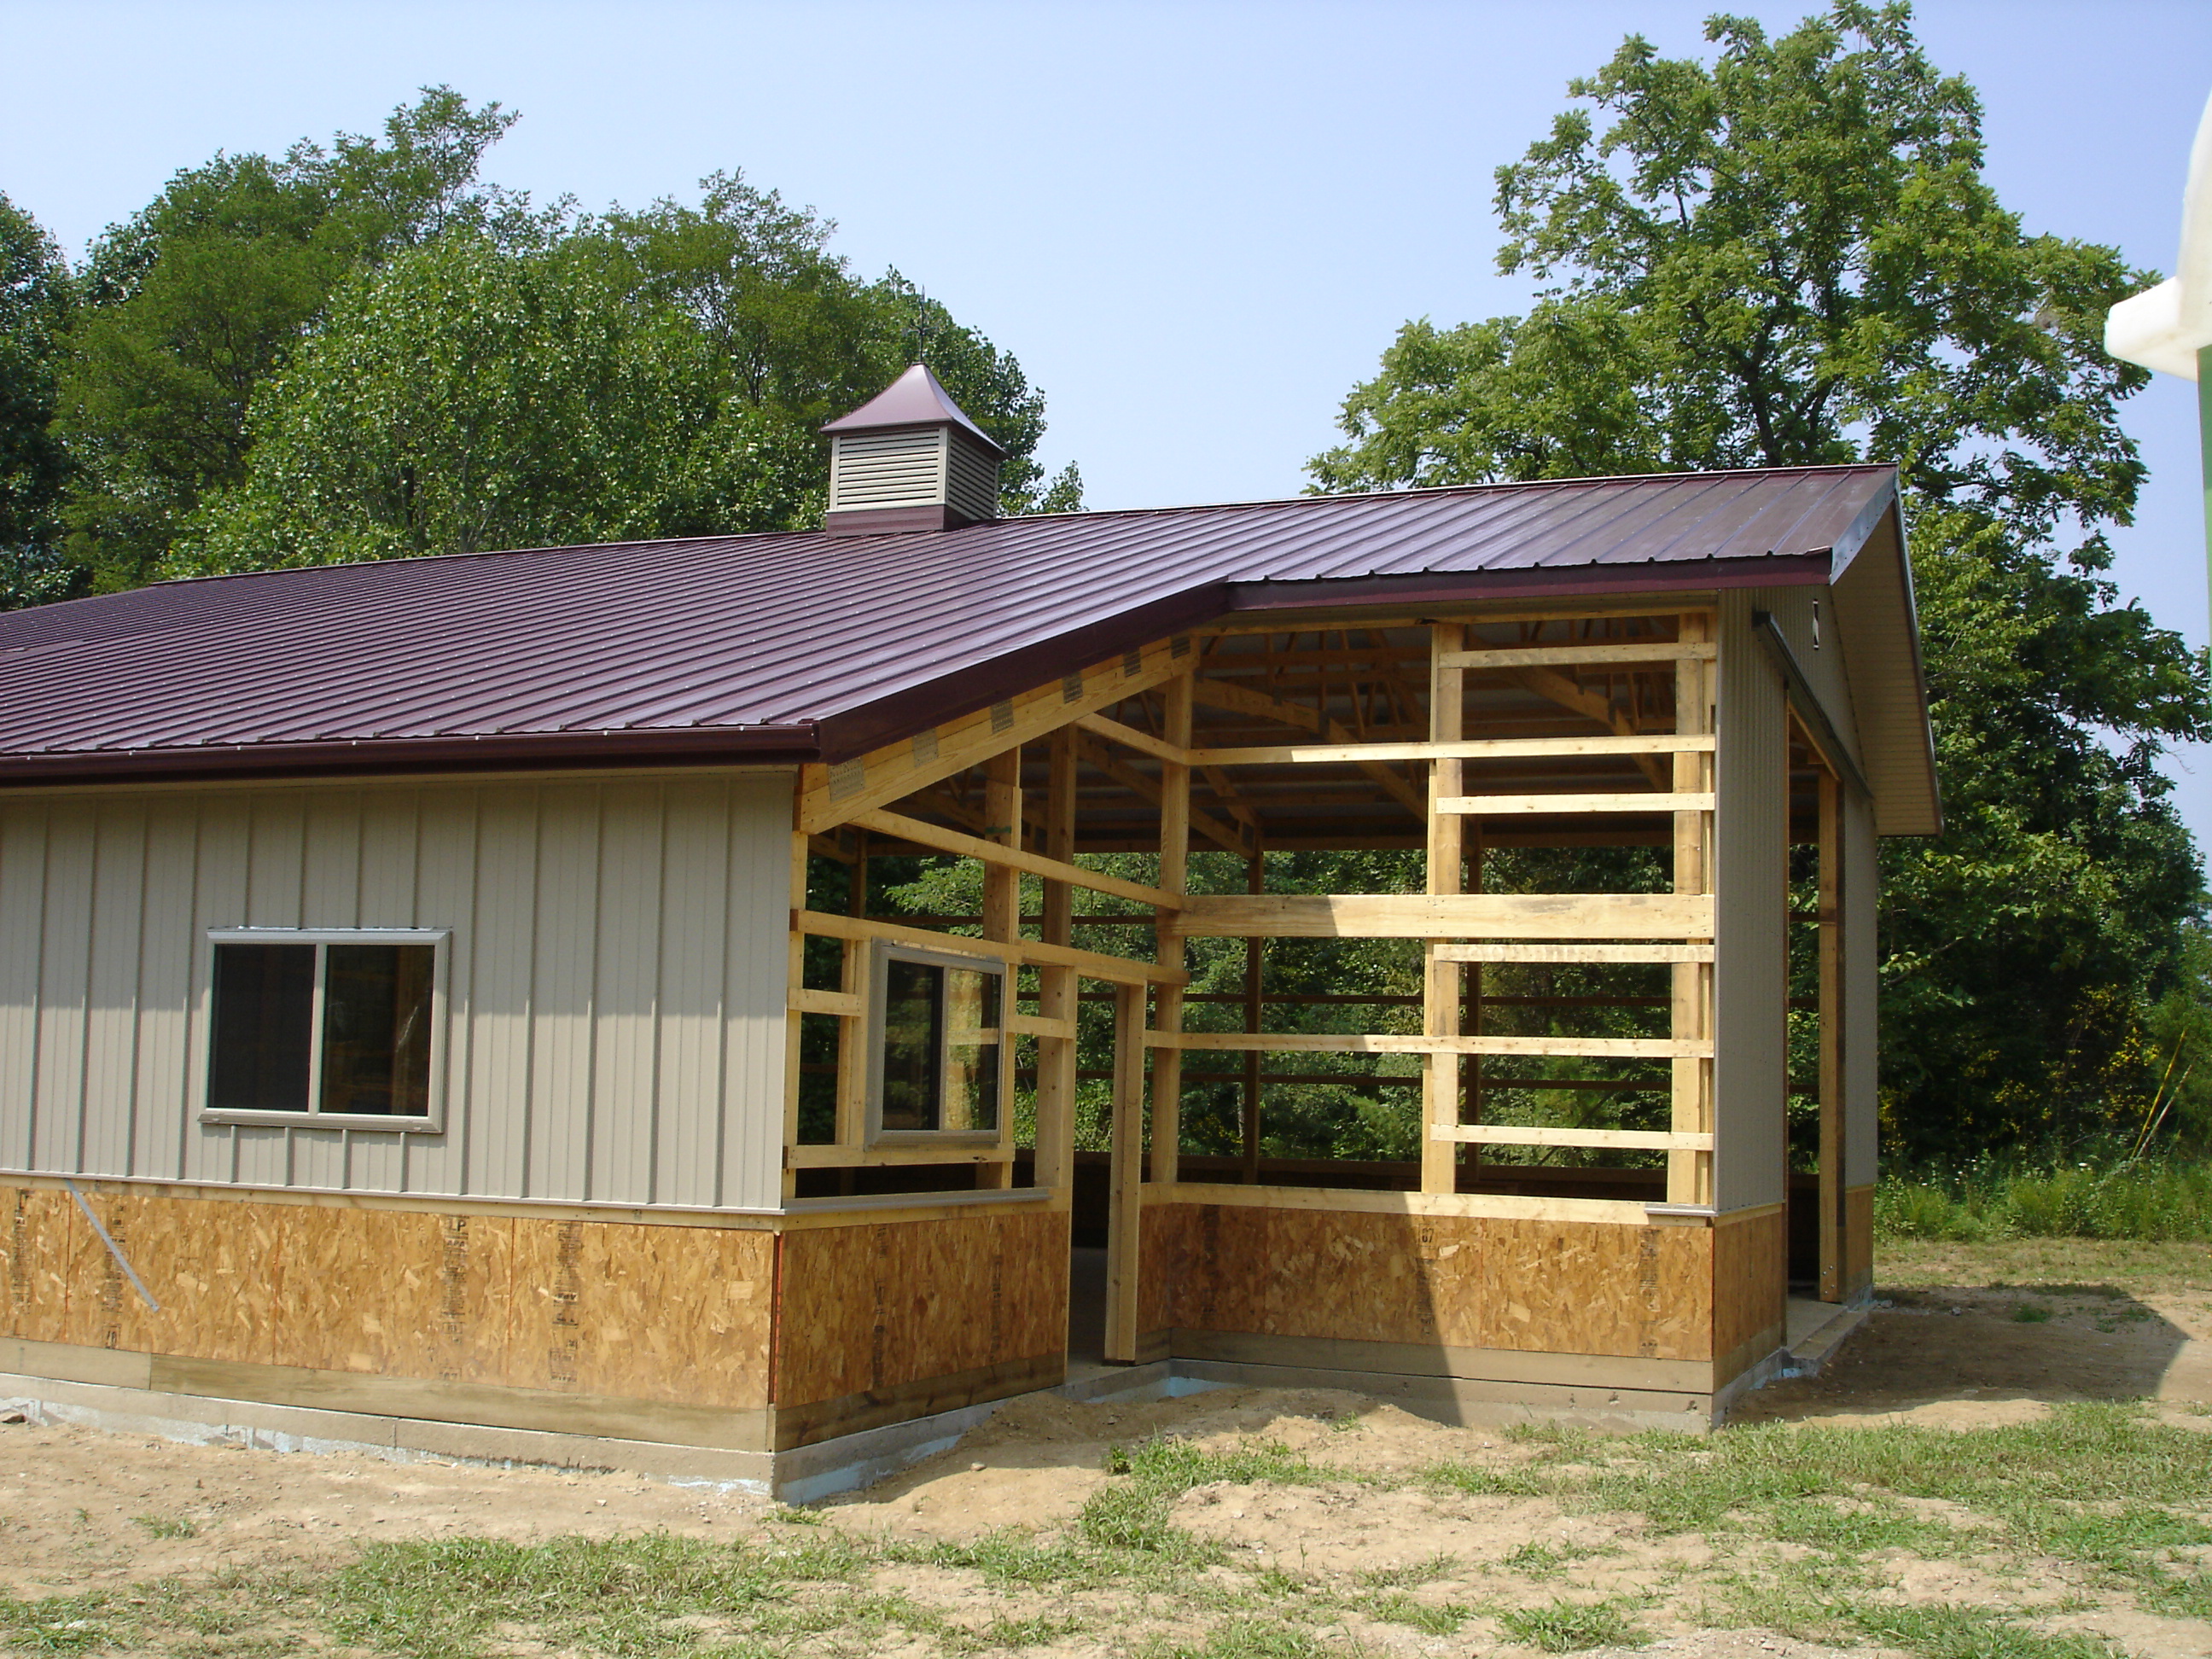
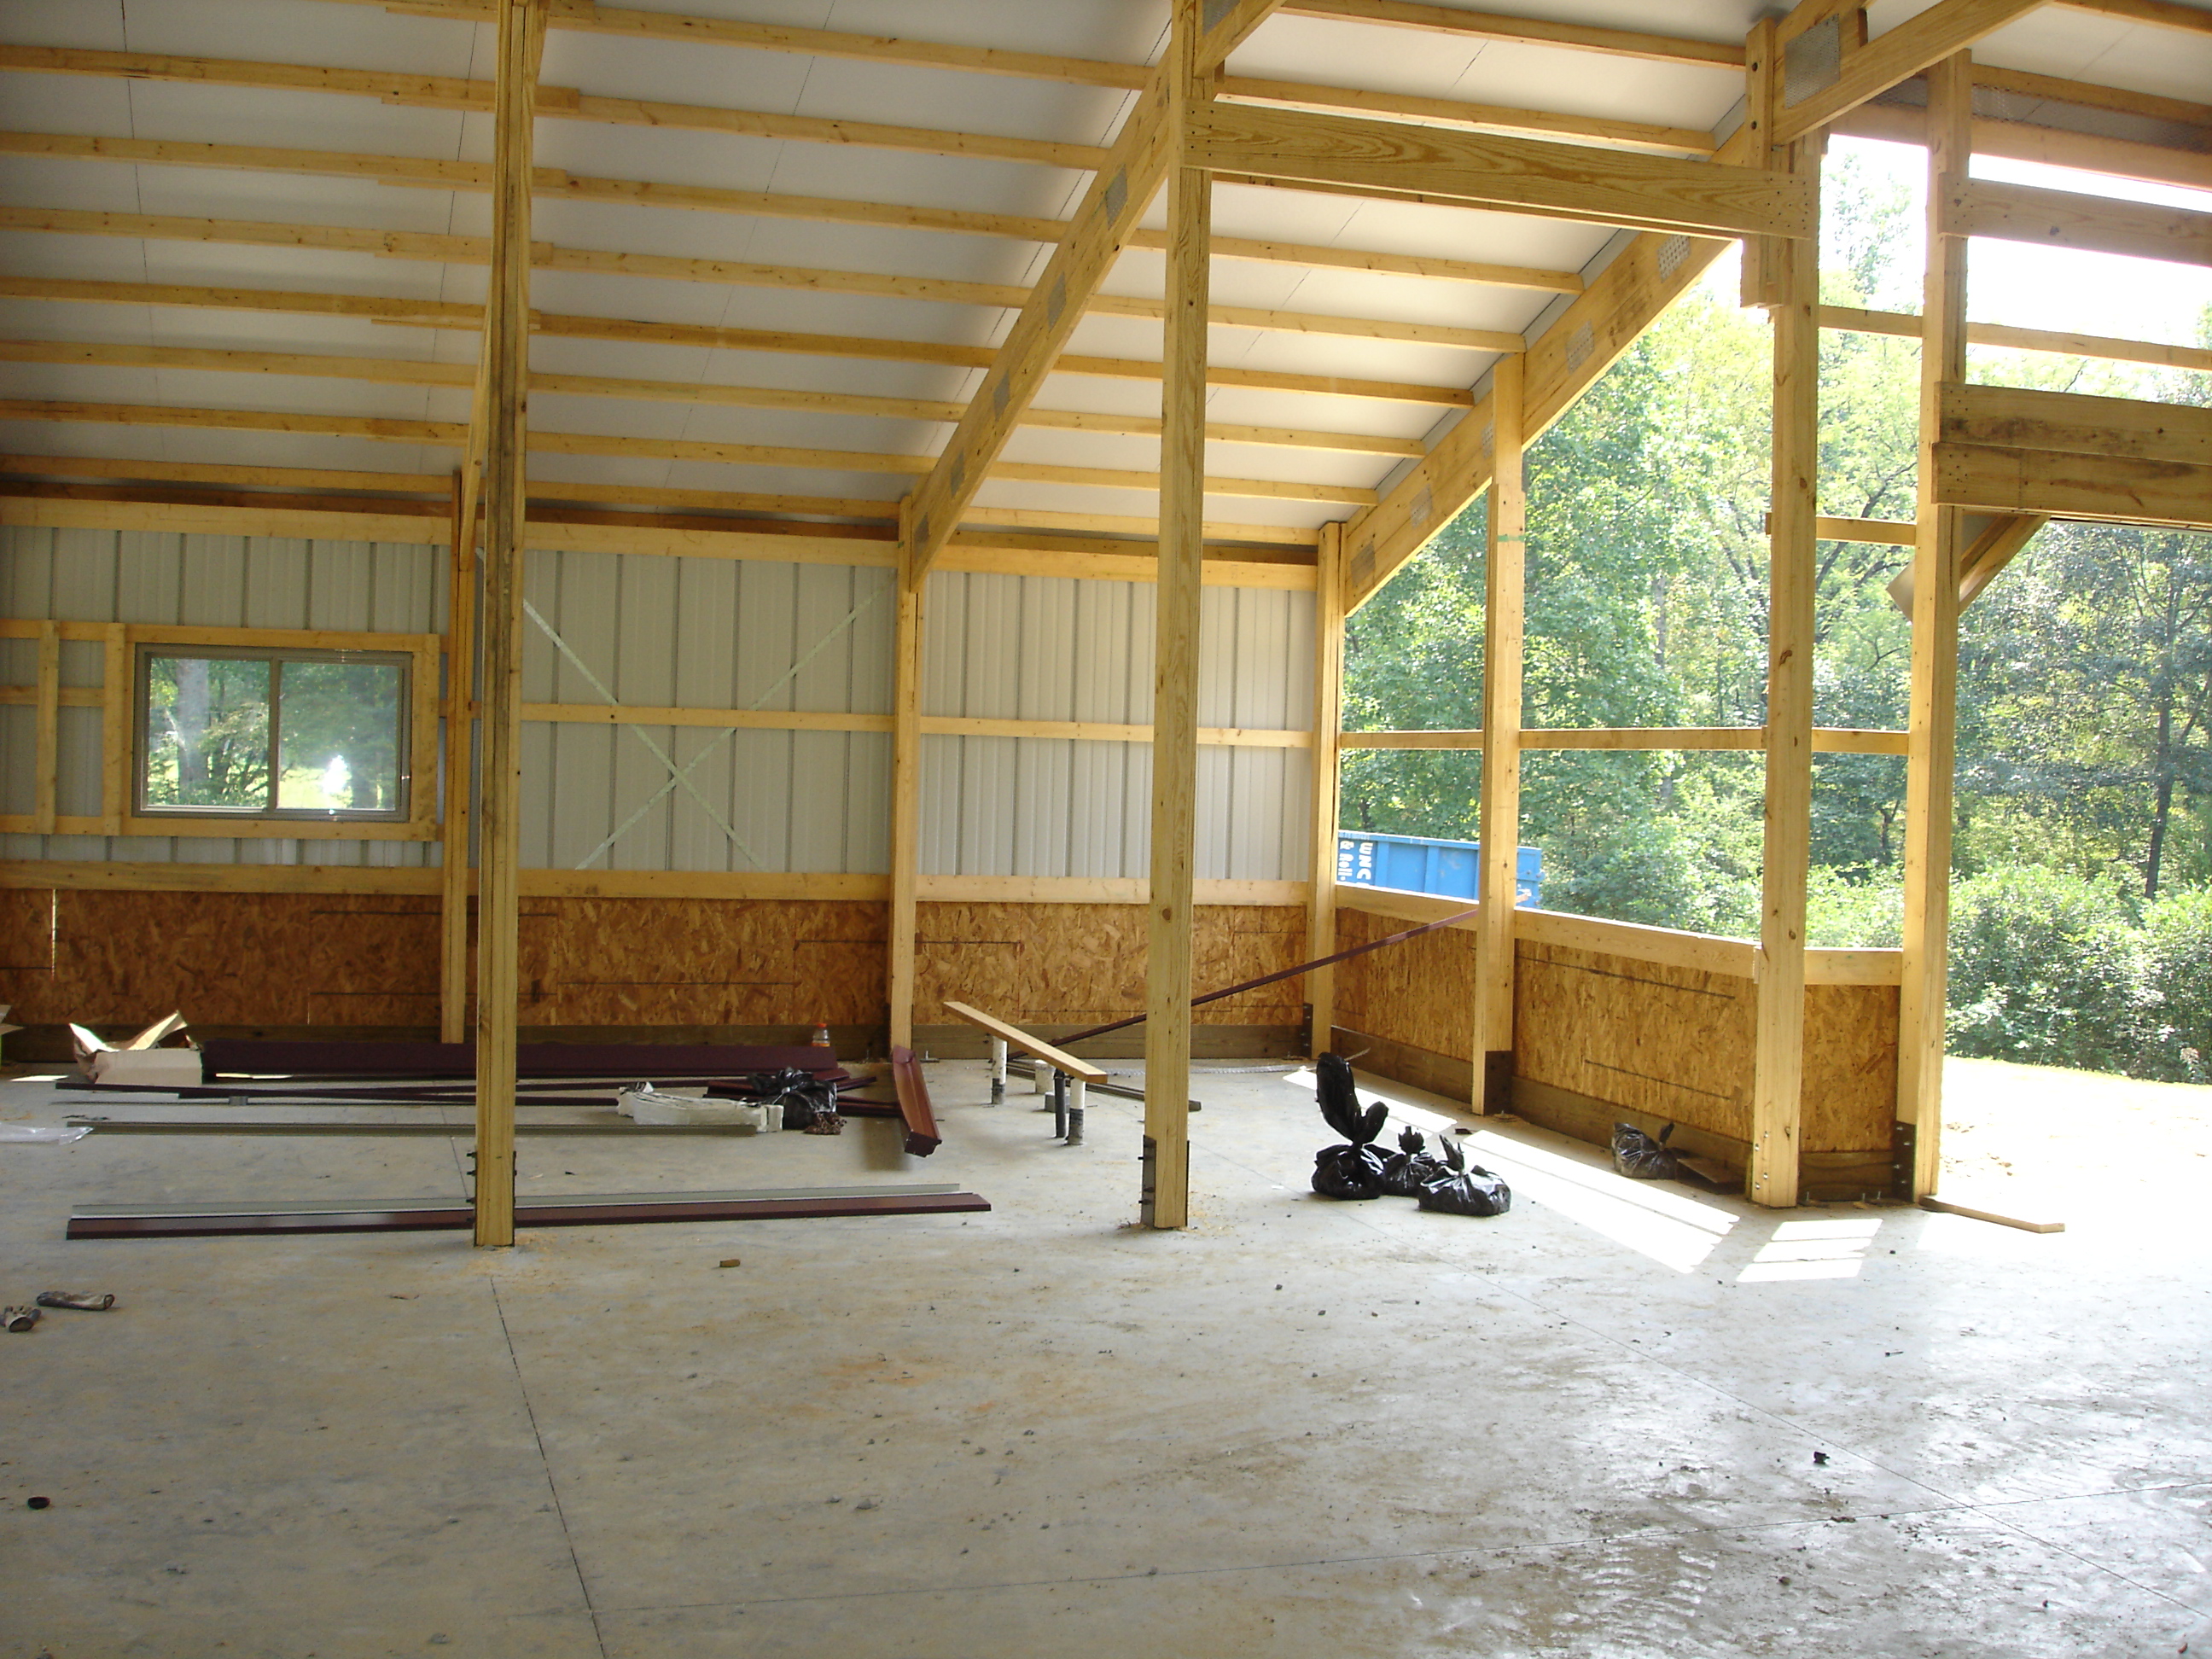
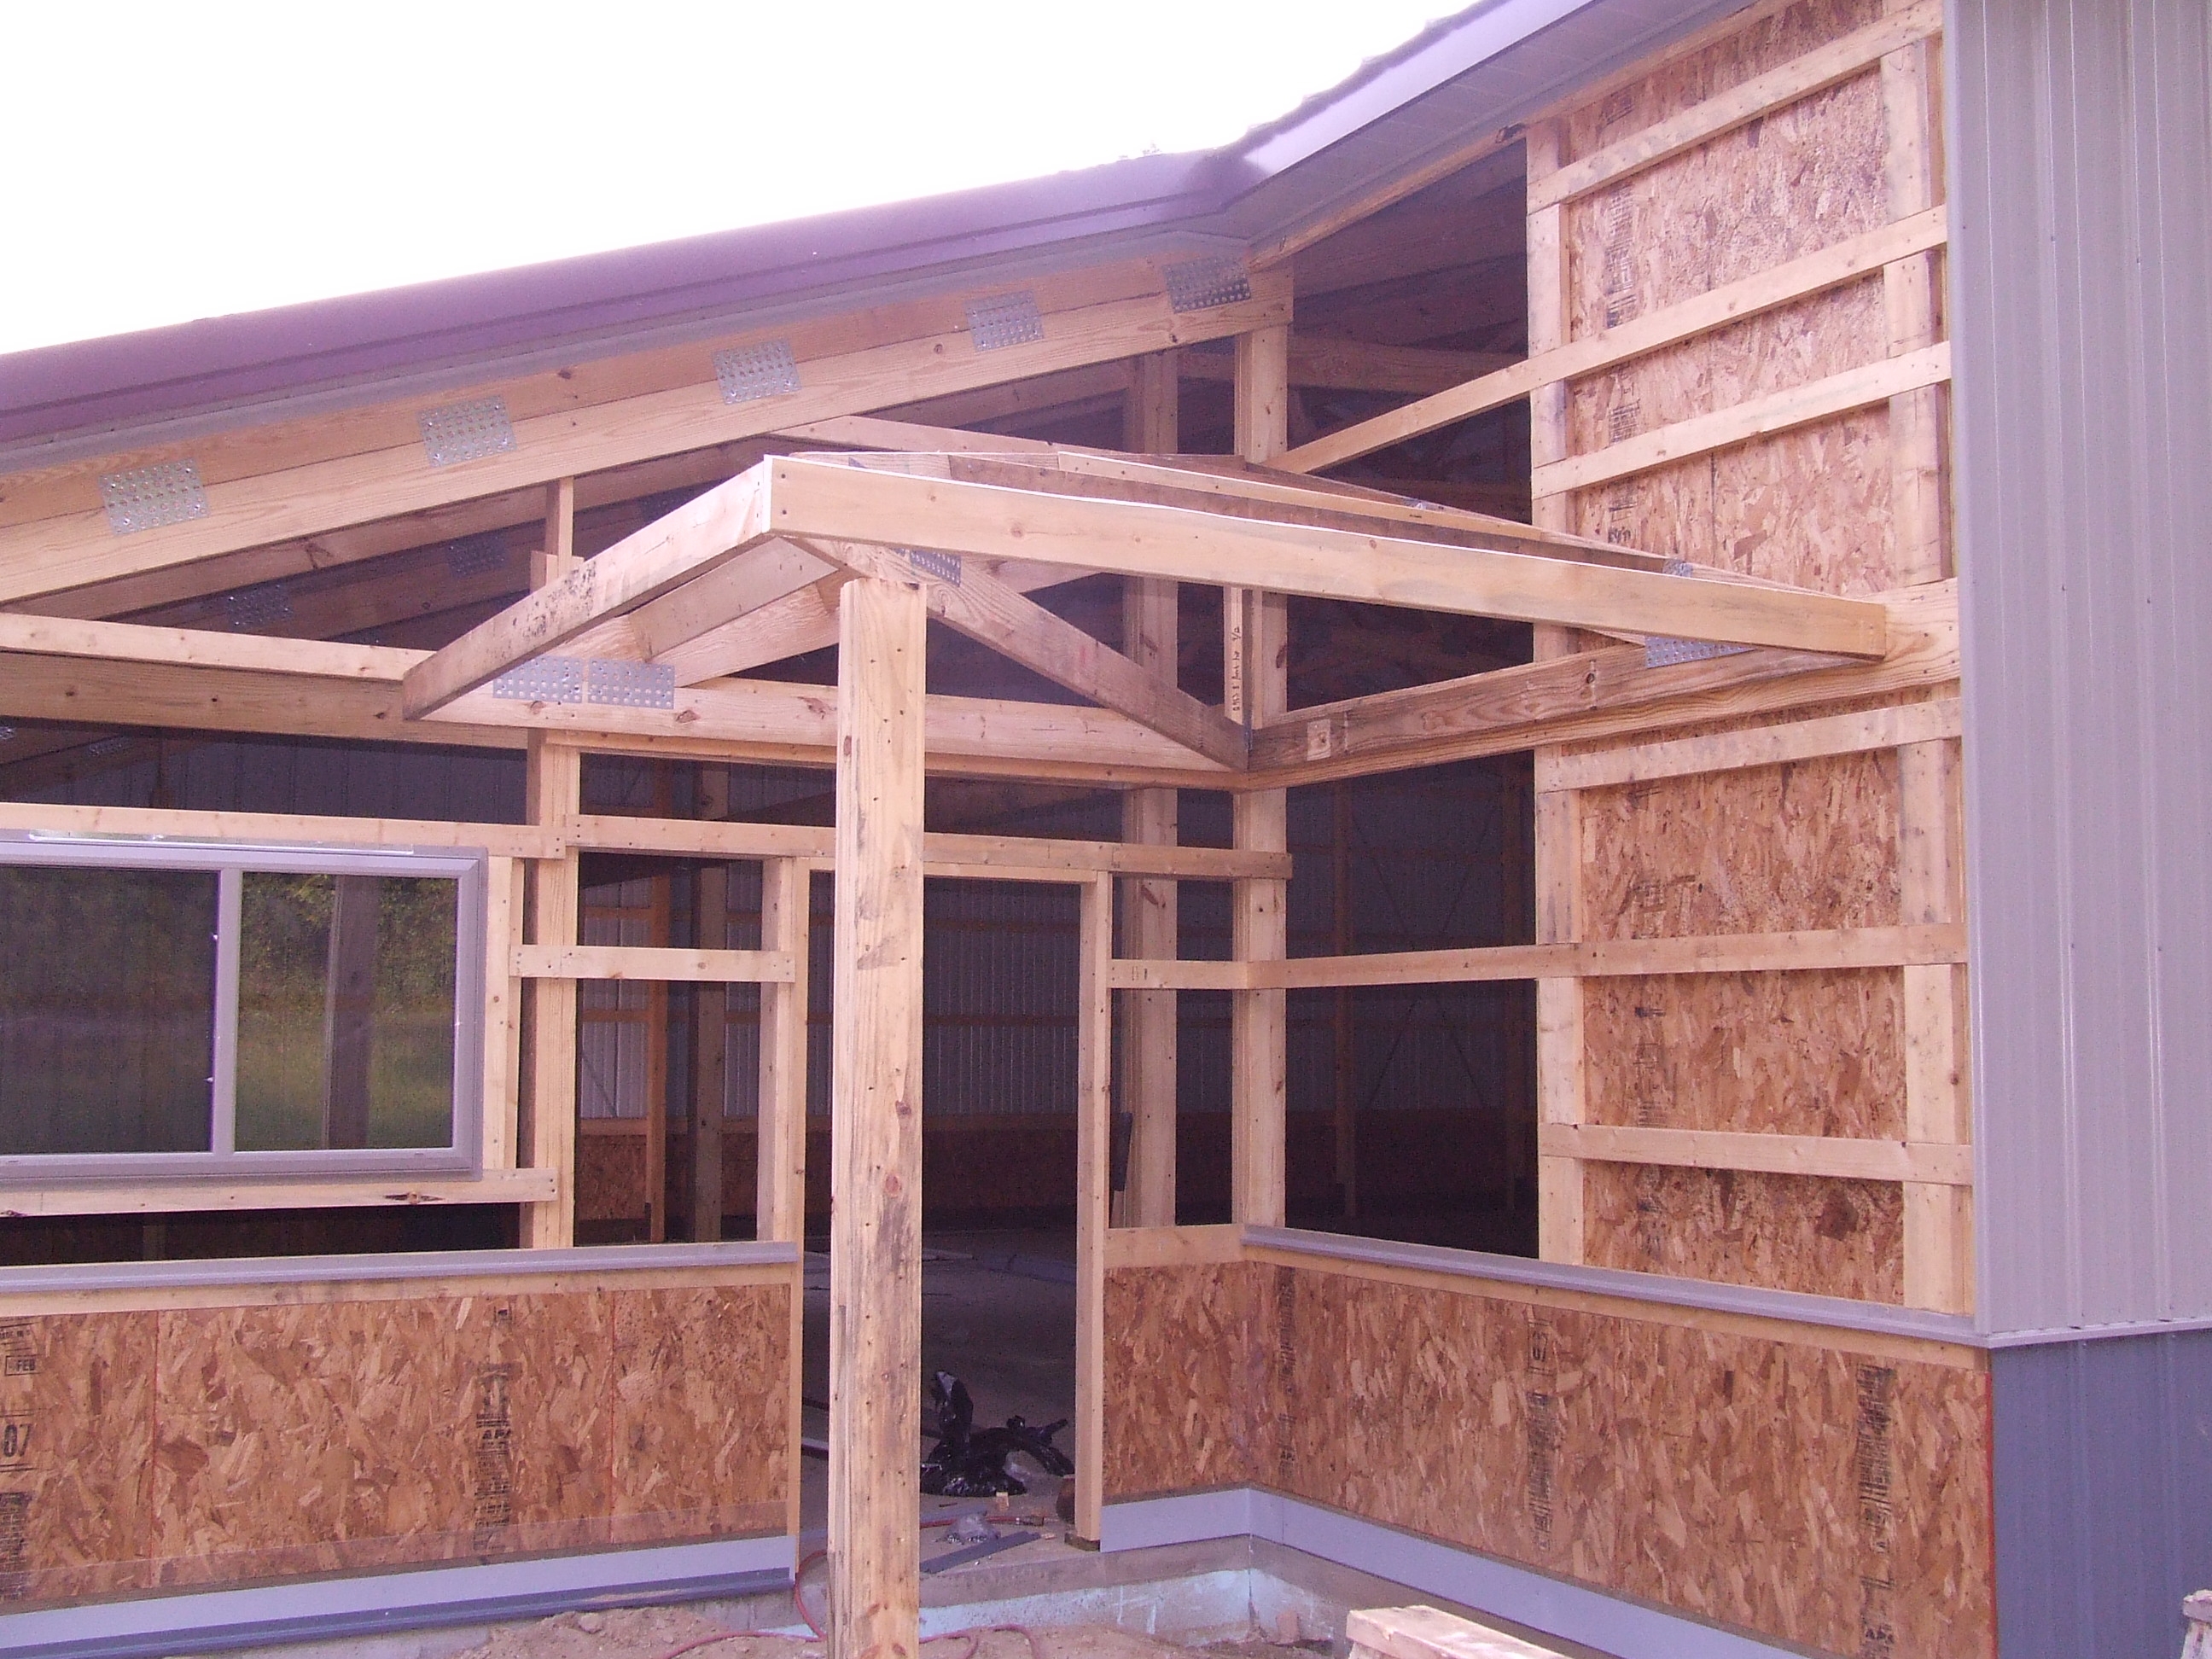
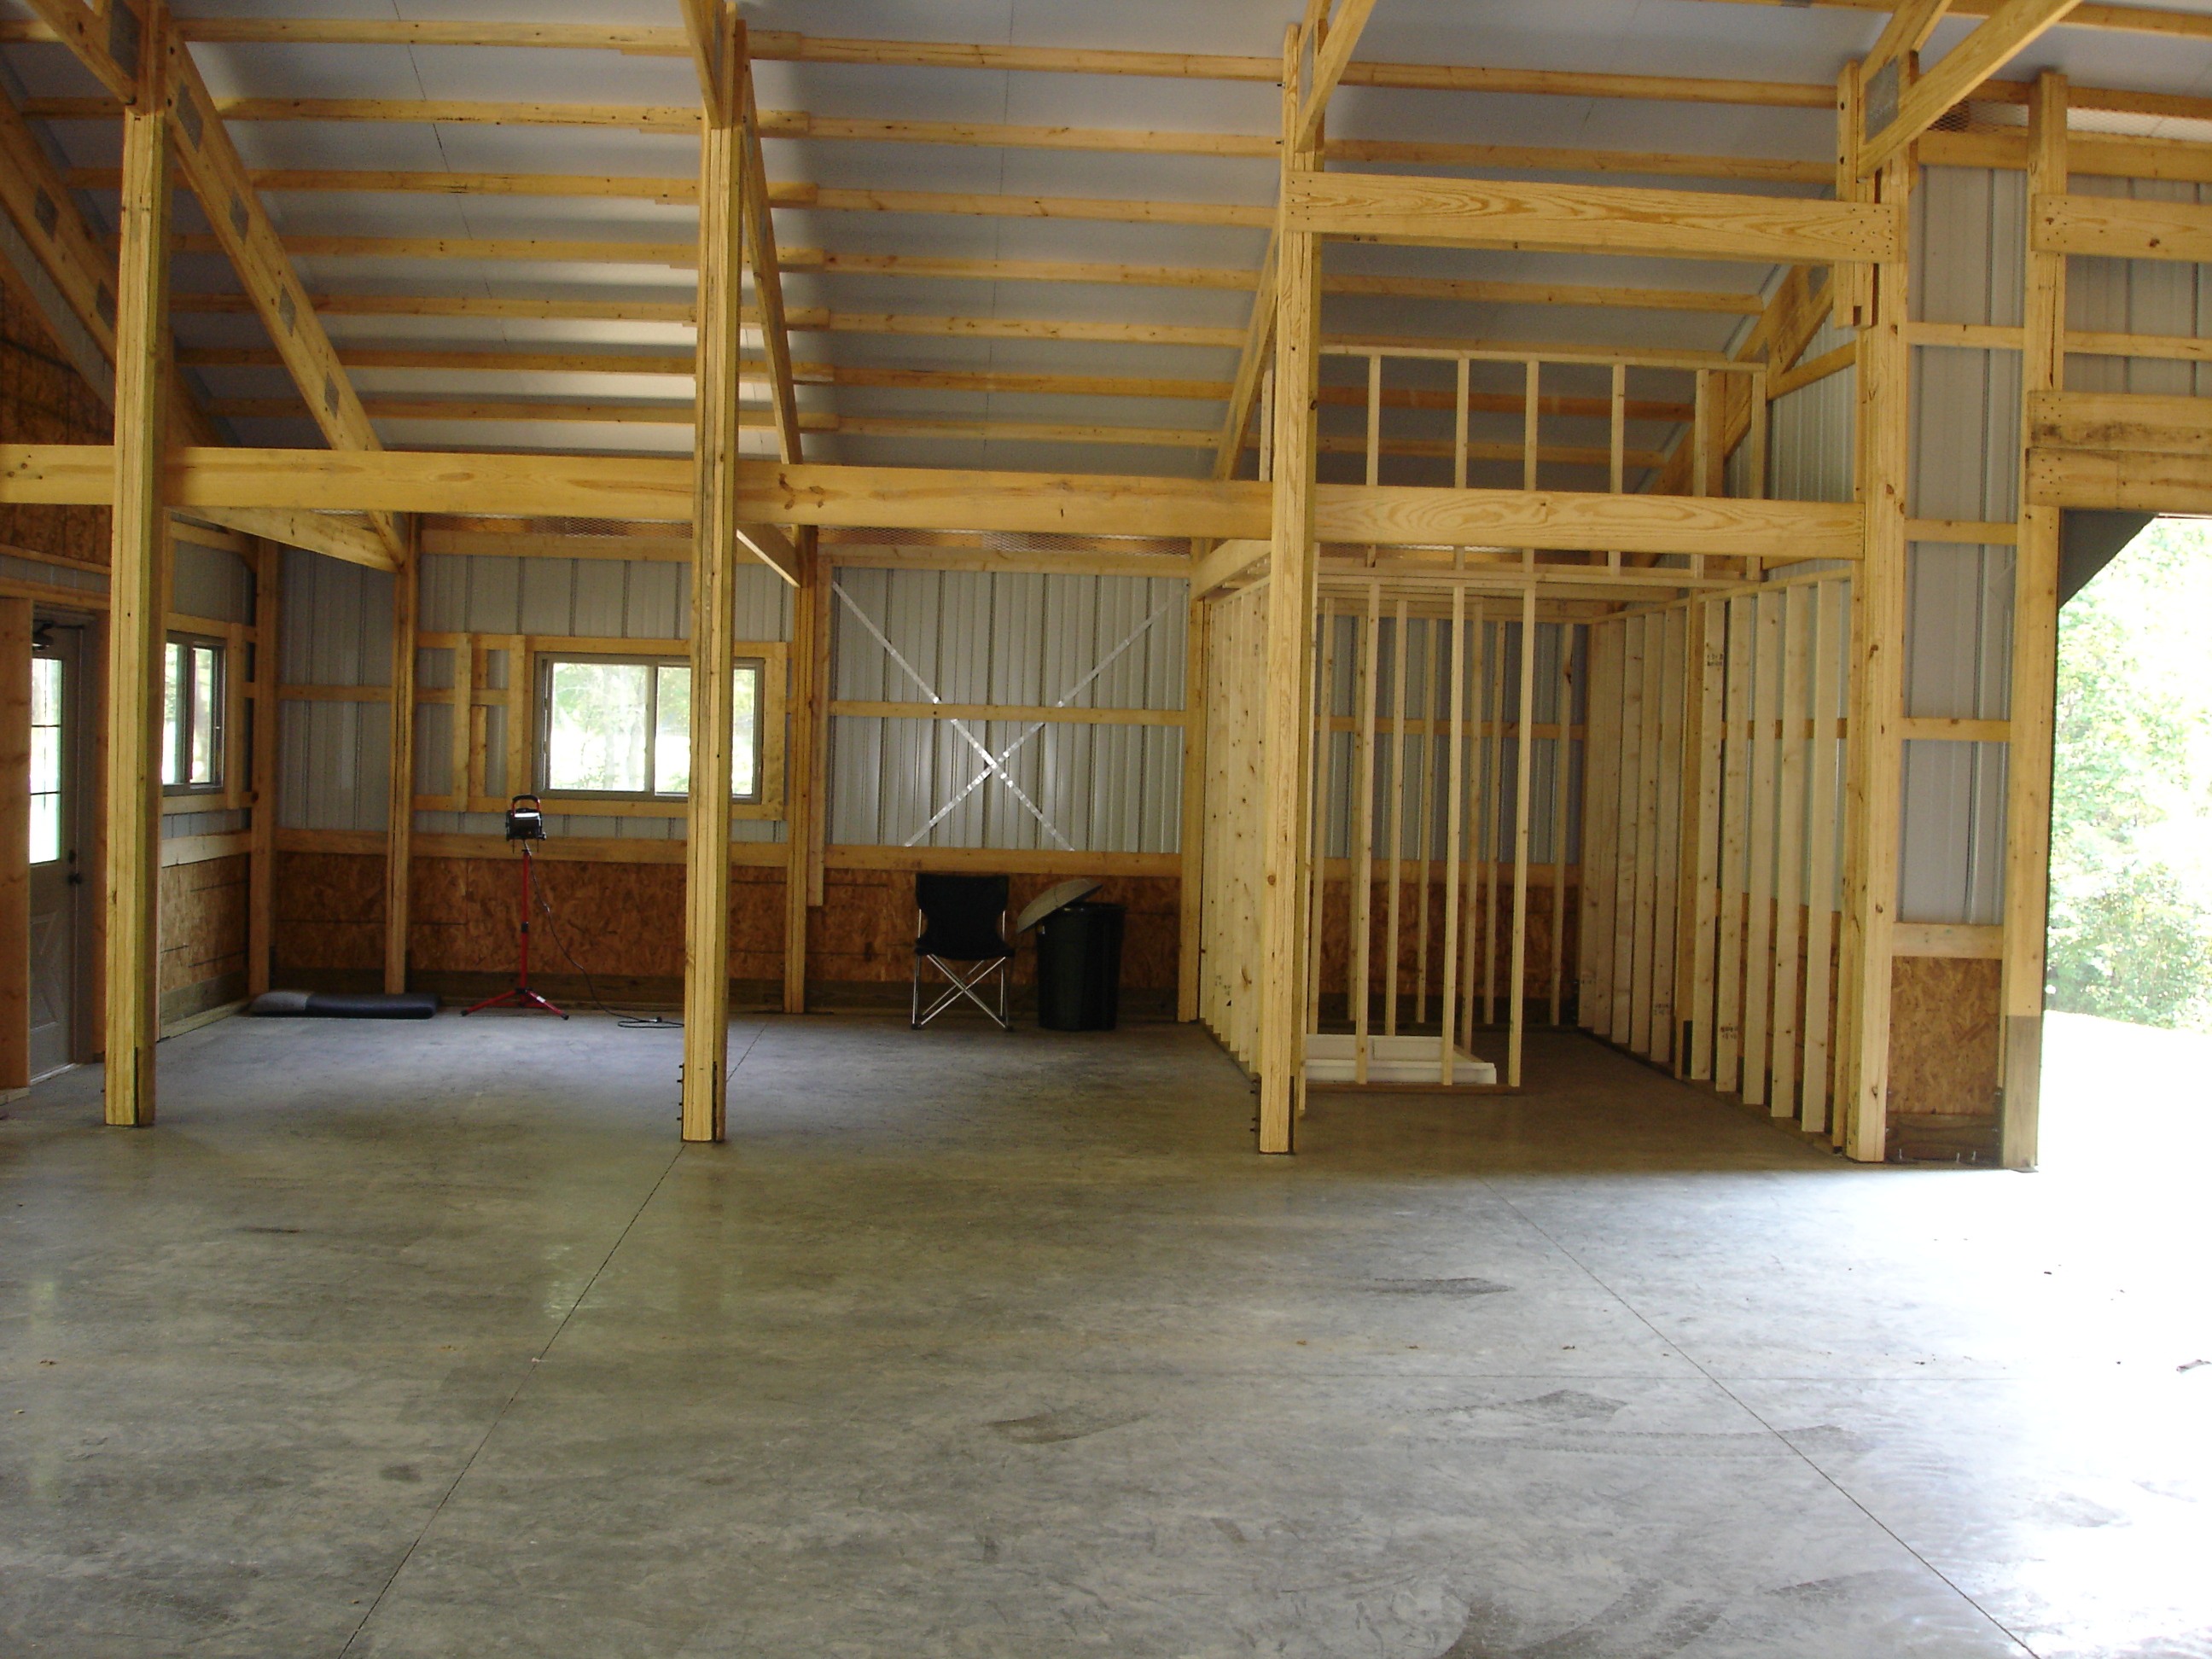
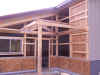
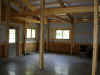
Day 6, Ok - it's really
day 7 or 8, but Monday was a holiday and the work crew had a repair to
take care of on Tuesday. They made up for it today.
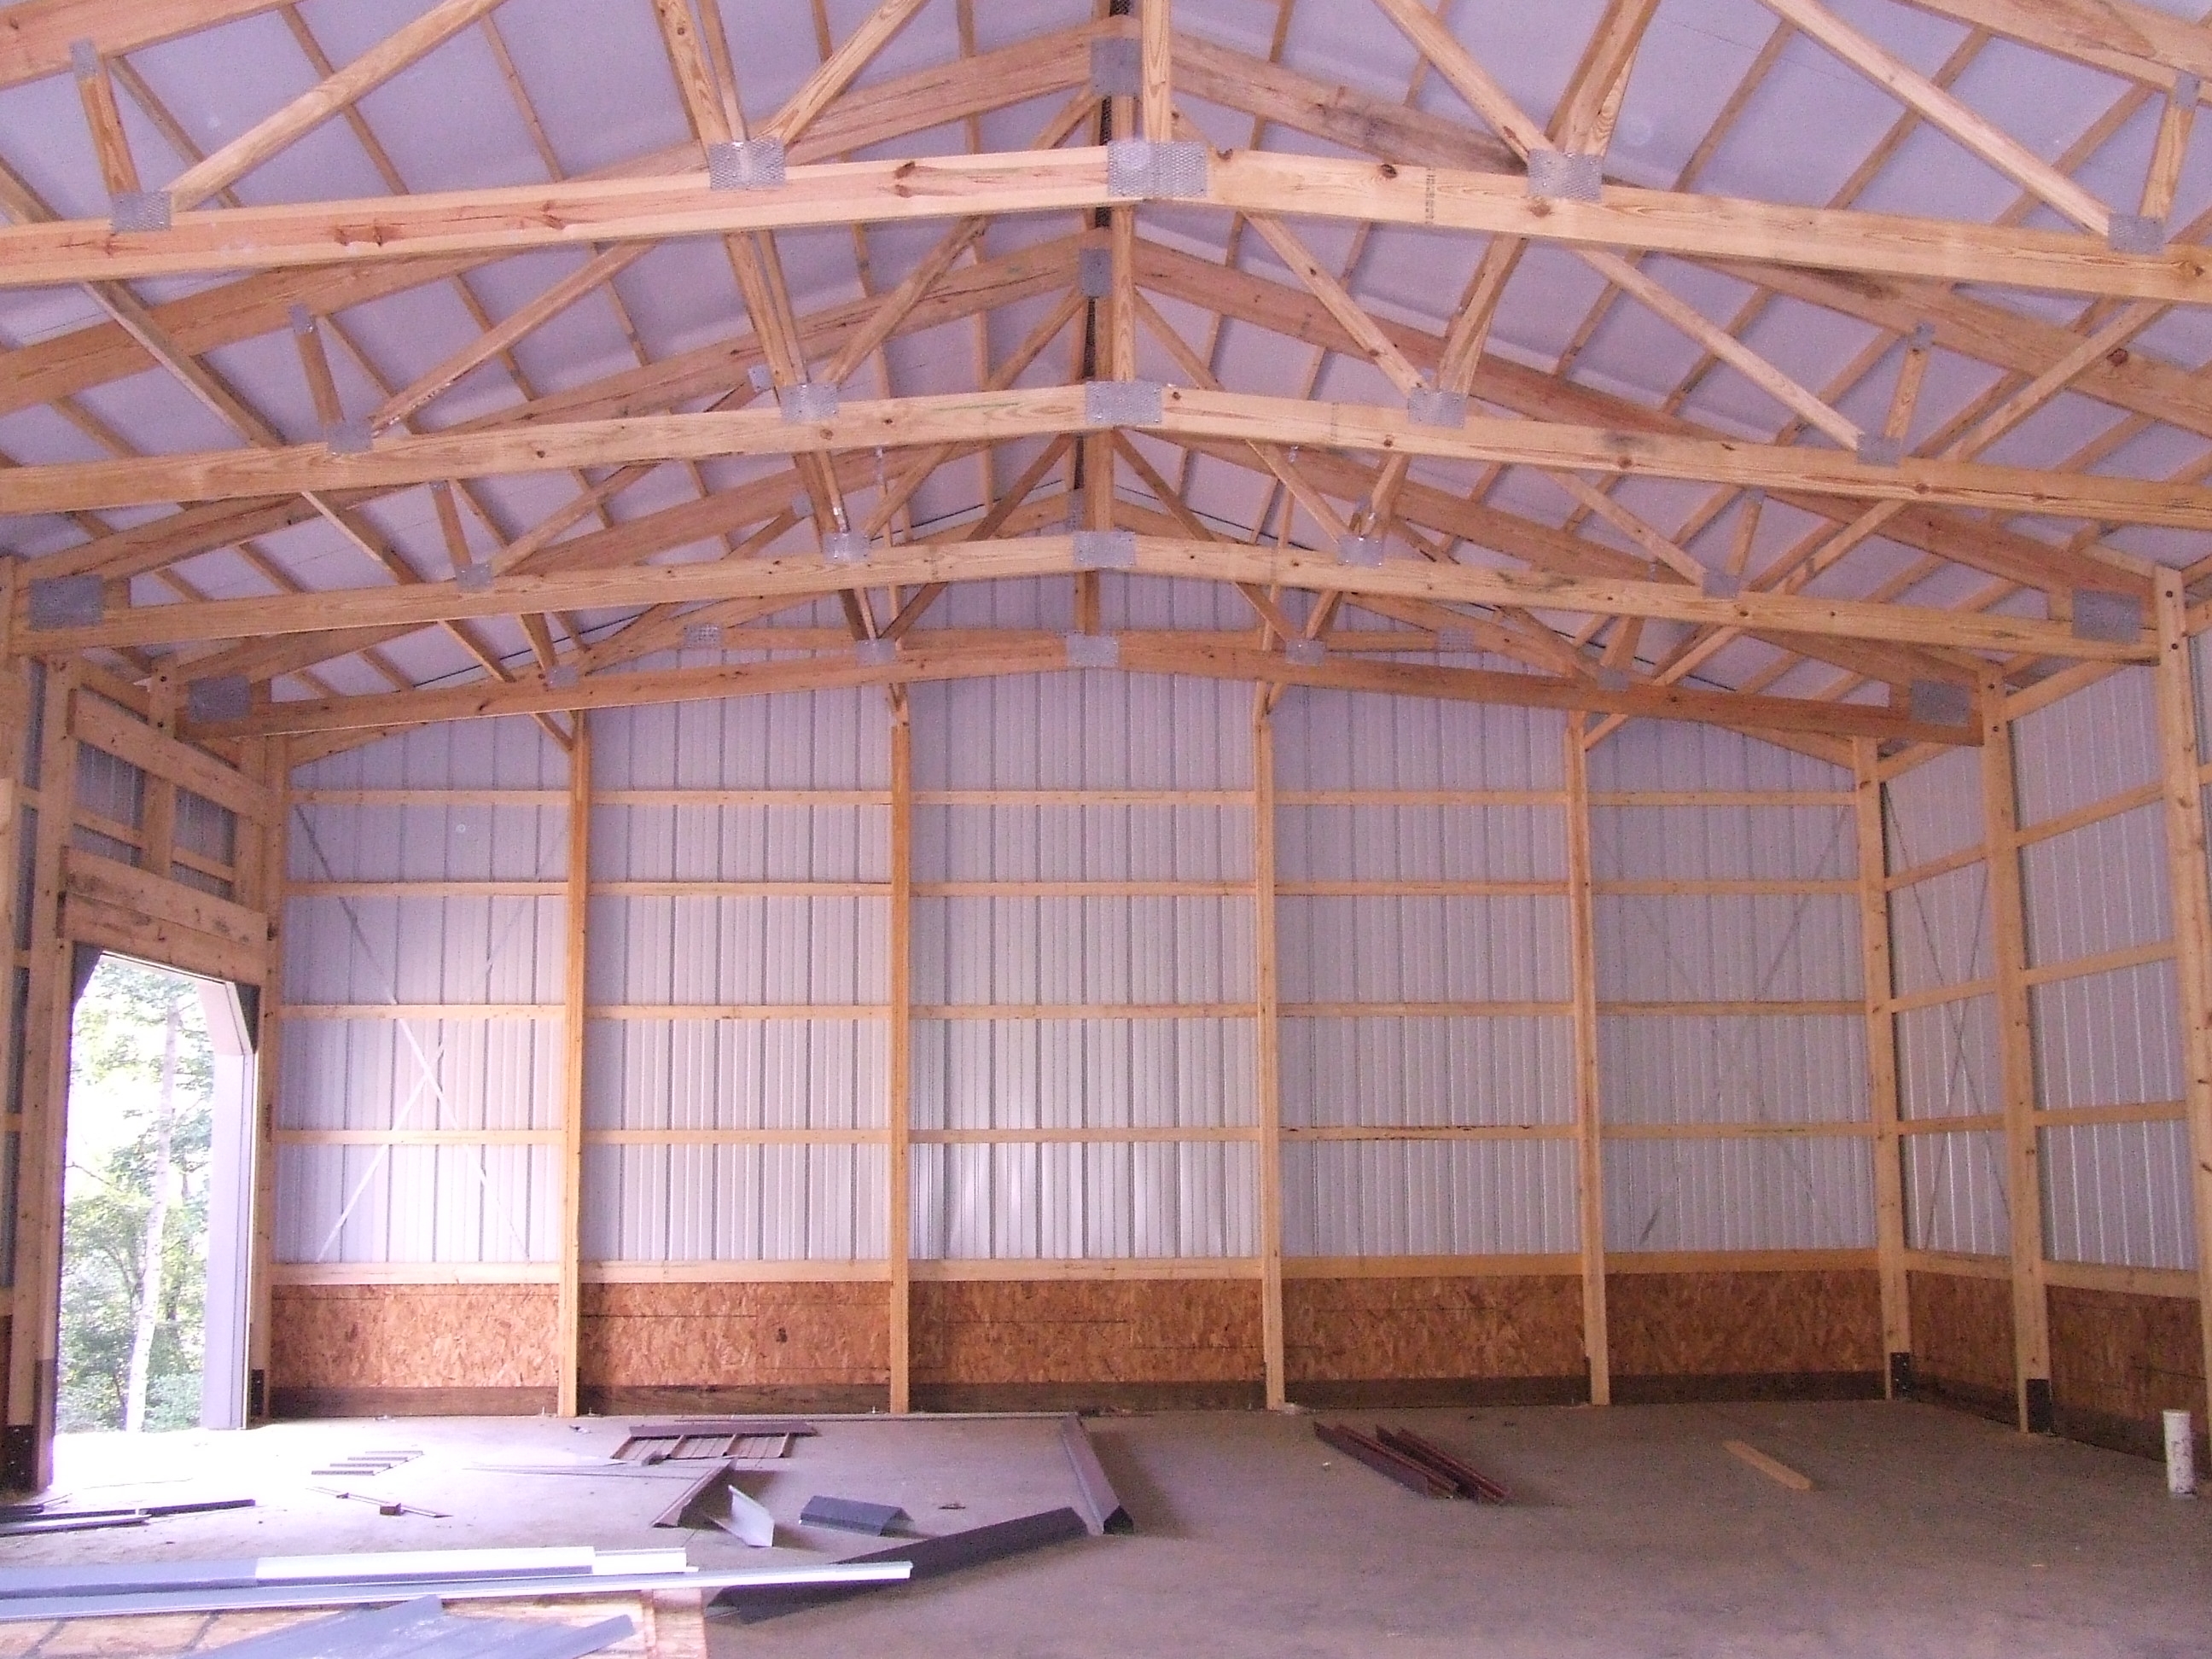
Everything but the front porch area now has siding. Framing has
started for the porch. The interior shot to the left shows how big this
place really is. The door at the back left of the interior is a
10 foot tall residential garage door (the same door as the bottom photo
in this series).
September 5, 2007
|
 |
Day 7 Well, this is near the
end. Three things left to do: Install the rear roll up door, pour
the concrete front porch and pour the slab outside the rear roll up
door. After that, it's up to me. Build interior walls and
get the electrician, plumber, well guy and septic company to finish
their parts of the puzzle.
All it takes now is time and money!
September 6, 2007
|
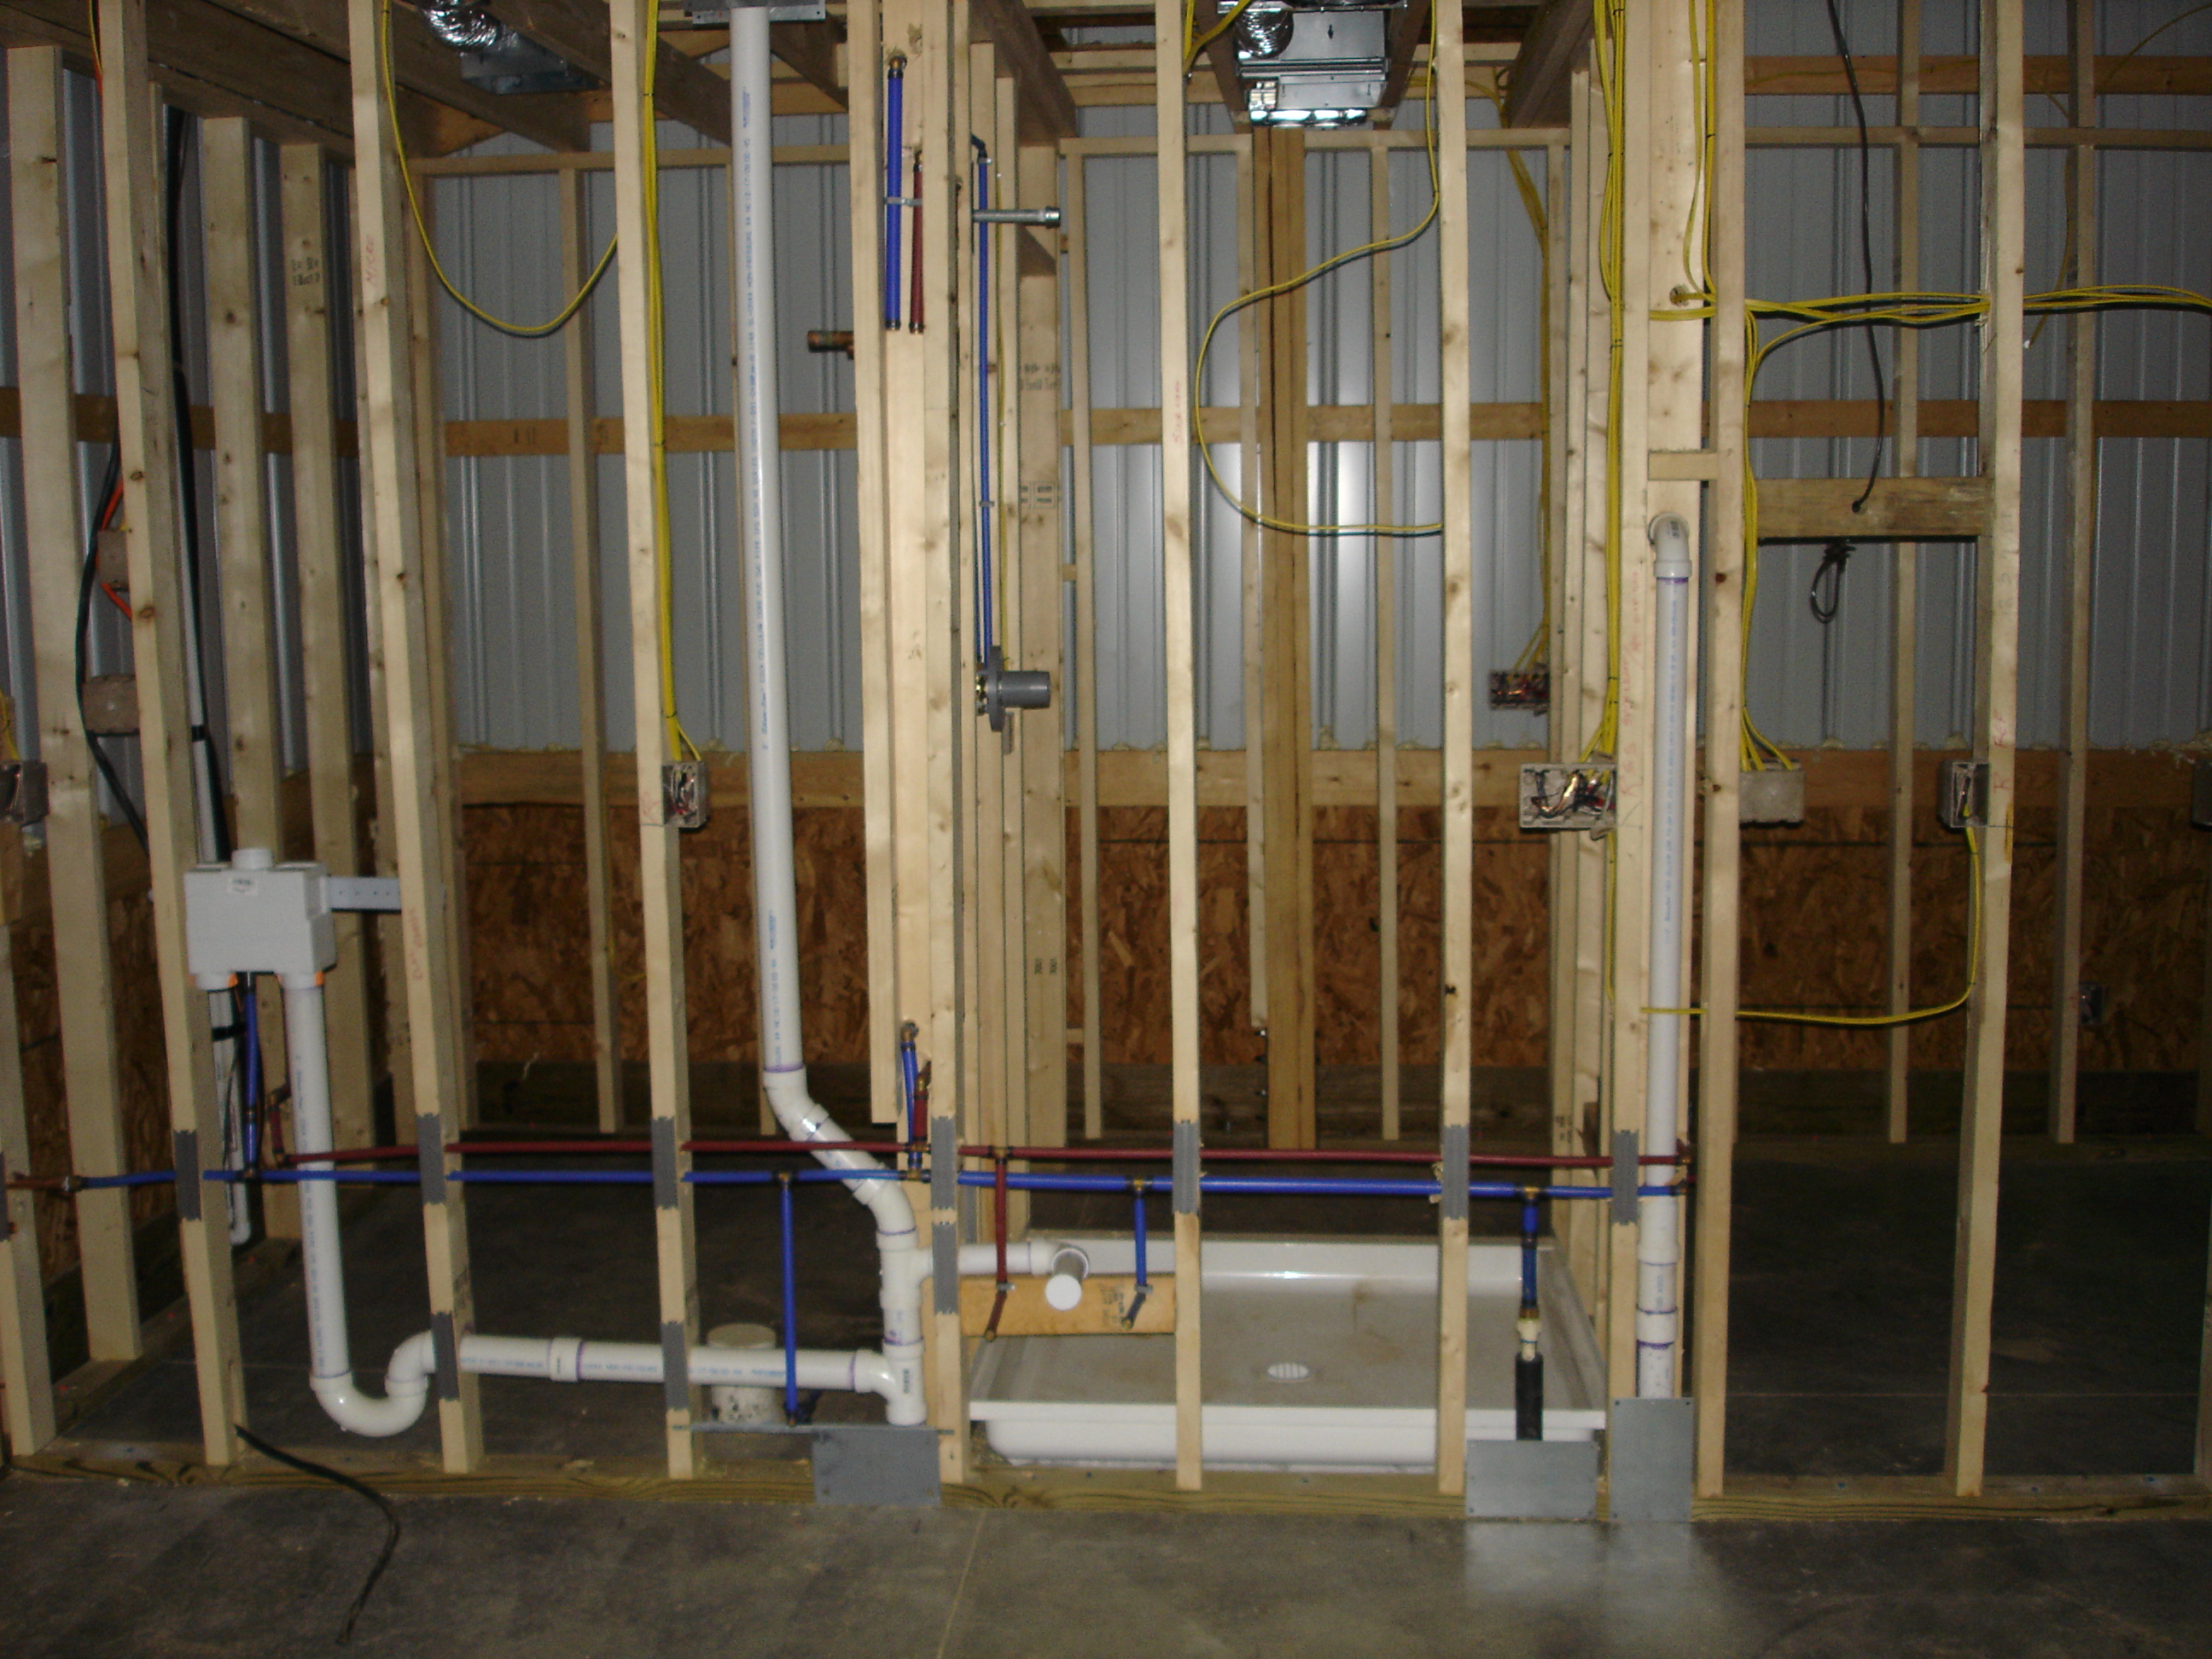
|
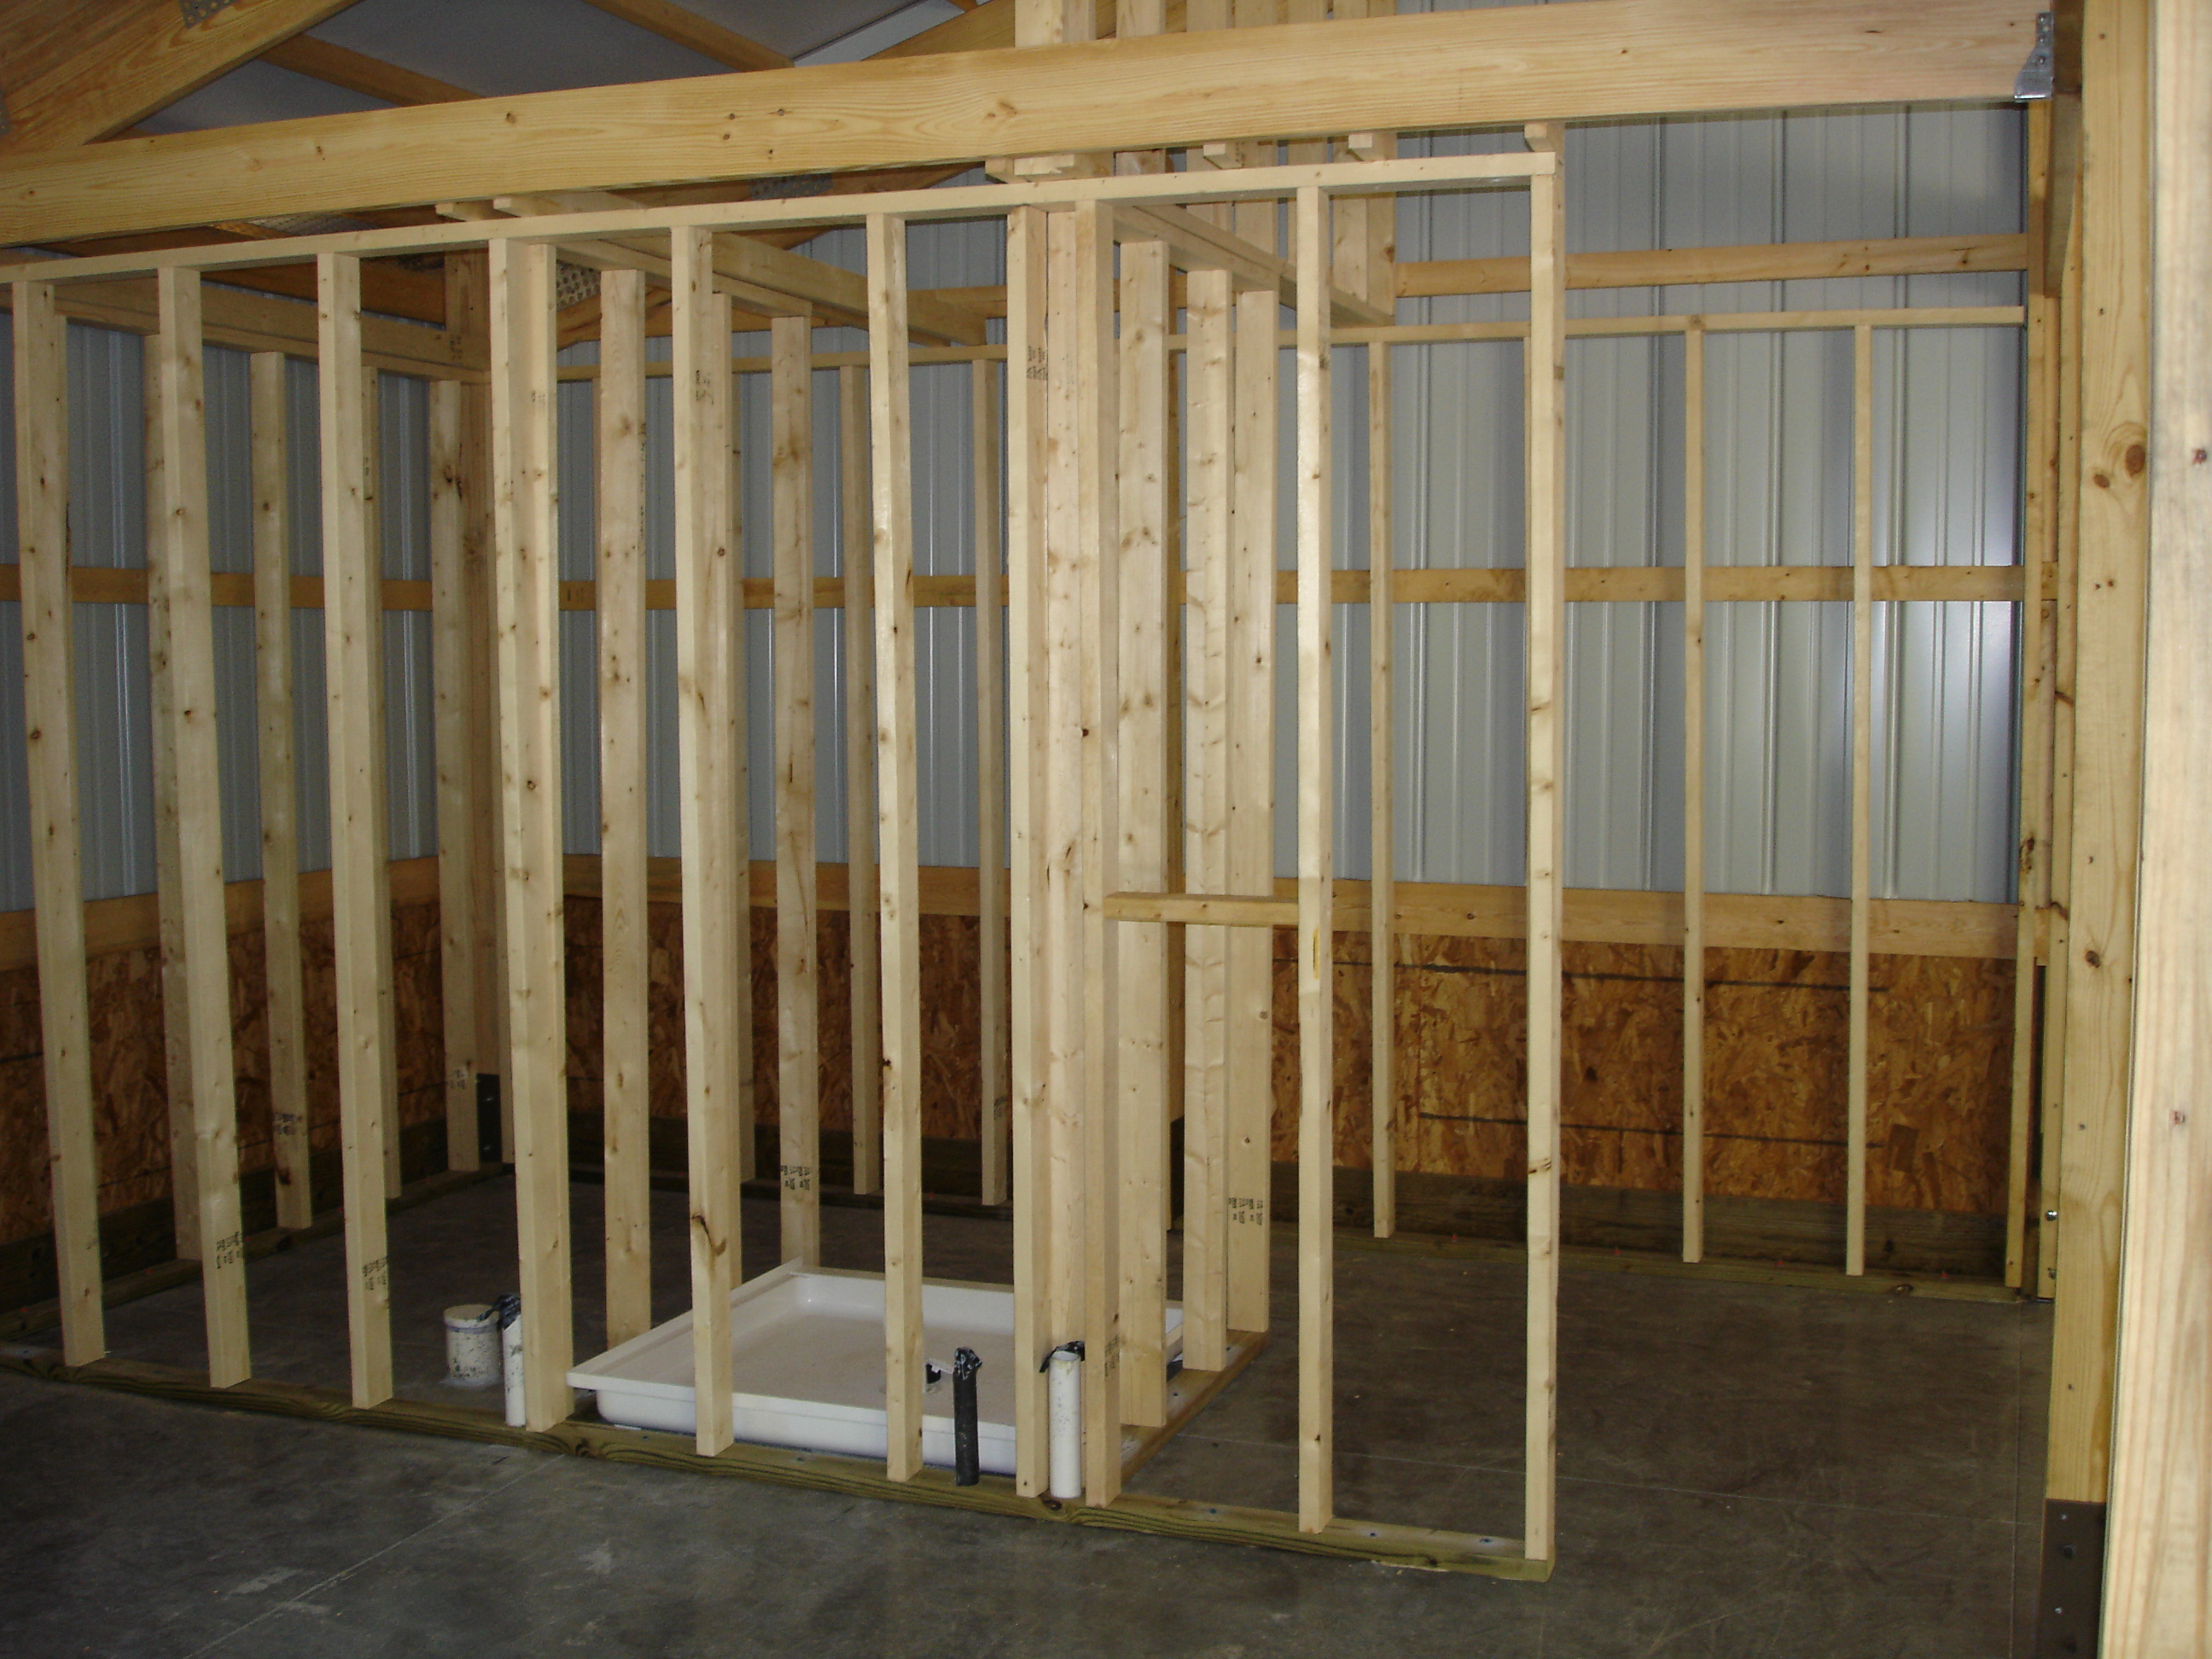
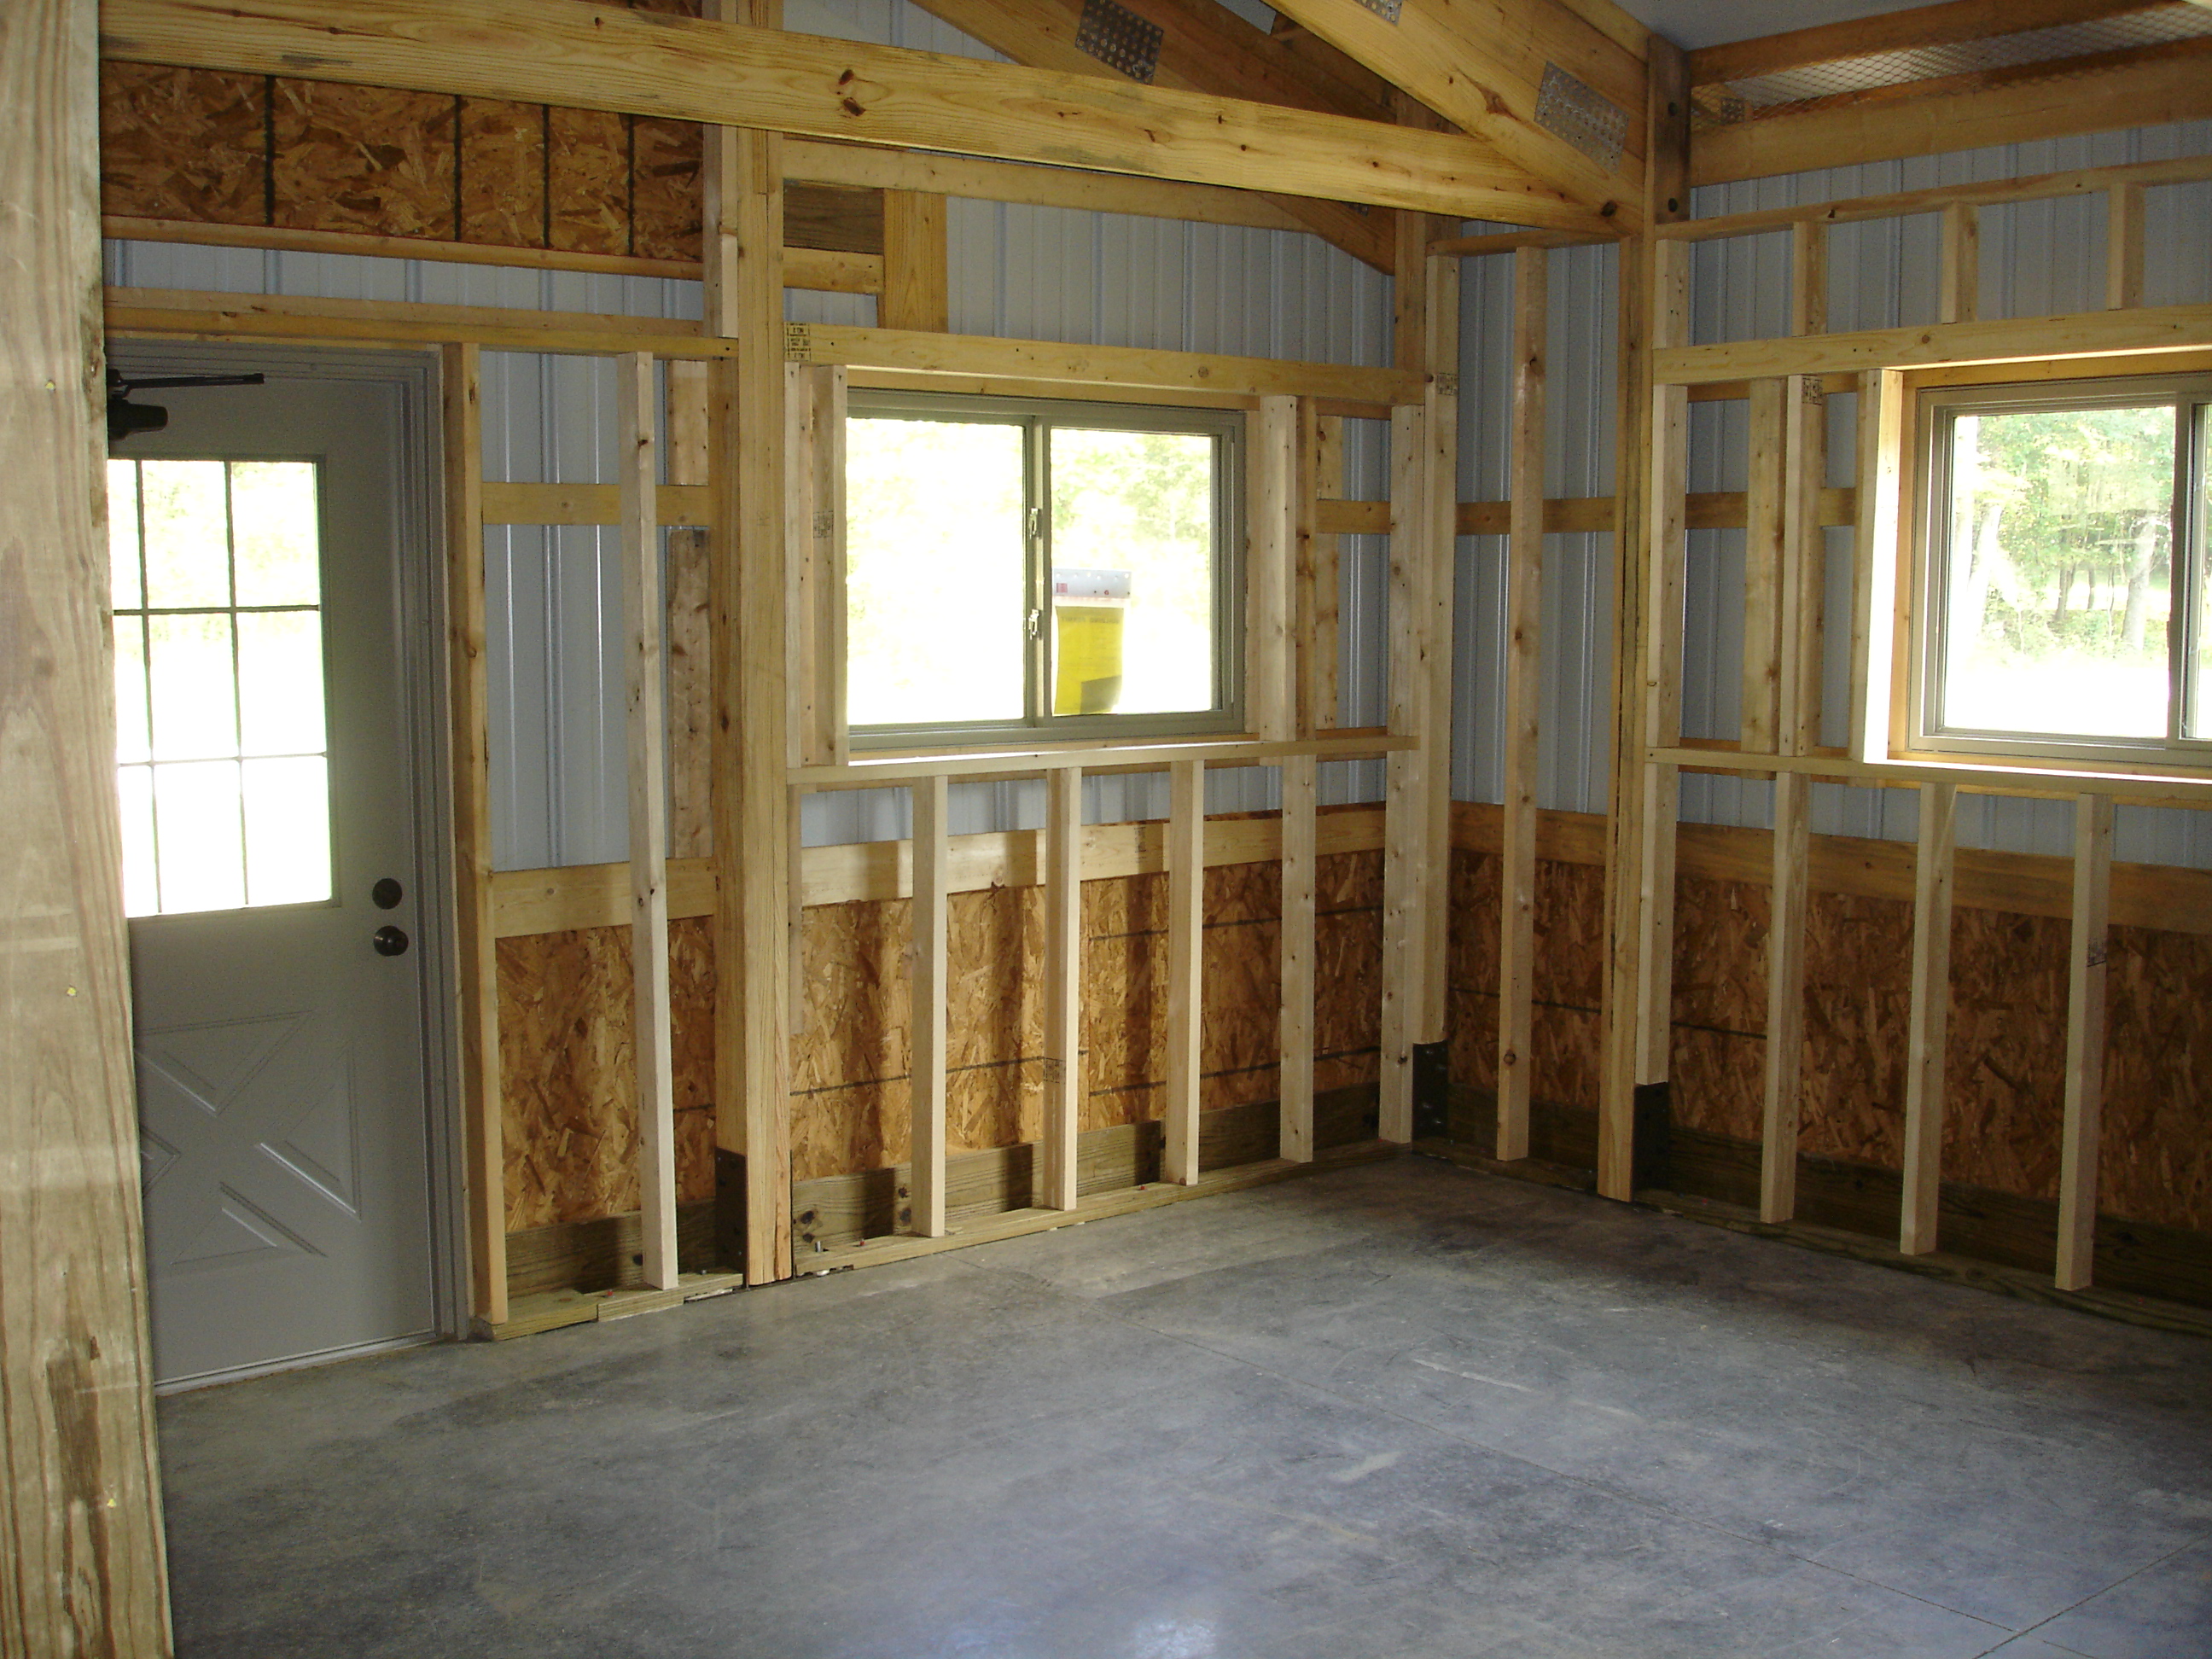
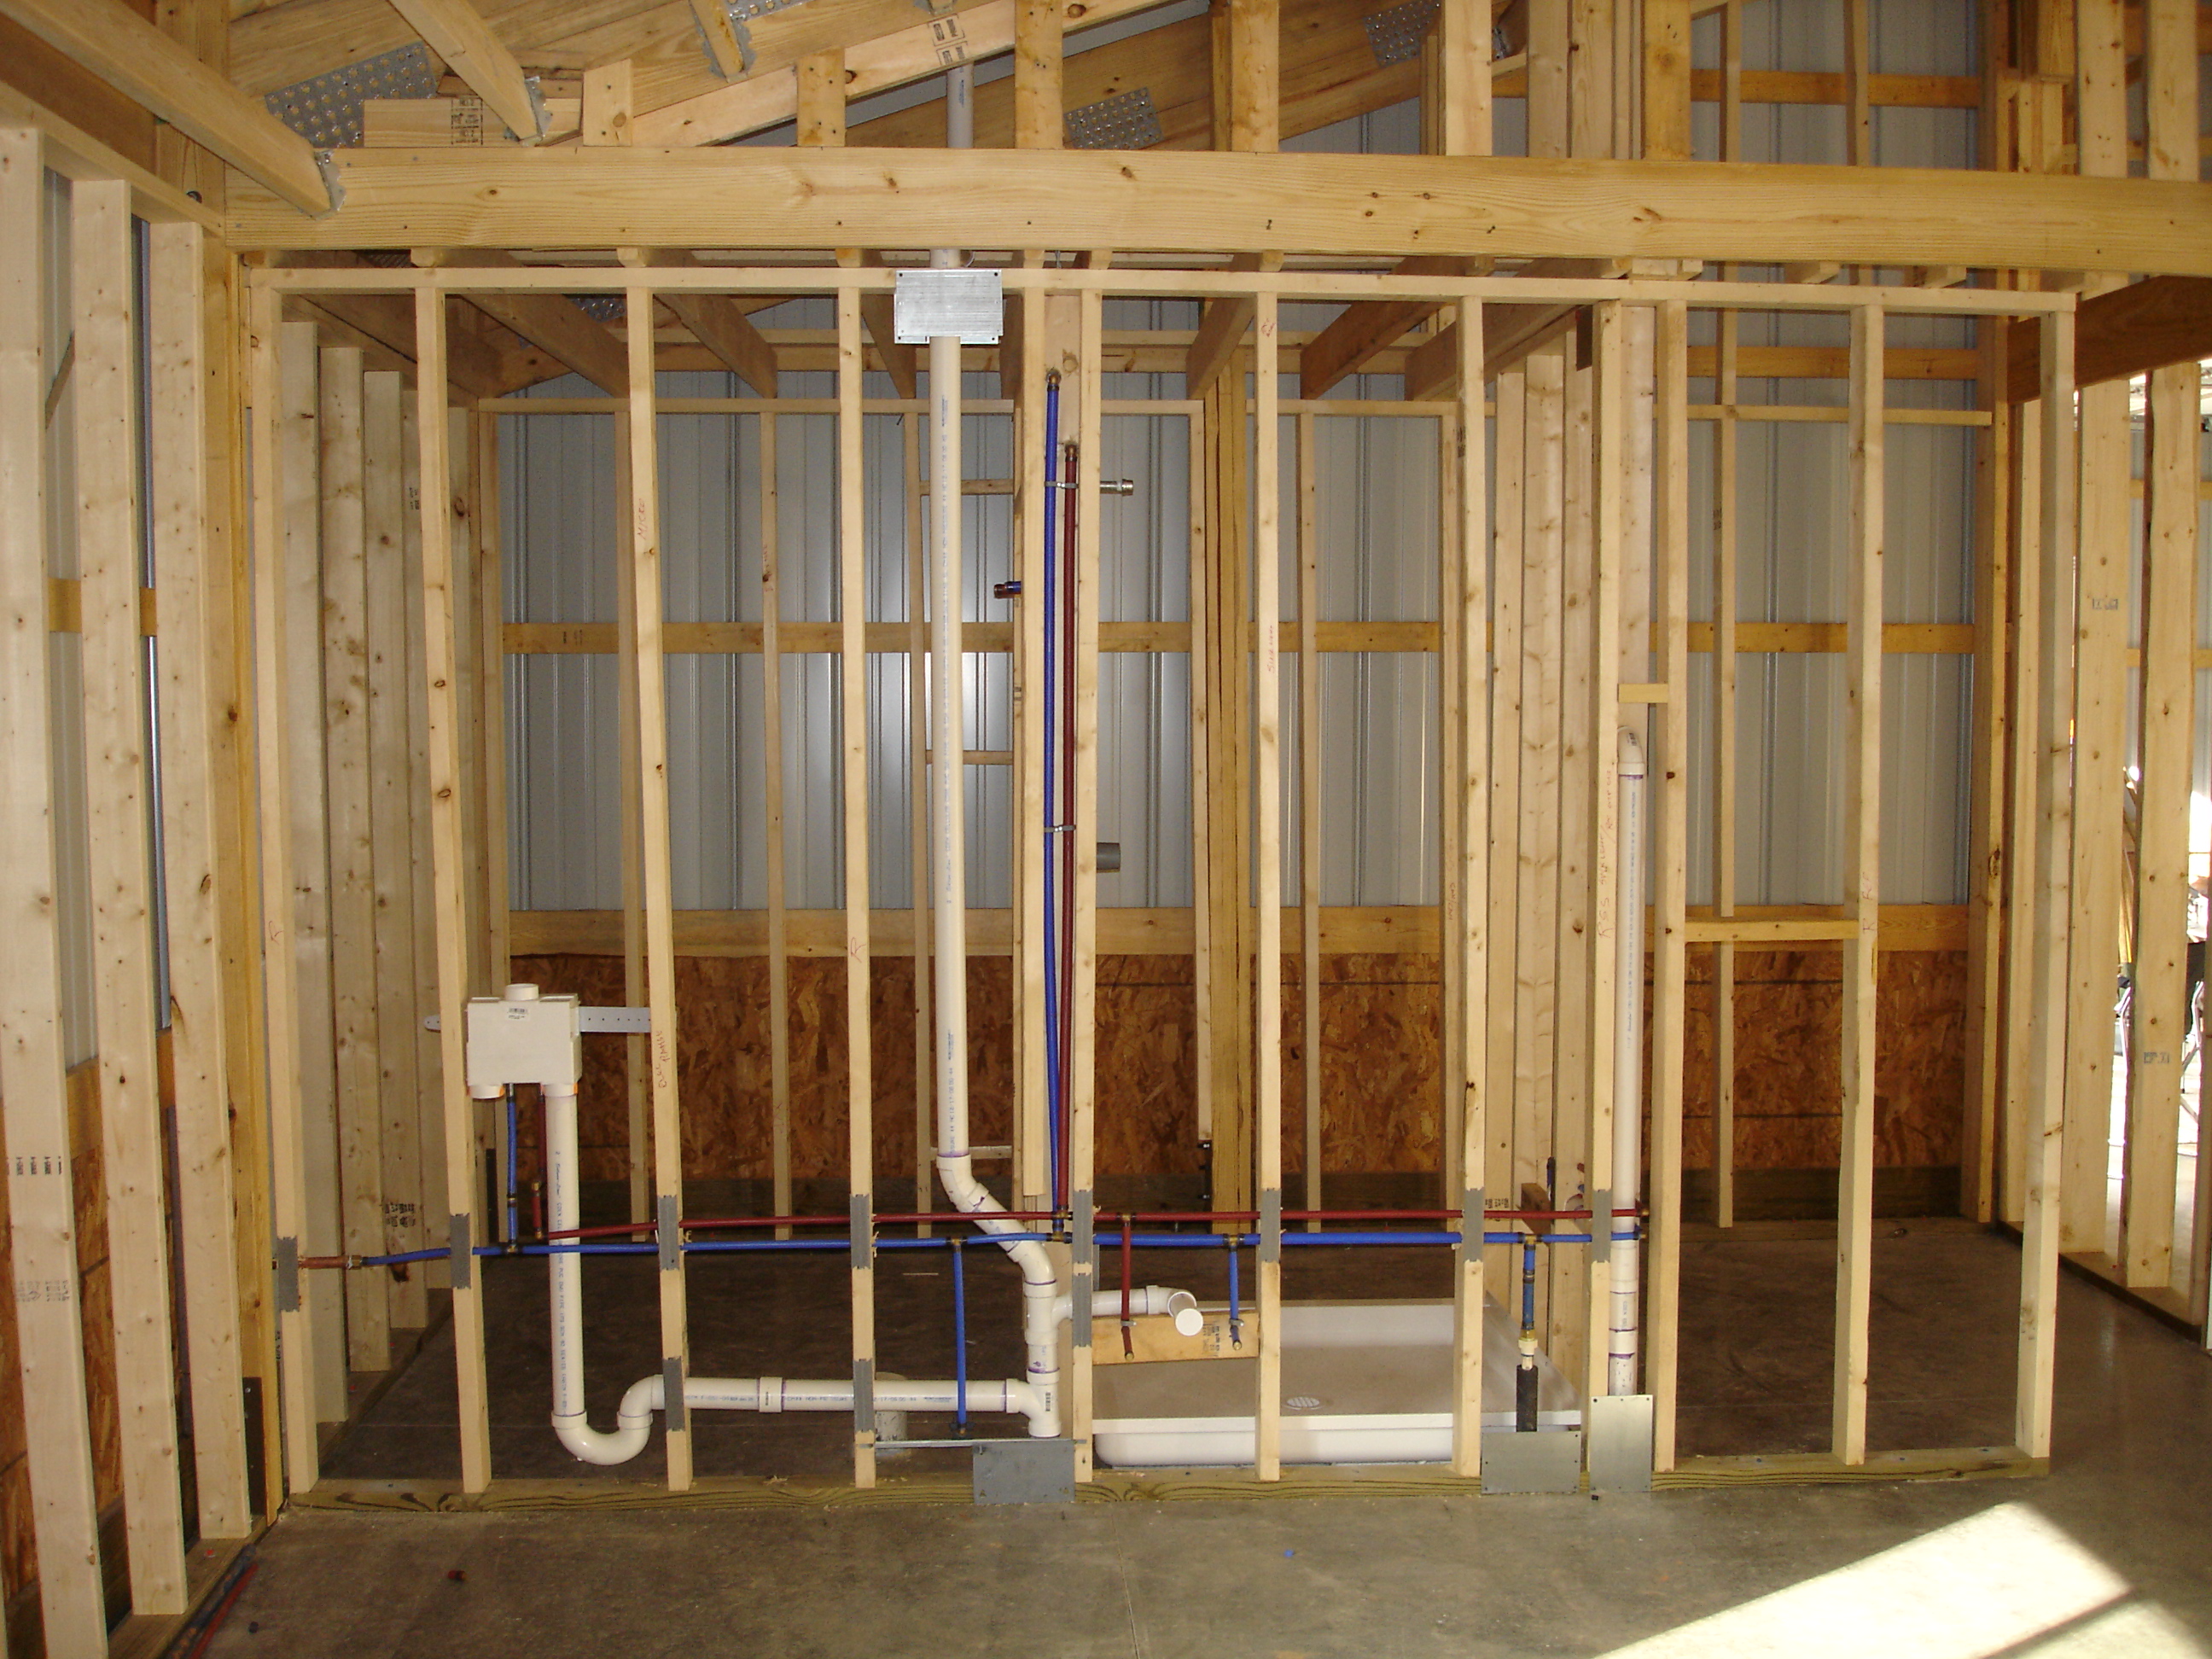
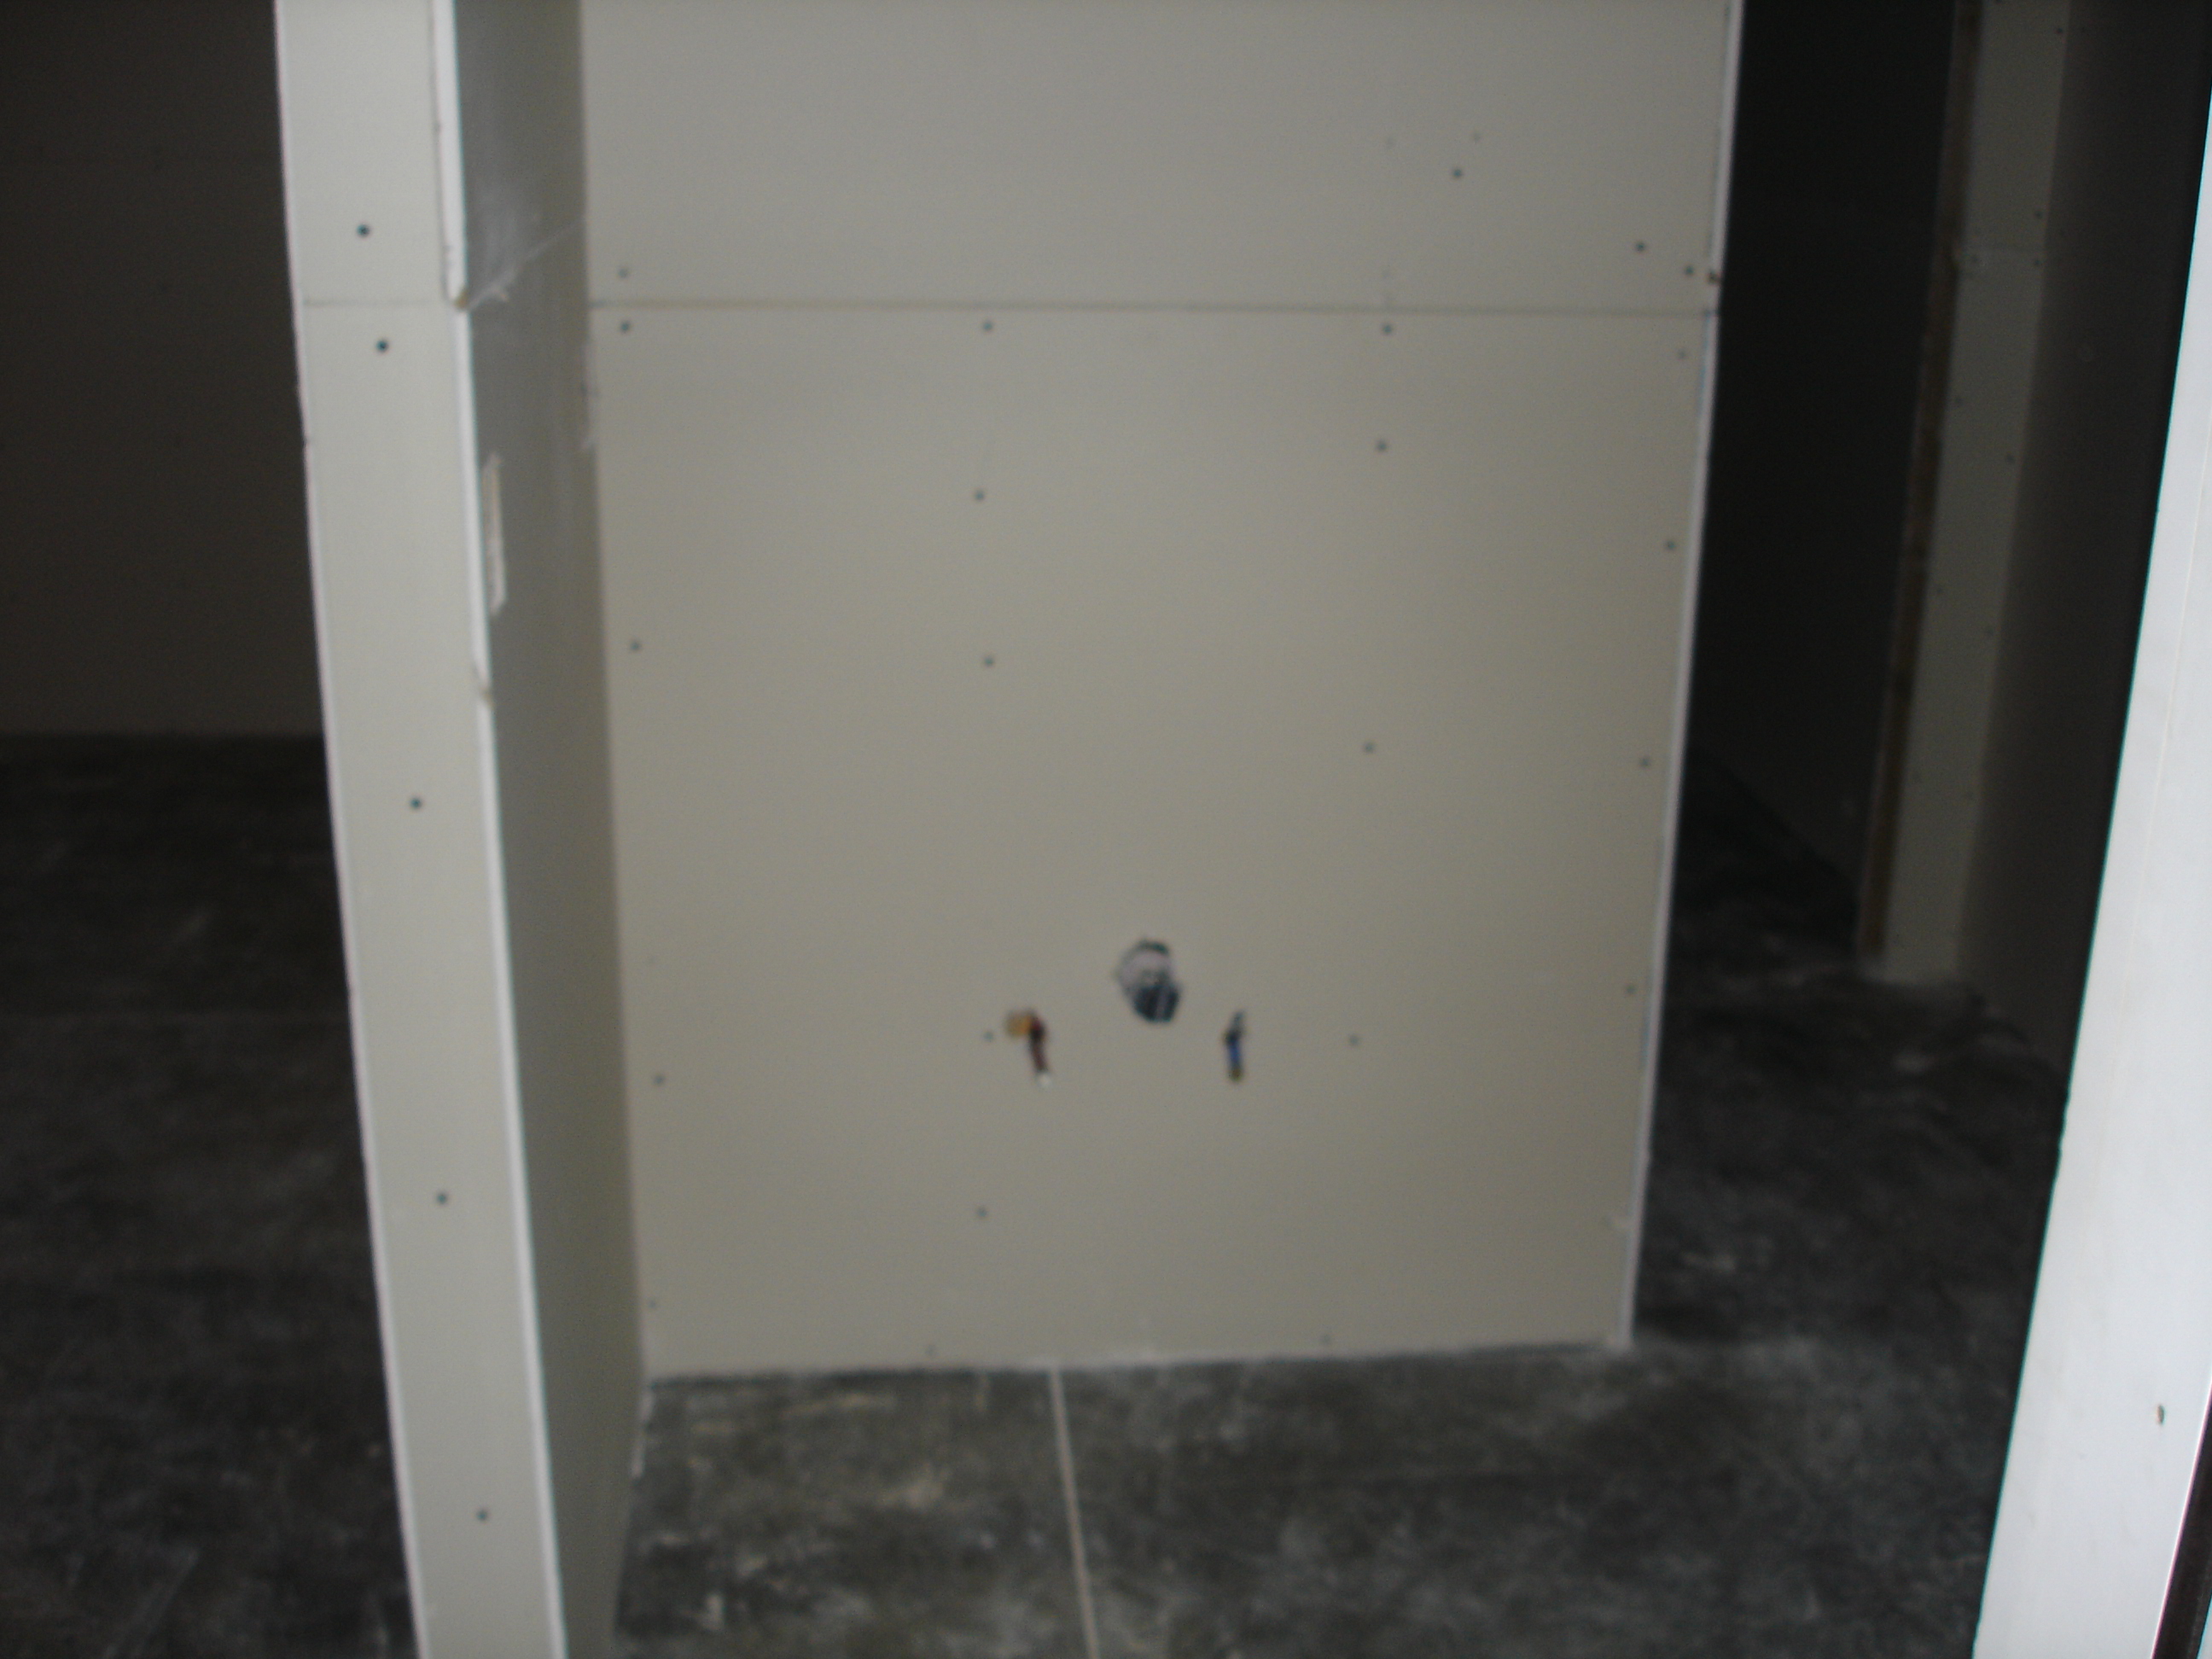
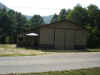
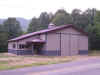
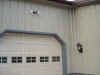
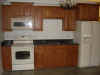
The photo in the upper left is how
the barn looks with the doors closed. Inside work has
begun. I set the shower base and studded the walls for the
shower, toilet and kitchen. The upper right photo is taken from
the living area looking through the wall into the shower/bath.
The close side of this wall will be the "kitchen" with a range, sink
and refrigerator.
September 9, 2007
|
|
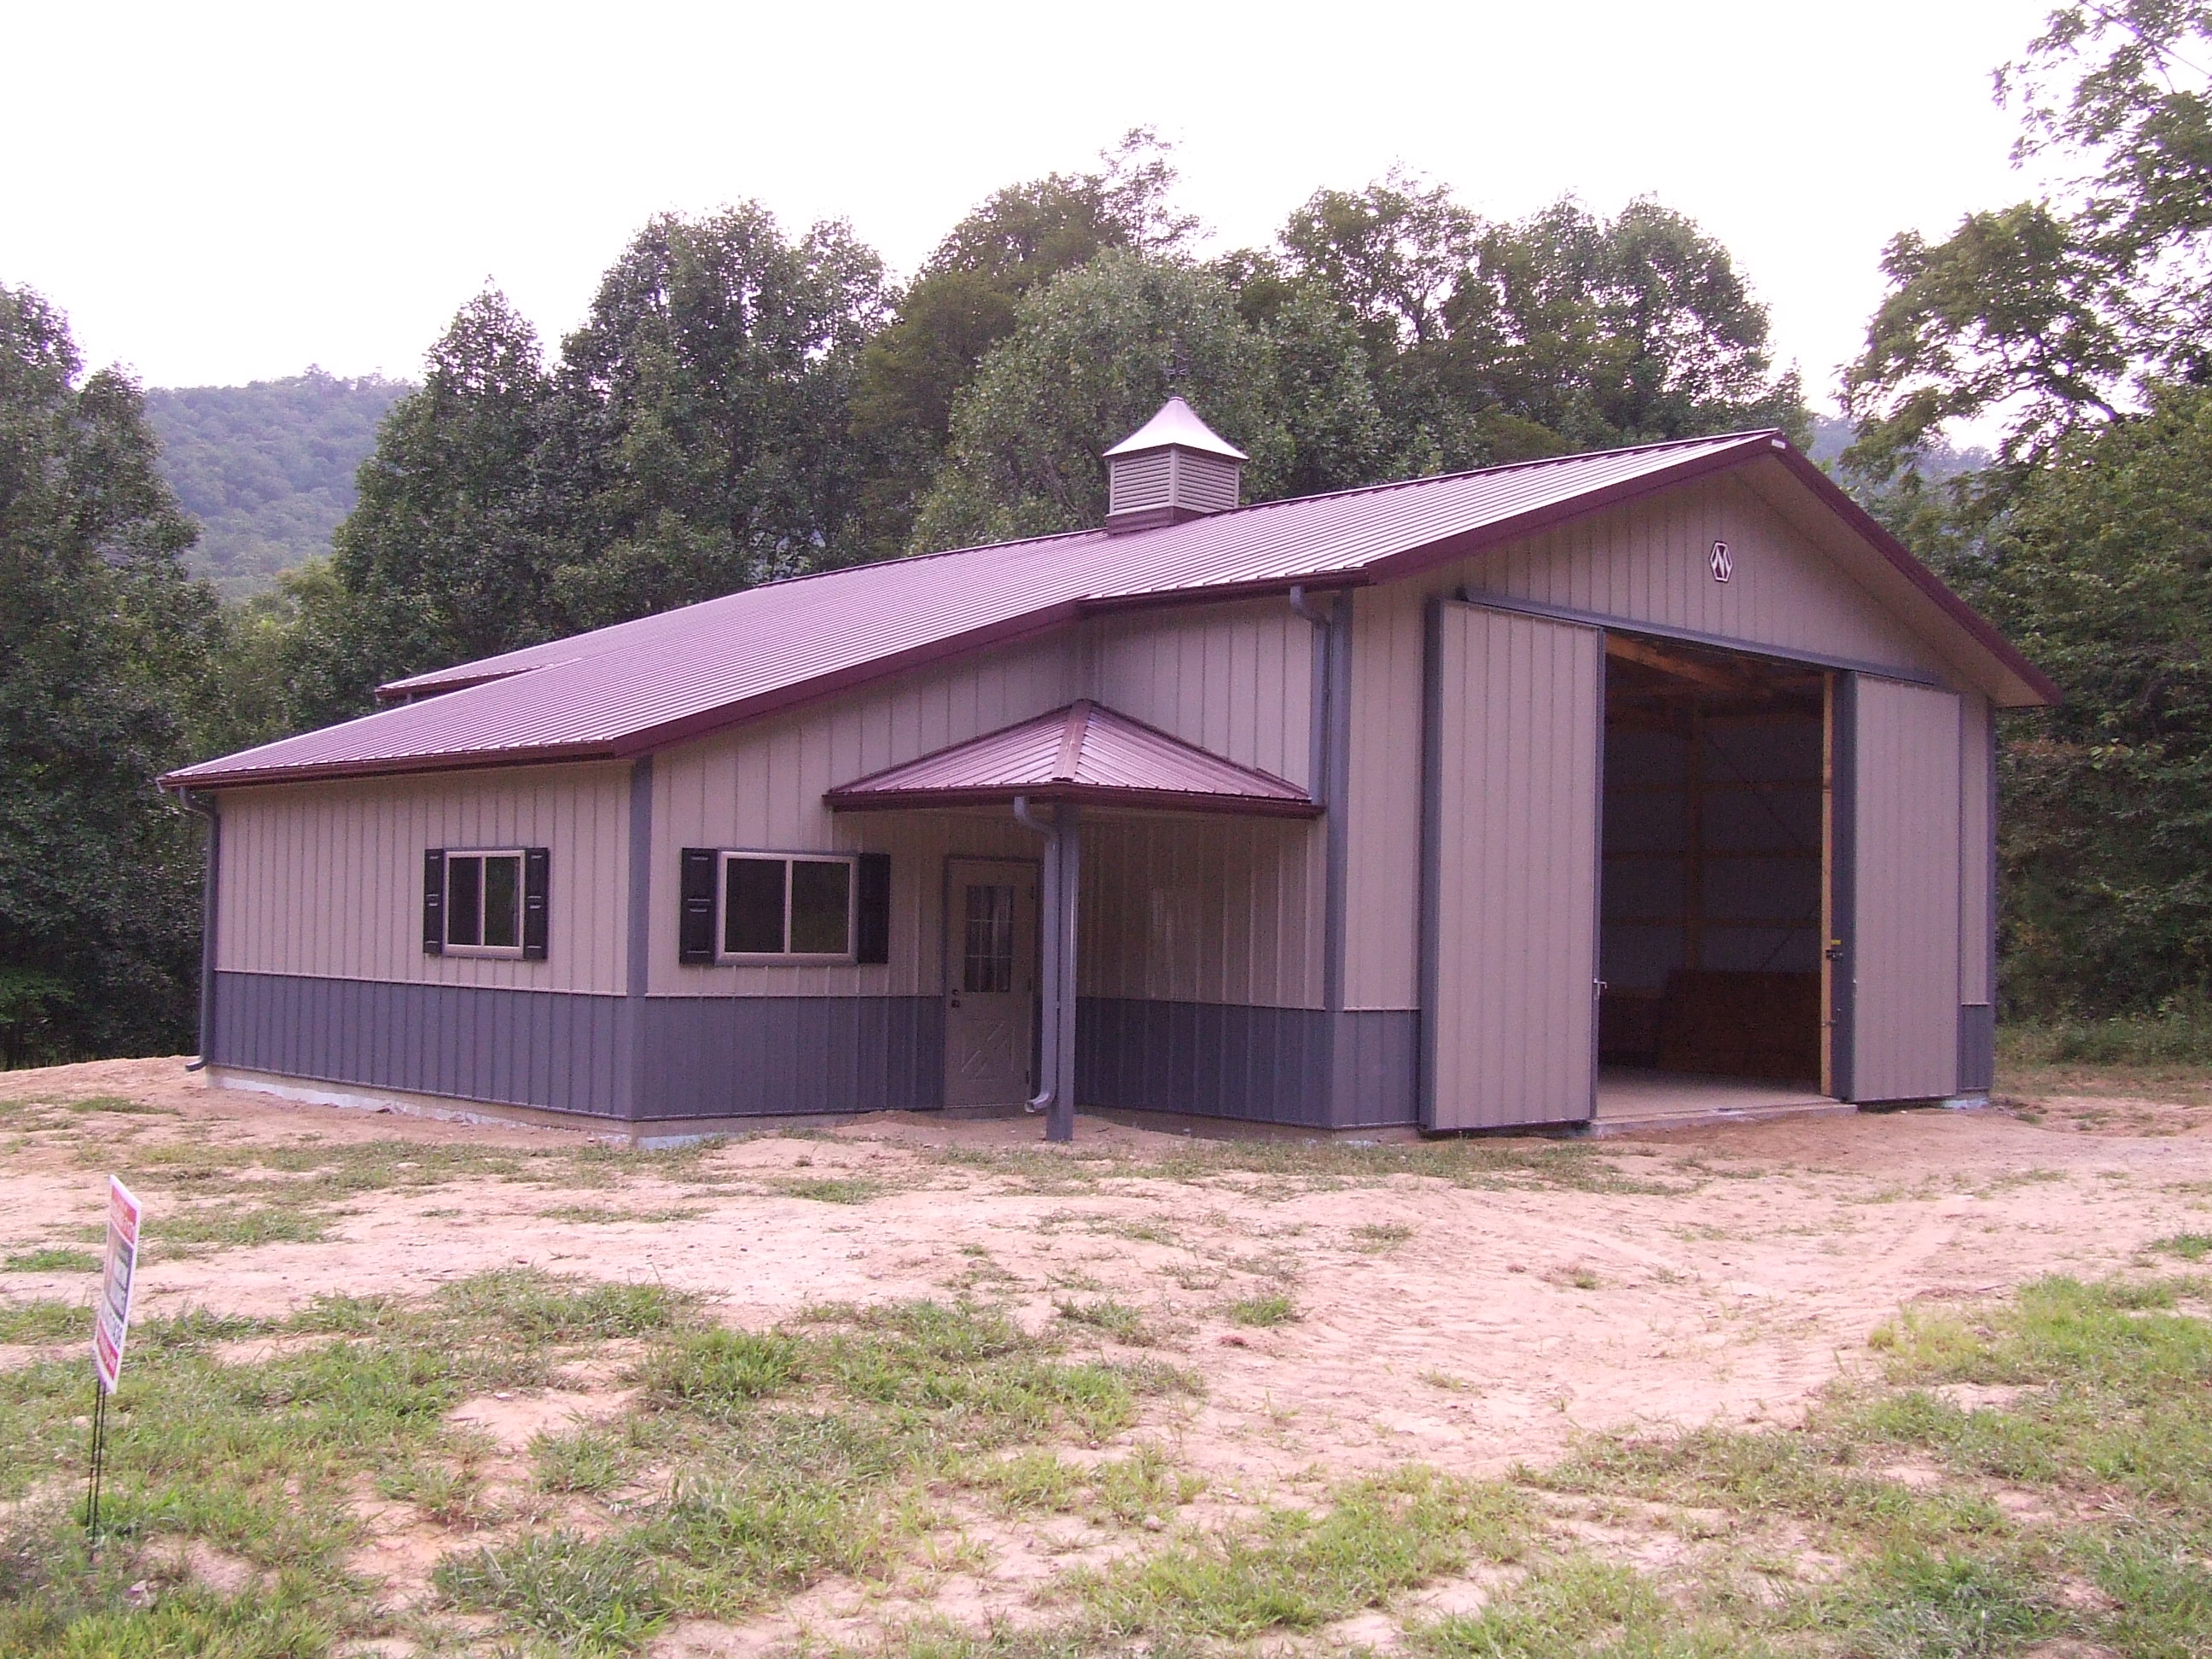
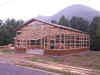
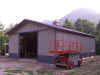
The structure is now complete!
They installed the small roll up door on the back side of the
building. Now all that is left is pouring the two concrete pads
(front porch and outside the new roll up door) as well as finishing the
inside.
September 11, 2007
|
 |
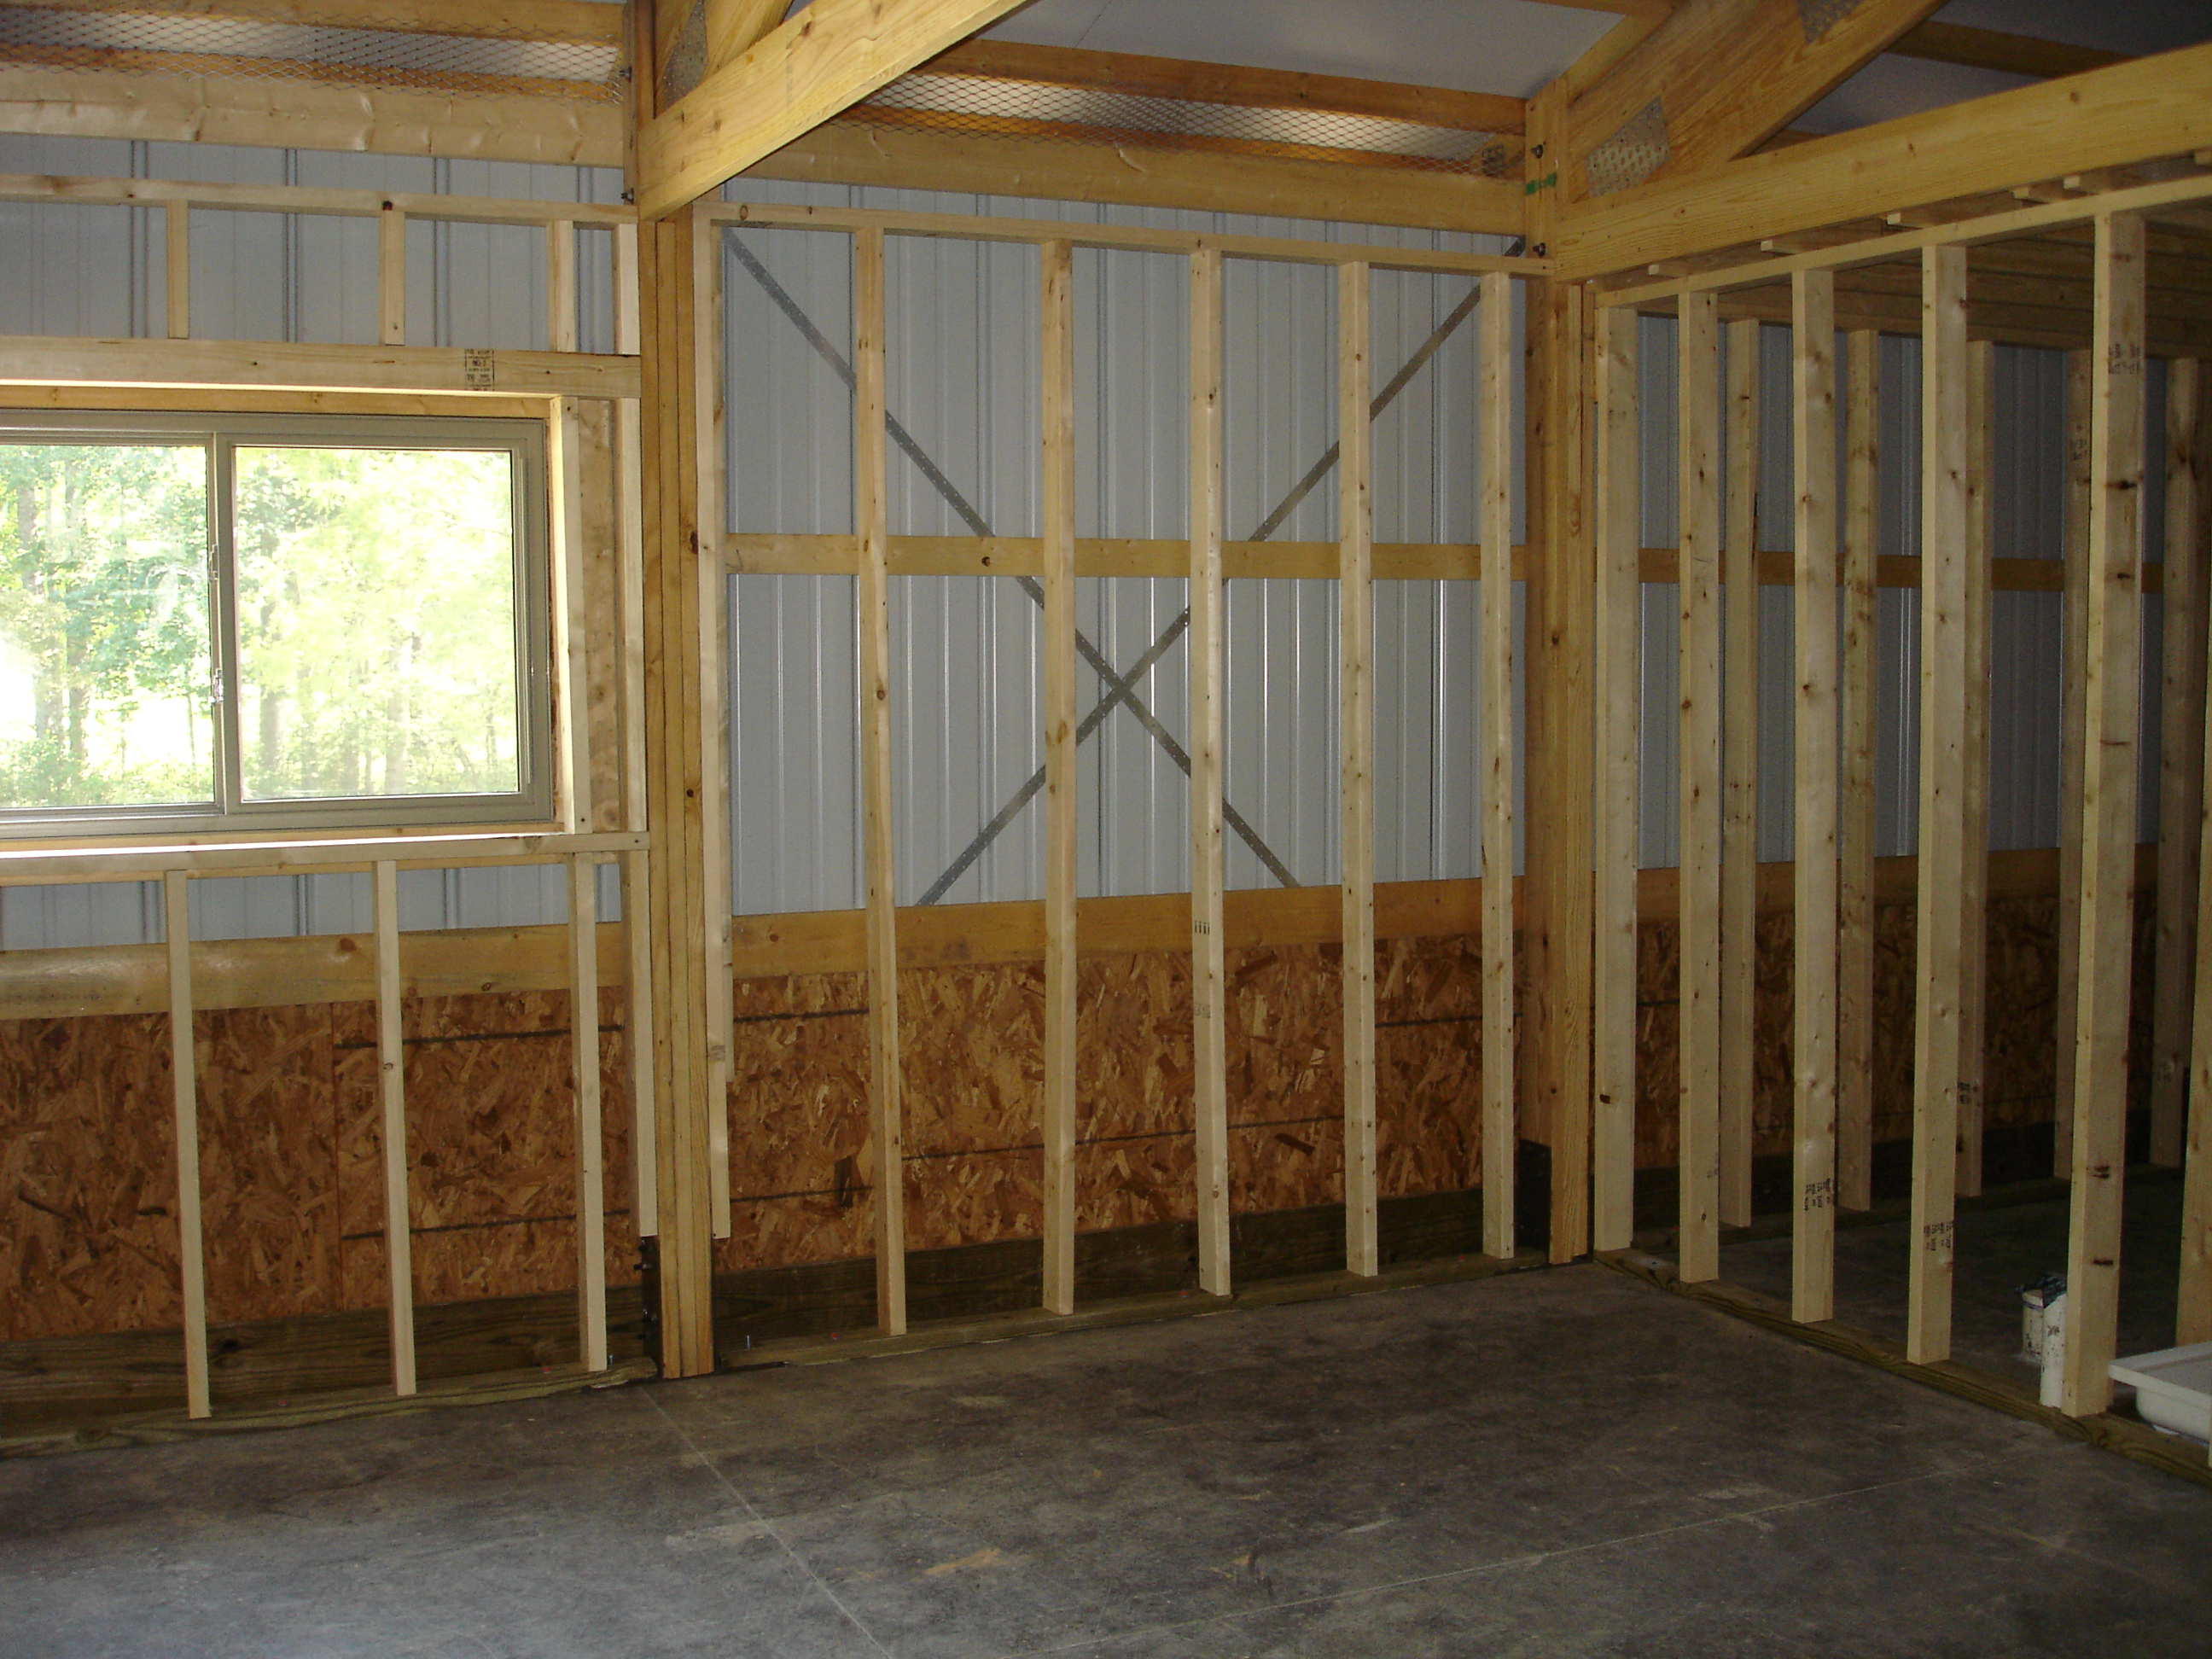
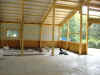
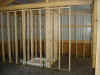
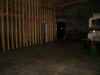
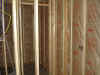
Well more time spent installing
studs. I know if you look at the photos close it appears that the walls
are too short, but at this angle the ceiling will come down to the tops
of these studs. Two more walls done leaving a 16' wall and the
ceiling to complete. A couple more weekends (or one good weekend
that I worked a little harder) and I will be ready for the framing
inspection. The plumber and septic guys stopped by and both will
start their work in the next week or two. Once I get the studs in
the electrician can also start his work.
September 16, 2007
|
|
Well, not a lot has happened due to
being on the road for work for the last 8 days. The only progress
to show is we have the "kitchen" design finished.
September 27, 2007
|
|
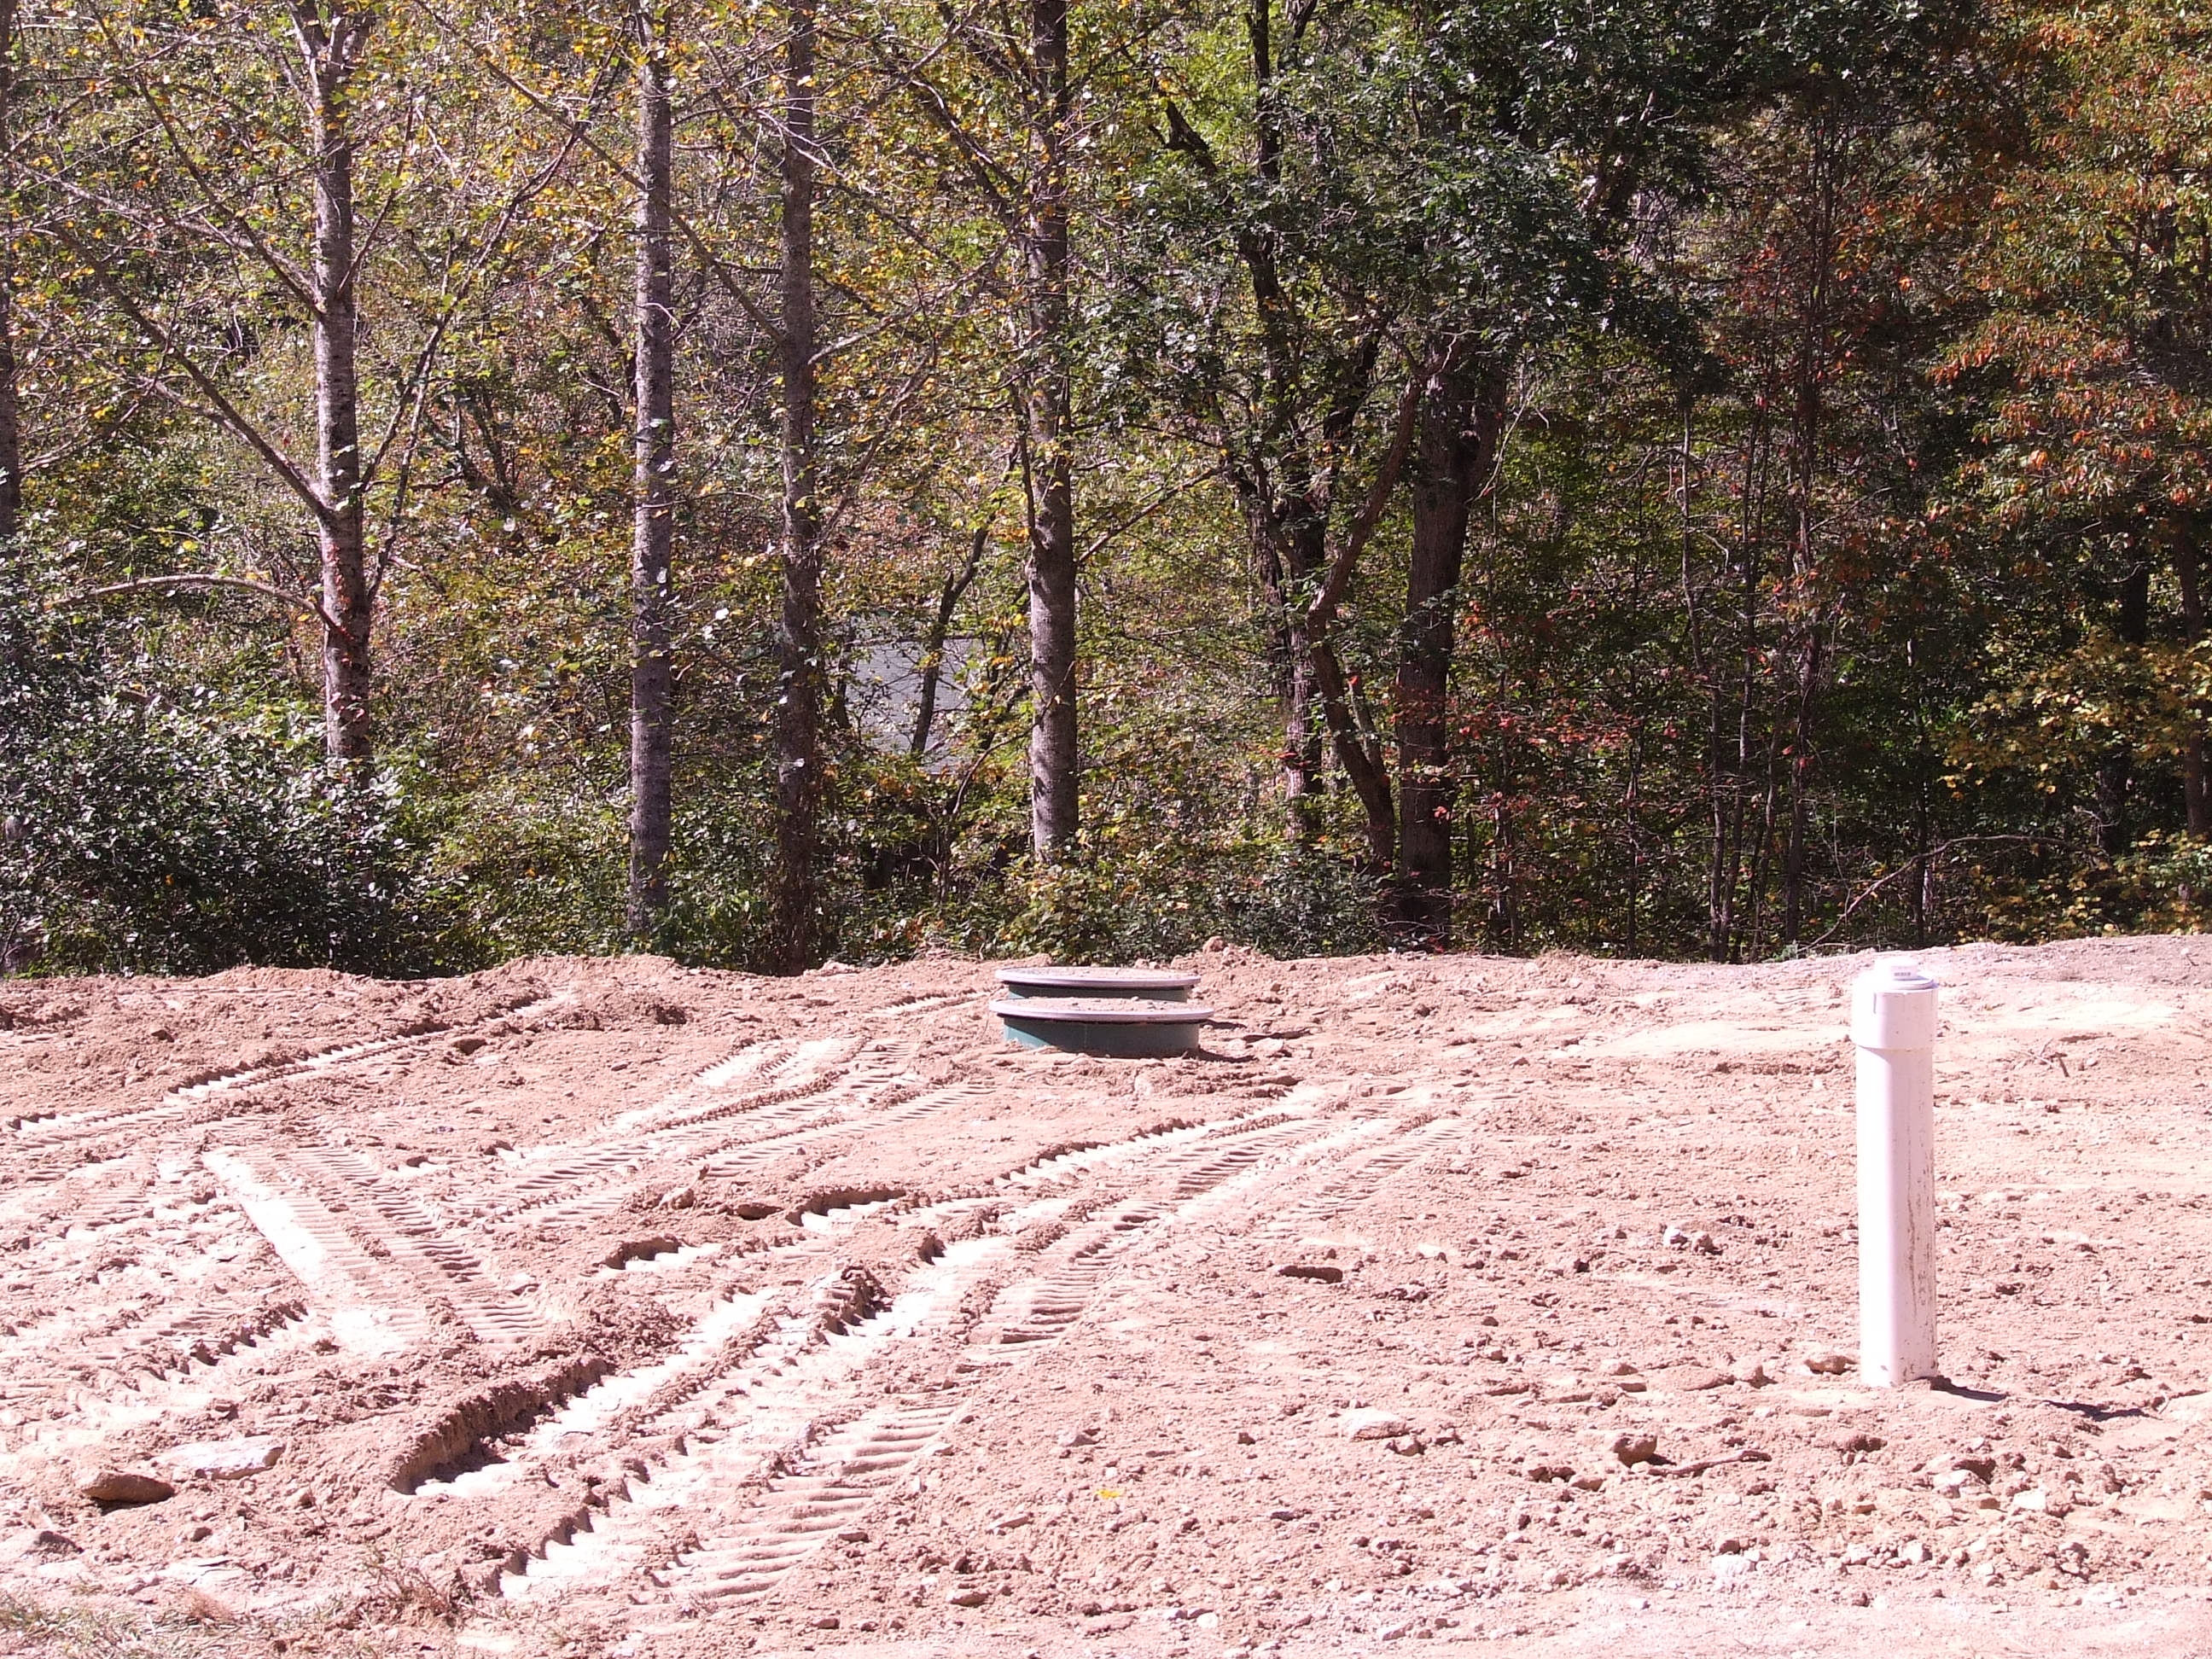
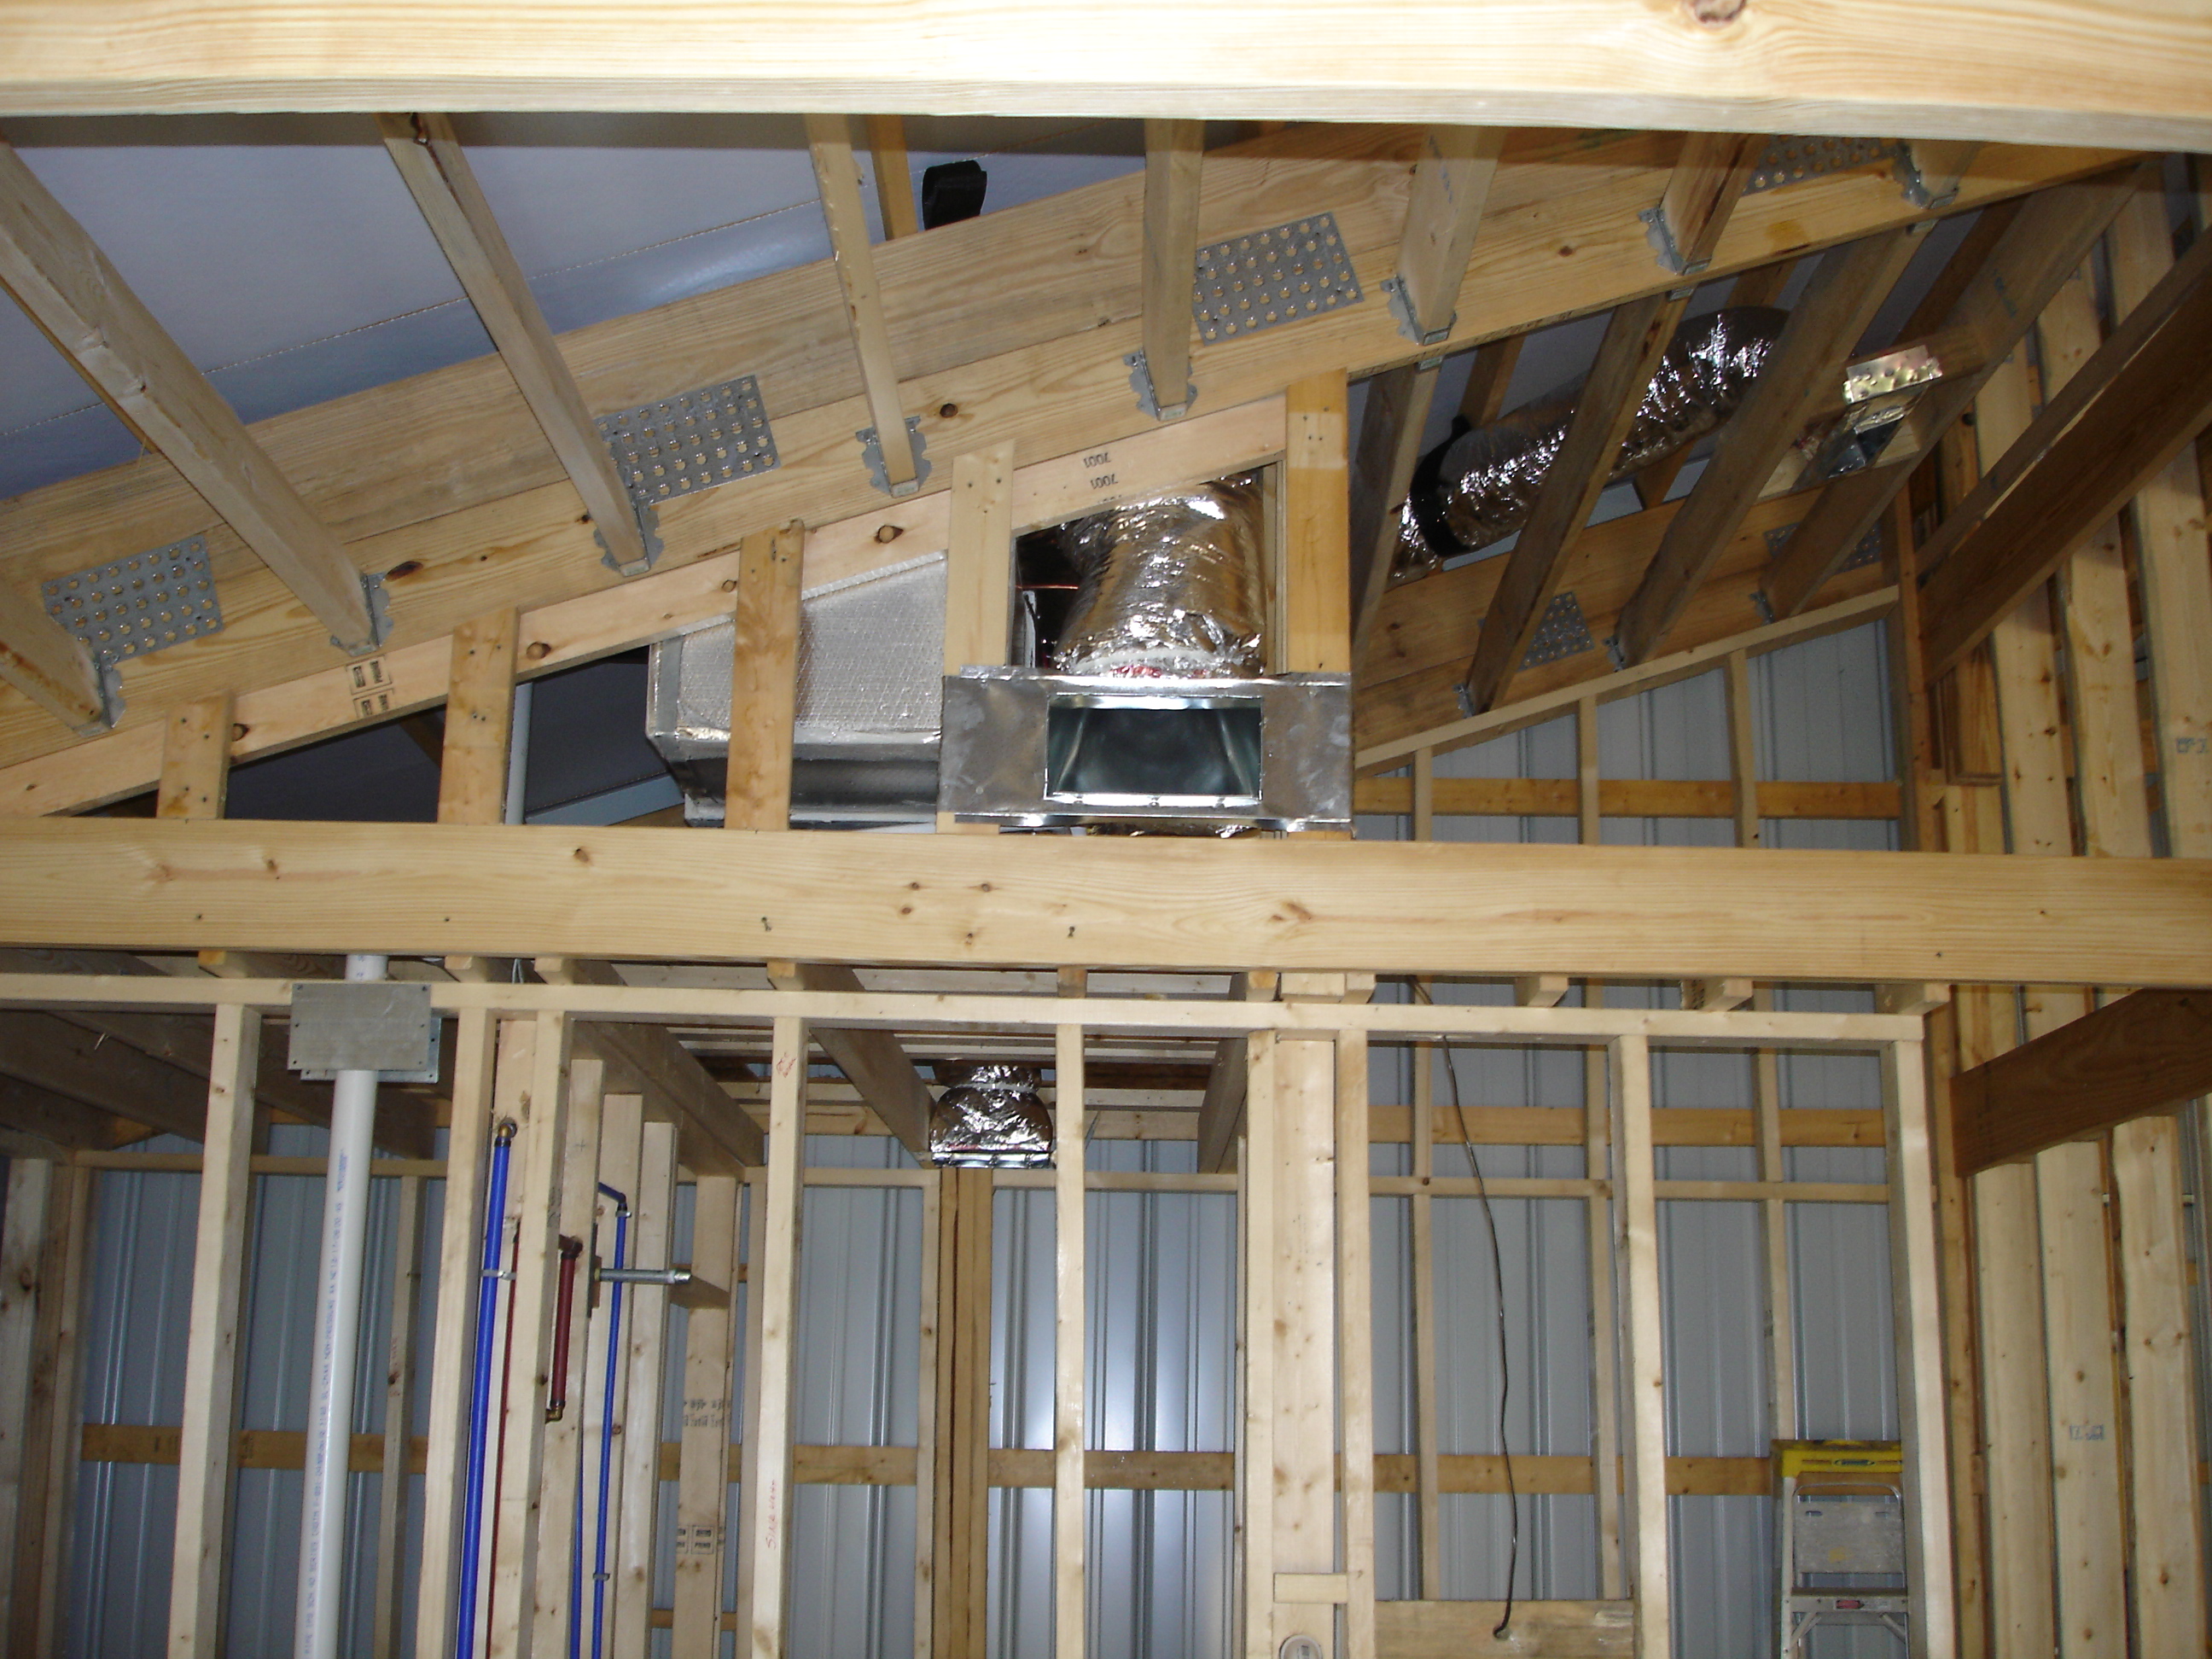
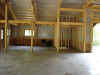
Things are beginning to move a bit
more rapidly. In the upper left photo you see the rough plumbing
has been completed, as well as the upper right photo shows that the
framing for the living space has been completed. Both have been
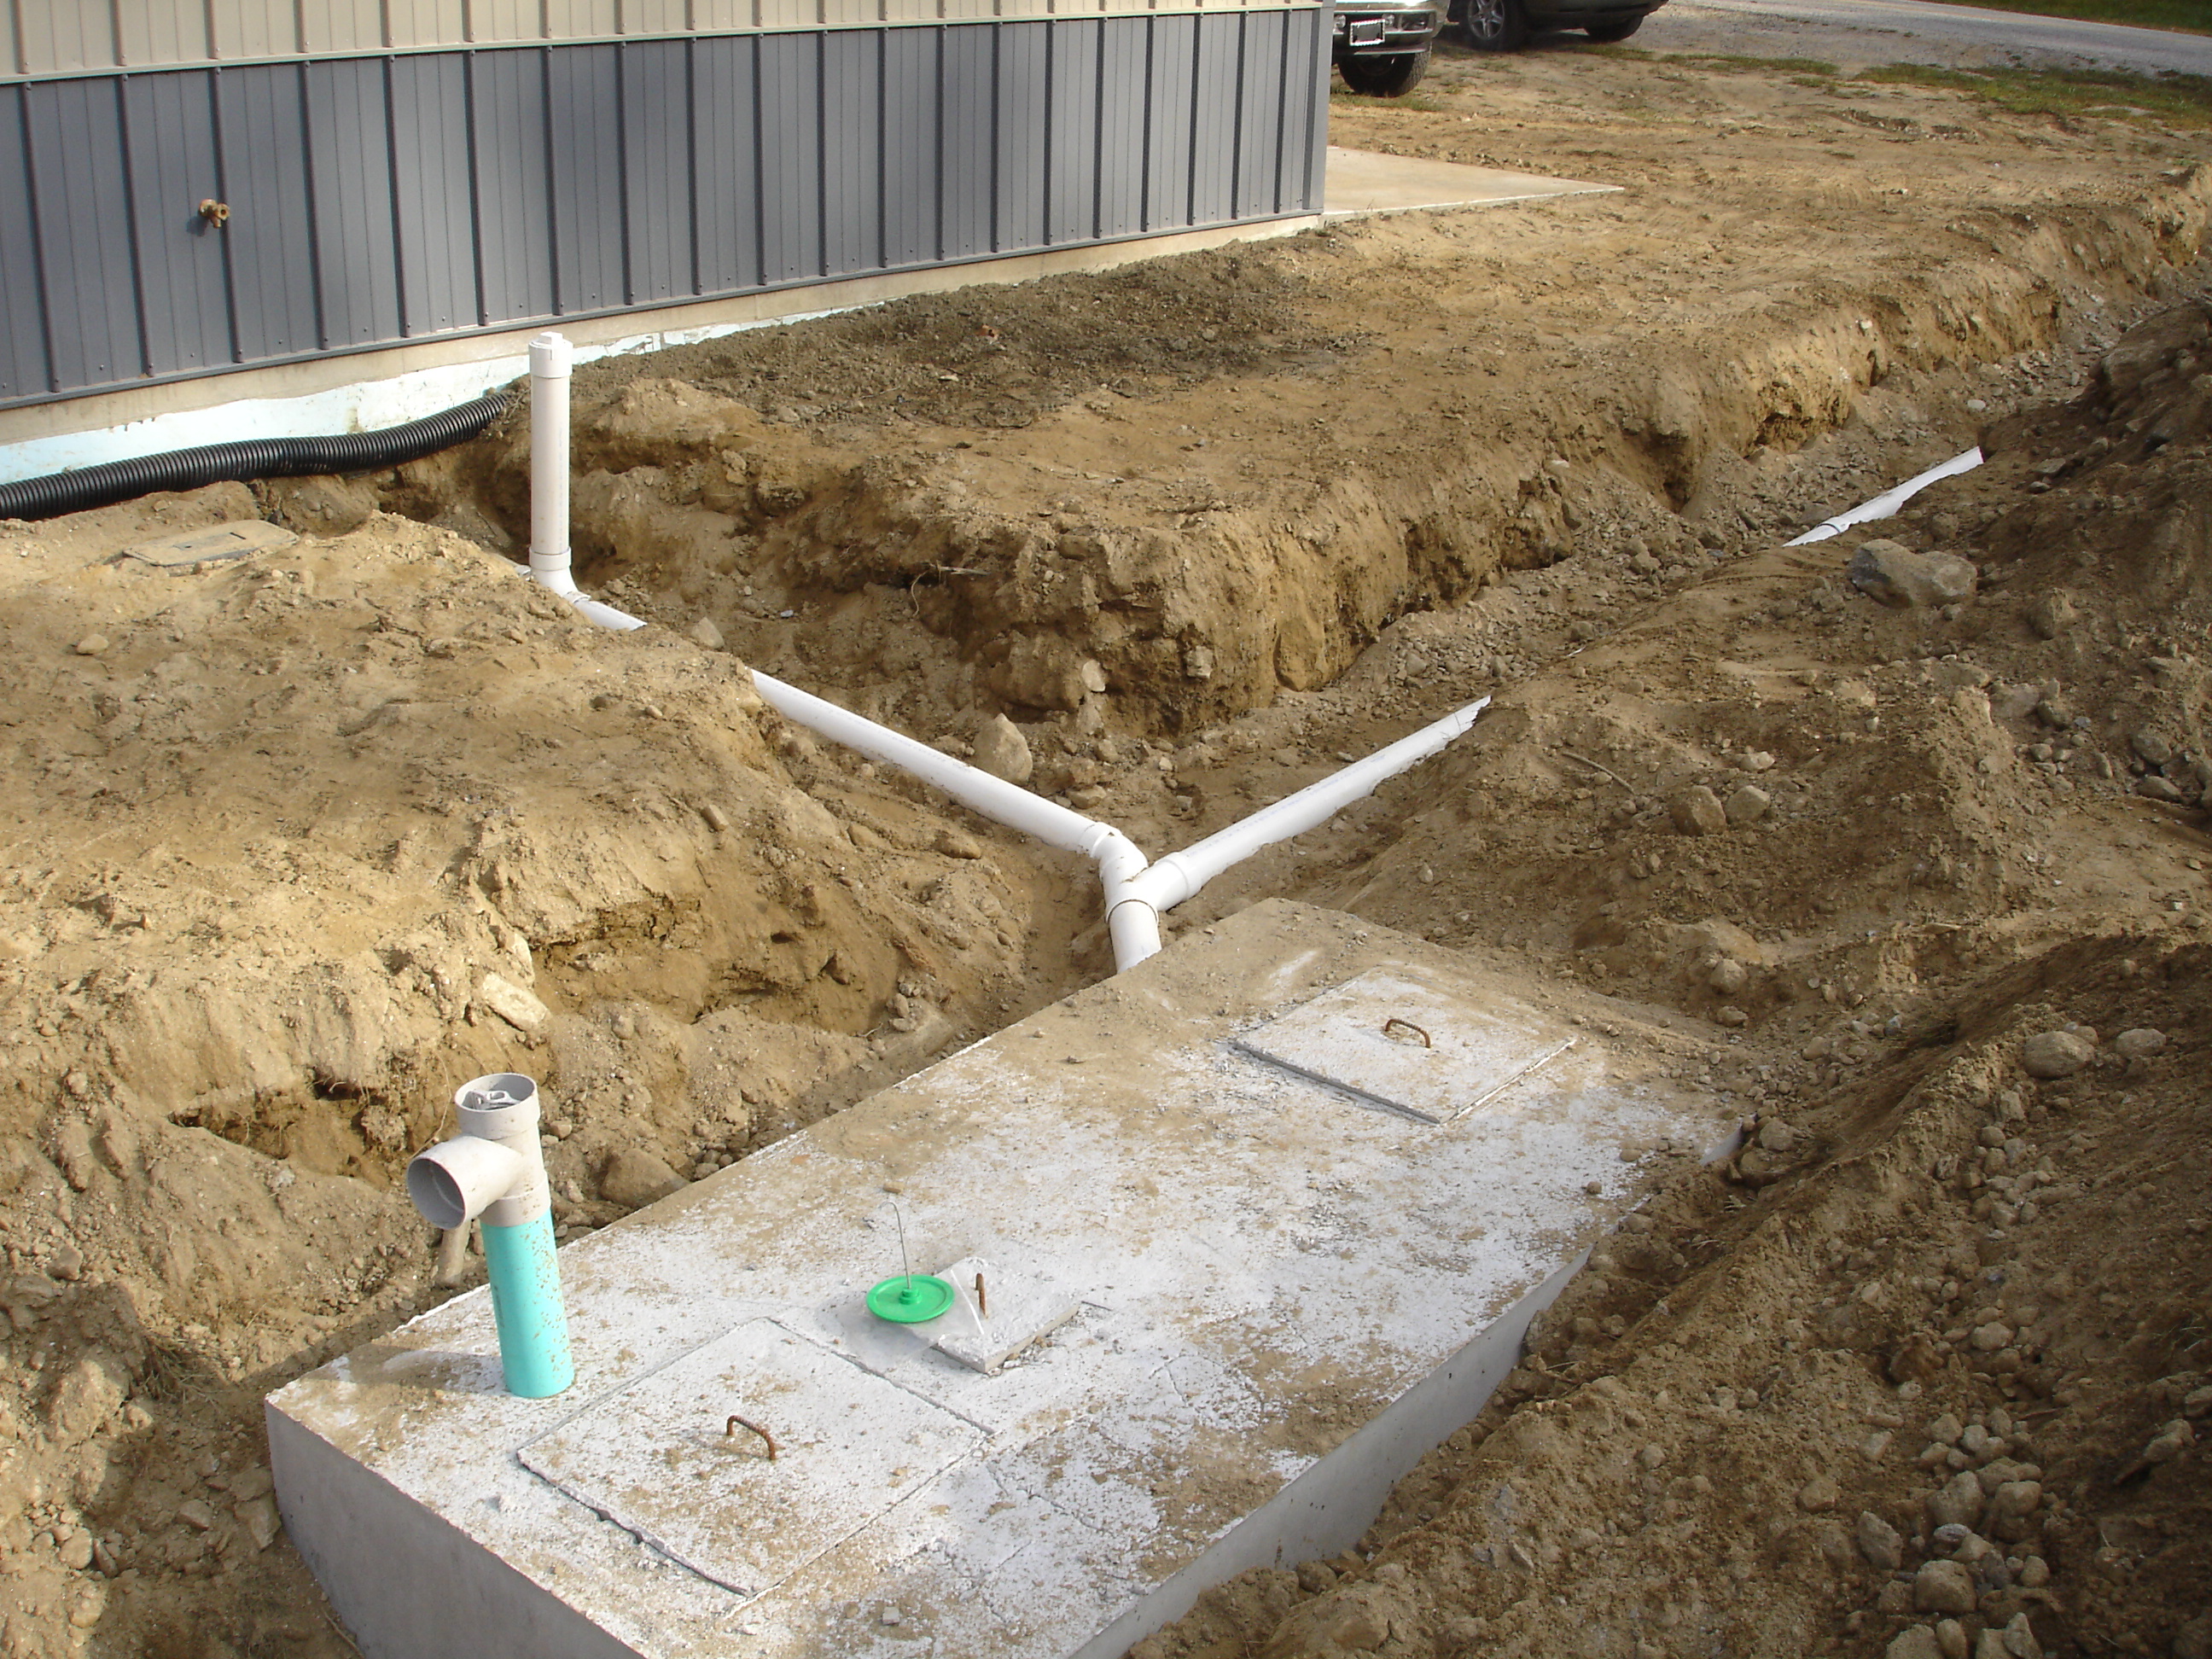
inspected and passed by the building department. The lower left
shows the septic tank in the ground and the day I left they were
digging the drain field. The lower right photo is just to show
the amount of room in the barn. Even with the Niagara set up we
still have plenty of space.
October 8, 2007
|
|
The septic is complete! |
|
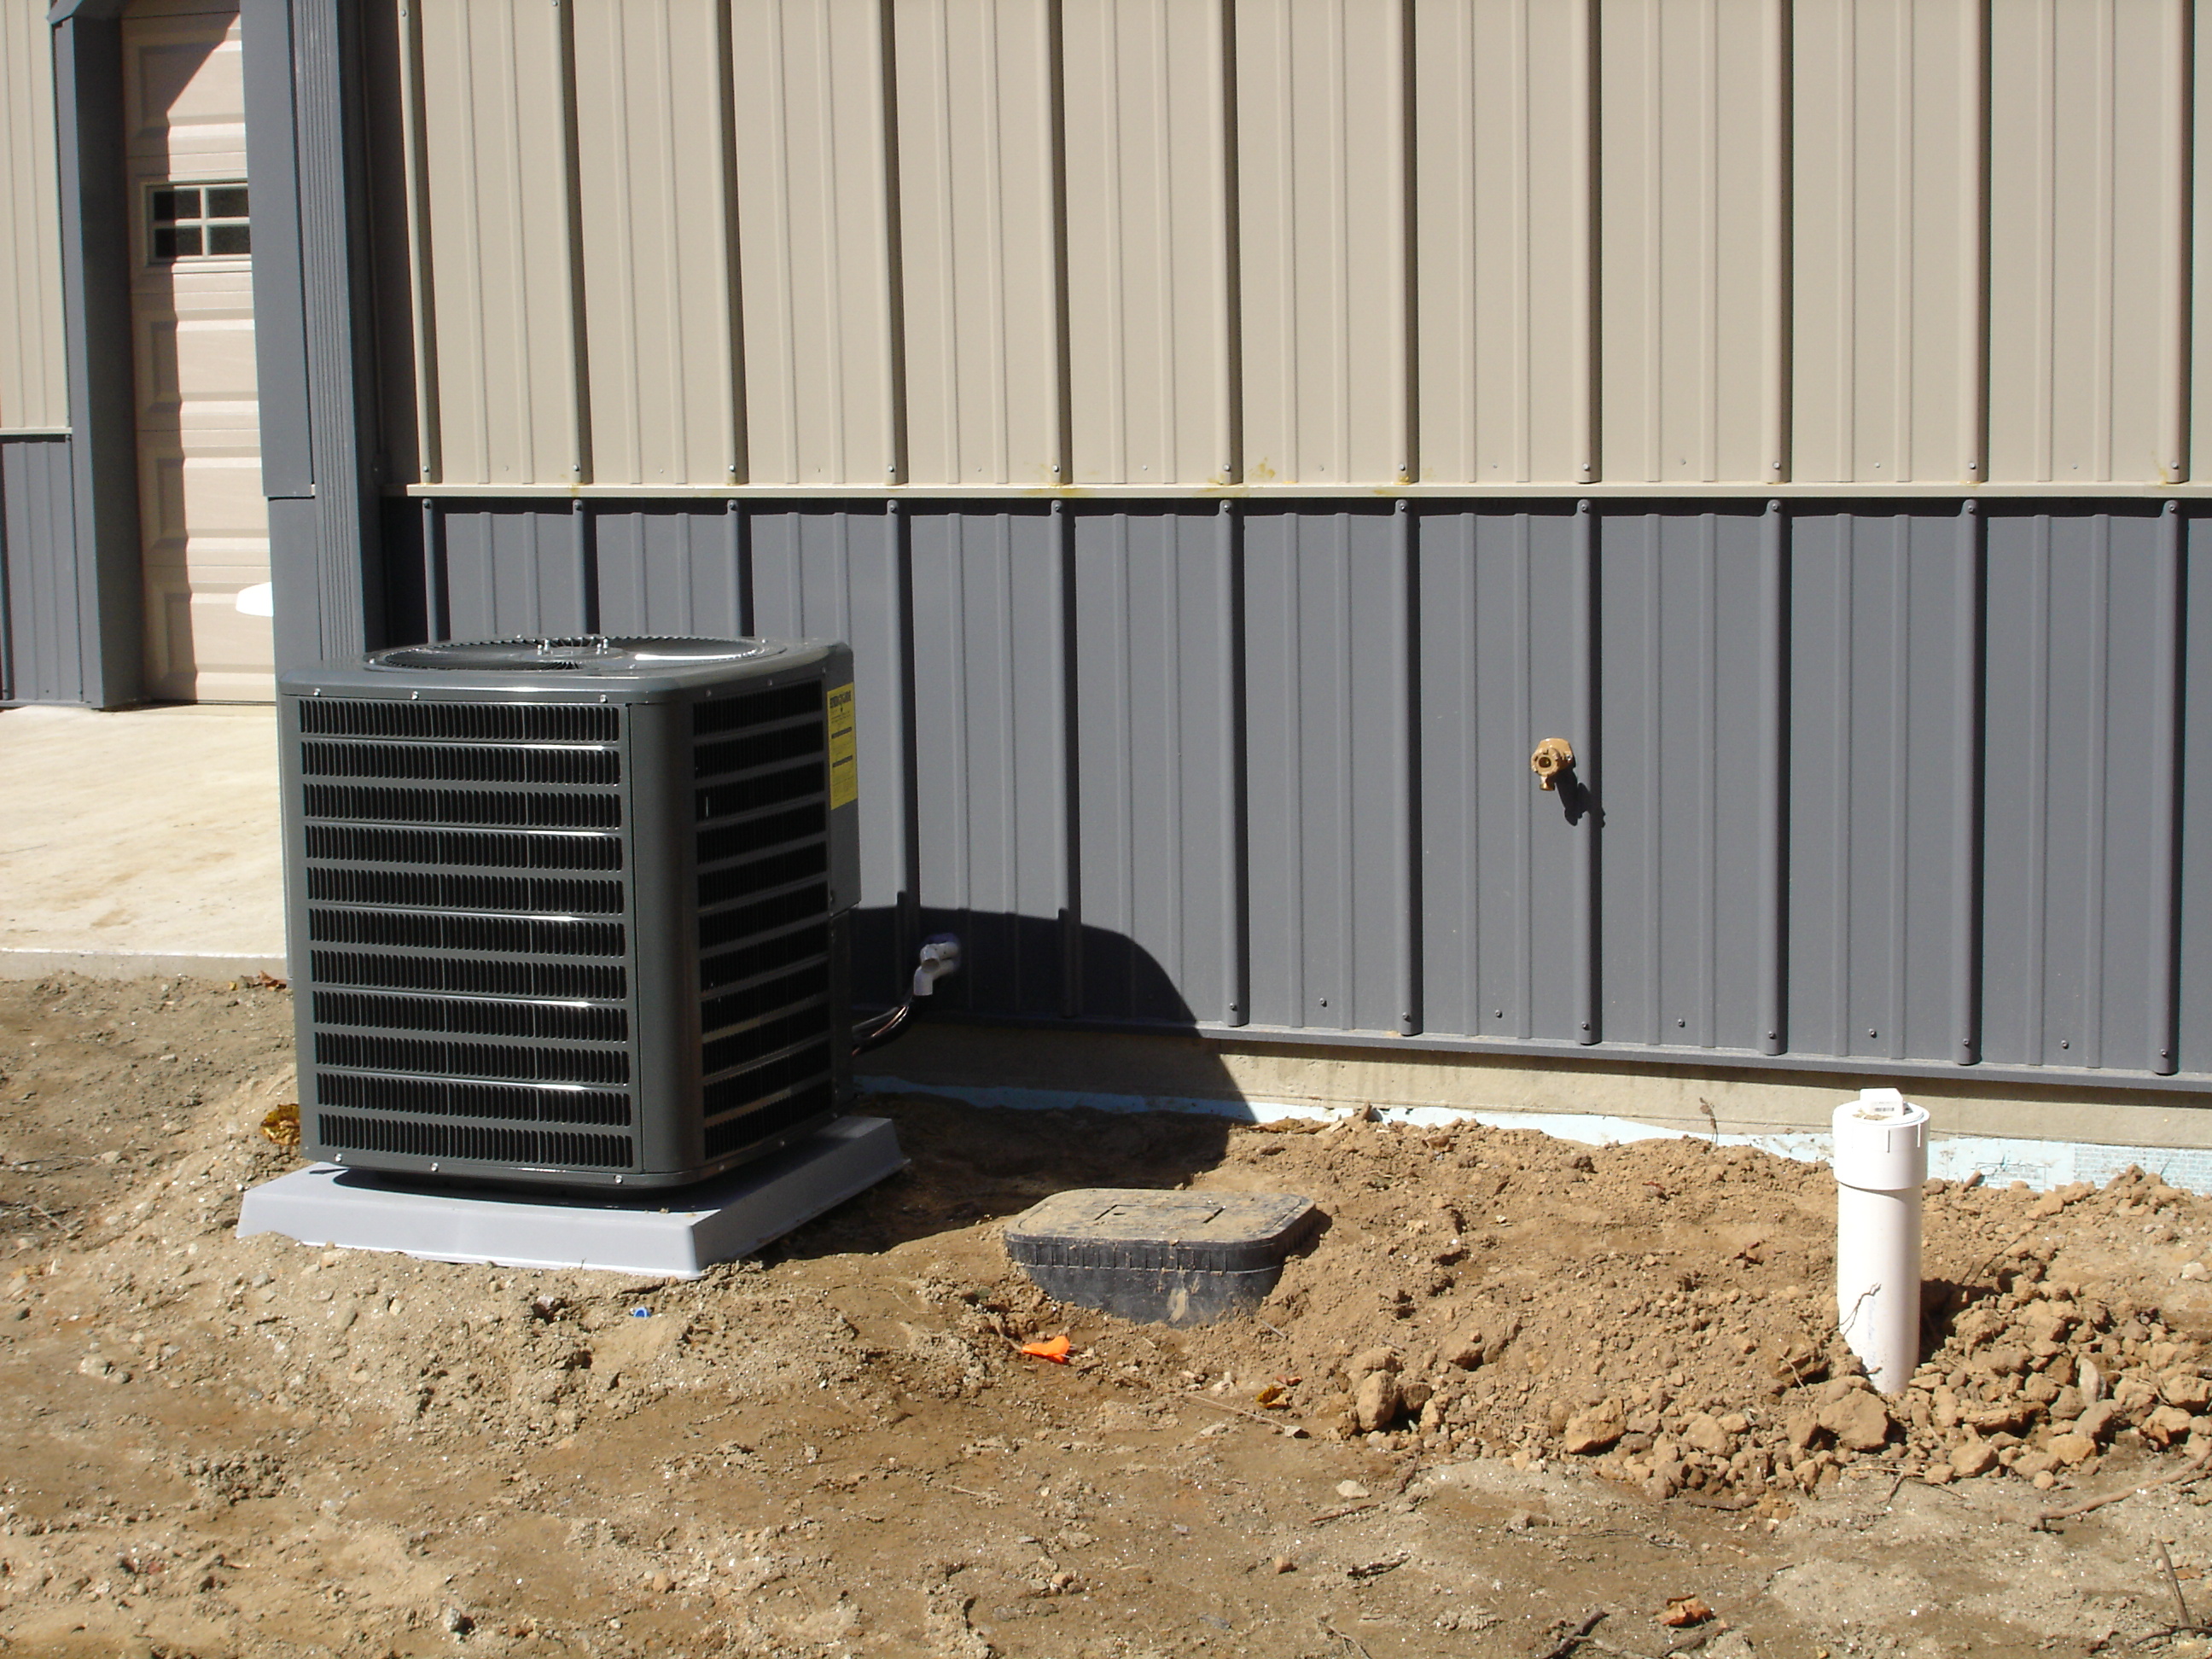
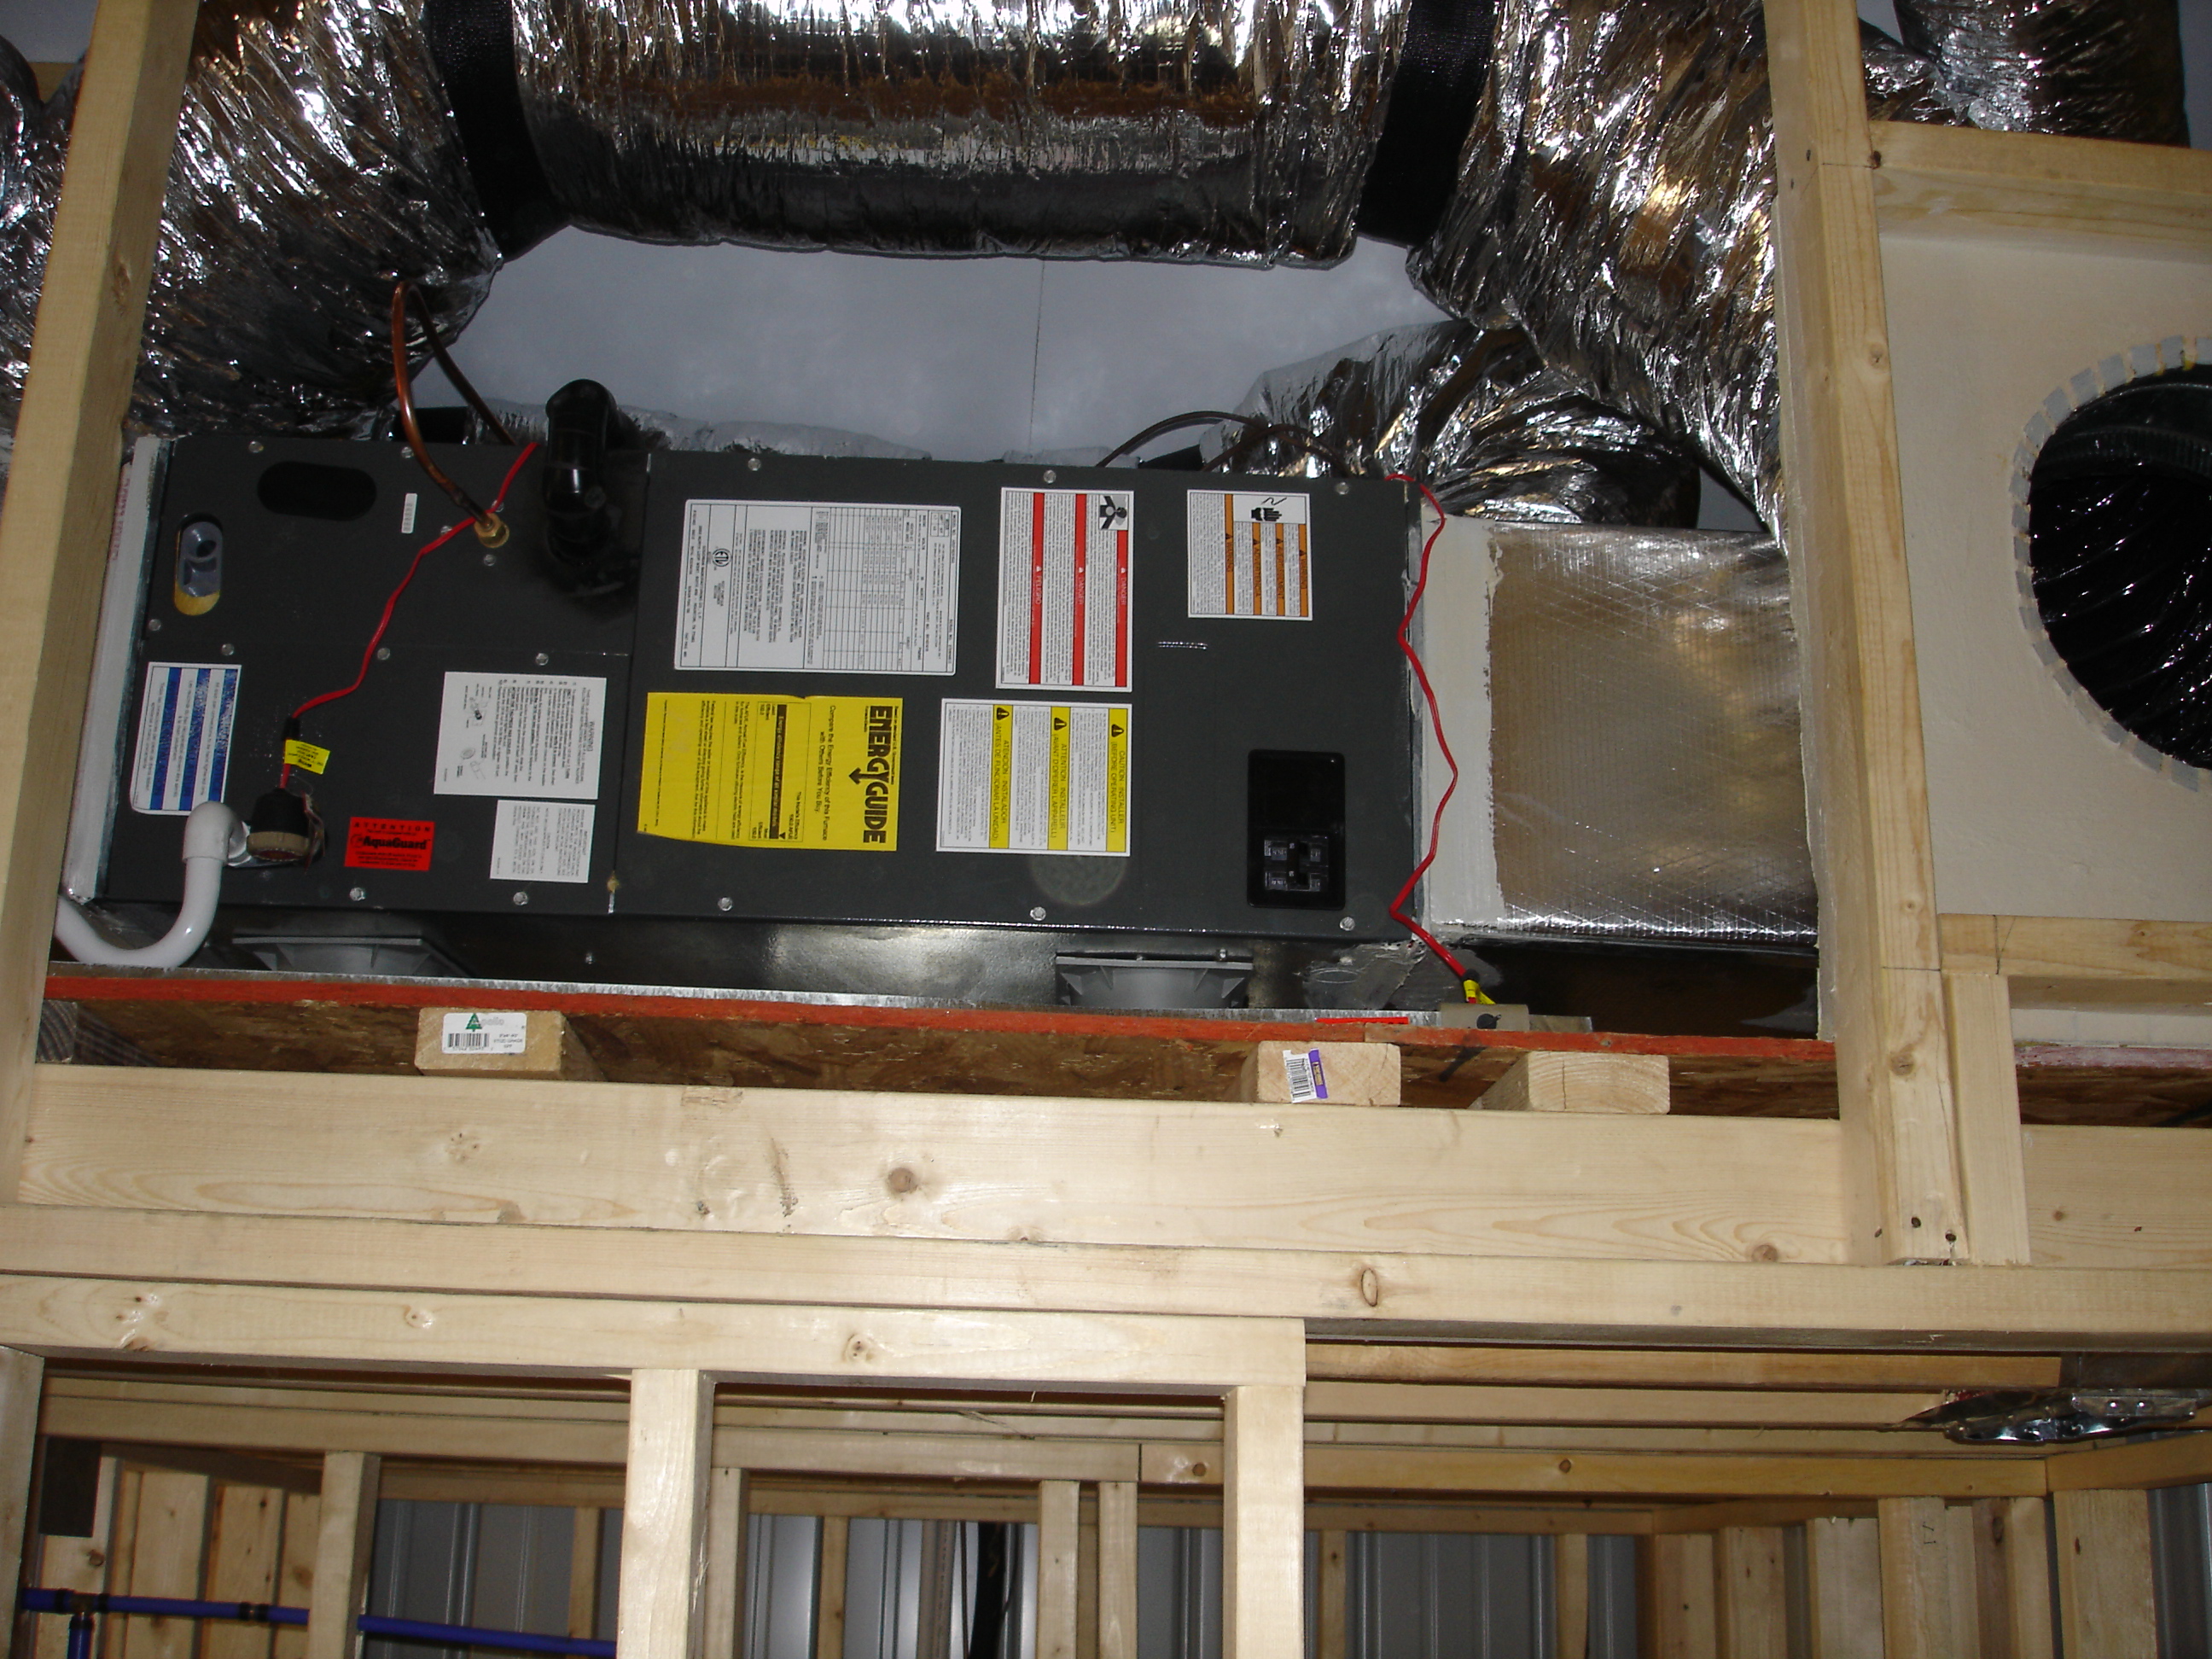
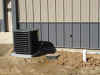
Progress continues. The Heat
and Air Conditioning was completed this week. Inside the living
space we now have a 1.5 ton A/C as well as heat pump. Also
completed this week was the underground electric wiring from the pole
along side the street to the building. I tried renting a trencher
and trenching this line, but the rocks in the ground wouldn't allow
it. With the local electric company on the way, my septic
installer saved the day! He still had his track hoe on the job
site and in about twenty minutes had the trench cut in. Thanks Paul!!!
October 21, 2007
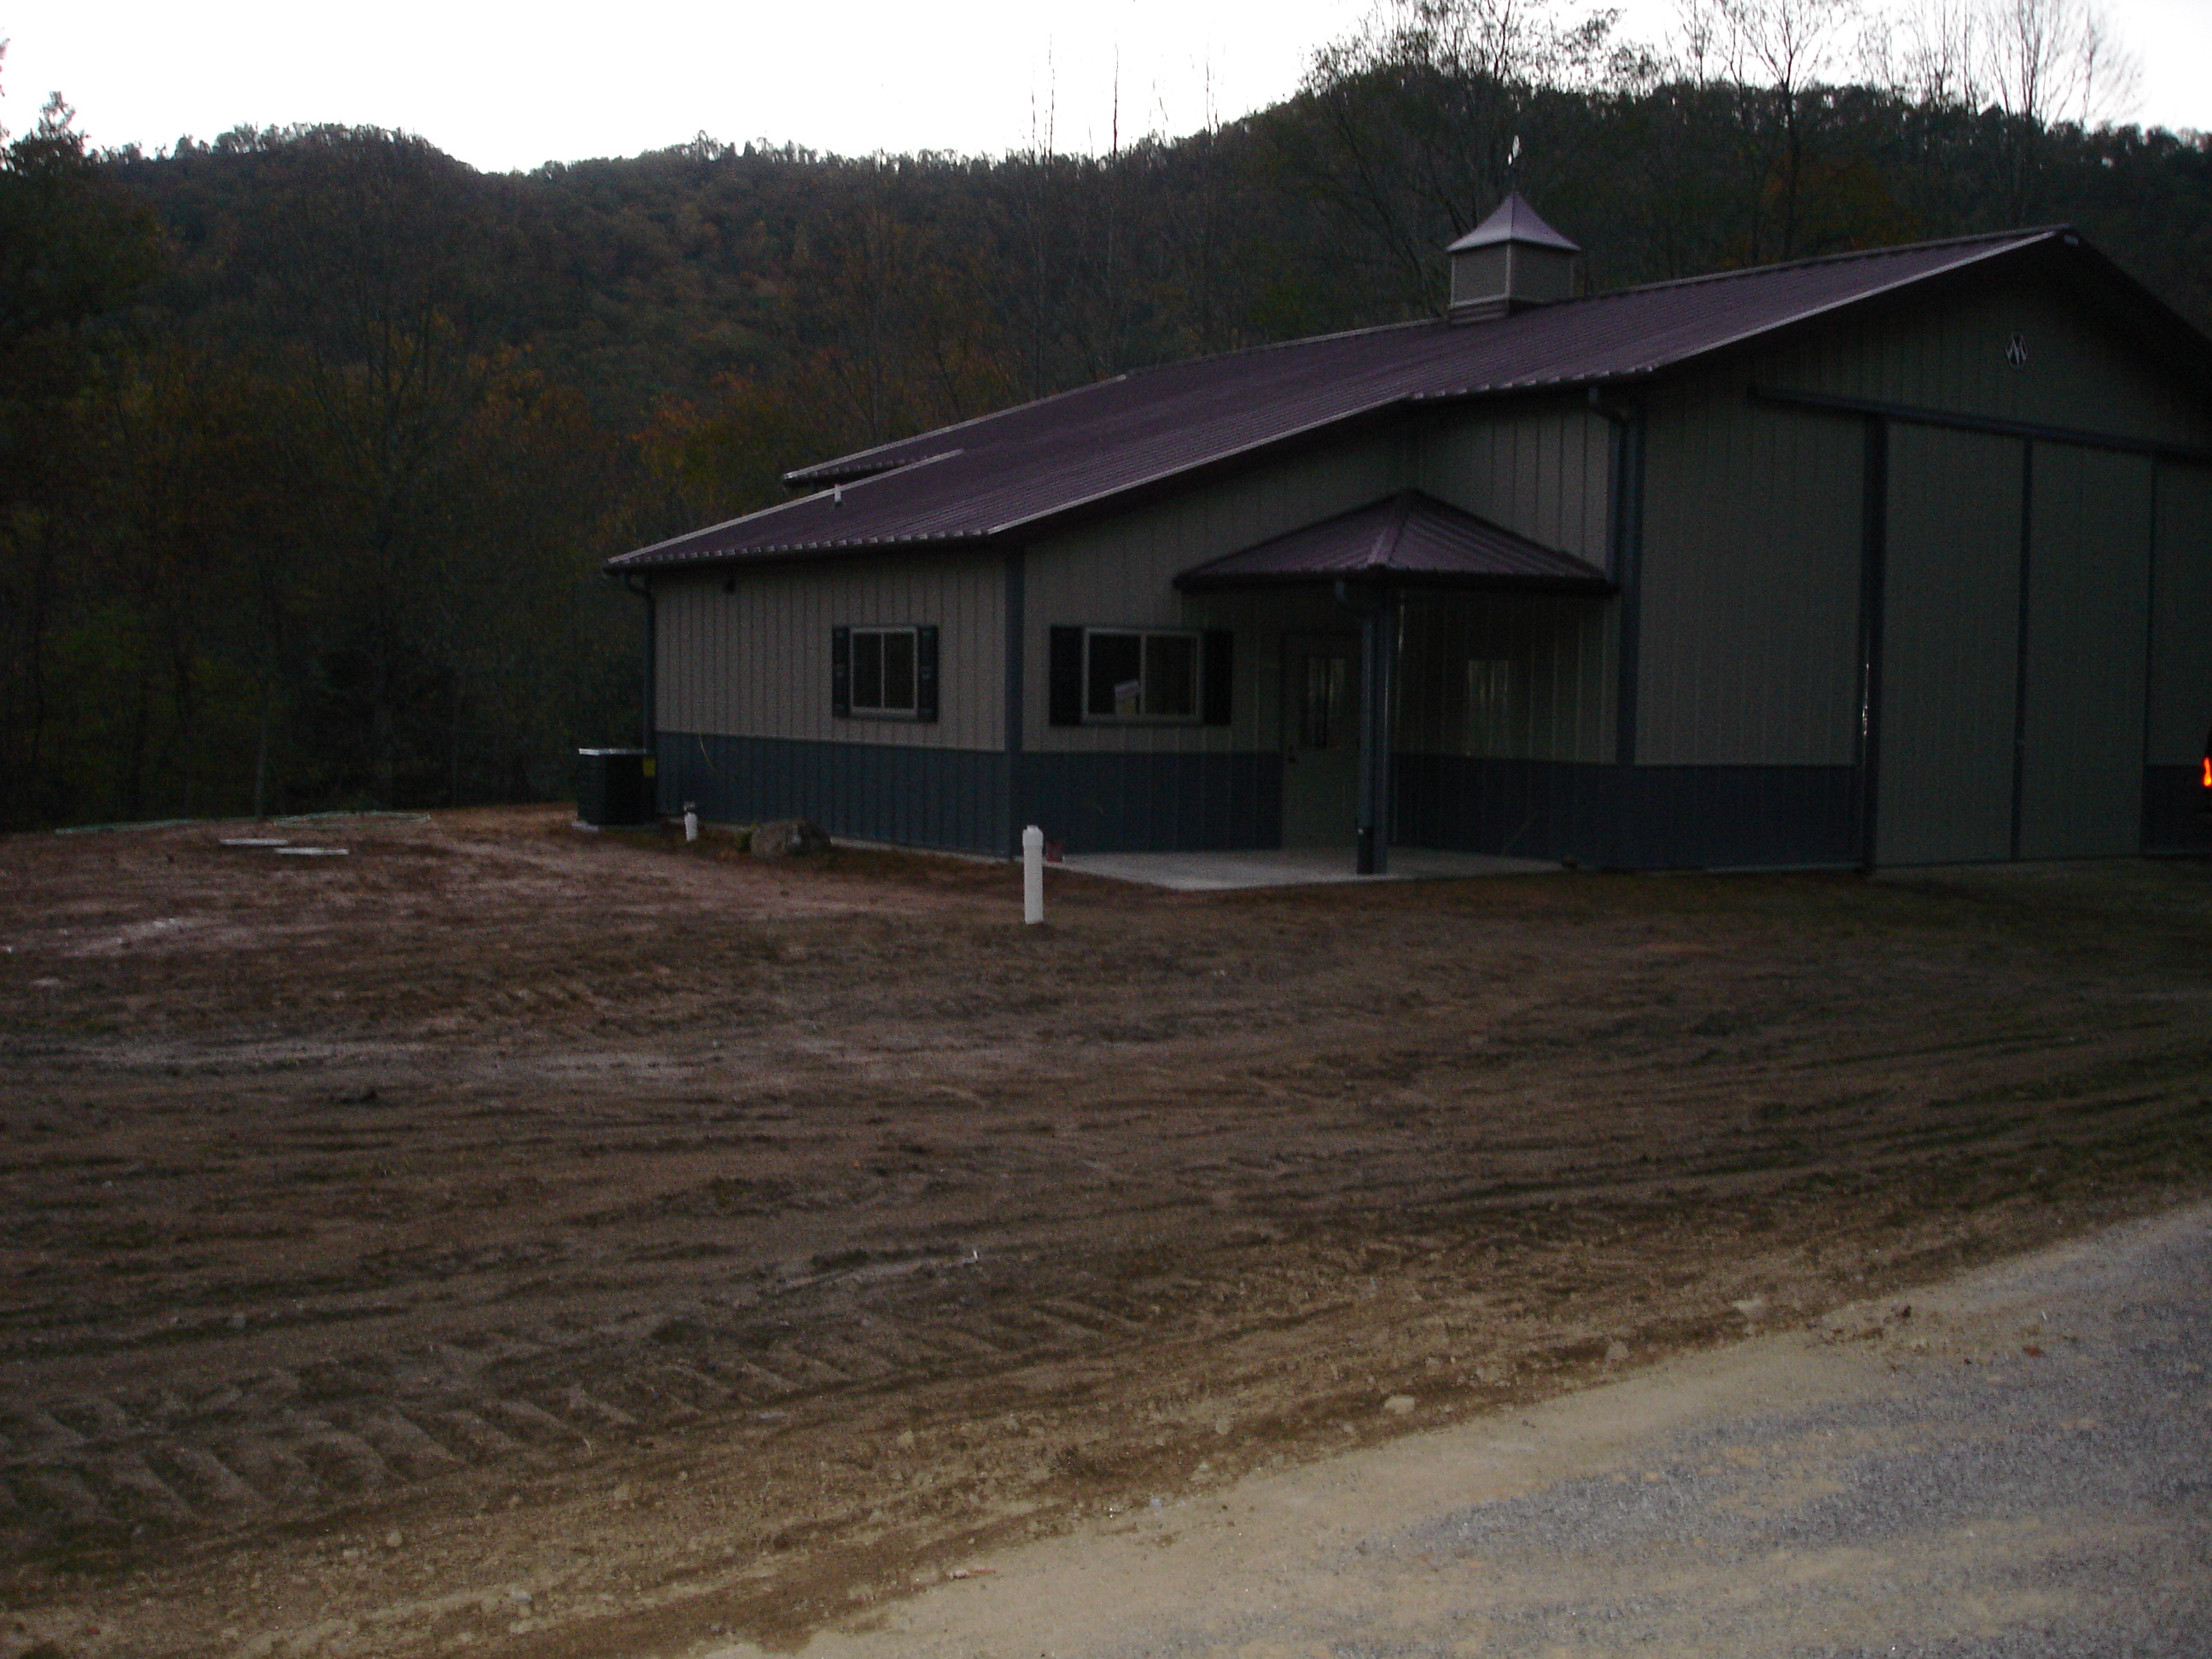
|
|
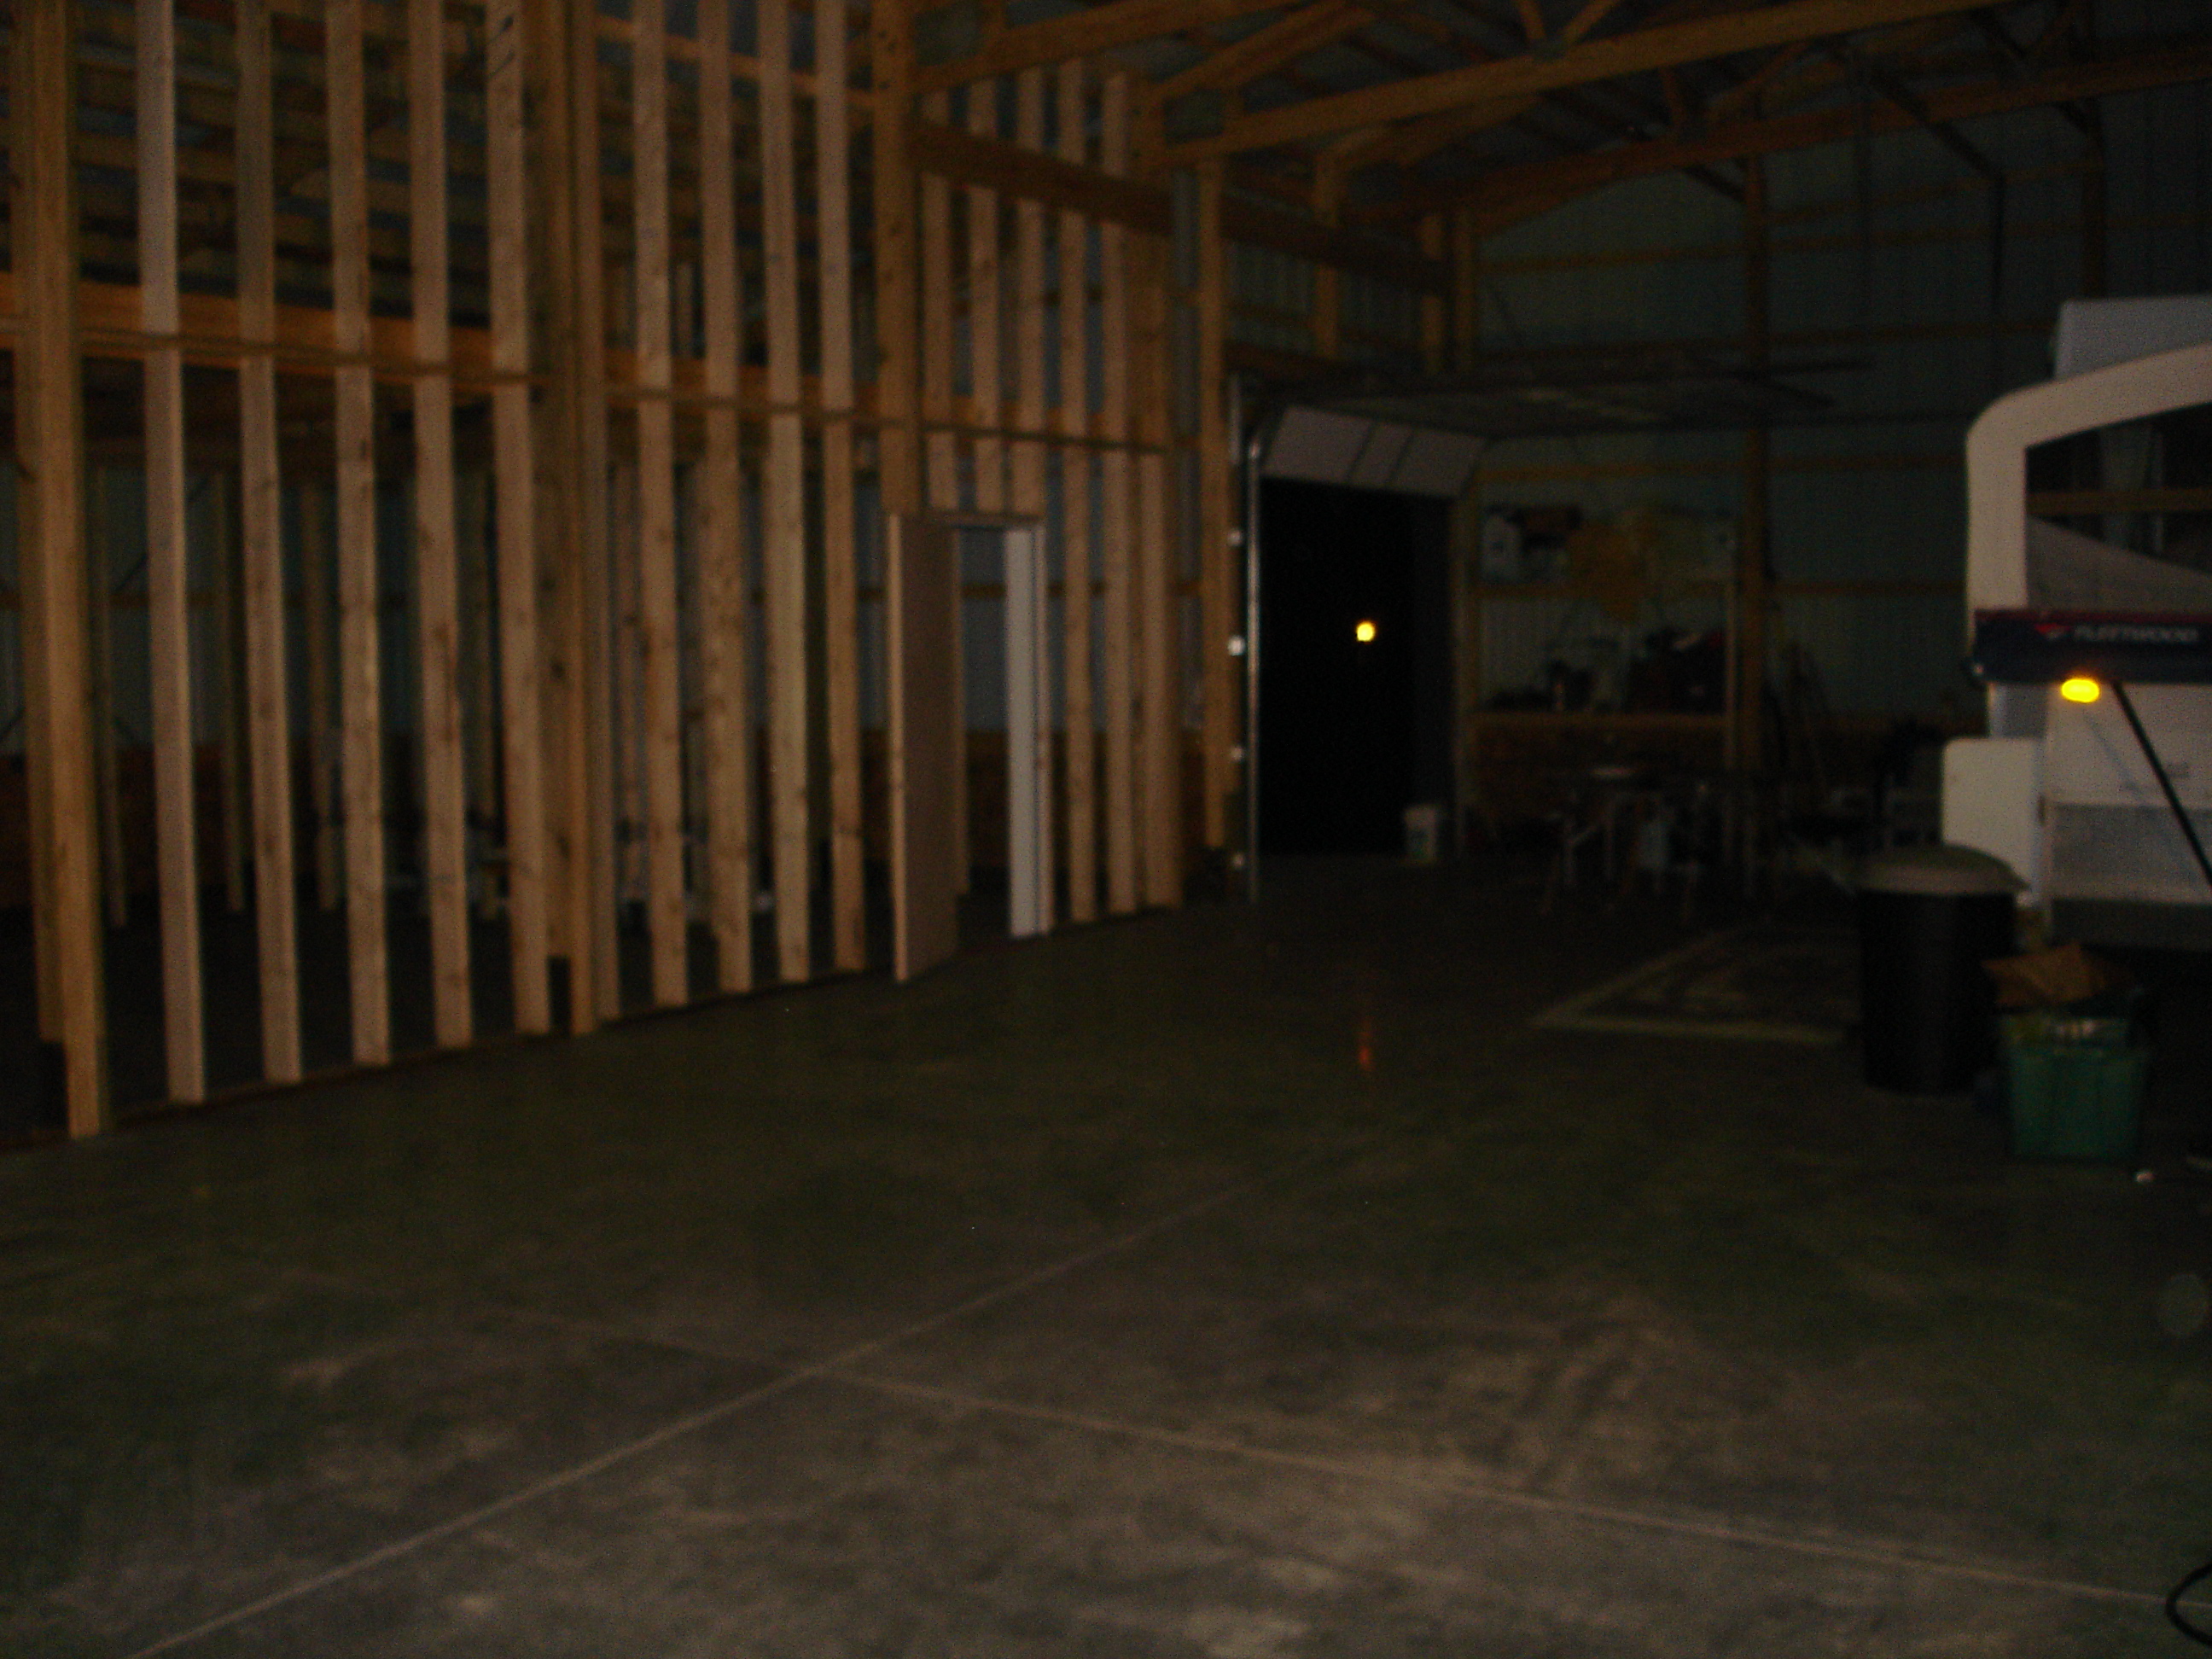
Another milestone today, the Heat-A/C
and the rough electric passed inspection! Additionally the final
grading was completed. This set of photos is a little dark as is
was dusk when they were taken. We now have approval to begin
closing things up by installing insulation.
October 29, 2007
|
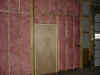 |
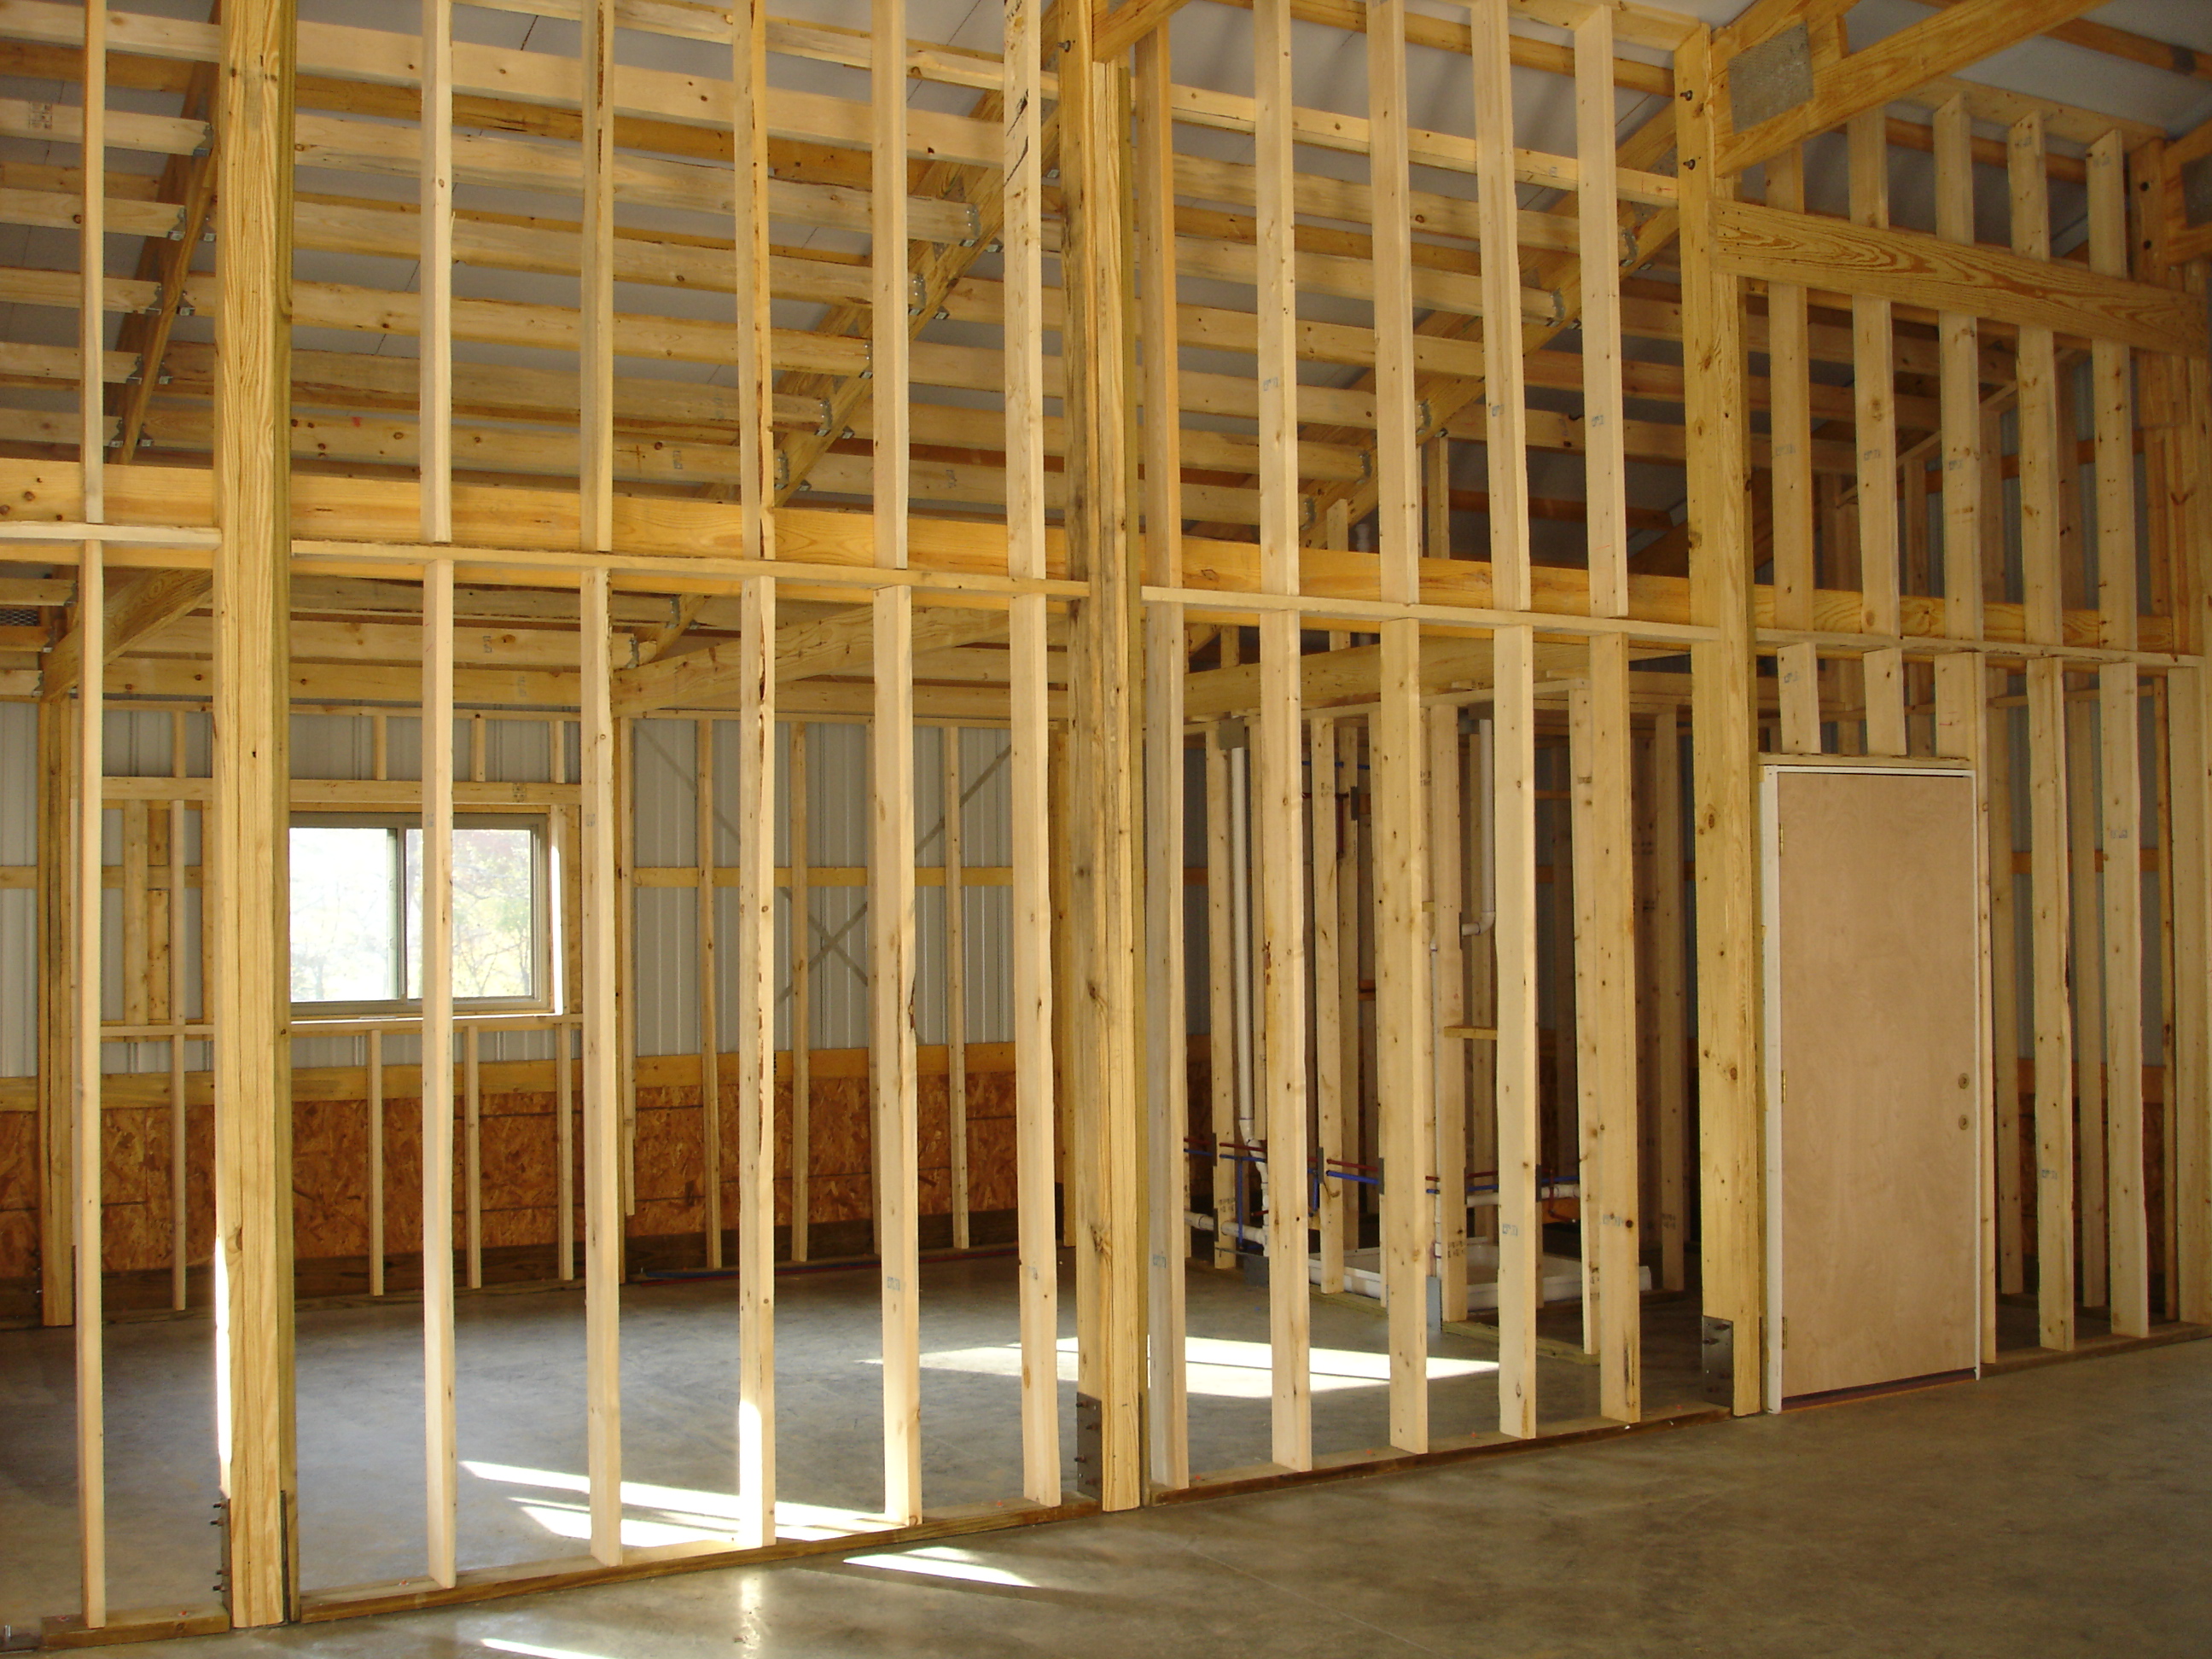
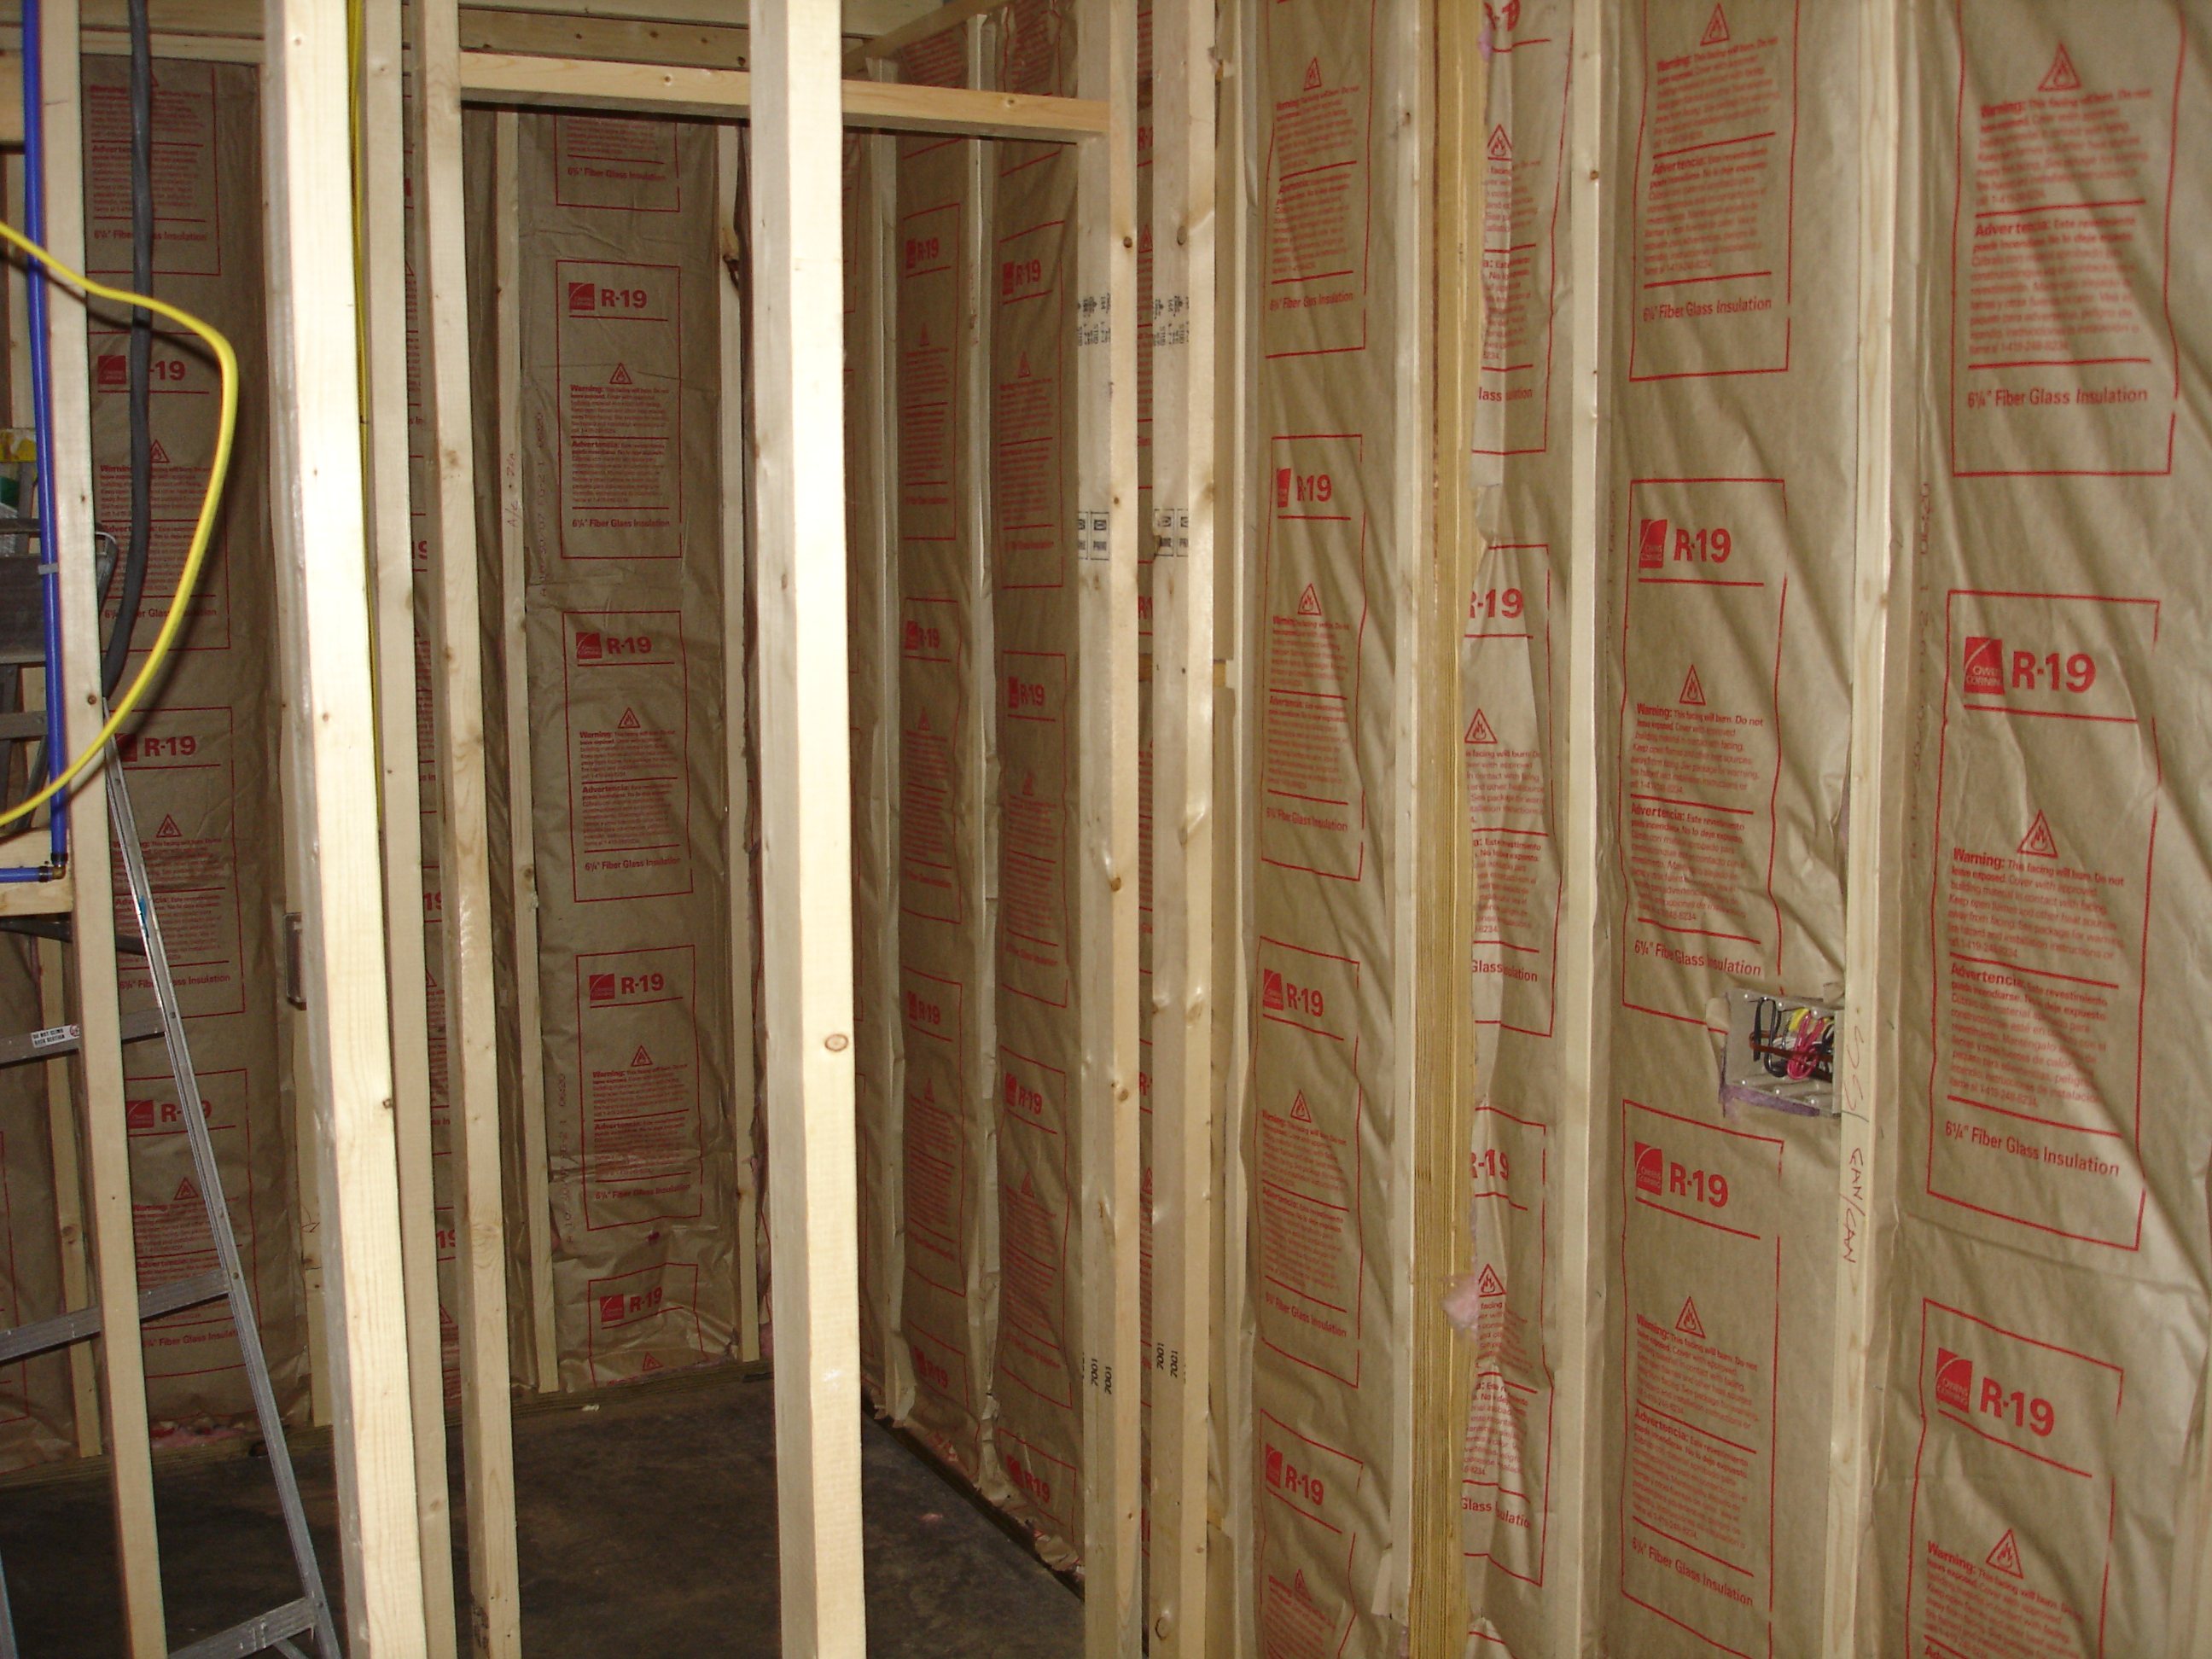
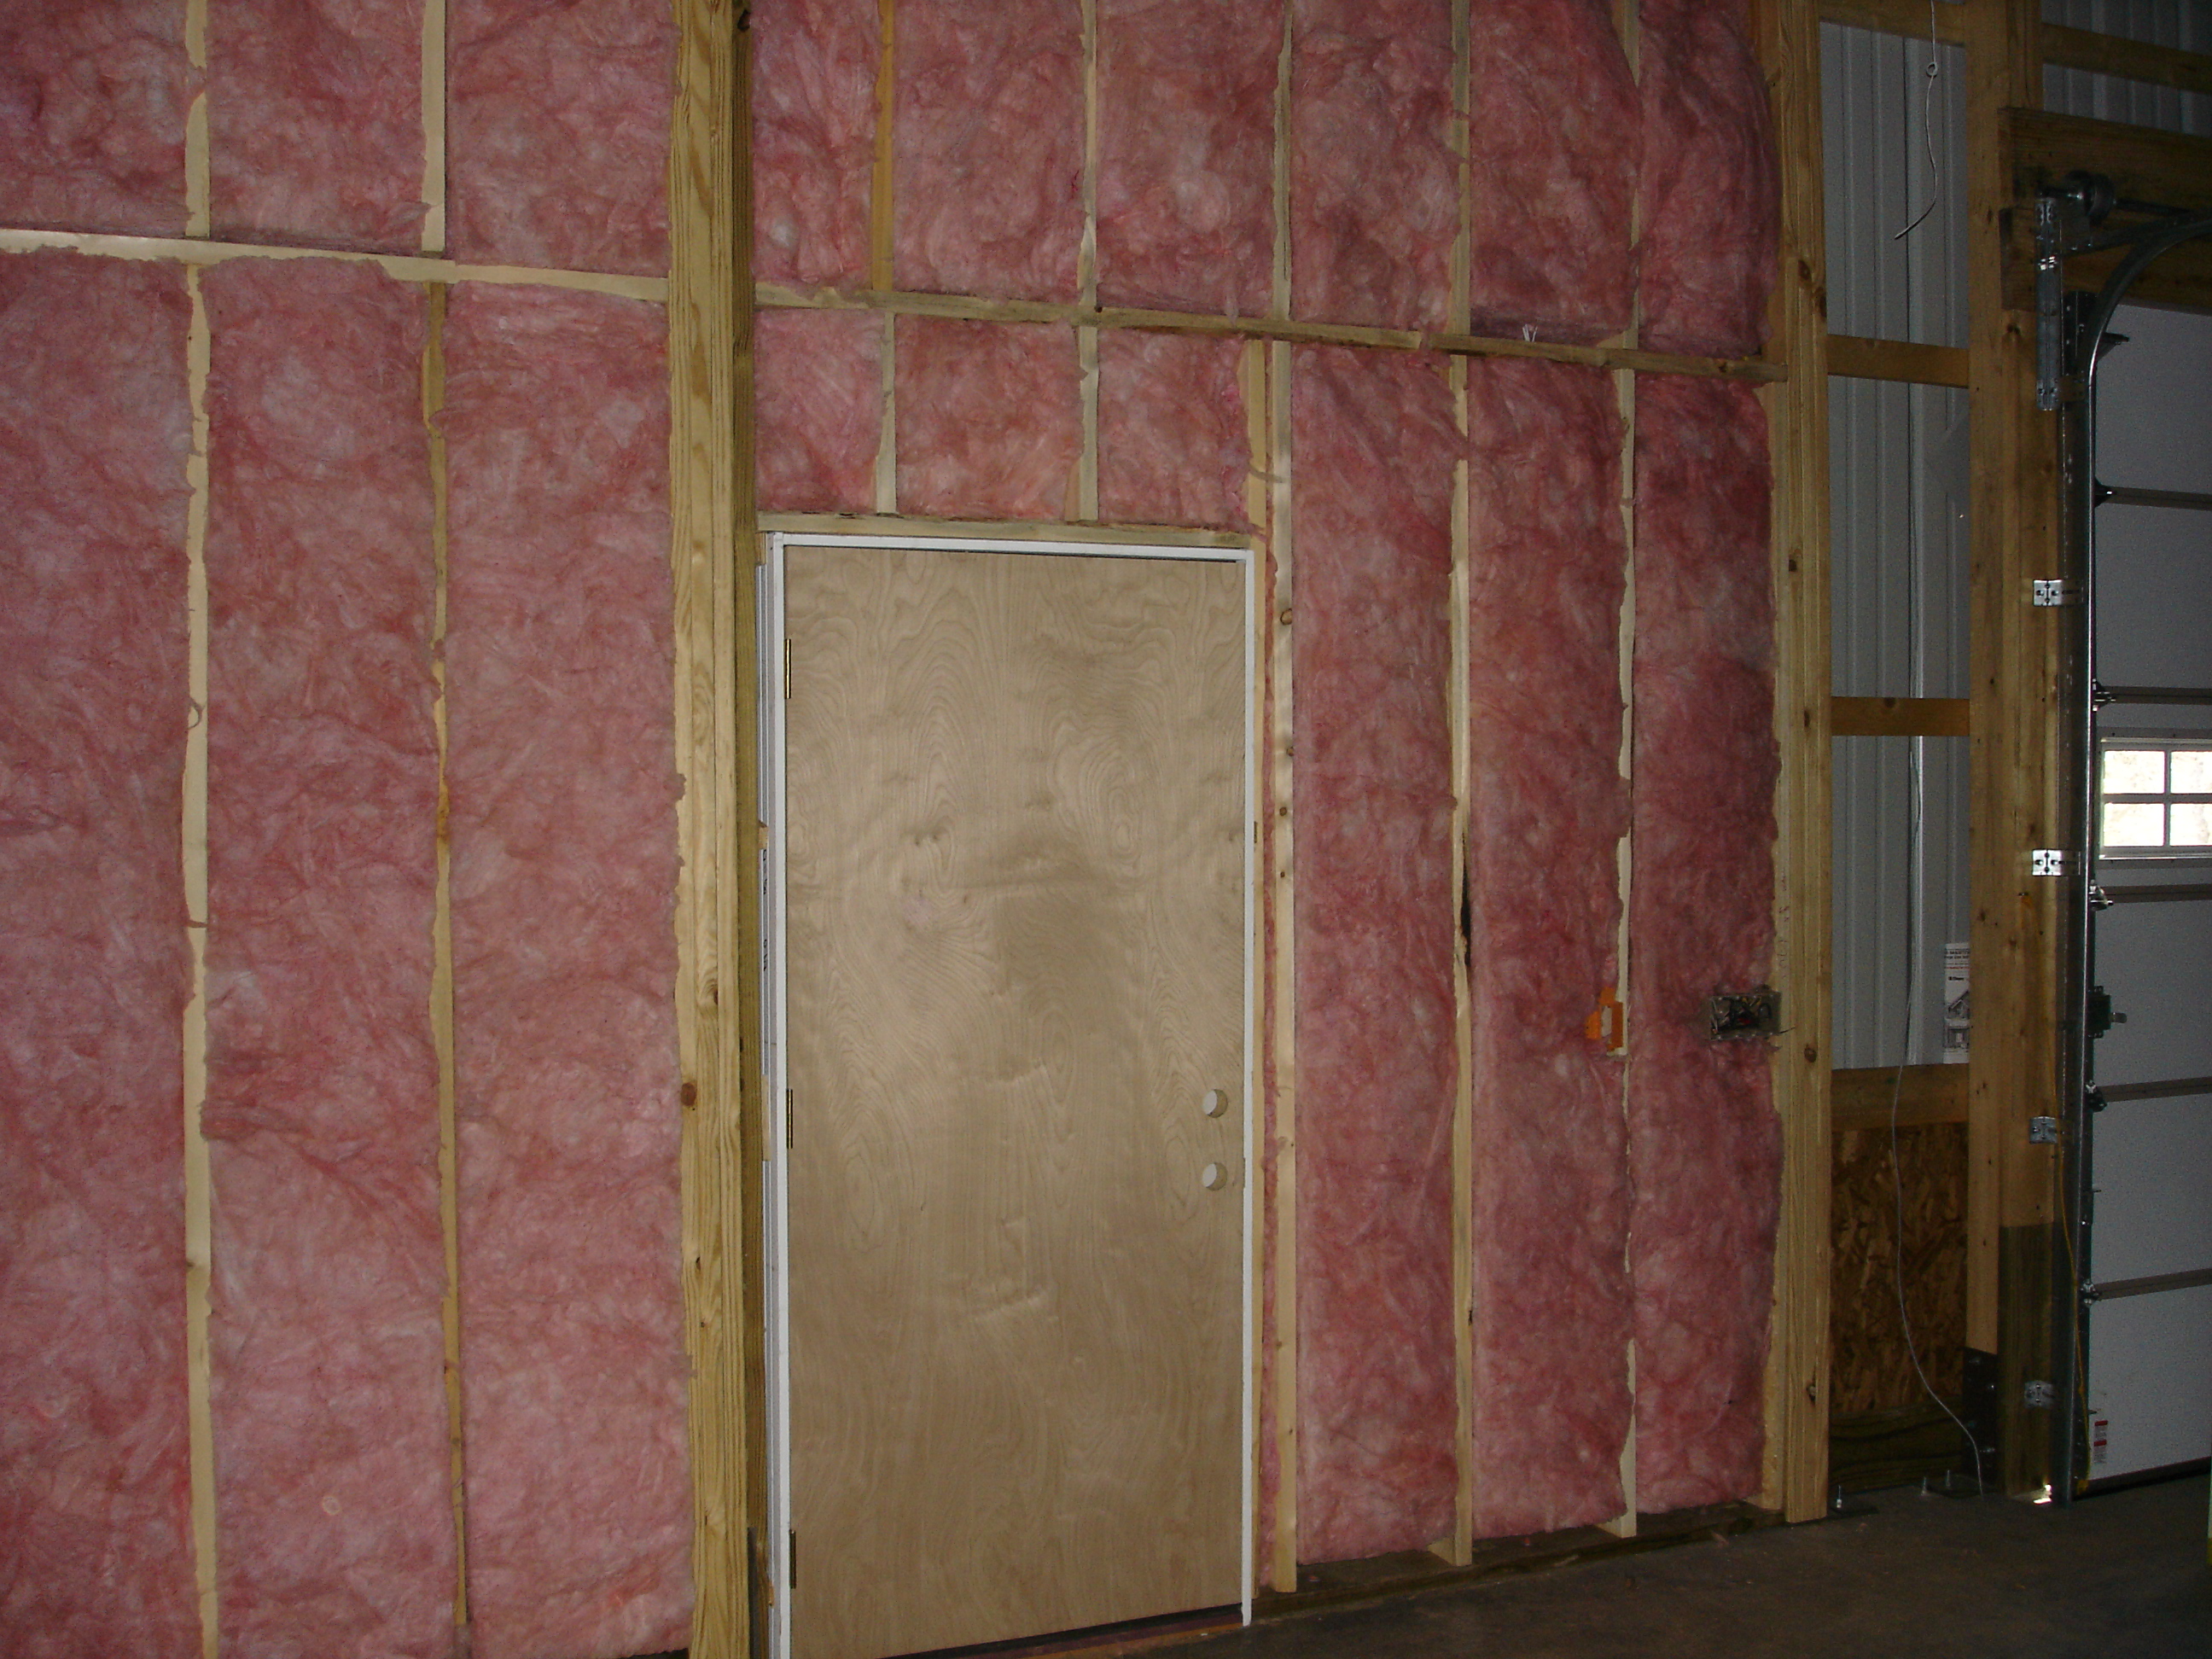
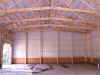
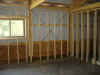
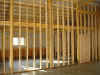
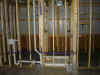
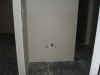
Well, after hundreds of trips up and
down a ladder, the insulation is up.R38 on the ceiling and R19 on all
walls. The photo to the left is the bathroom area looking through
the shower into the back room. The photo on the right is standing
in the barn/garage area looking at the living space. With an
insulation inspection, I should begin top put up drywall this week.
November 4, 2007
|
|
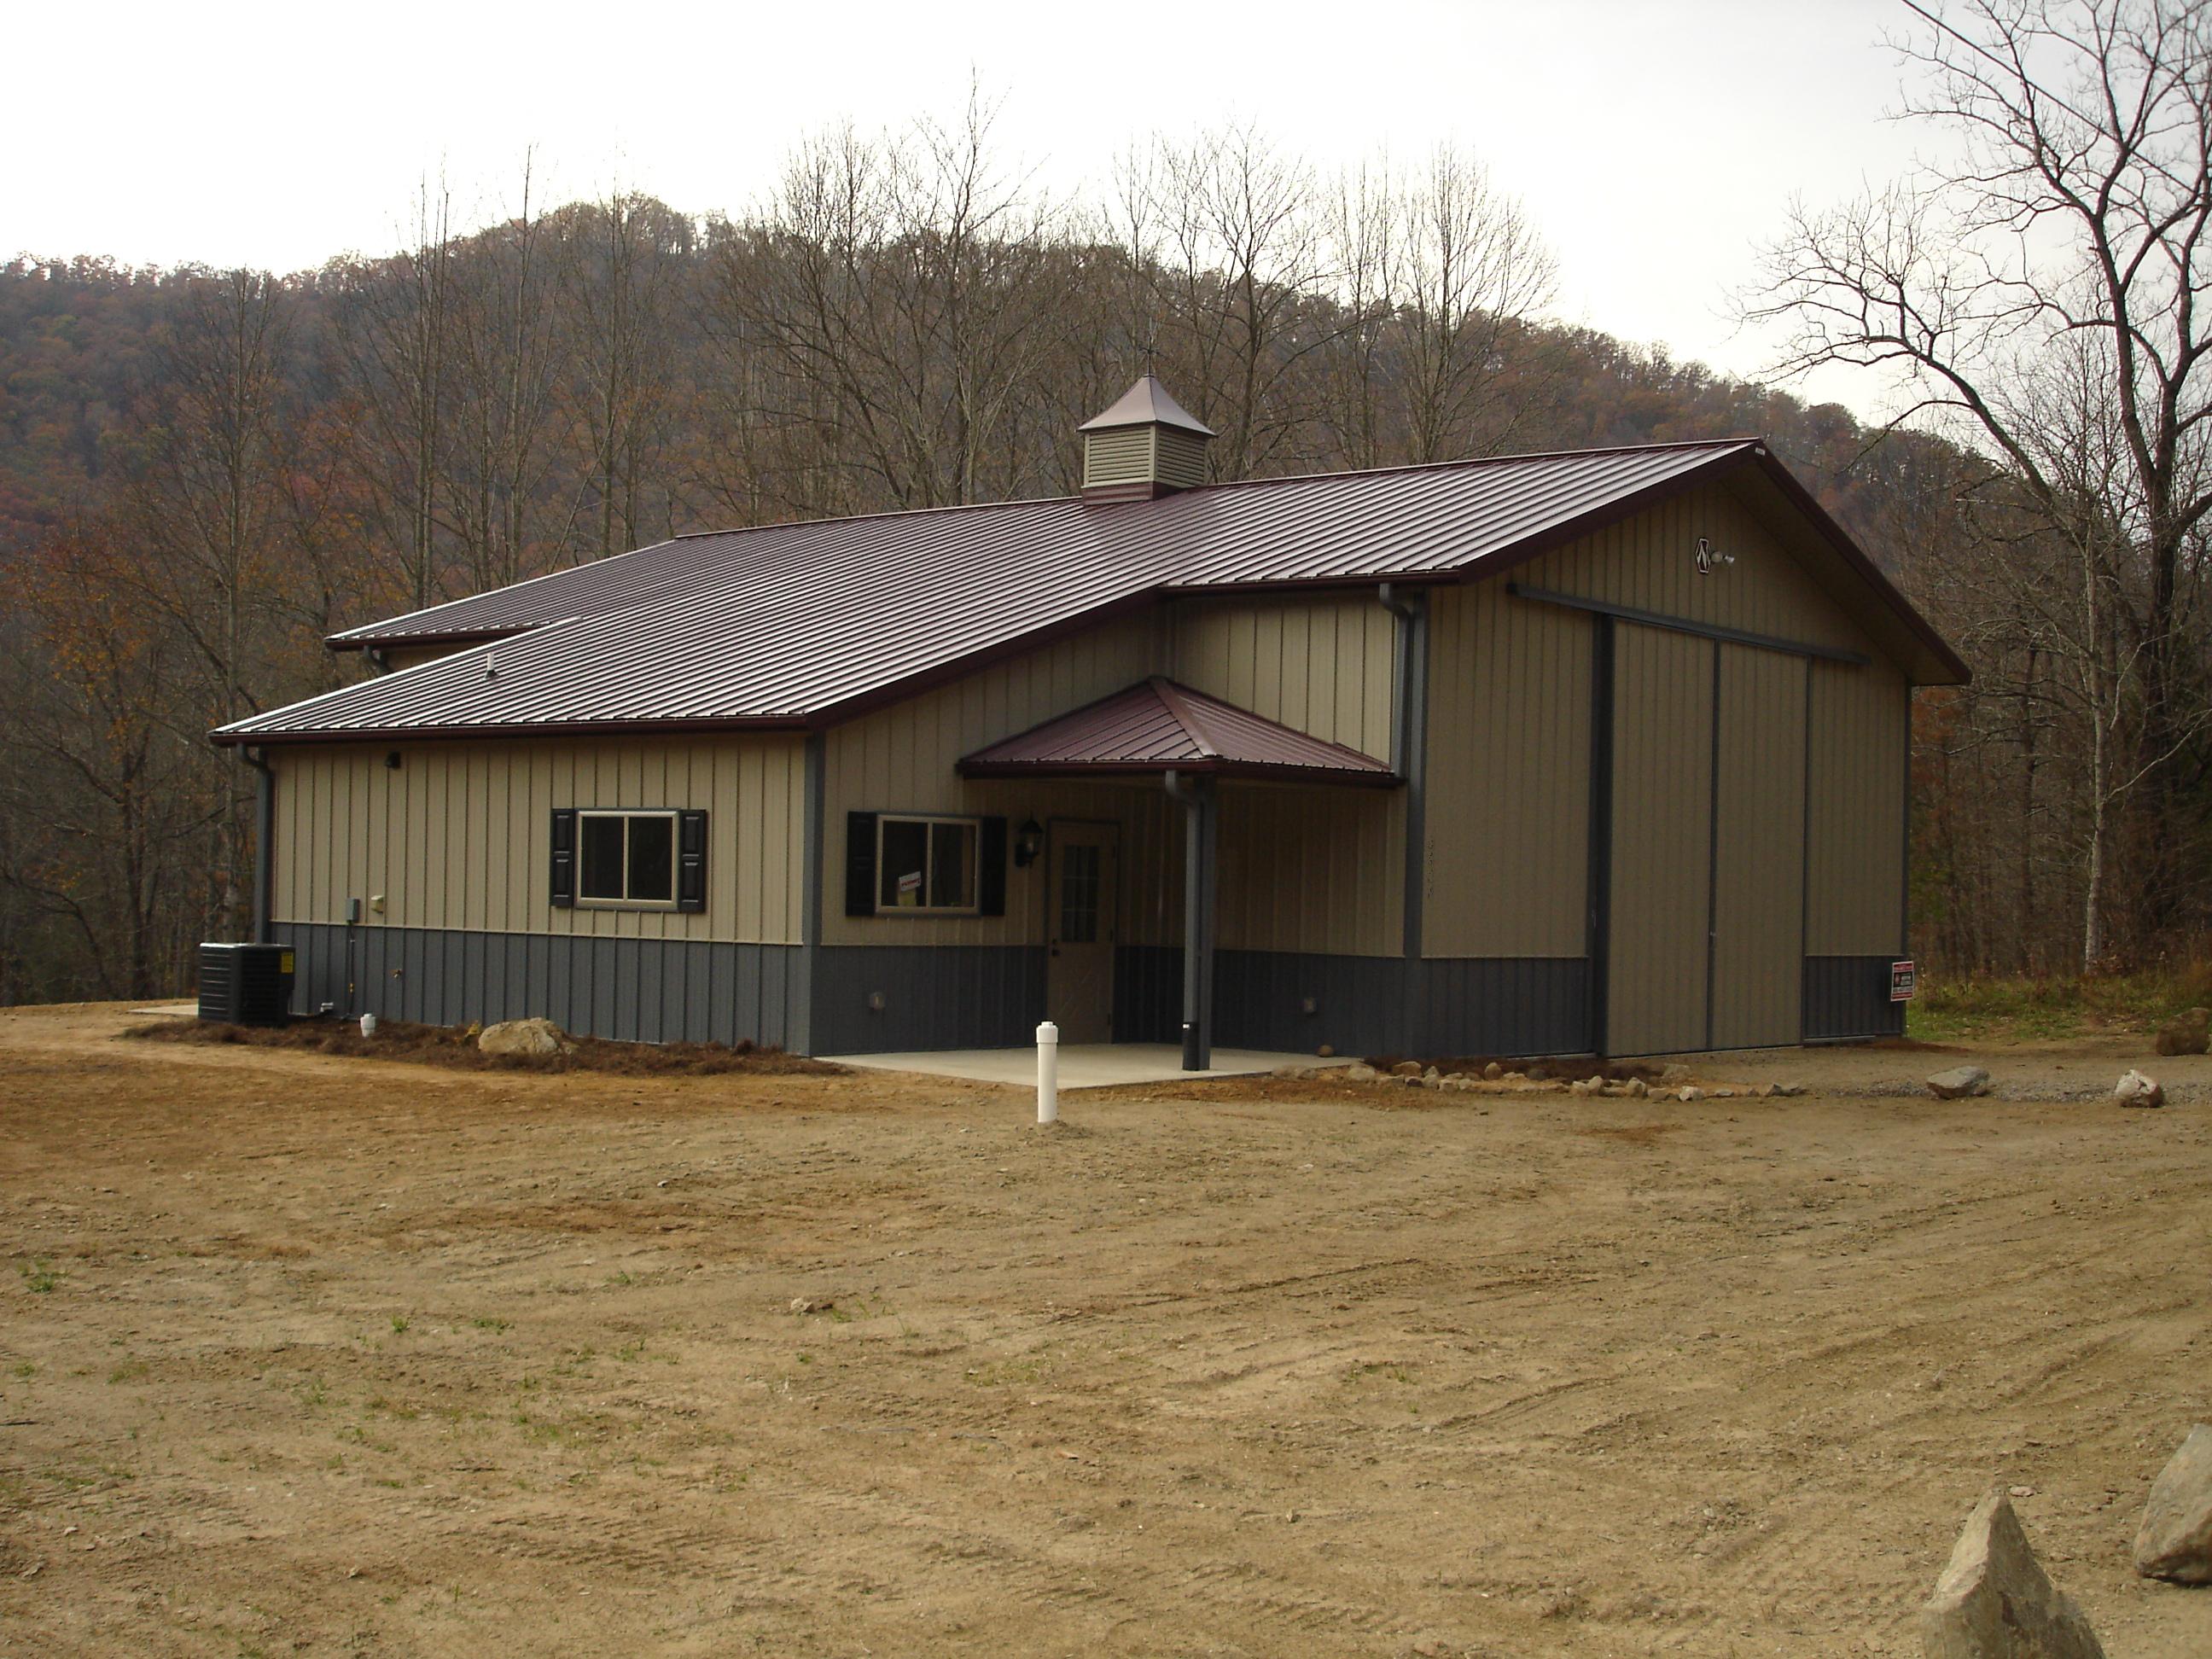
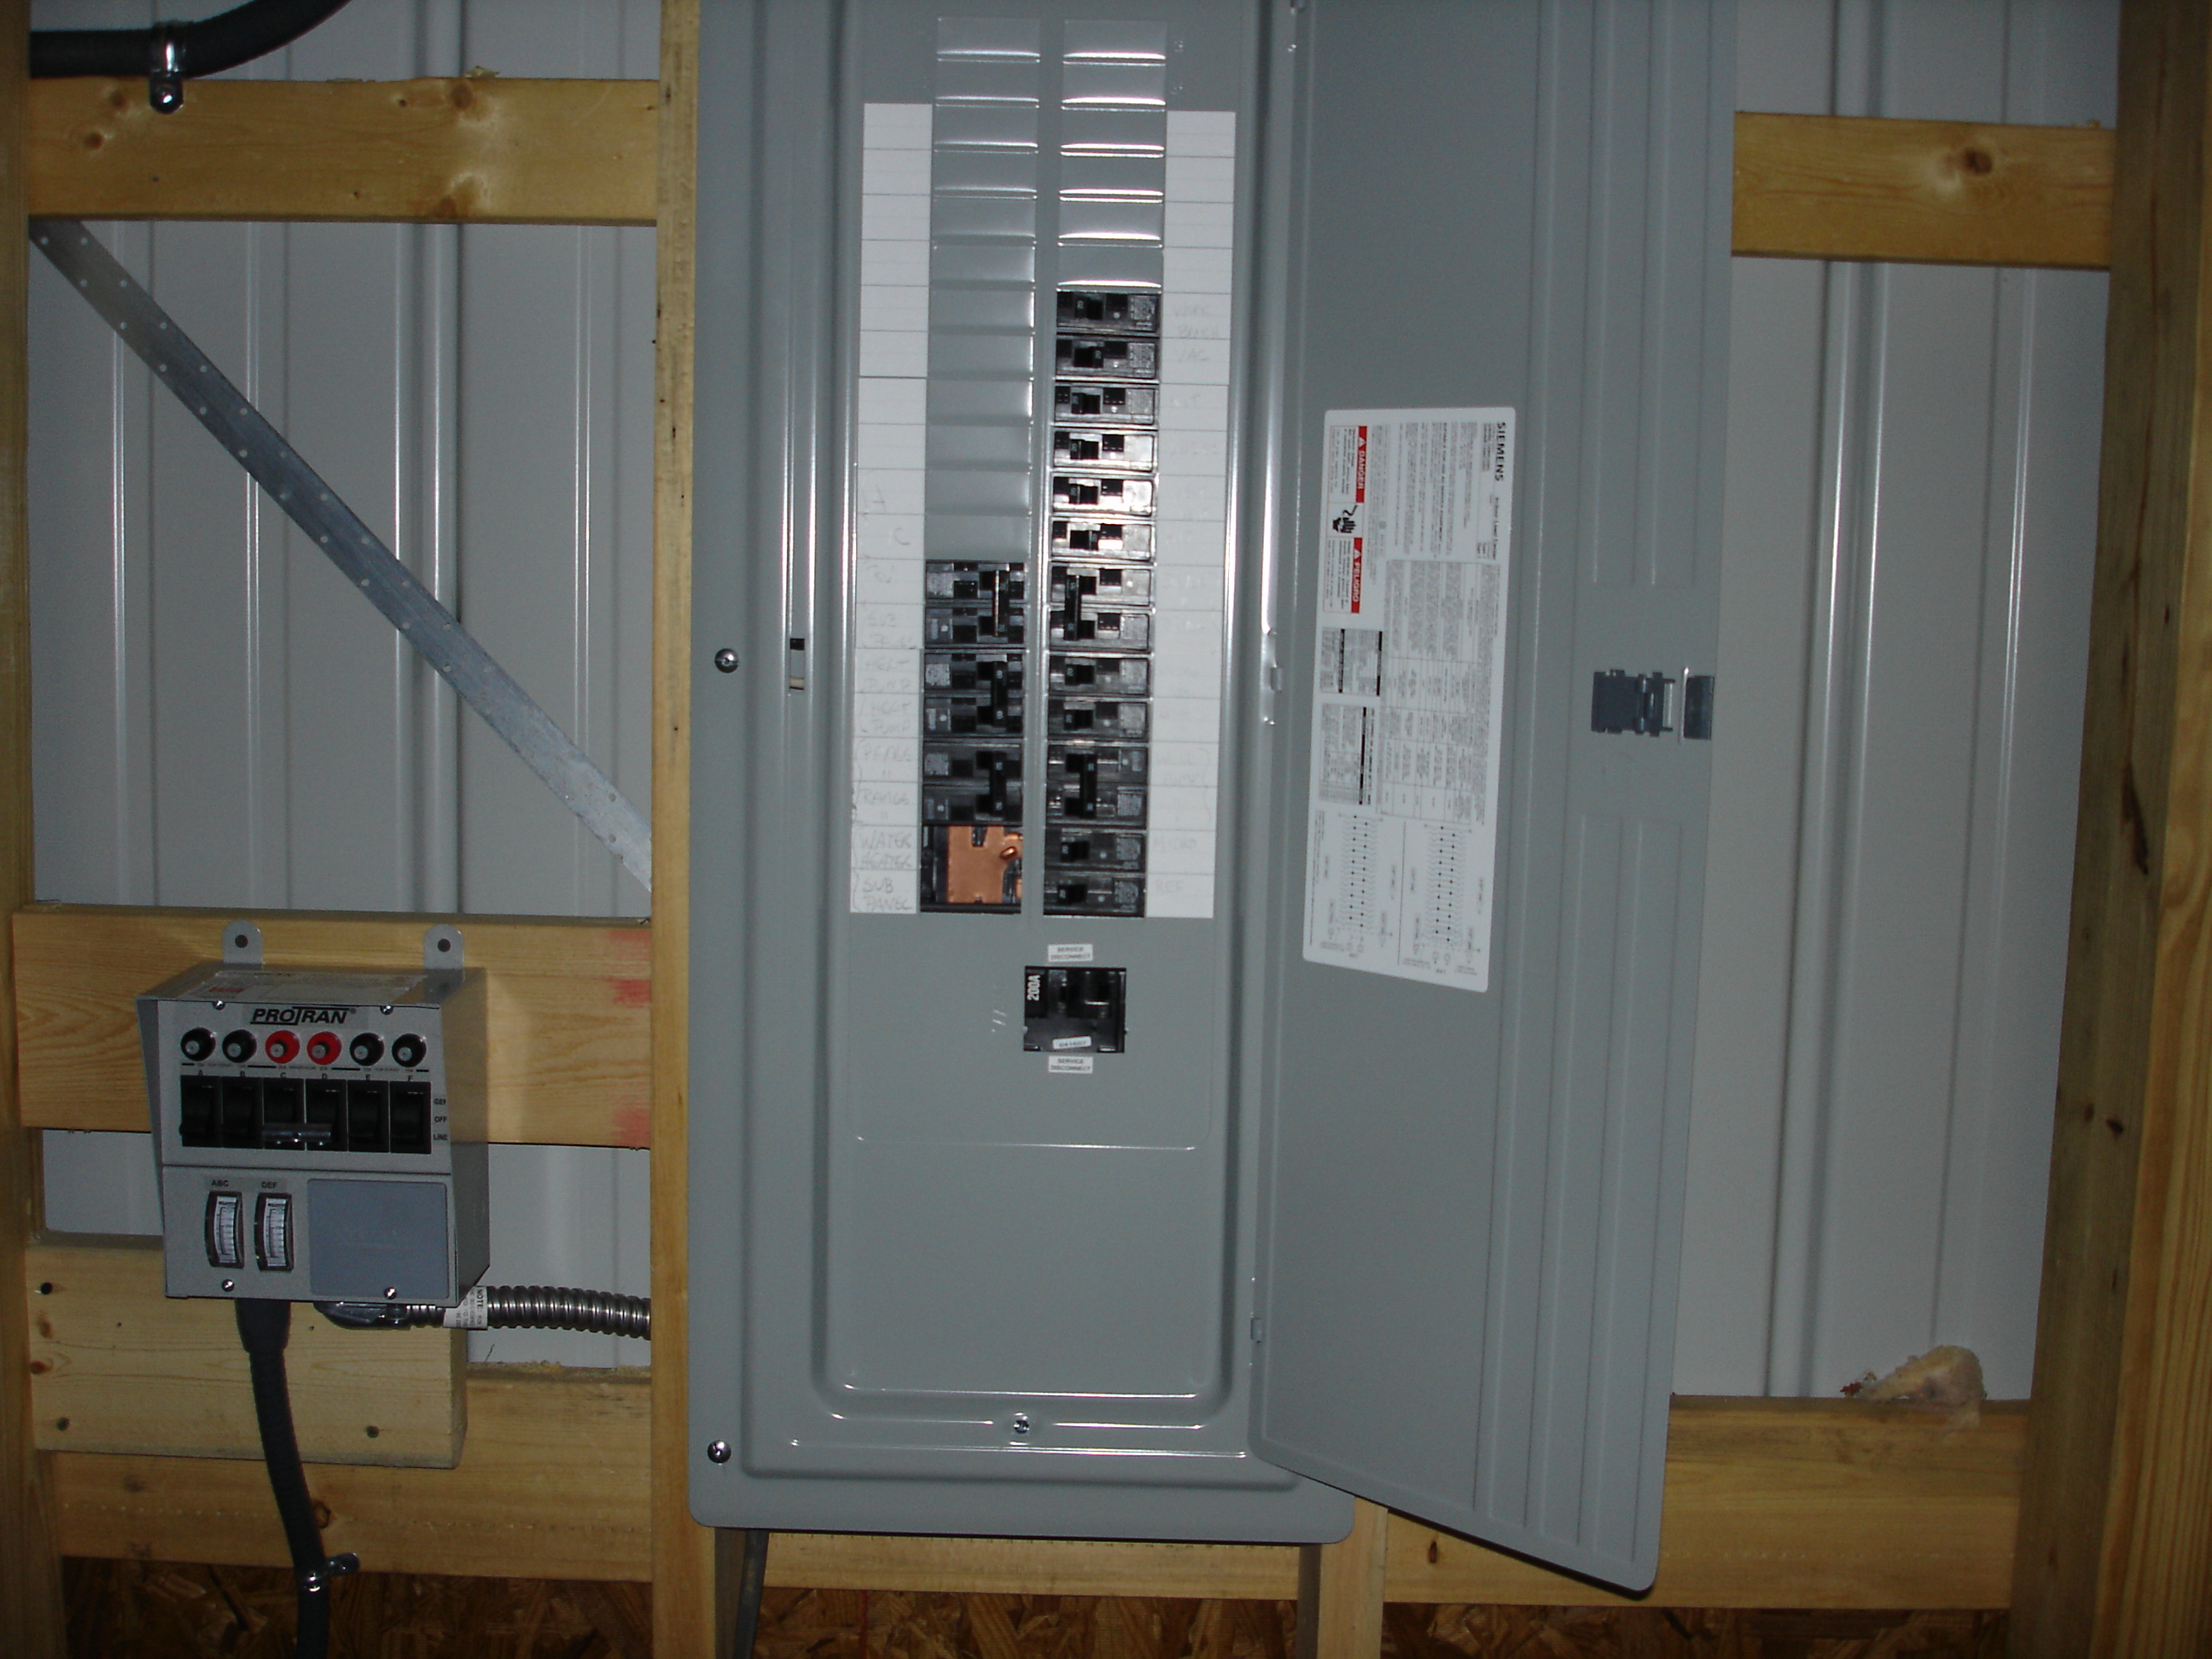
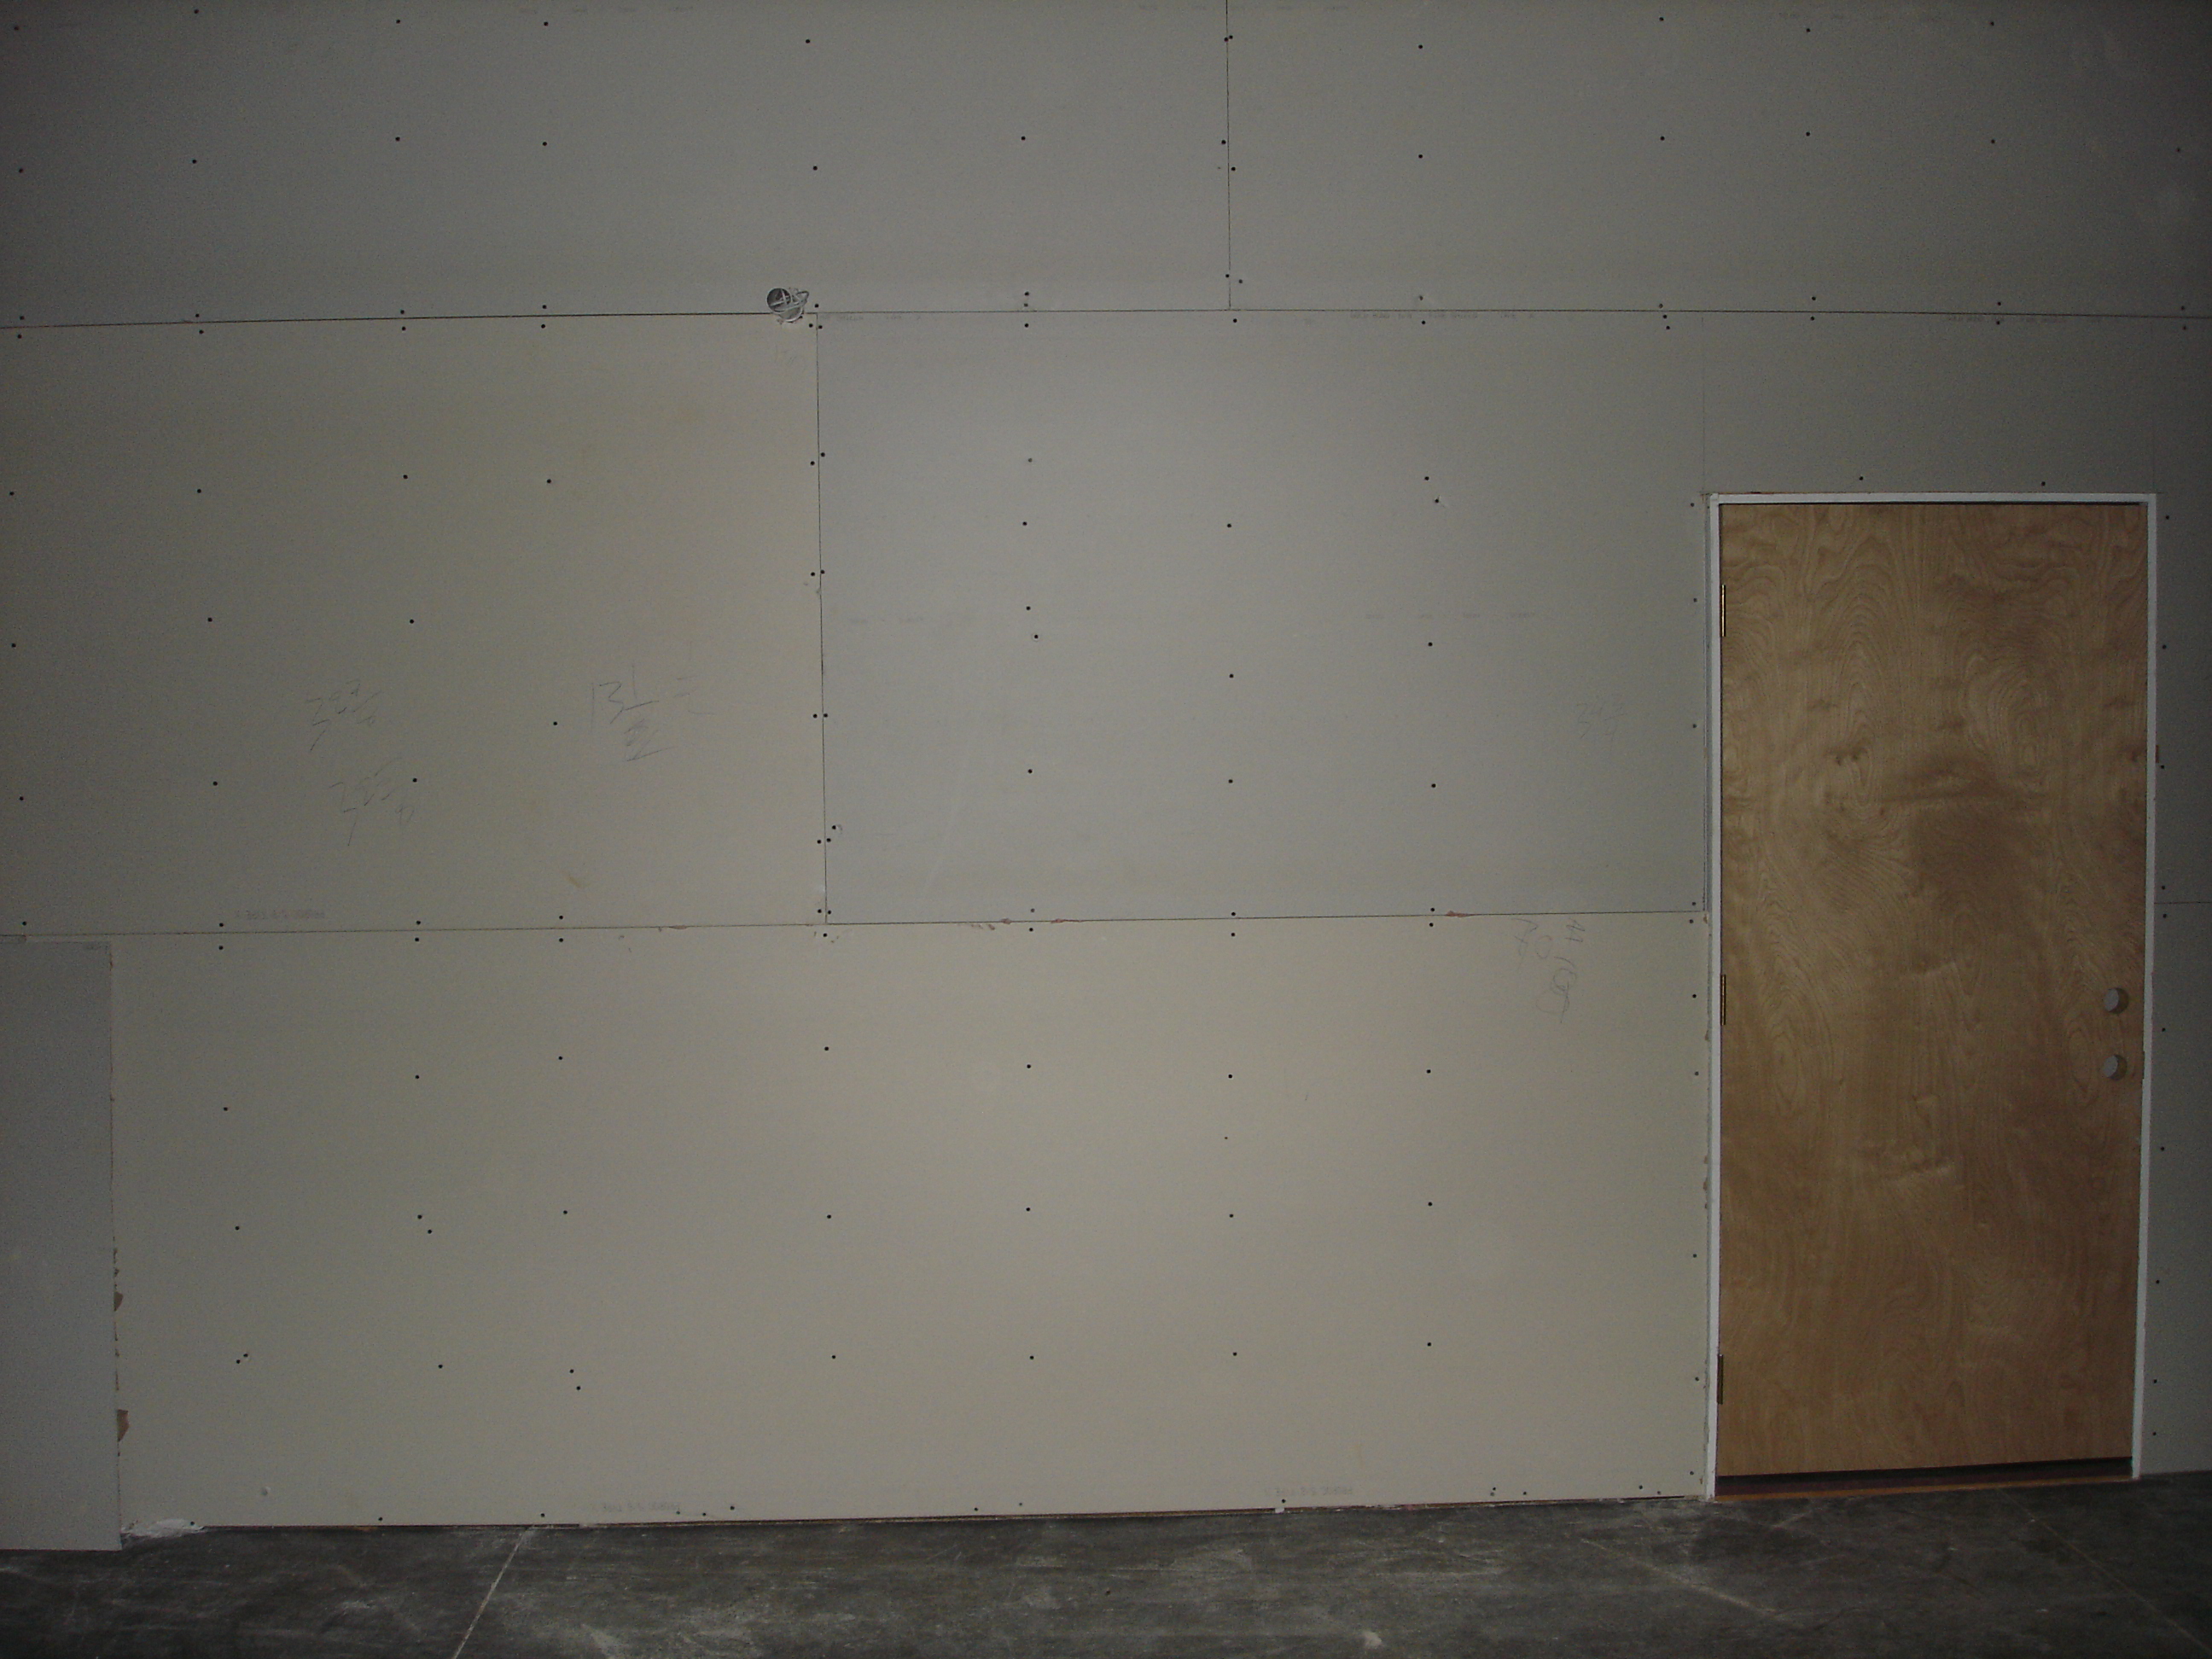
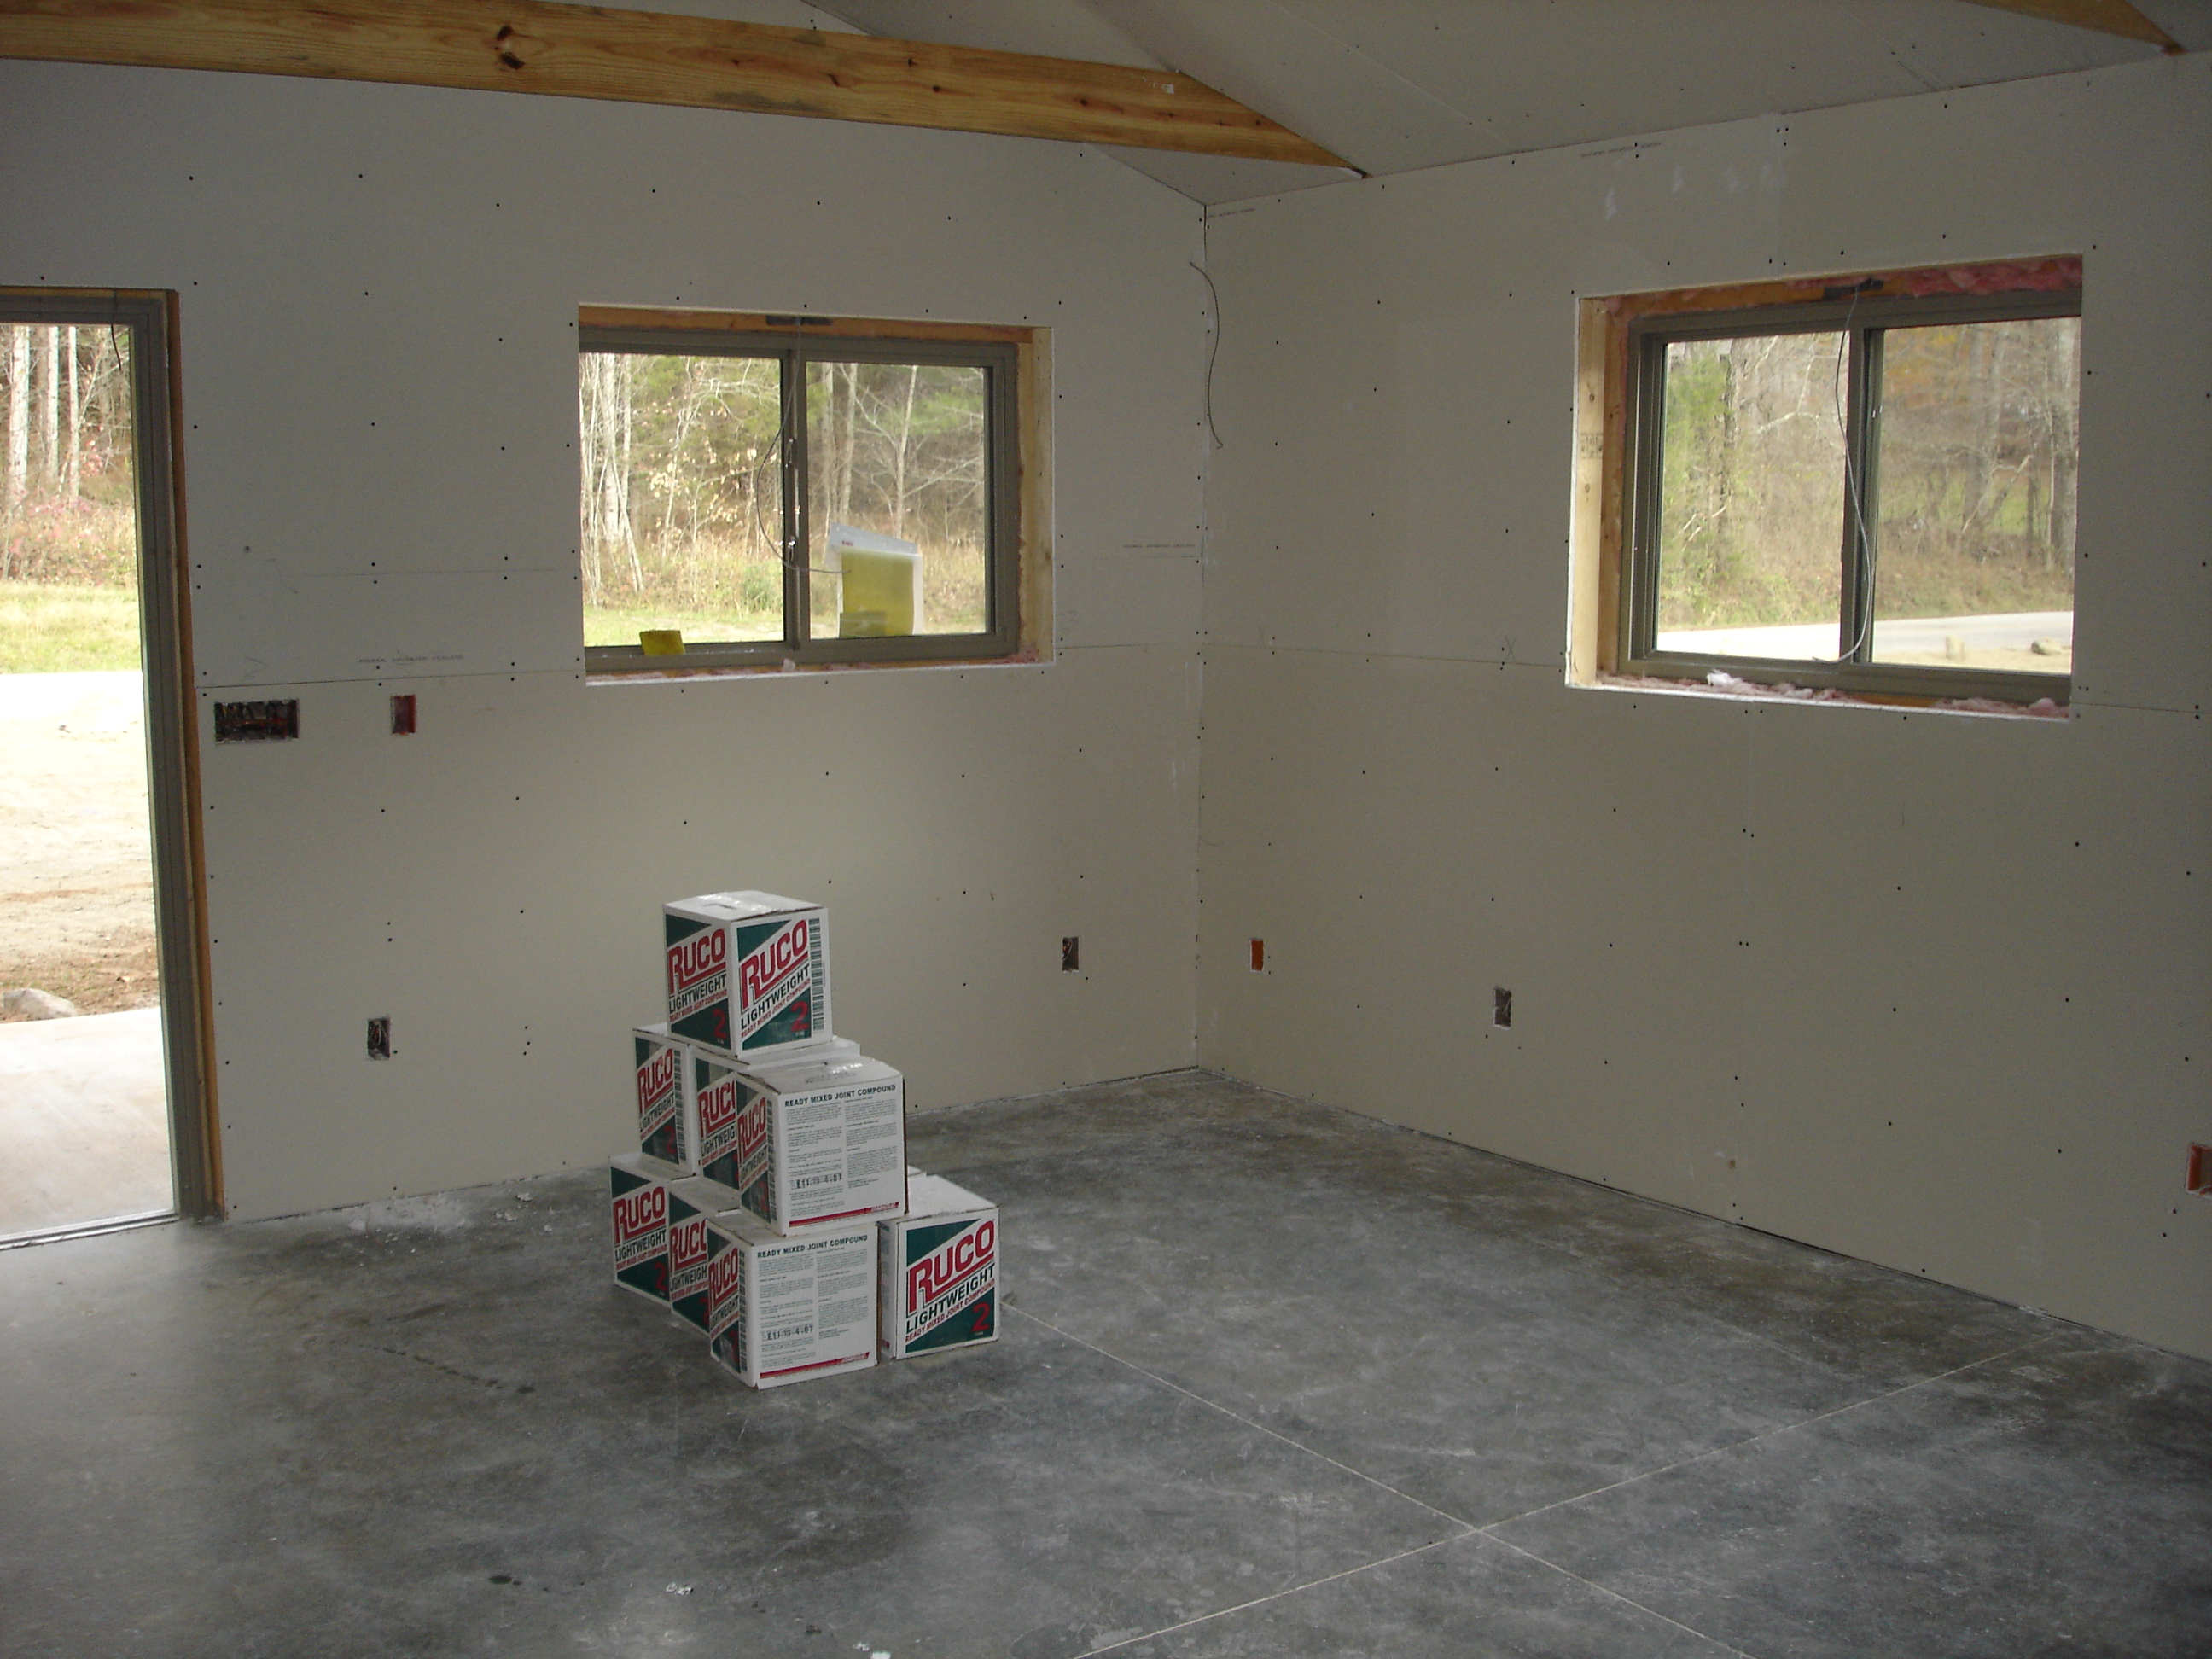
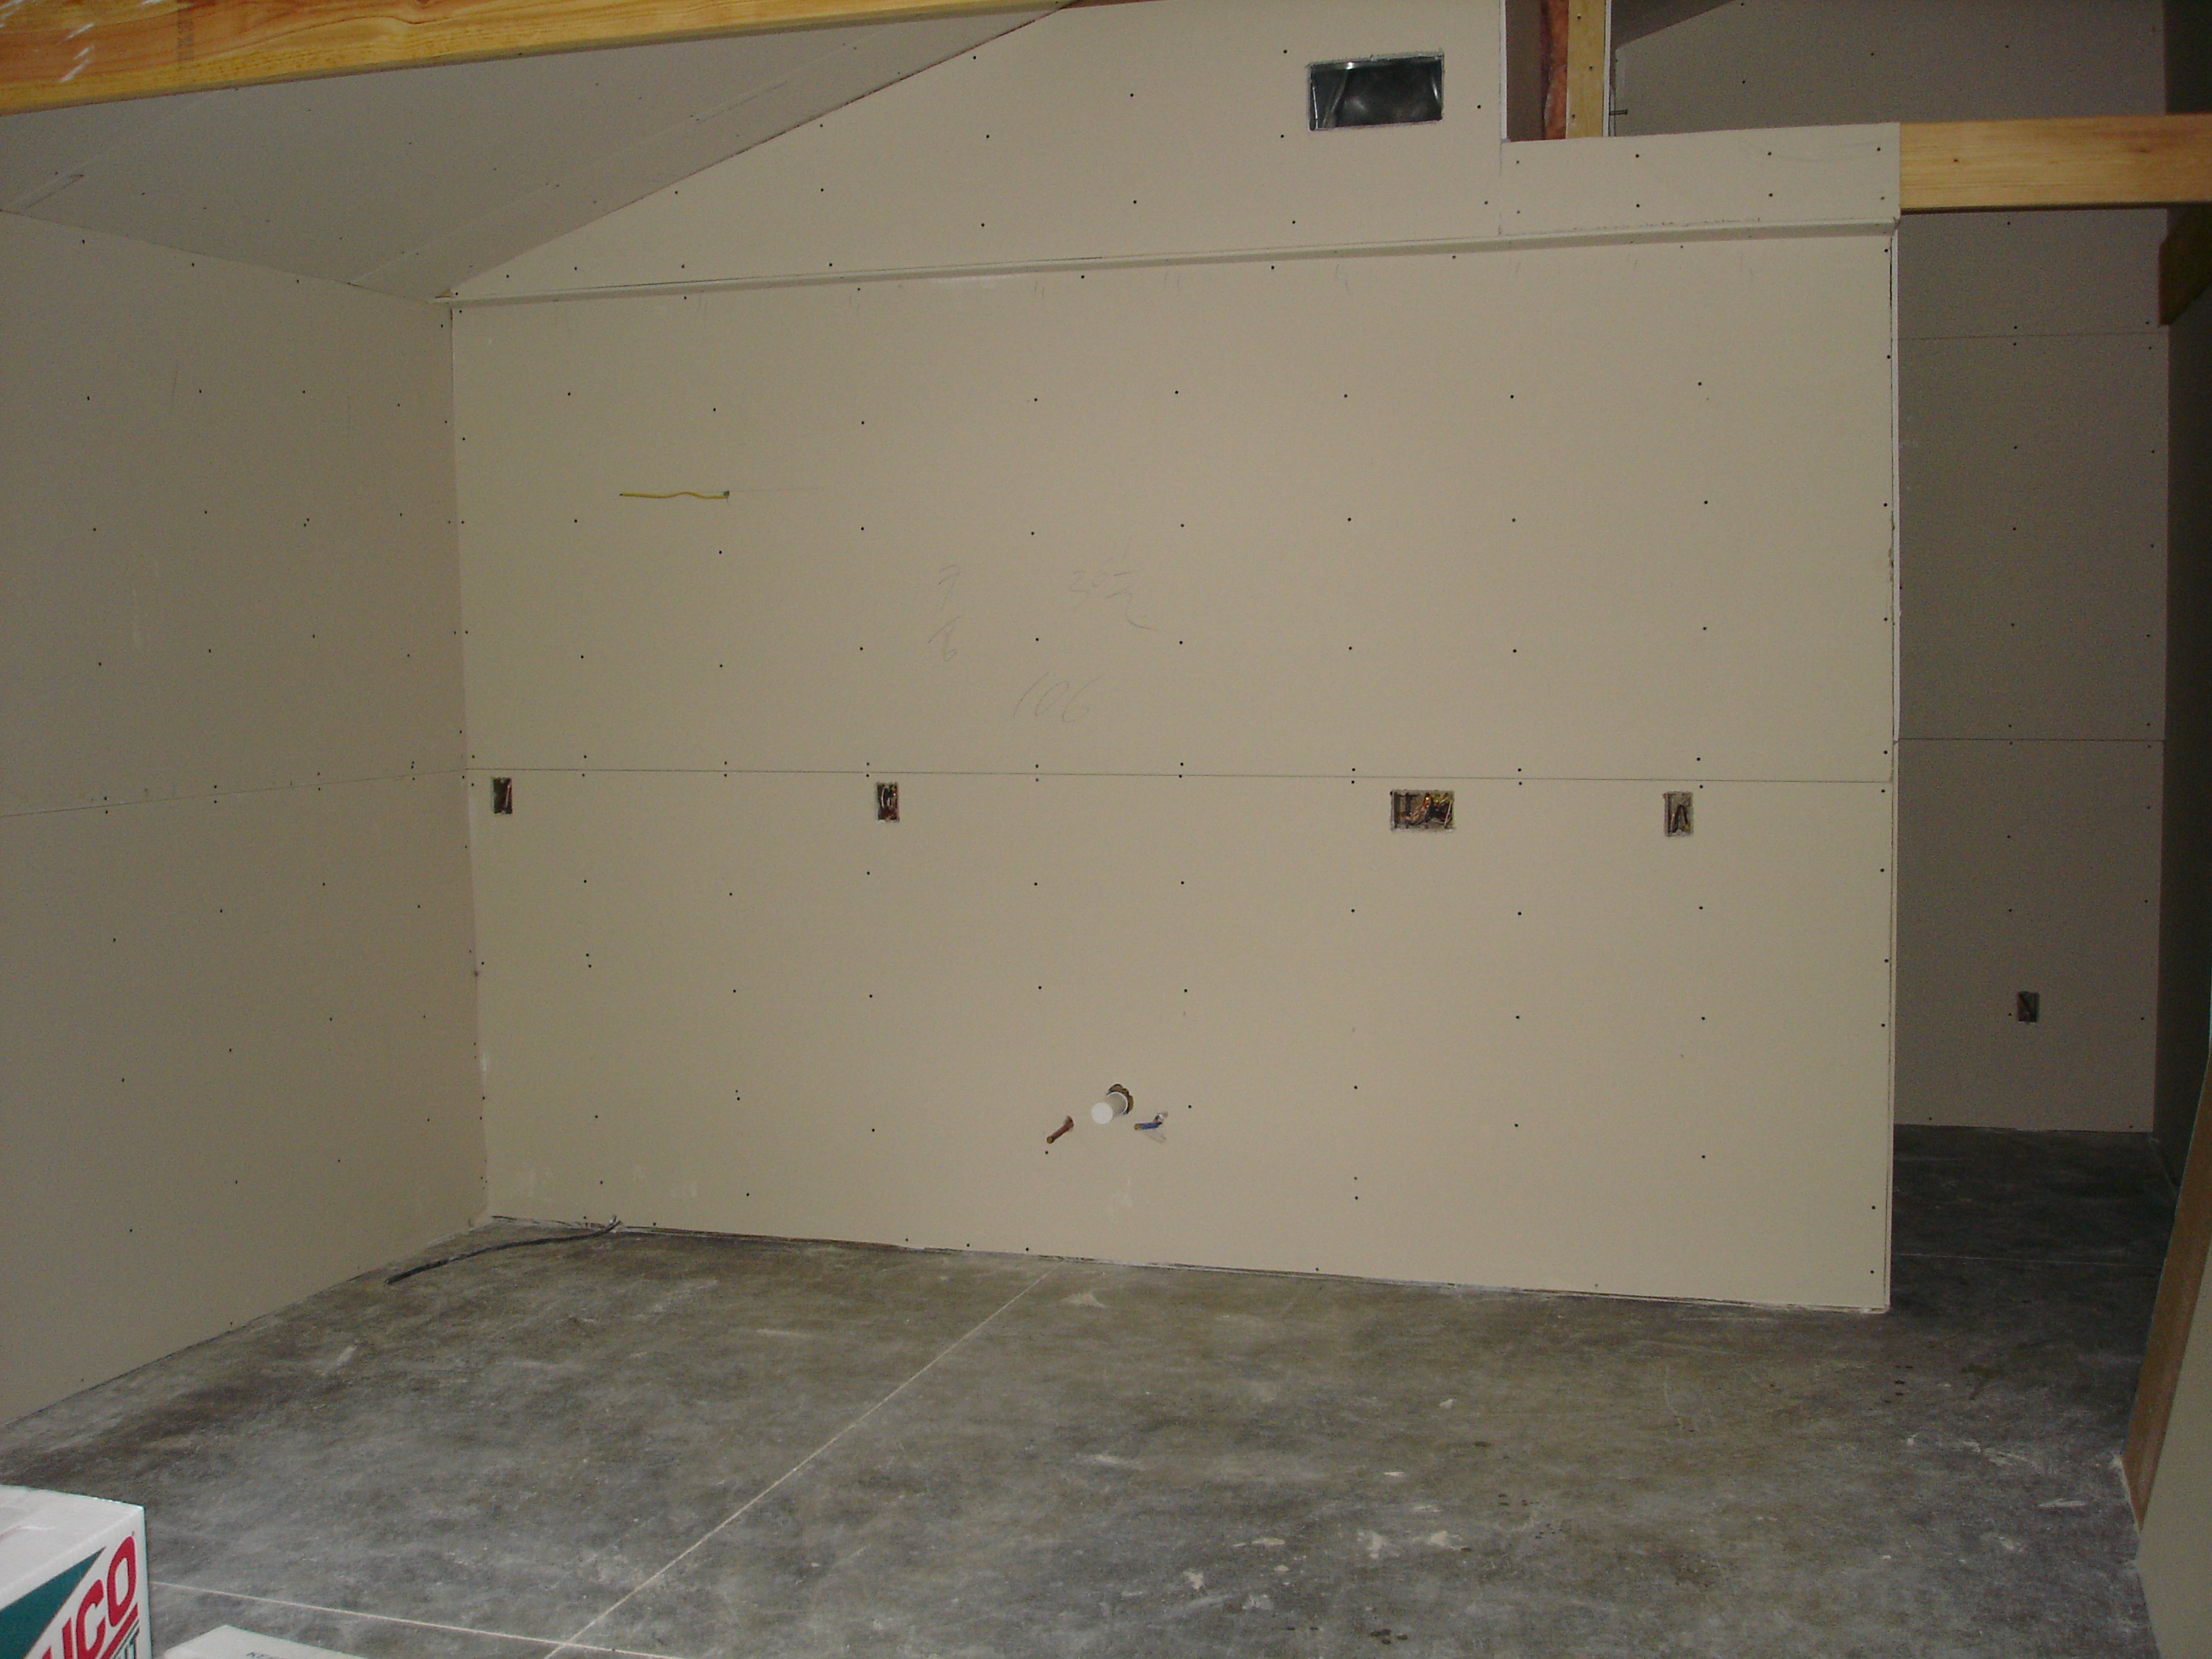
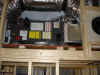
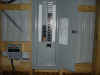
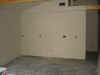
A very big week, with a lot
happening. The electrician did a lot of work, and other than the
final trim out everything is in place. The drywall folks started
work and we now have walls. No more looking through the walls
between the garage area and the living area. I must admit, it is
getting a lot smaller with the walls up. With a little luck the walls
will be finished and painted this week
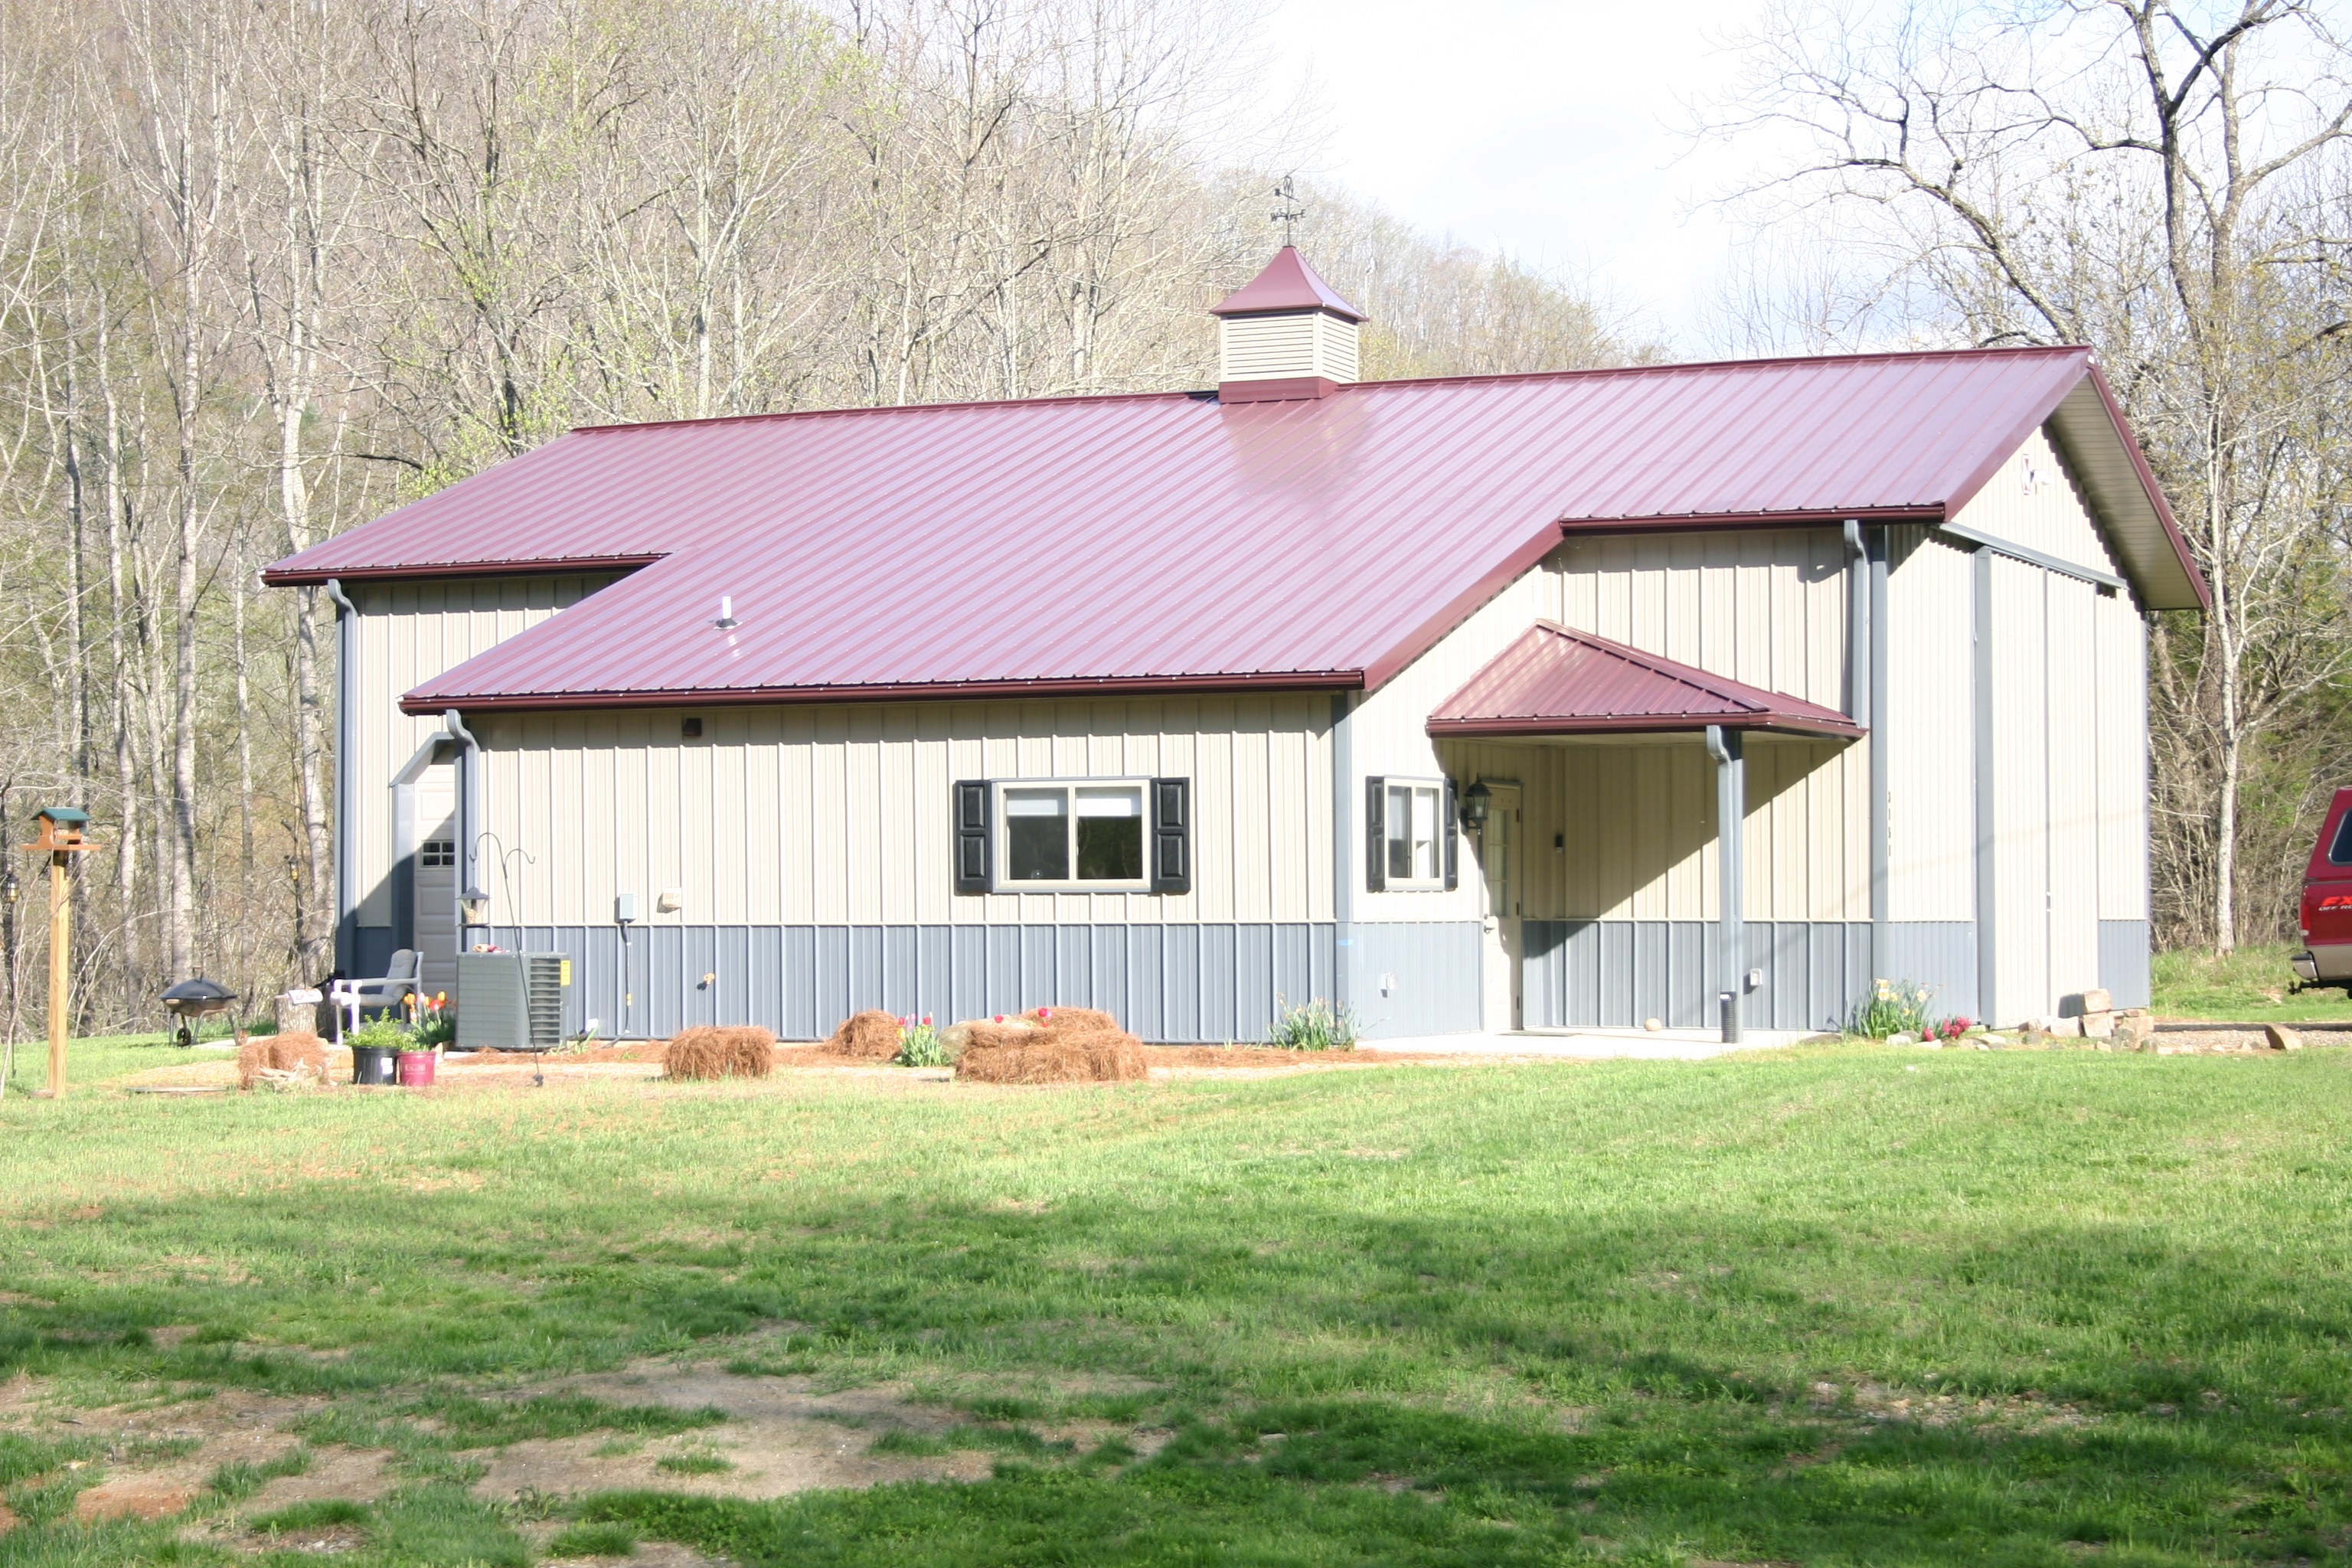
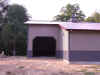
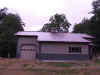
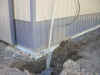
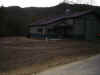
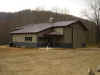
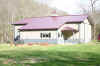
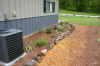
While you really can't see it in this outside
photo, we have a few blades of grass breaking the surface and outside
landscaping has begun. A mulch path from the driveway to the
front door as well as a couple of planting beds have been put in.
Lots of work left to go though!
November 11, 2007
|
 |
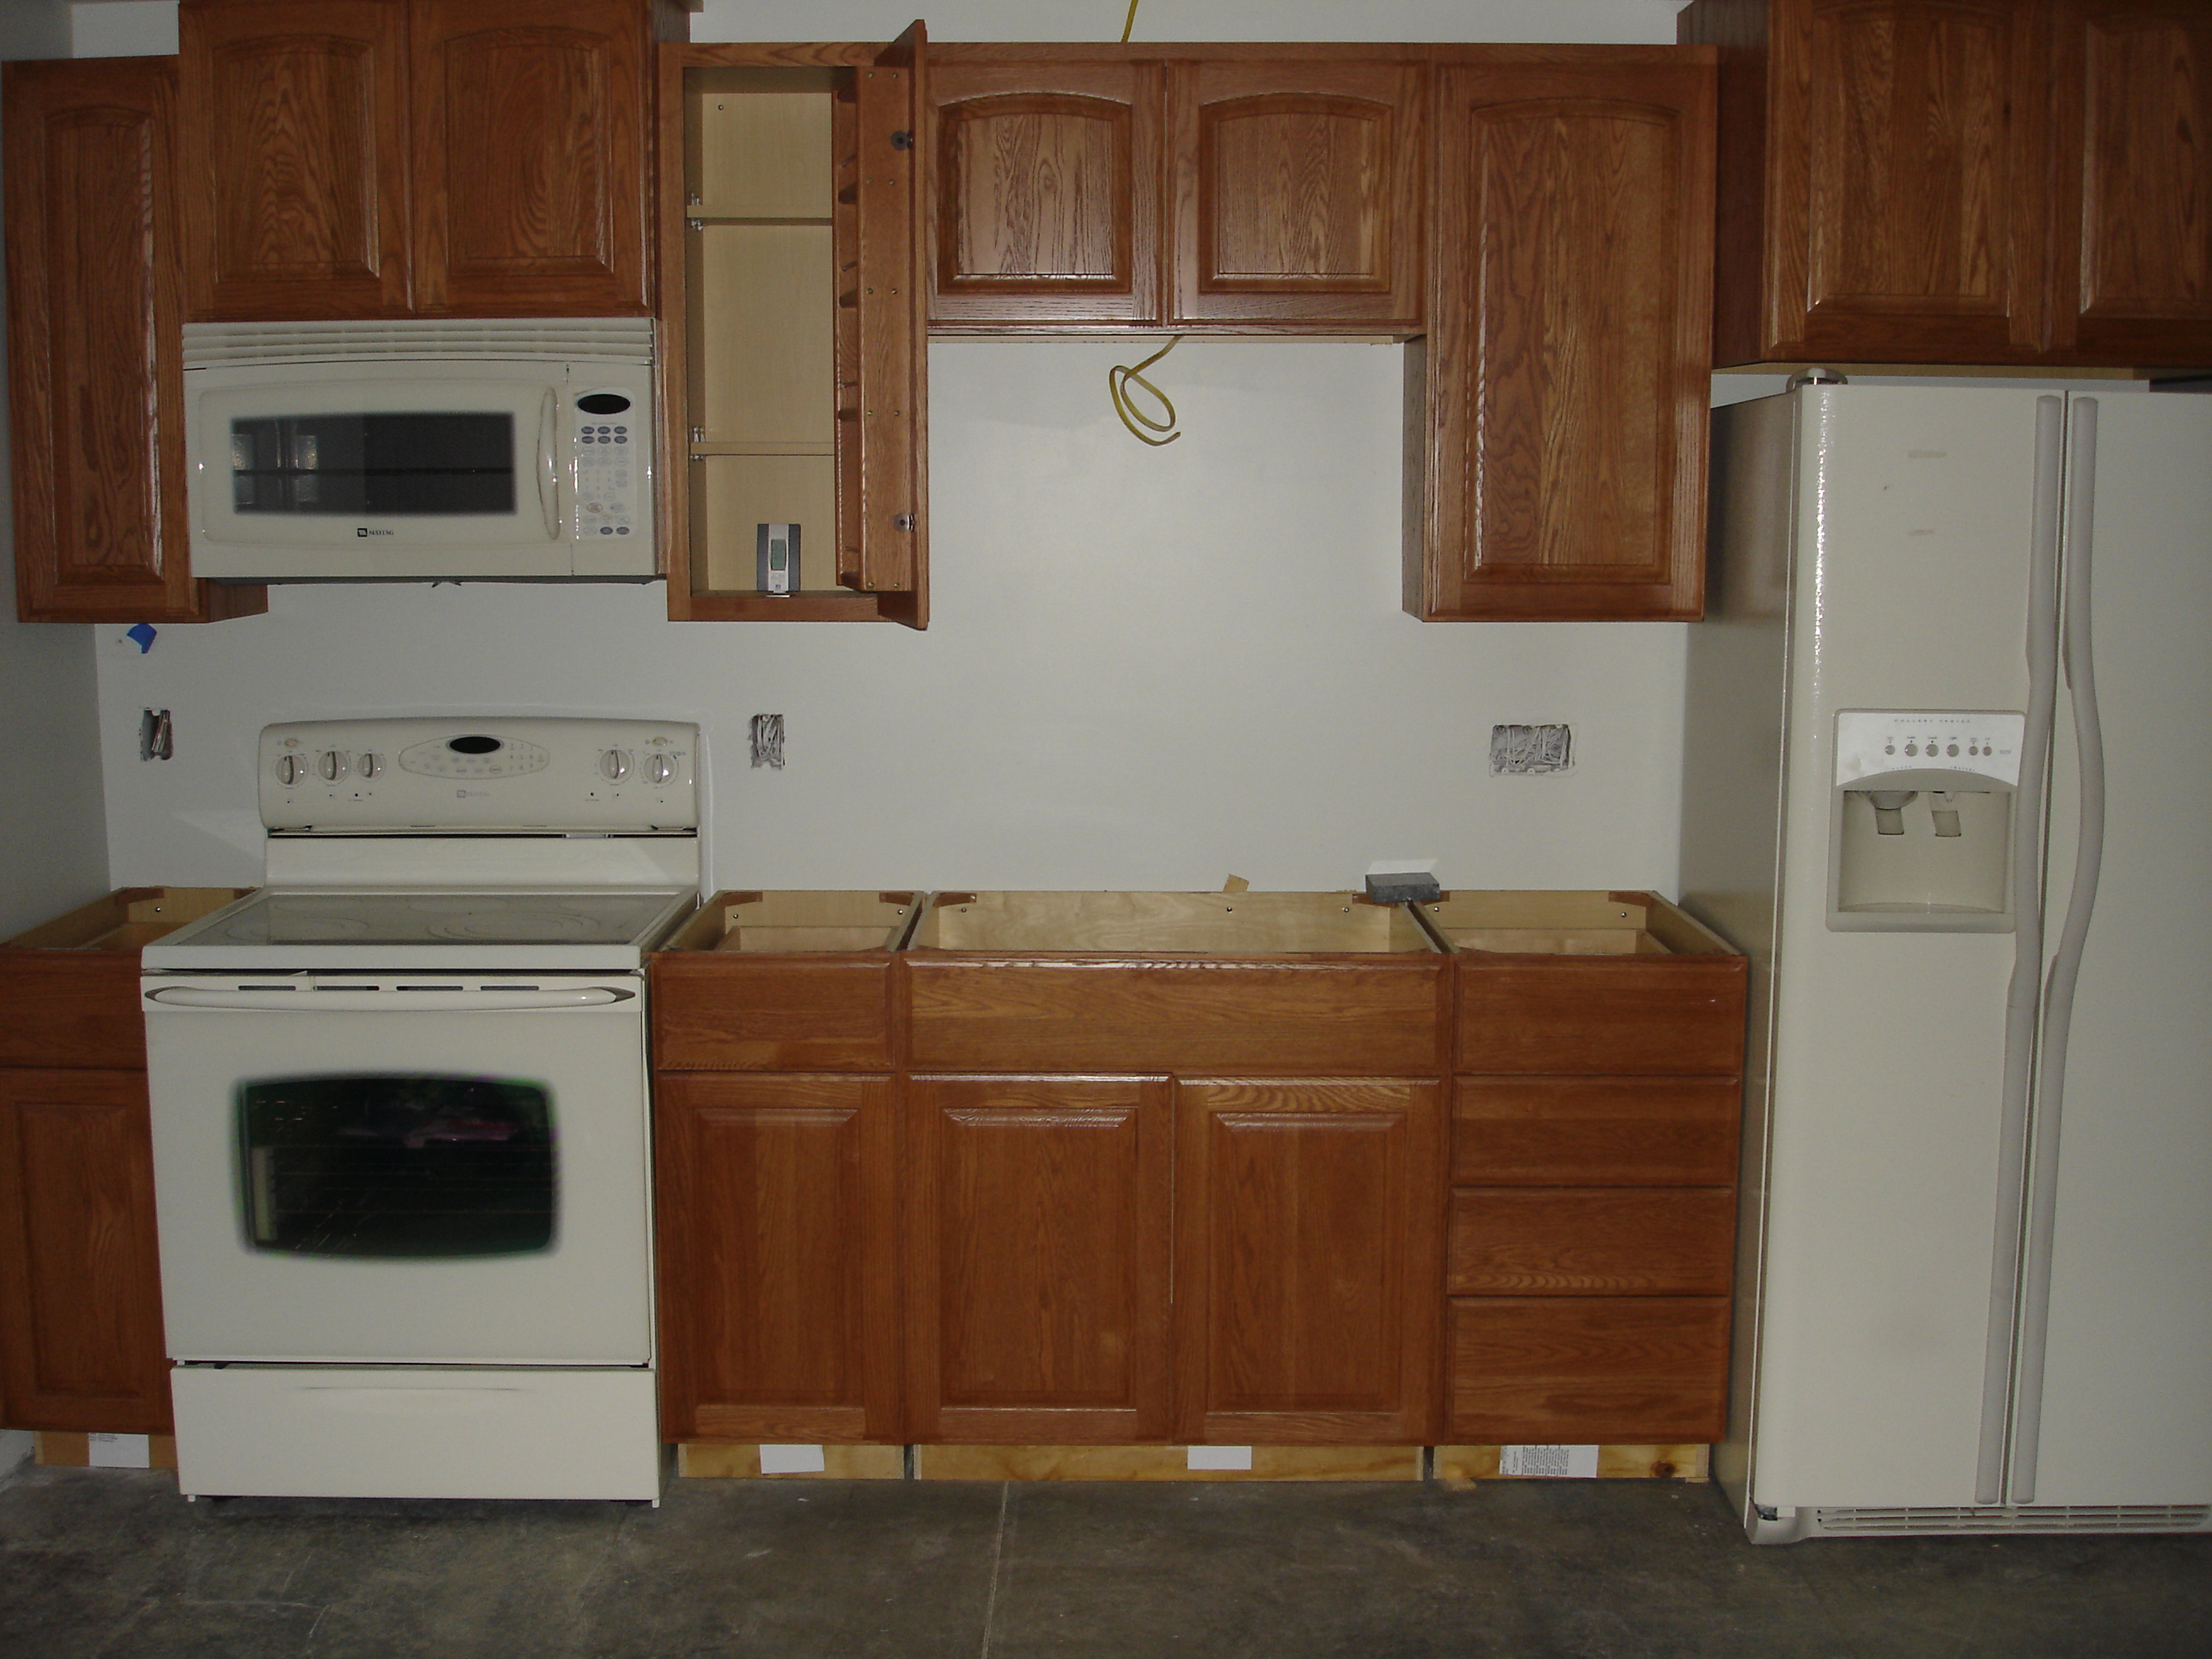
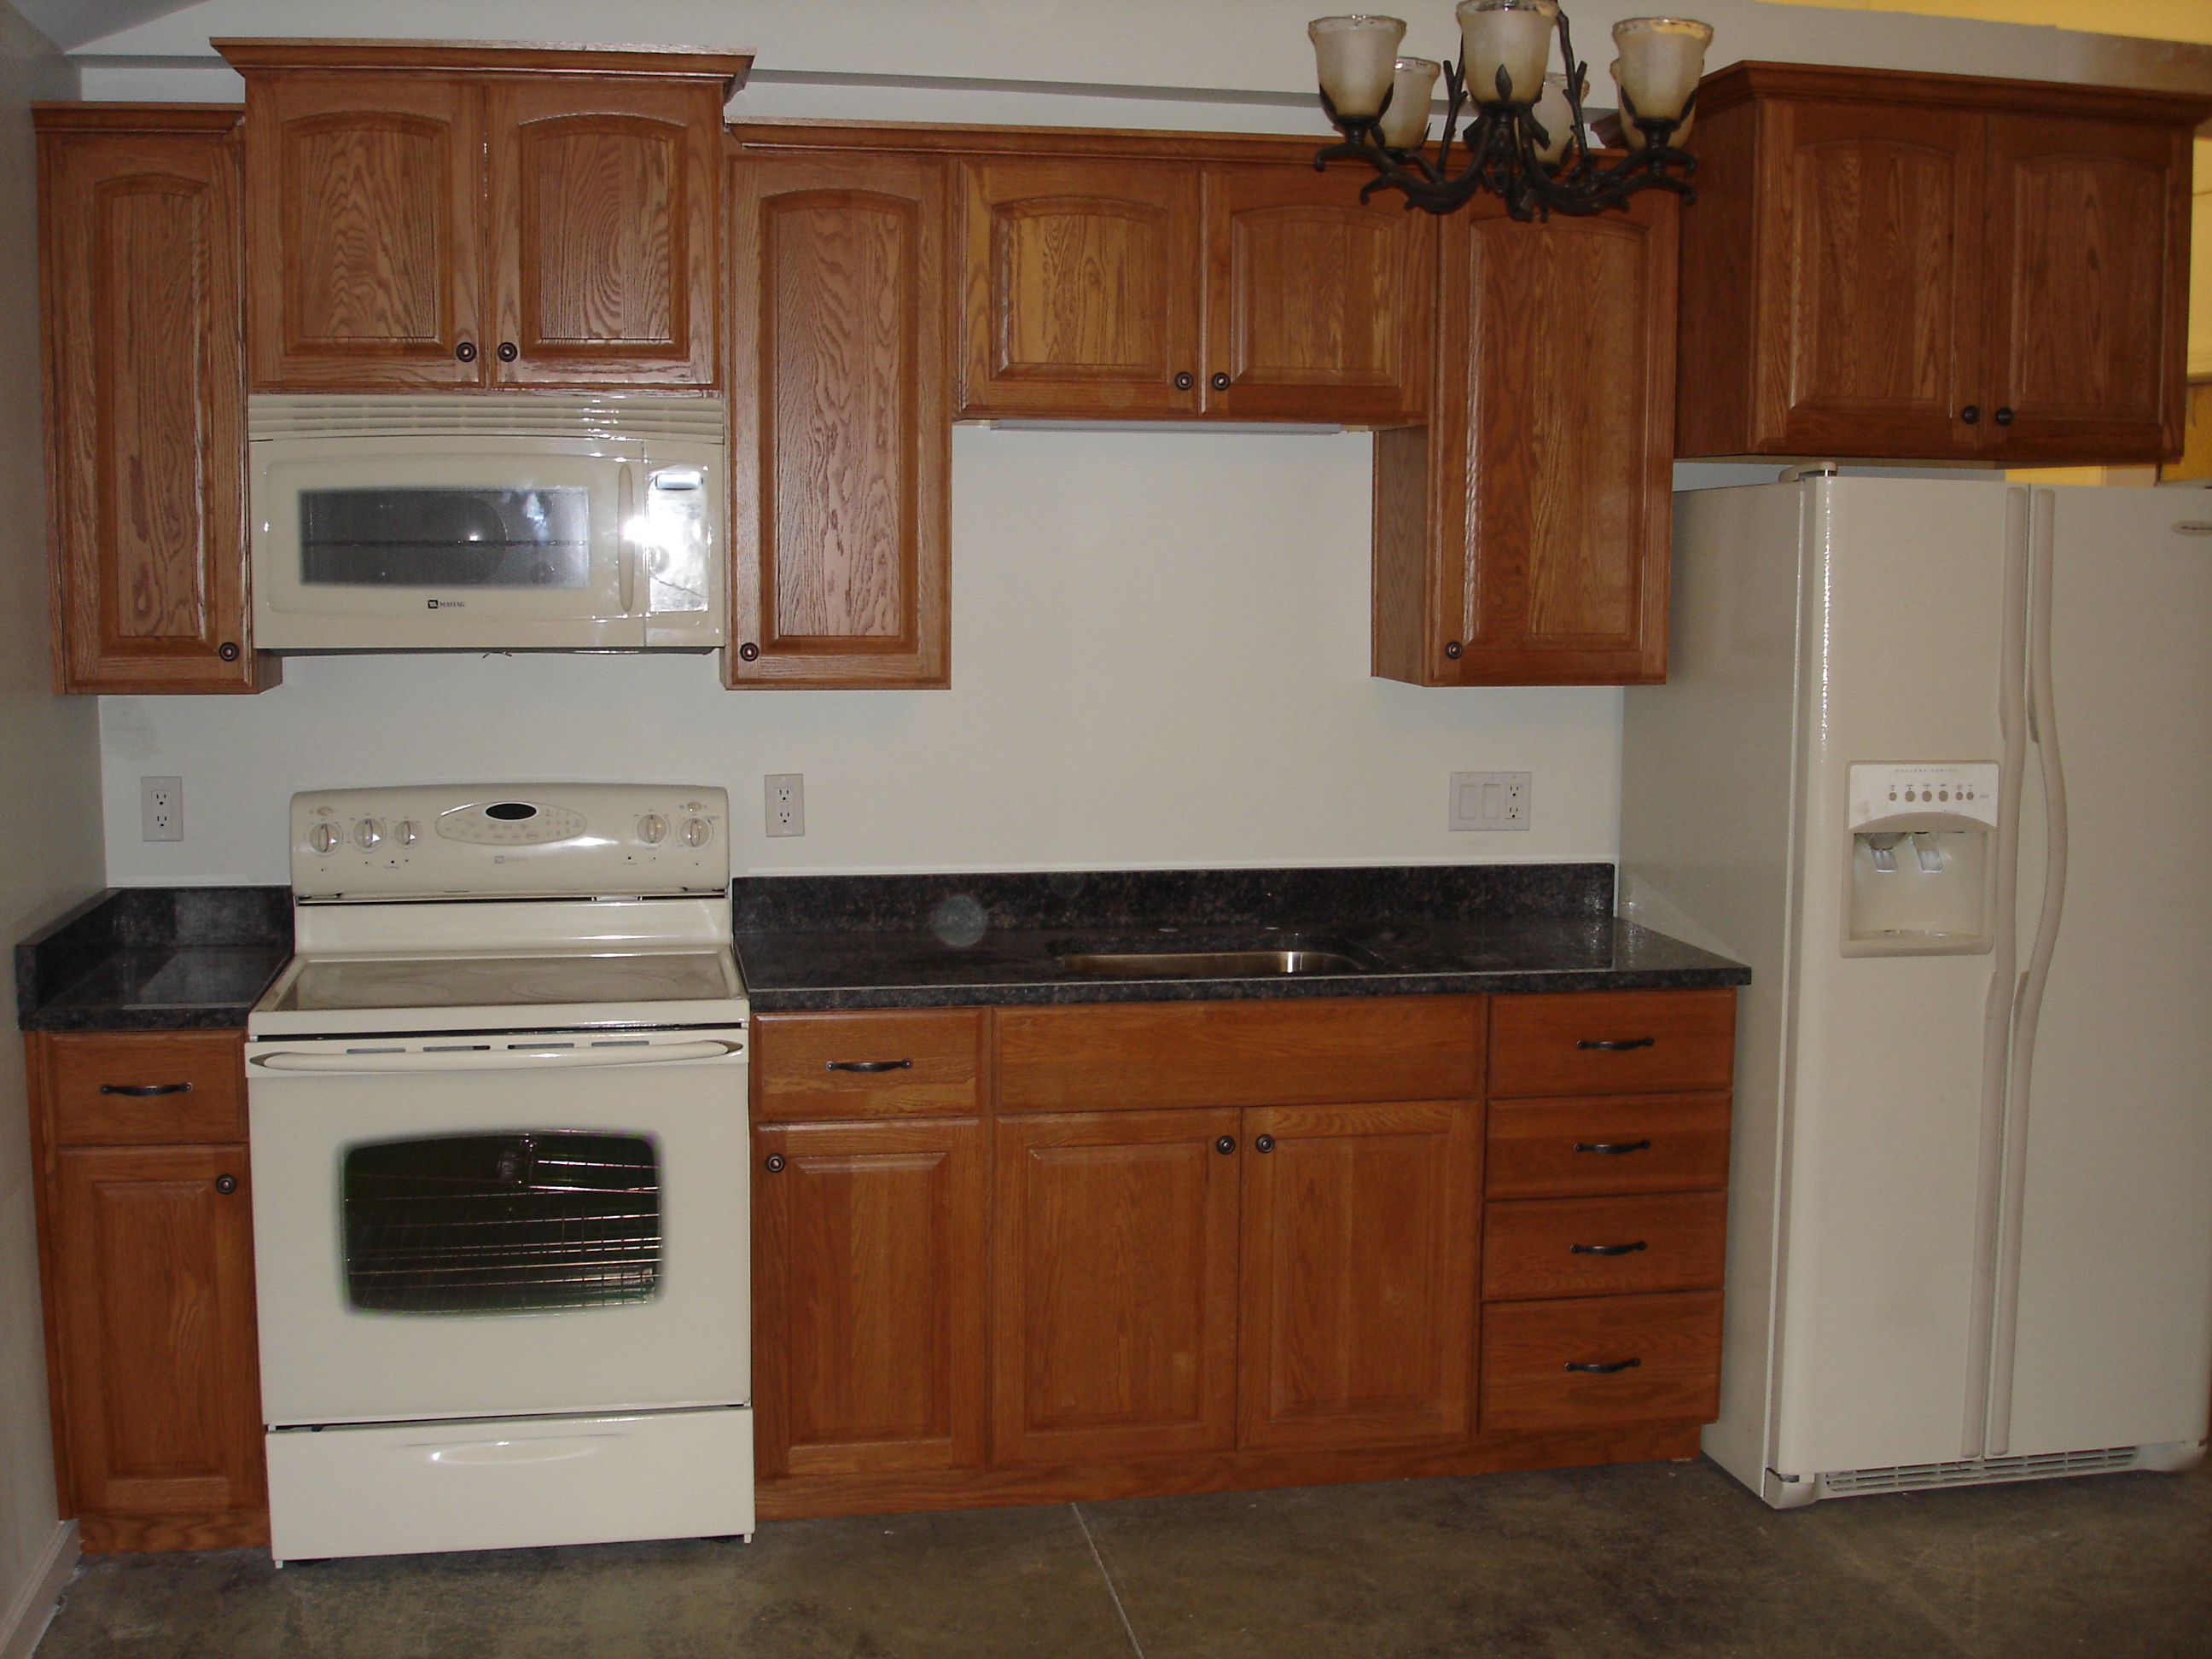
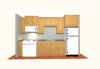
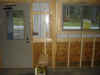
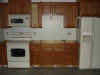
Another long weekend! With the
help of a neighbor (folks are nice around here) I was able to hang the
kitchen cabinets. While not working (no power) the refrigerator,
range and microwave are in place. A lot of the painting is
complete, but a lot more to go. I guess next weekend will be trim
work - baseboards and around the doors/windows.
November 18, 2007
|
 |
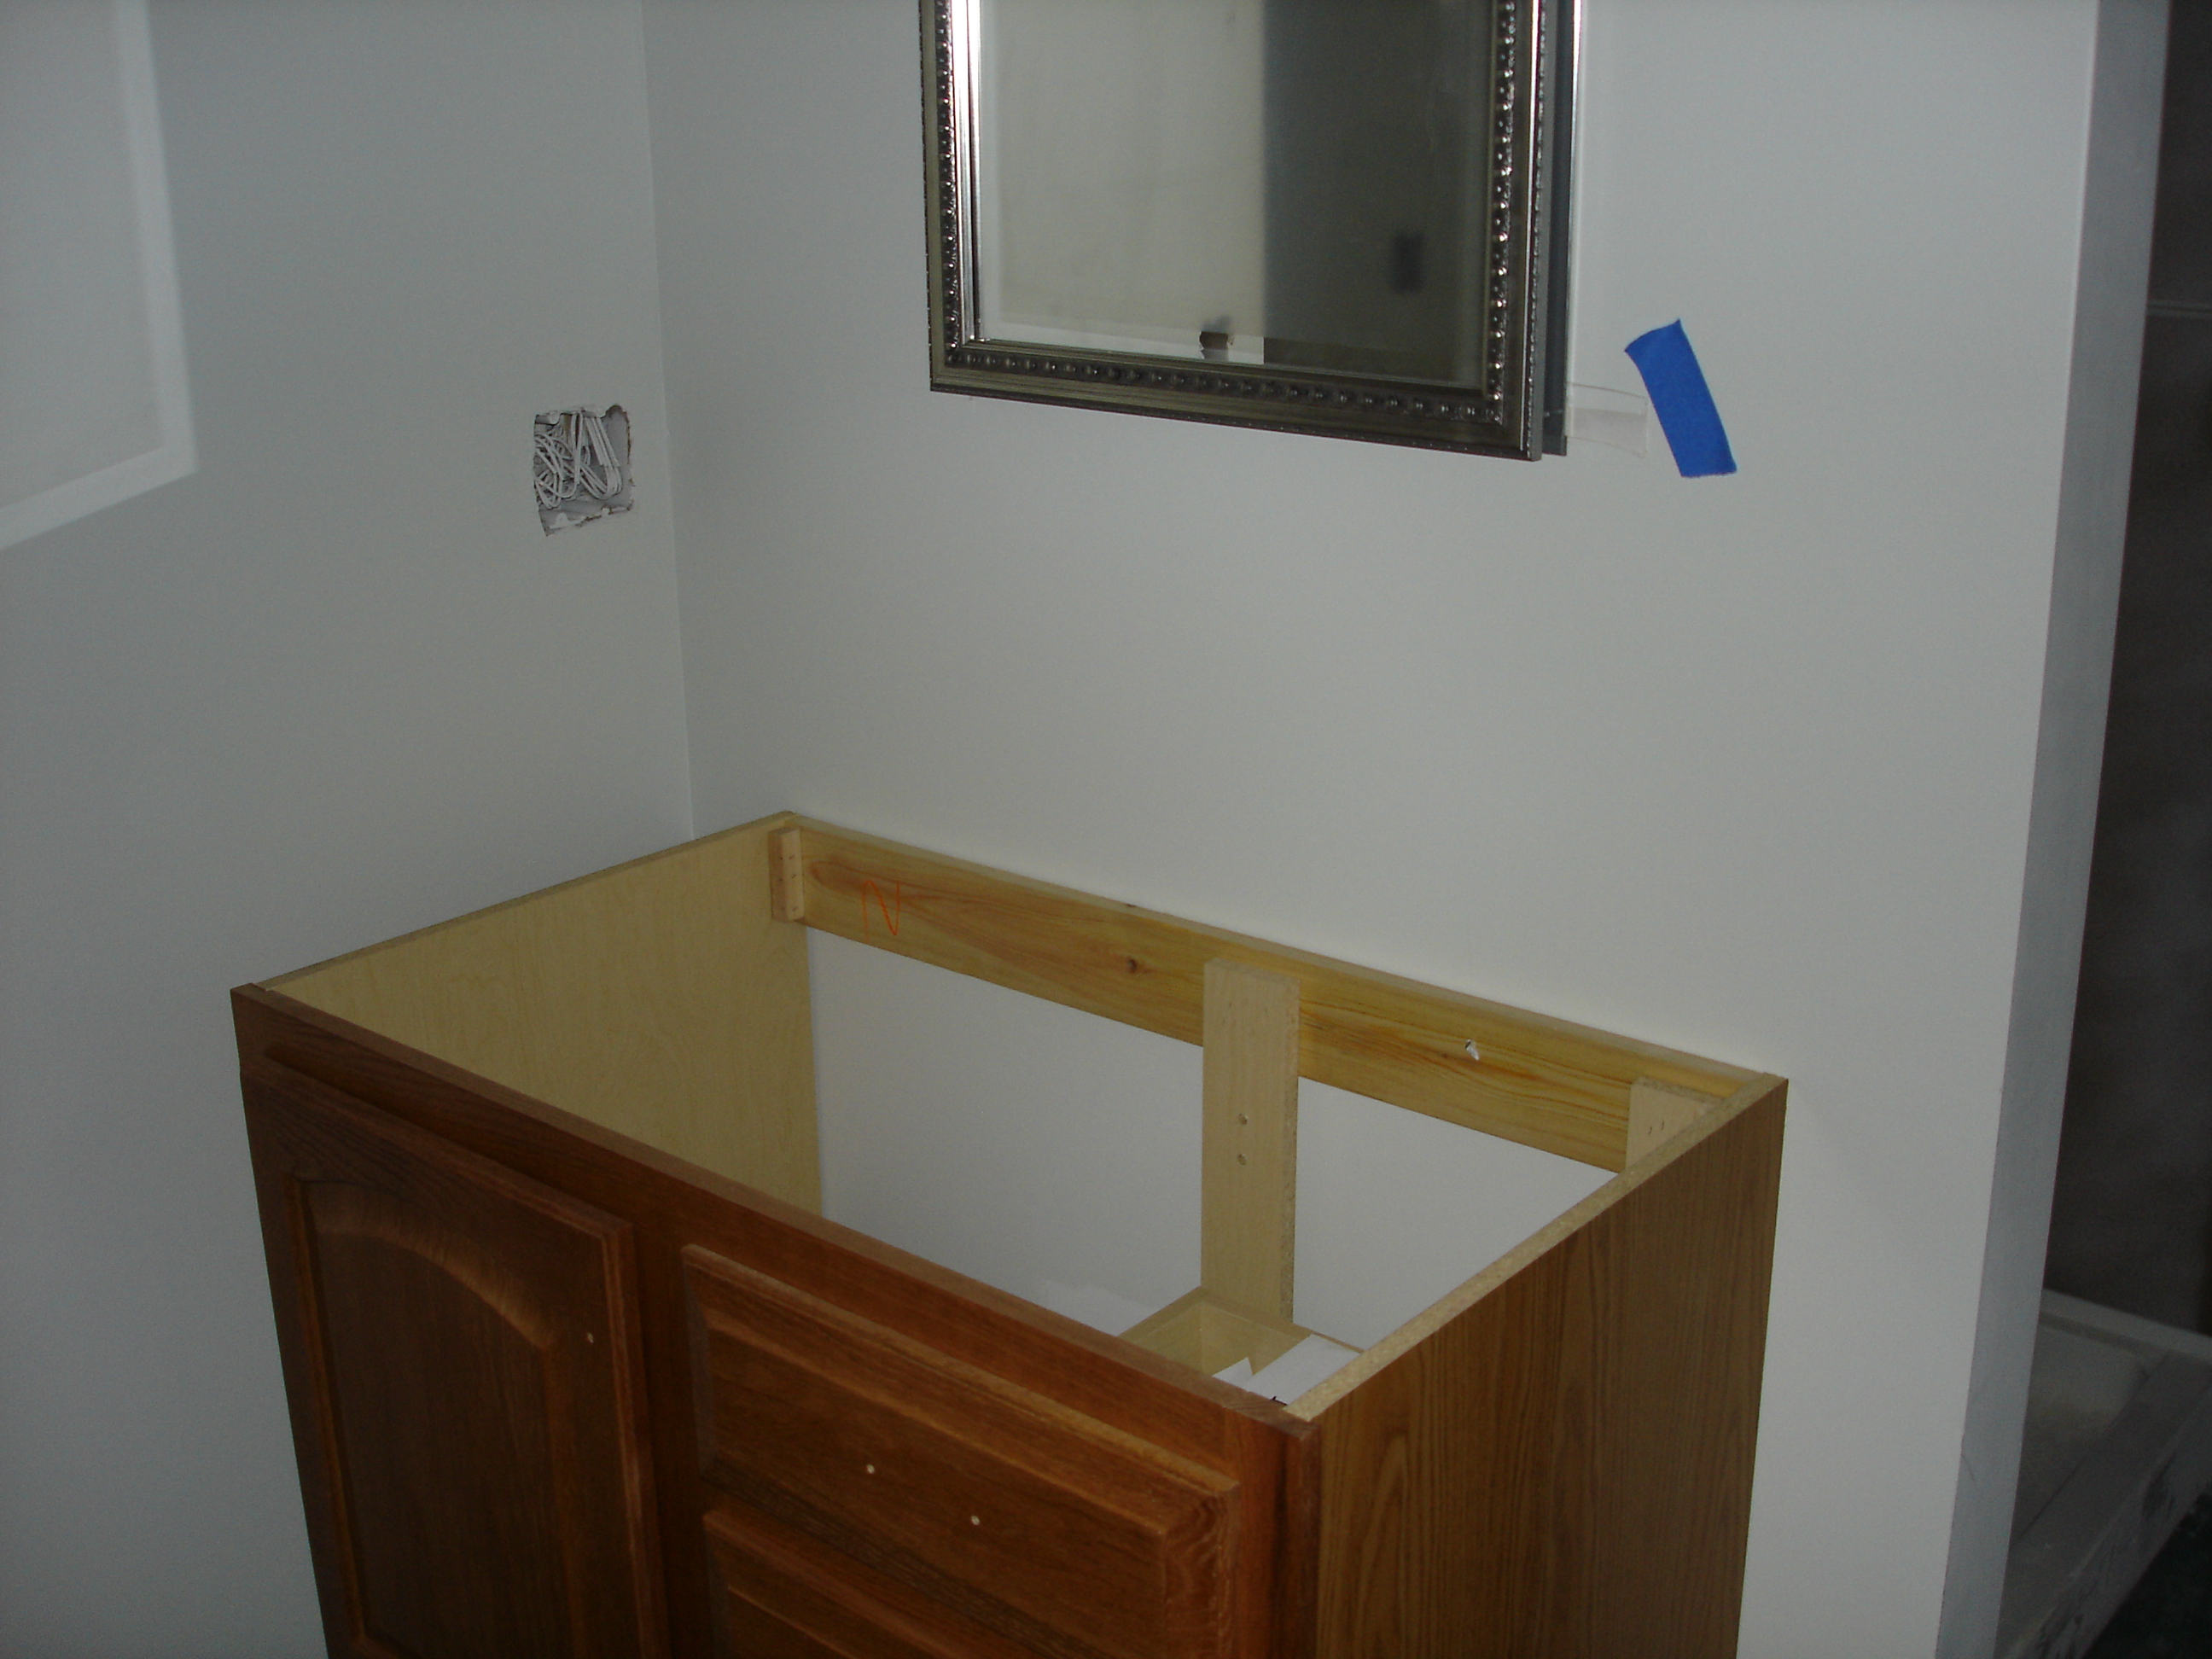
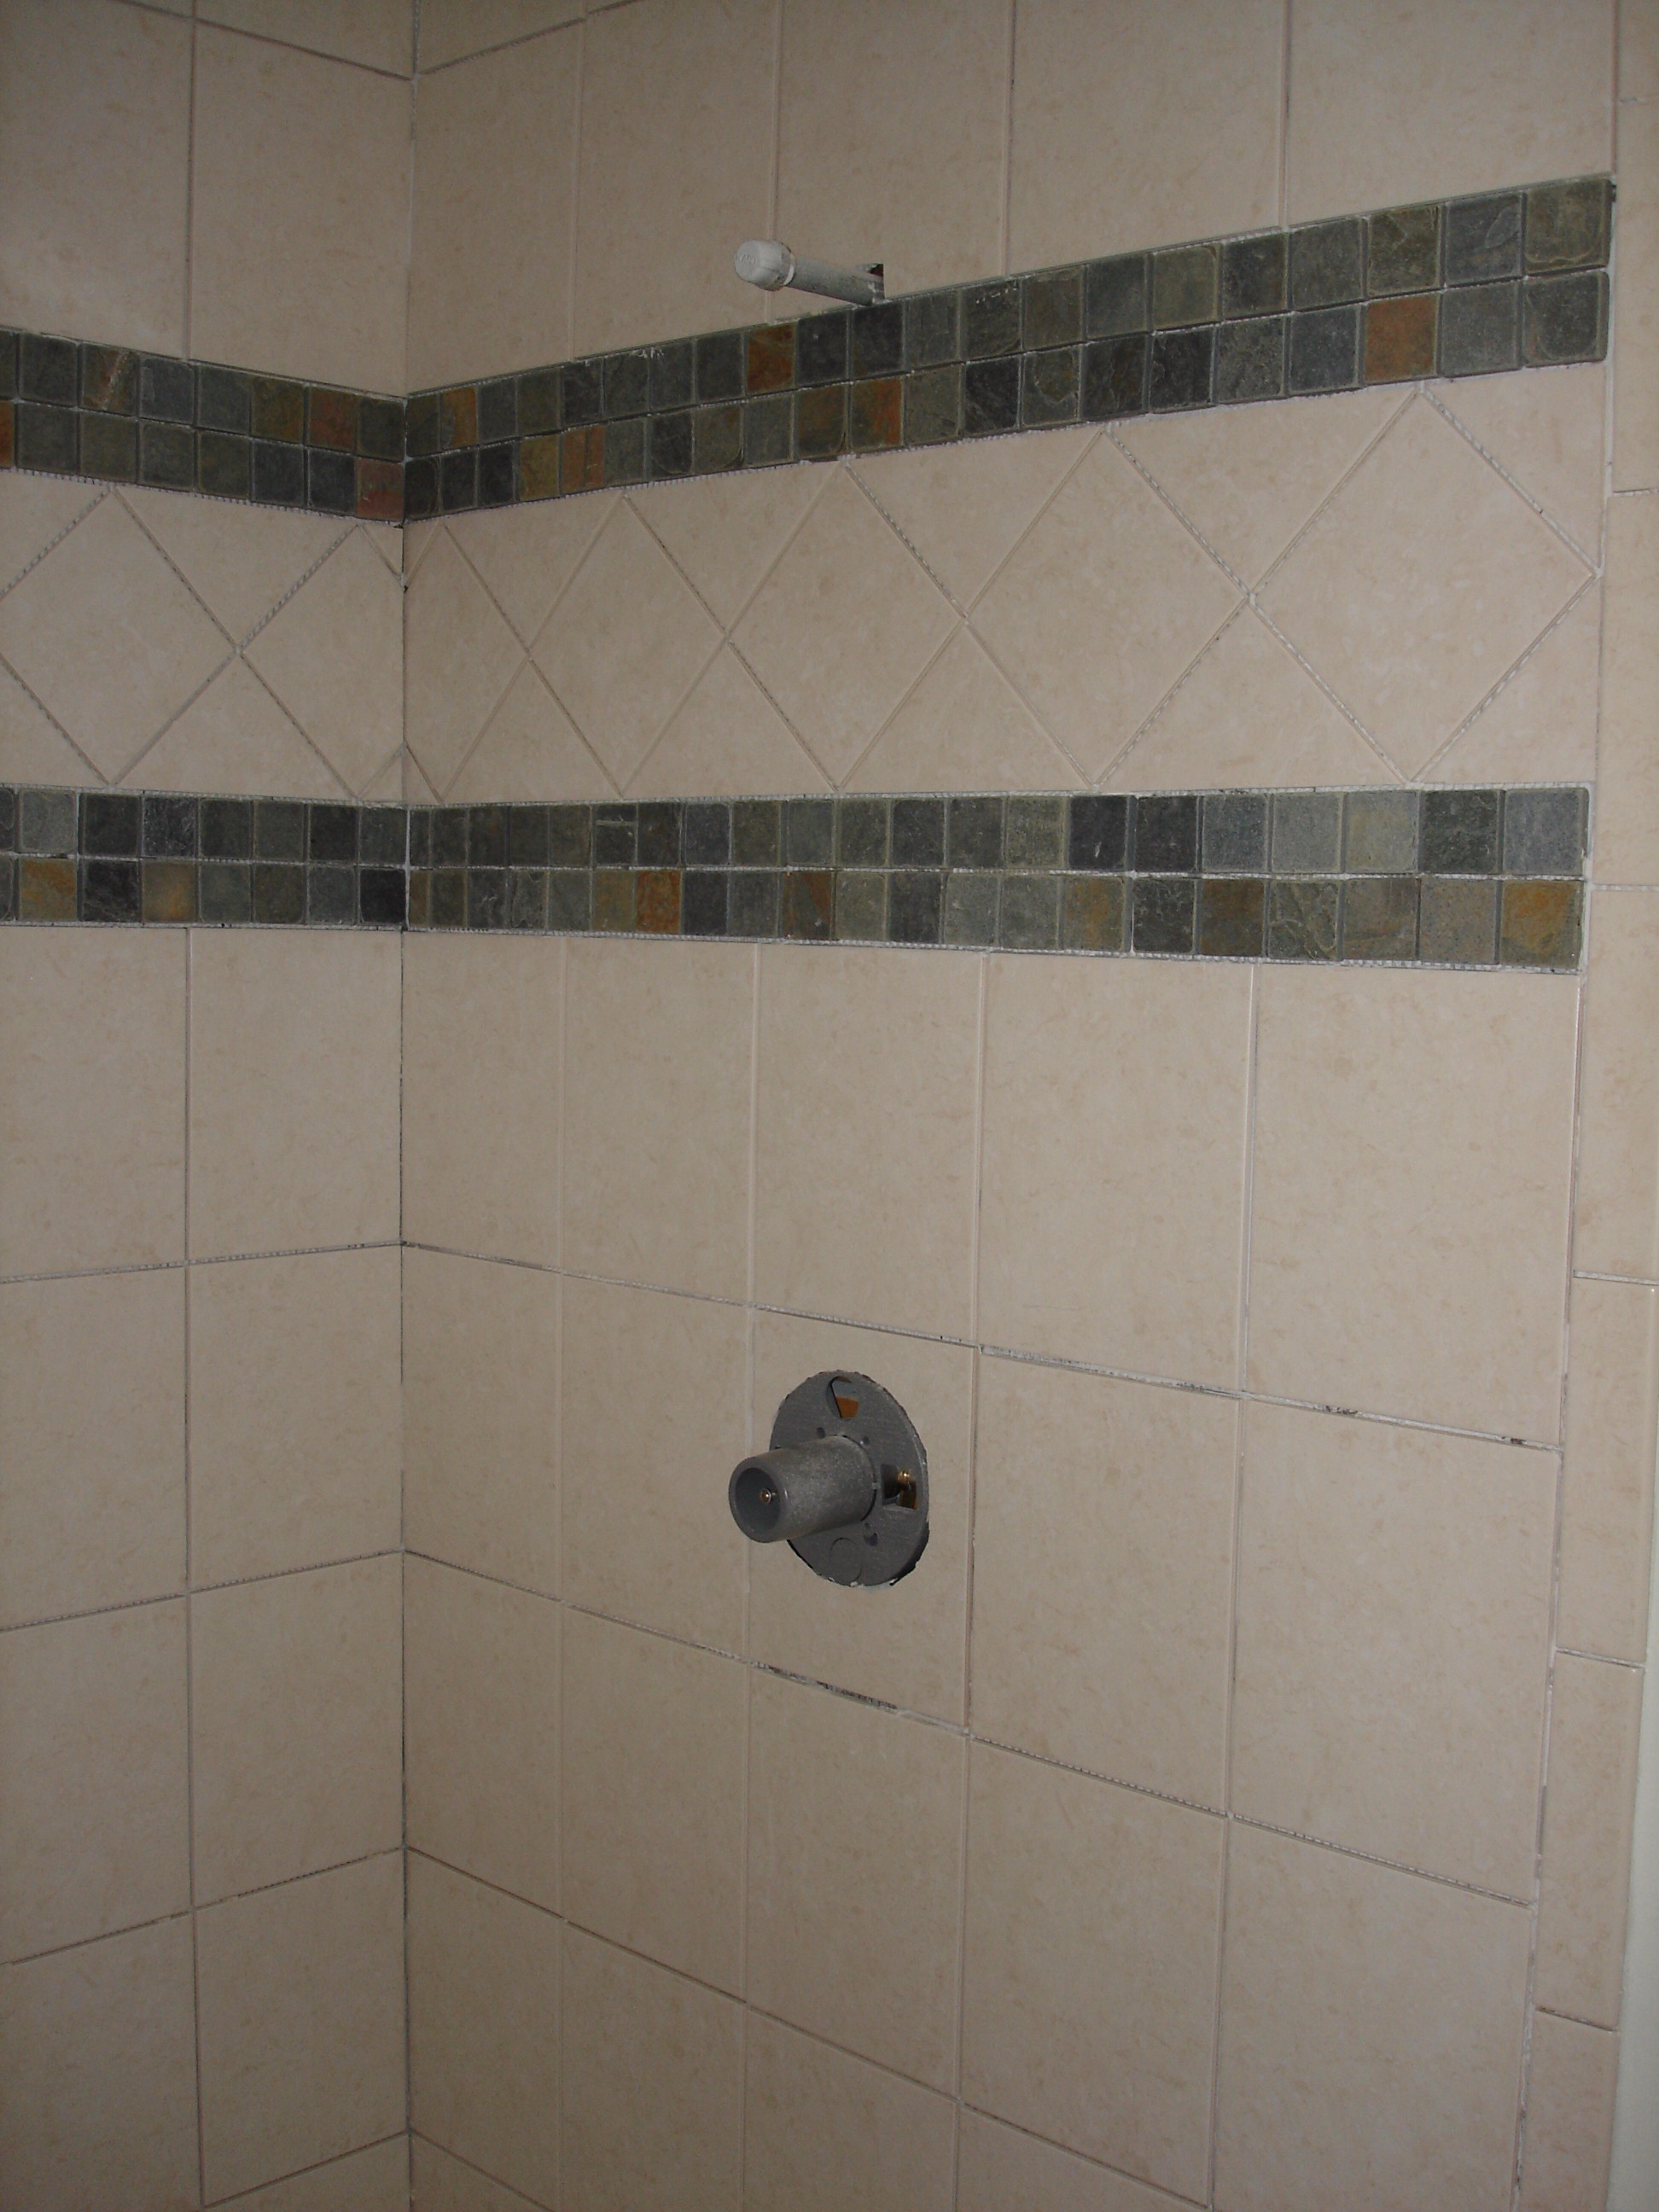
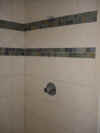
A very busy weekend. I spent
all day Saturday tiling the shower and Sunday was the completion of the
kitchen. All that is really left is for the plumber to finish up
his work and we can get a final inspection. Well, I will have to
grout the shower next weekend.
December 2, 2007
|
|
|
Well, no pictures - I forgot the
memory stick for the camera. Grouting the shower, painting walls
and wood trim took up most of the weekend. The inspector came
Monday morning and we passed our final inspection!
December 10, 2007
|
|
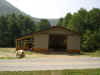
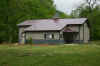
This is a very early spring
shot. Just a few trees are beginning to bud out. The
beginnings of the planting beds can be seen with the pine straw bales
stacked in front. |
|
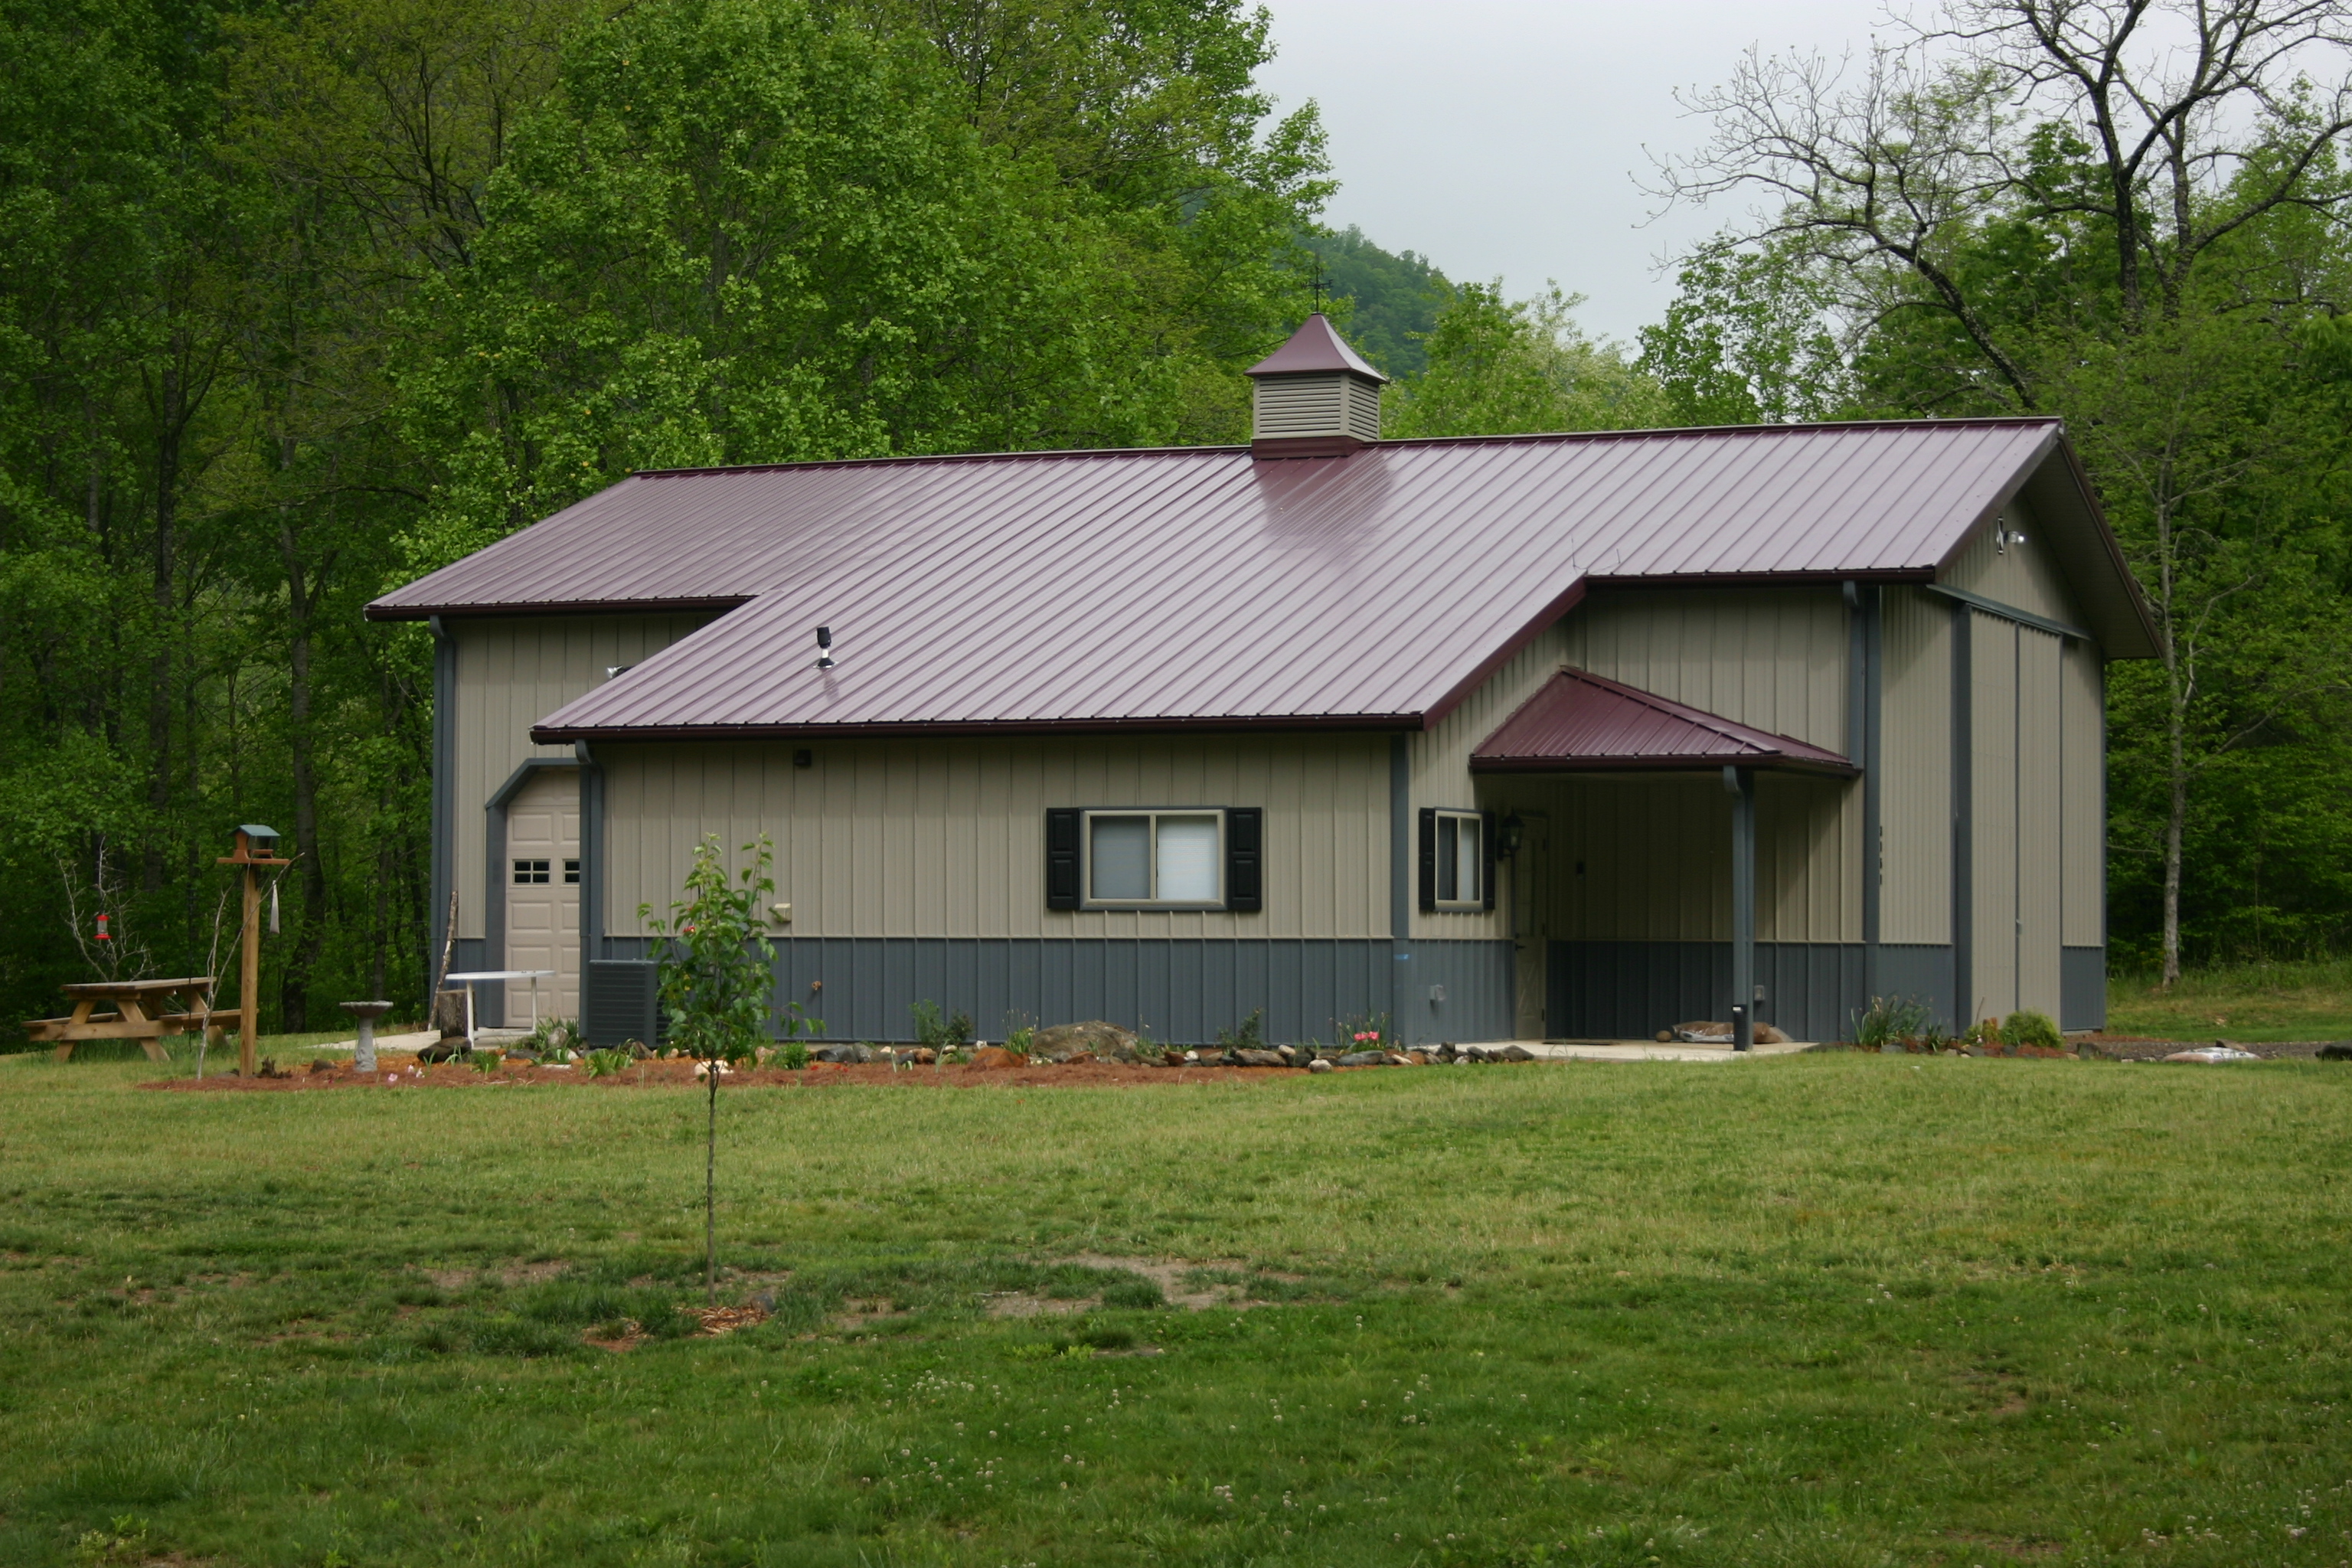
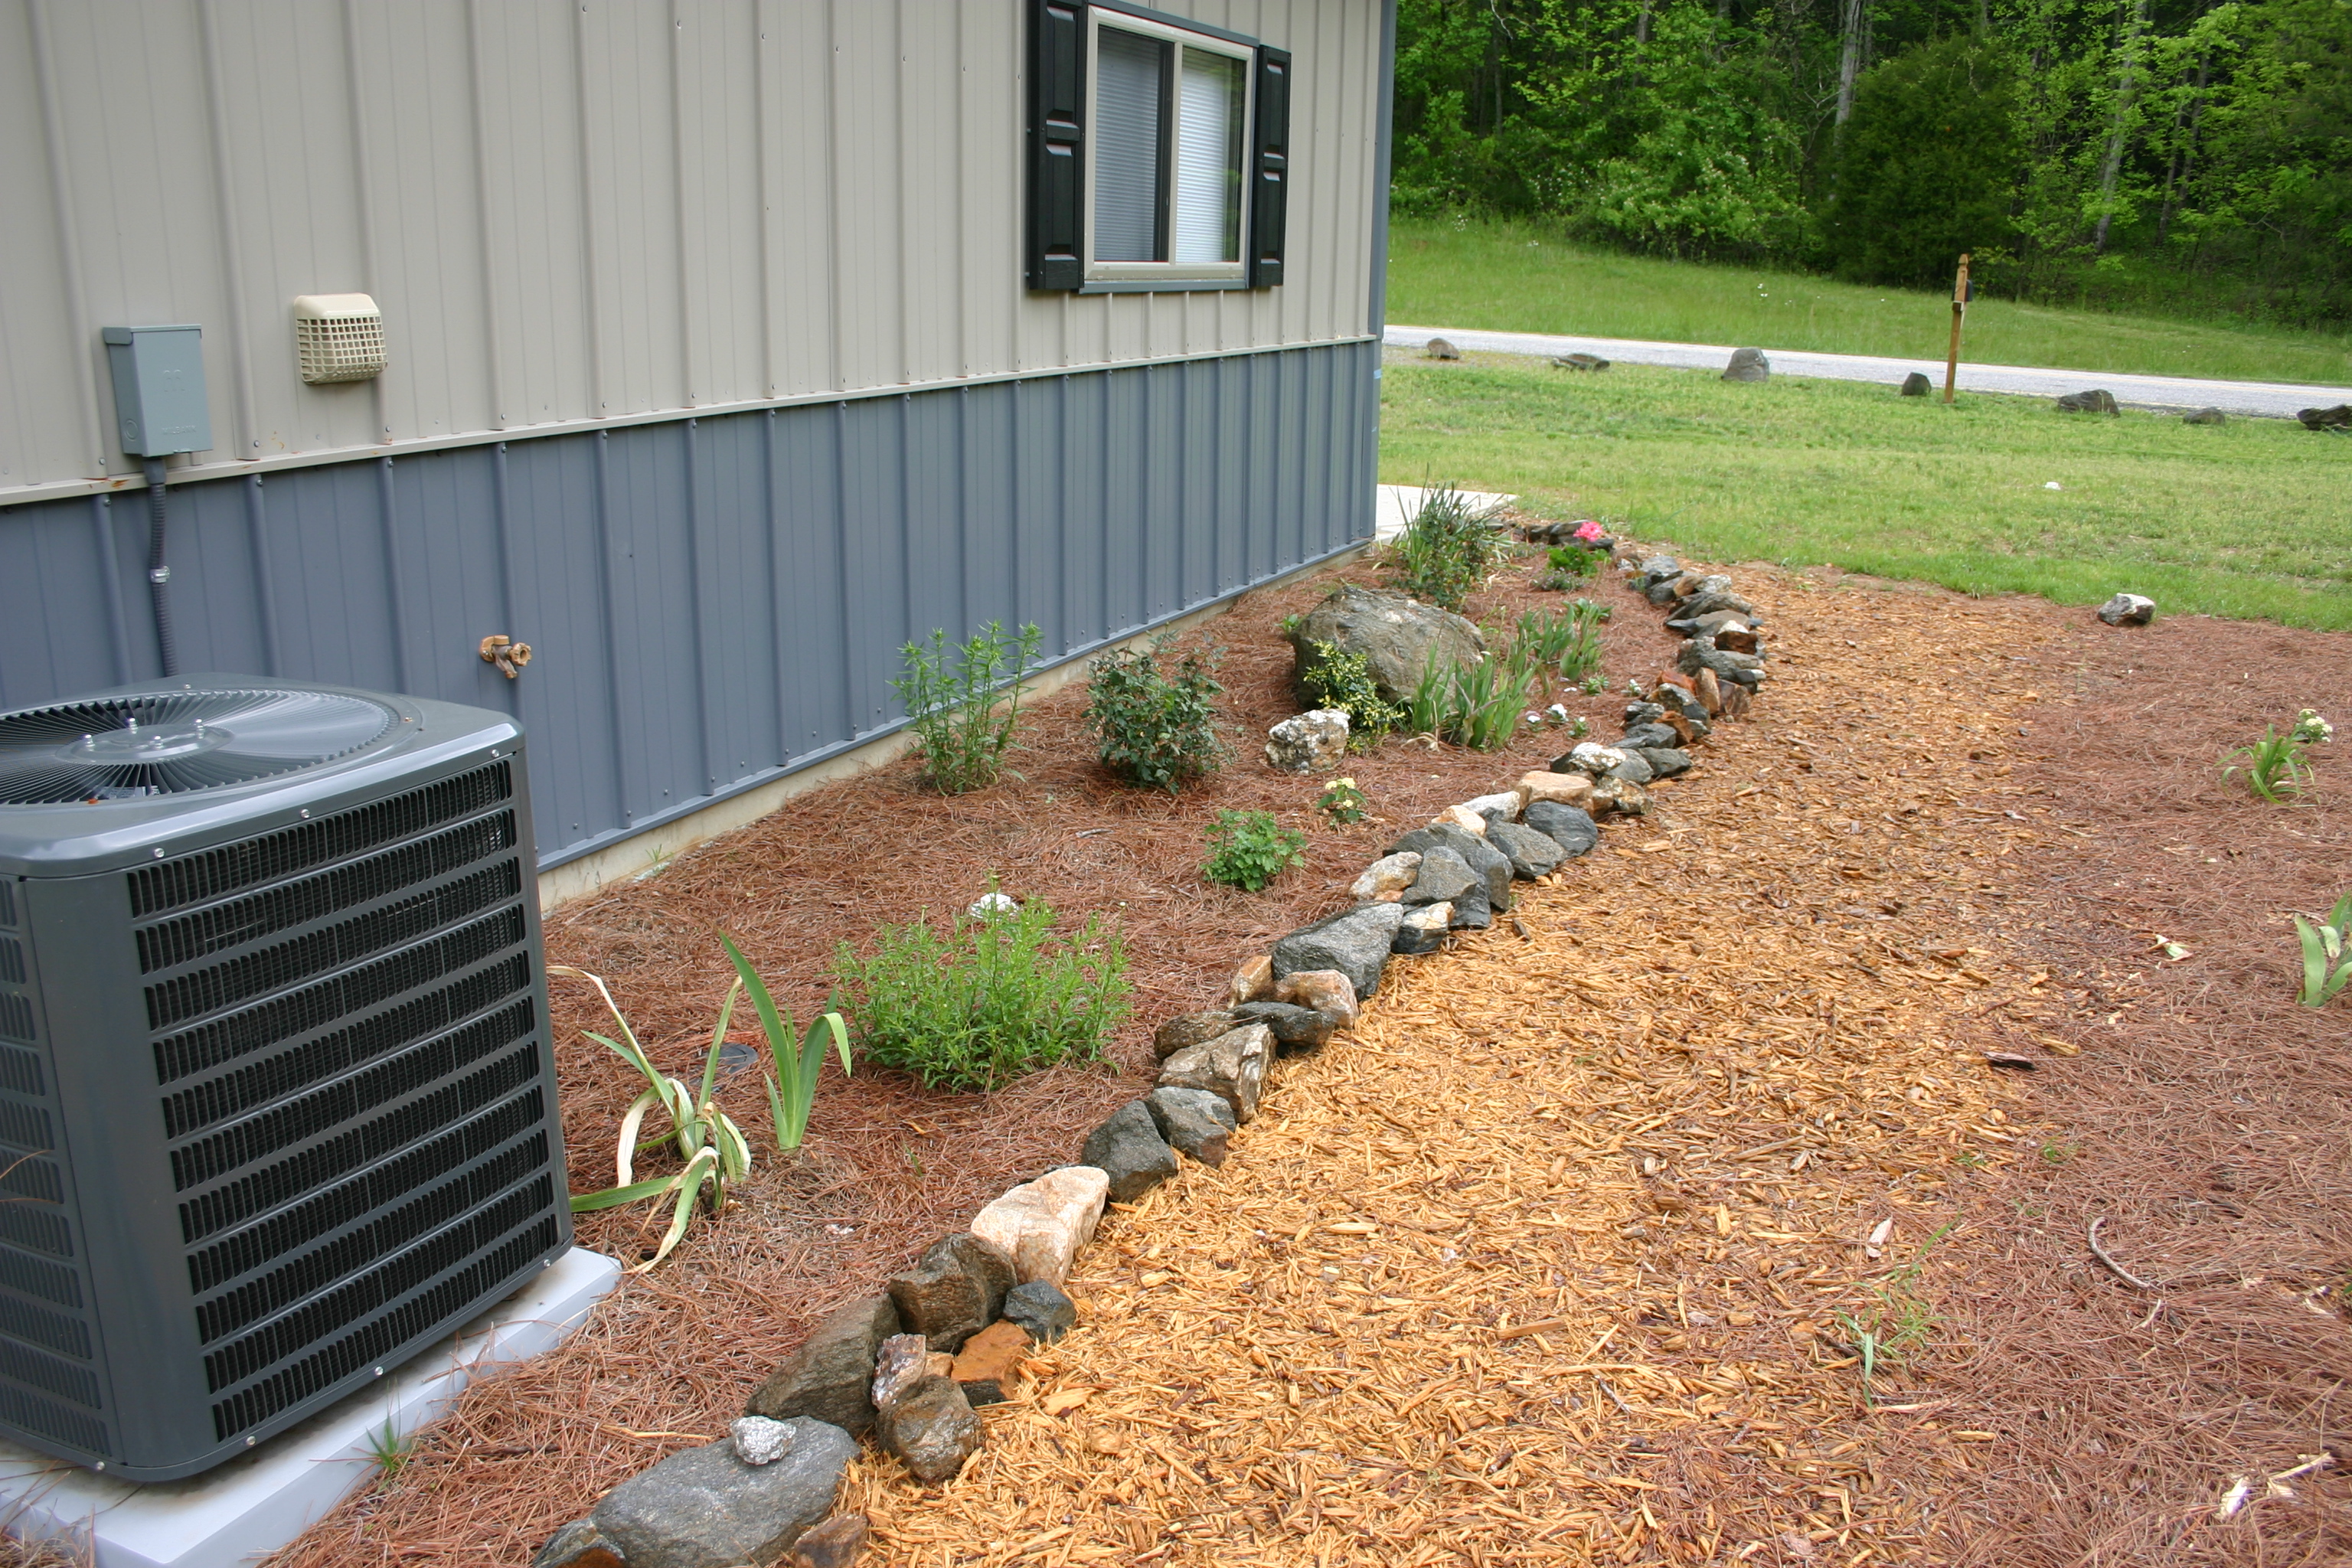
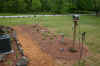
Here is a shot from late spring
2008. You can see the planting beds next to the living area, a
new tree in the foreground, a bird bath, bird feeders and a pic nic
table. Close ups of the planting beds are below. The grass
is really not as nice as it seems, it just looks fuller at this angle. |
|
|
Well, here we are now
about 14 years down this road. When we originally purchased this
property the idea was that we would purchase a coach and this would be
it's home. Thru the years we have been thru multiple RV's
including two different Pop Up campers, an Aliner and a 35' travel
trailer.
While the plan was always to build a house next to this building, plans
change. Due to financial downturns and the increase in building
supply cost we changed plans. It was less expensive to purchase
an existing house about a mile and a half up the road form this
lot. So, now we have almost 6 acres with over 1,000 feet on a
native trout stream between the two properties.
Now, the efficiency apartment has become a staging area for trips and a
remote "guest suite" for friends to visit, but not too close.
In August 2019 we were in our Coachmen travel trailer at Disney Fort Wilderness when we found a 2012 Newmar Mountain Aire
being advertised at a small dealer in Bradenton, FL. We drove
over and loked at it. It was in like new condition with only
28,000 miles. The story was the previous owner used it as a base
for tailgating and the 2,300 hours ont he generator supported
this. After a couple of weeks of talking to them on the phone, we
struck a deal and were on our way to pick it up.
I have to say, The Motorcoach Store was easy to deal with and if you are in the market for a pre-owned coach, check them out.
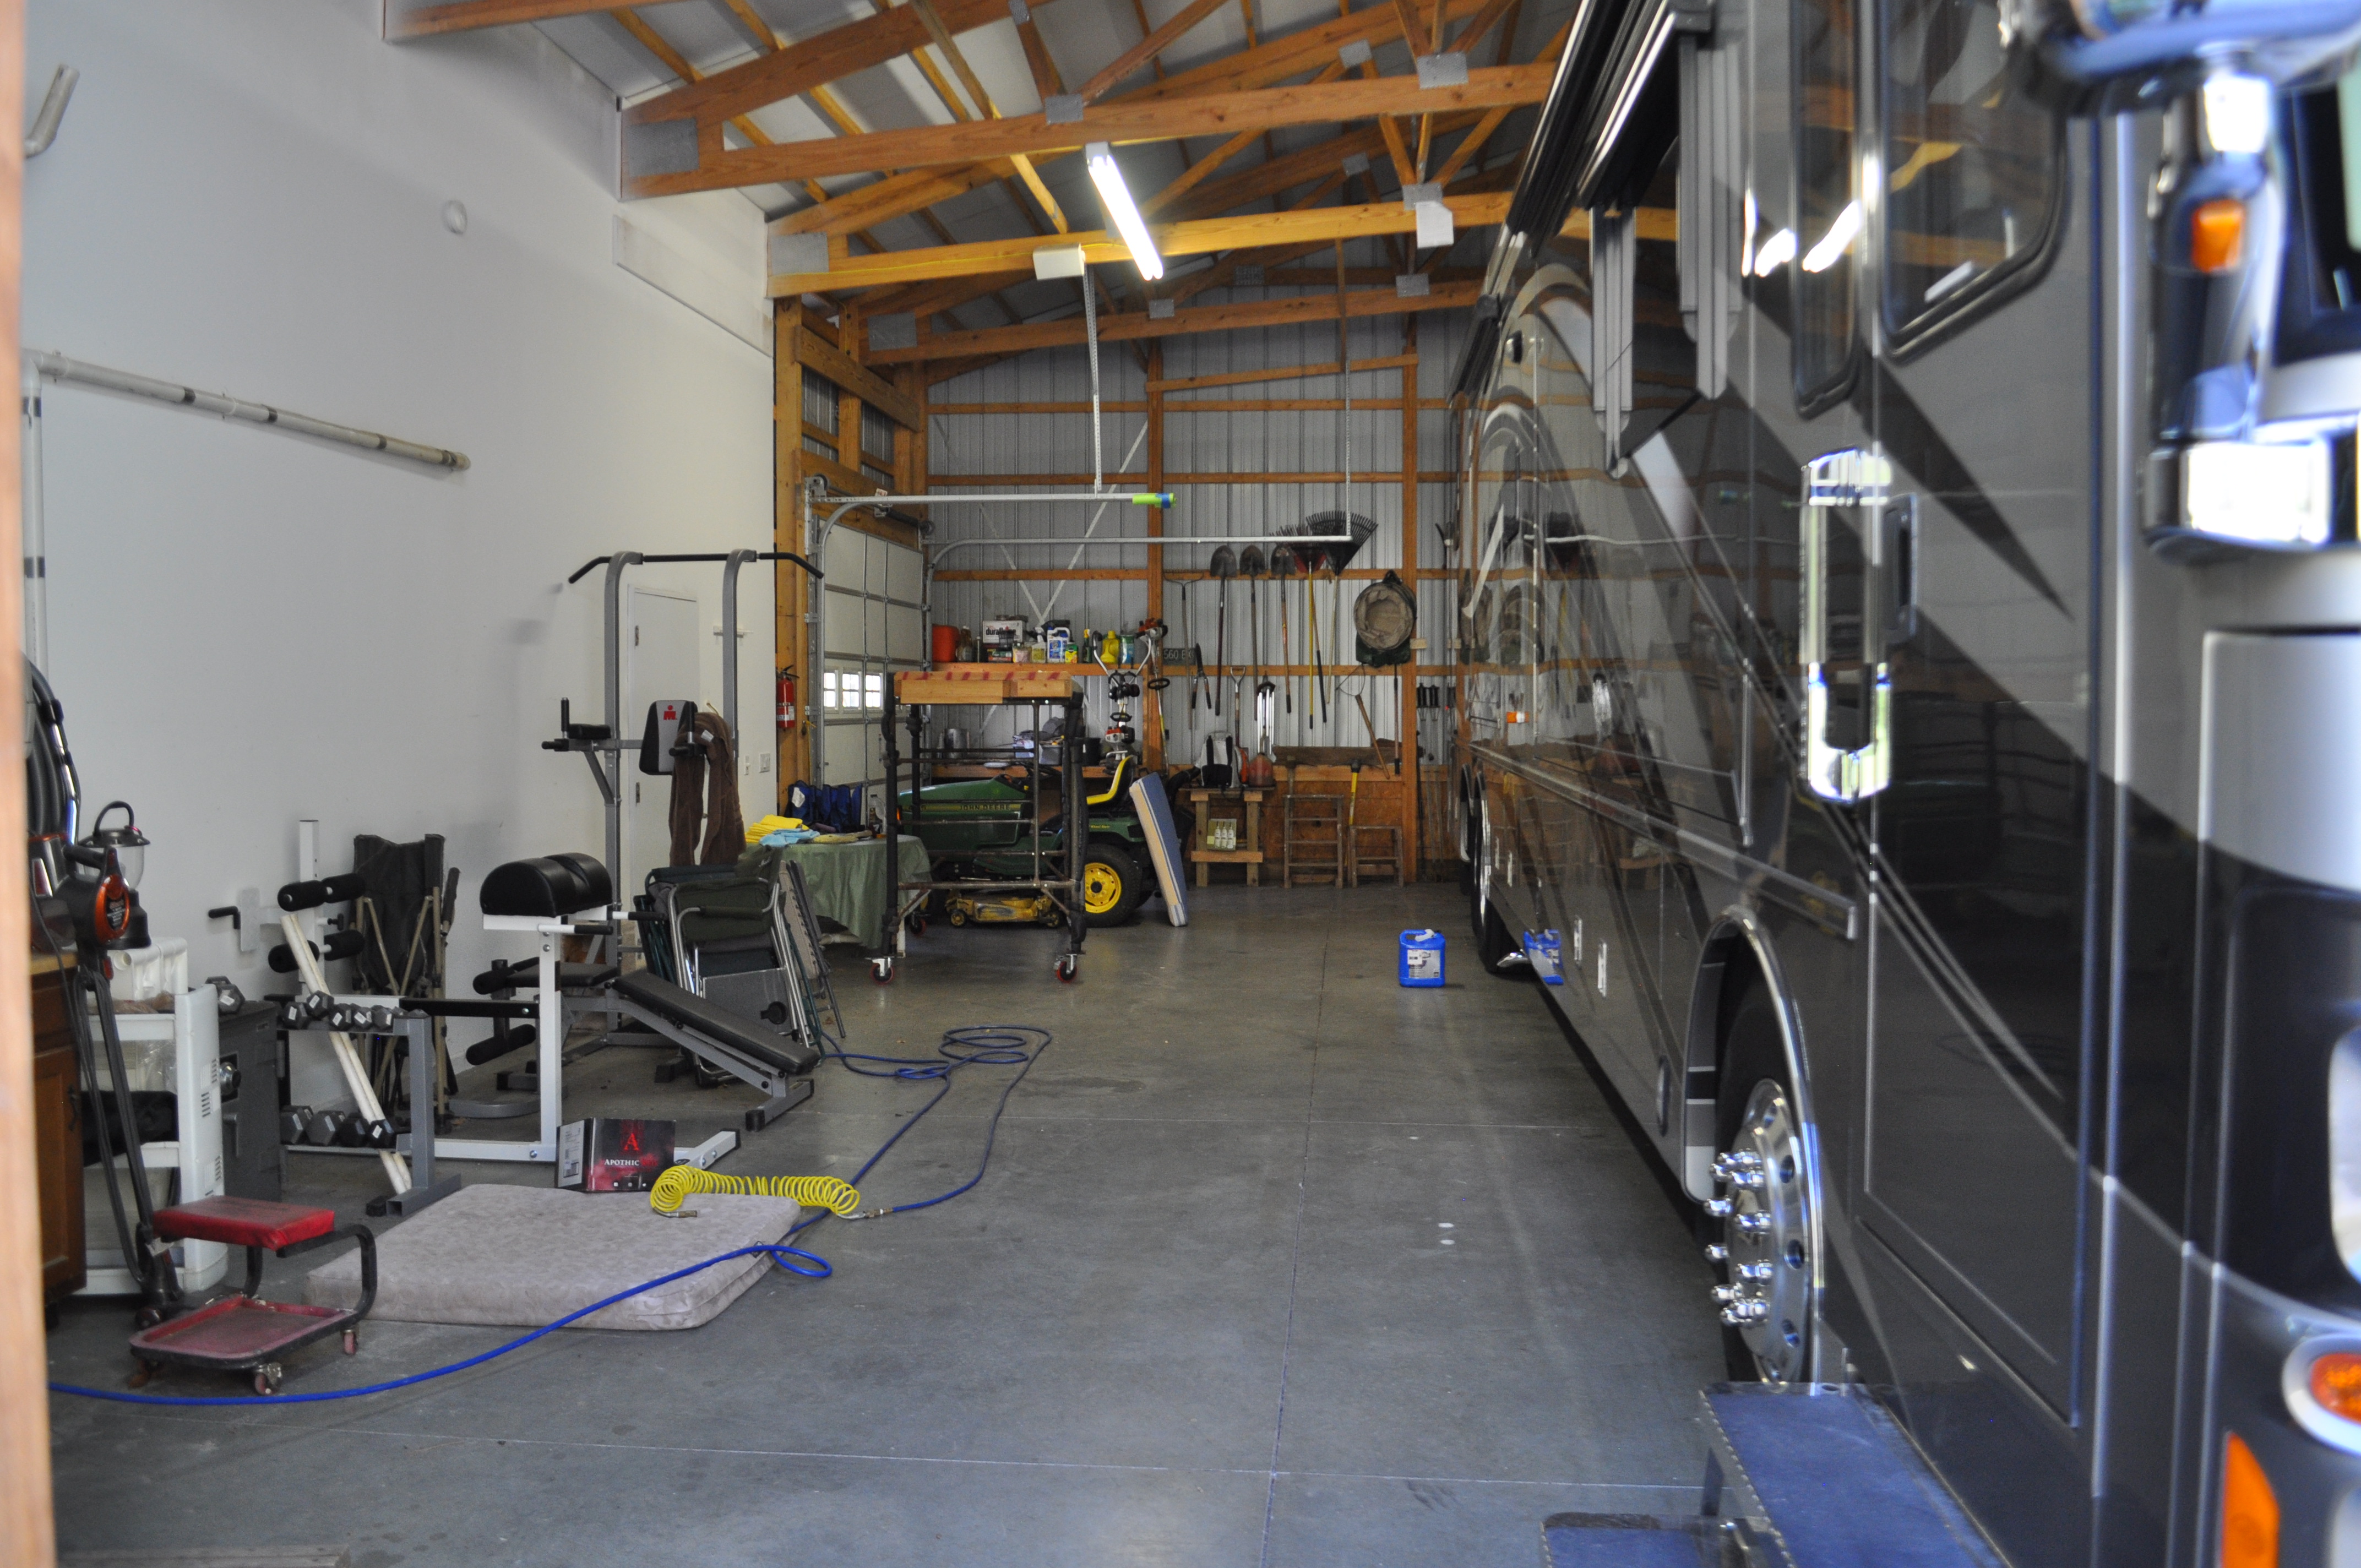
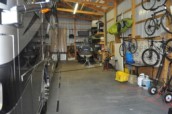
Now, as you look at the following photos please understand - we have
had this barn for over a decade and as things tend to happen, we have
accumulated "stuff". Anything we had that we didn't want ot get
rid of for one reason or another wen in the barn.
Bikes, SCUBA dive gear, lawn equipment - we have it all.
Please forgive the clutter. It's on my list to clean it up, but I
keep finding other things to do as we are both retired now!!
|
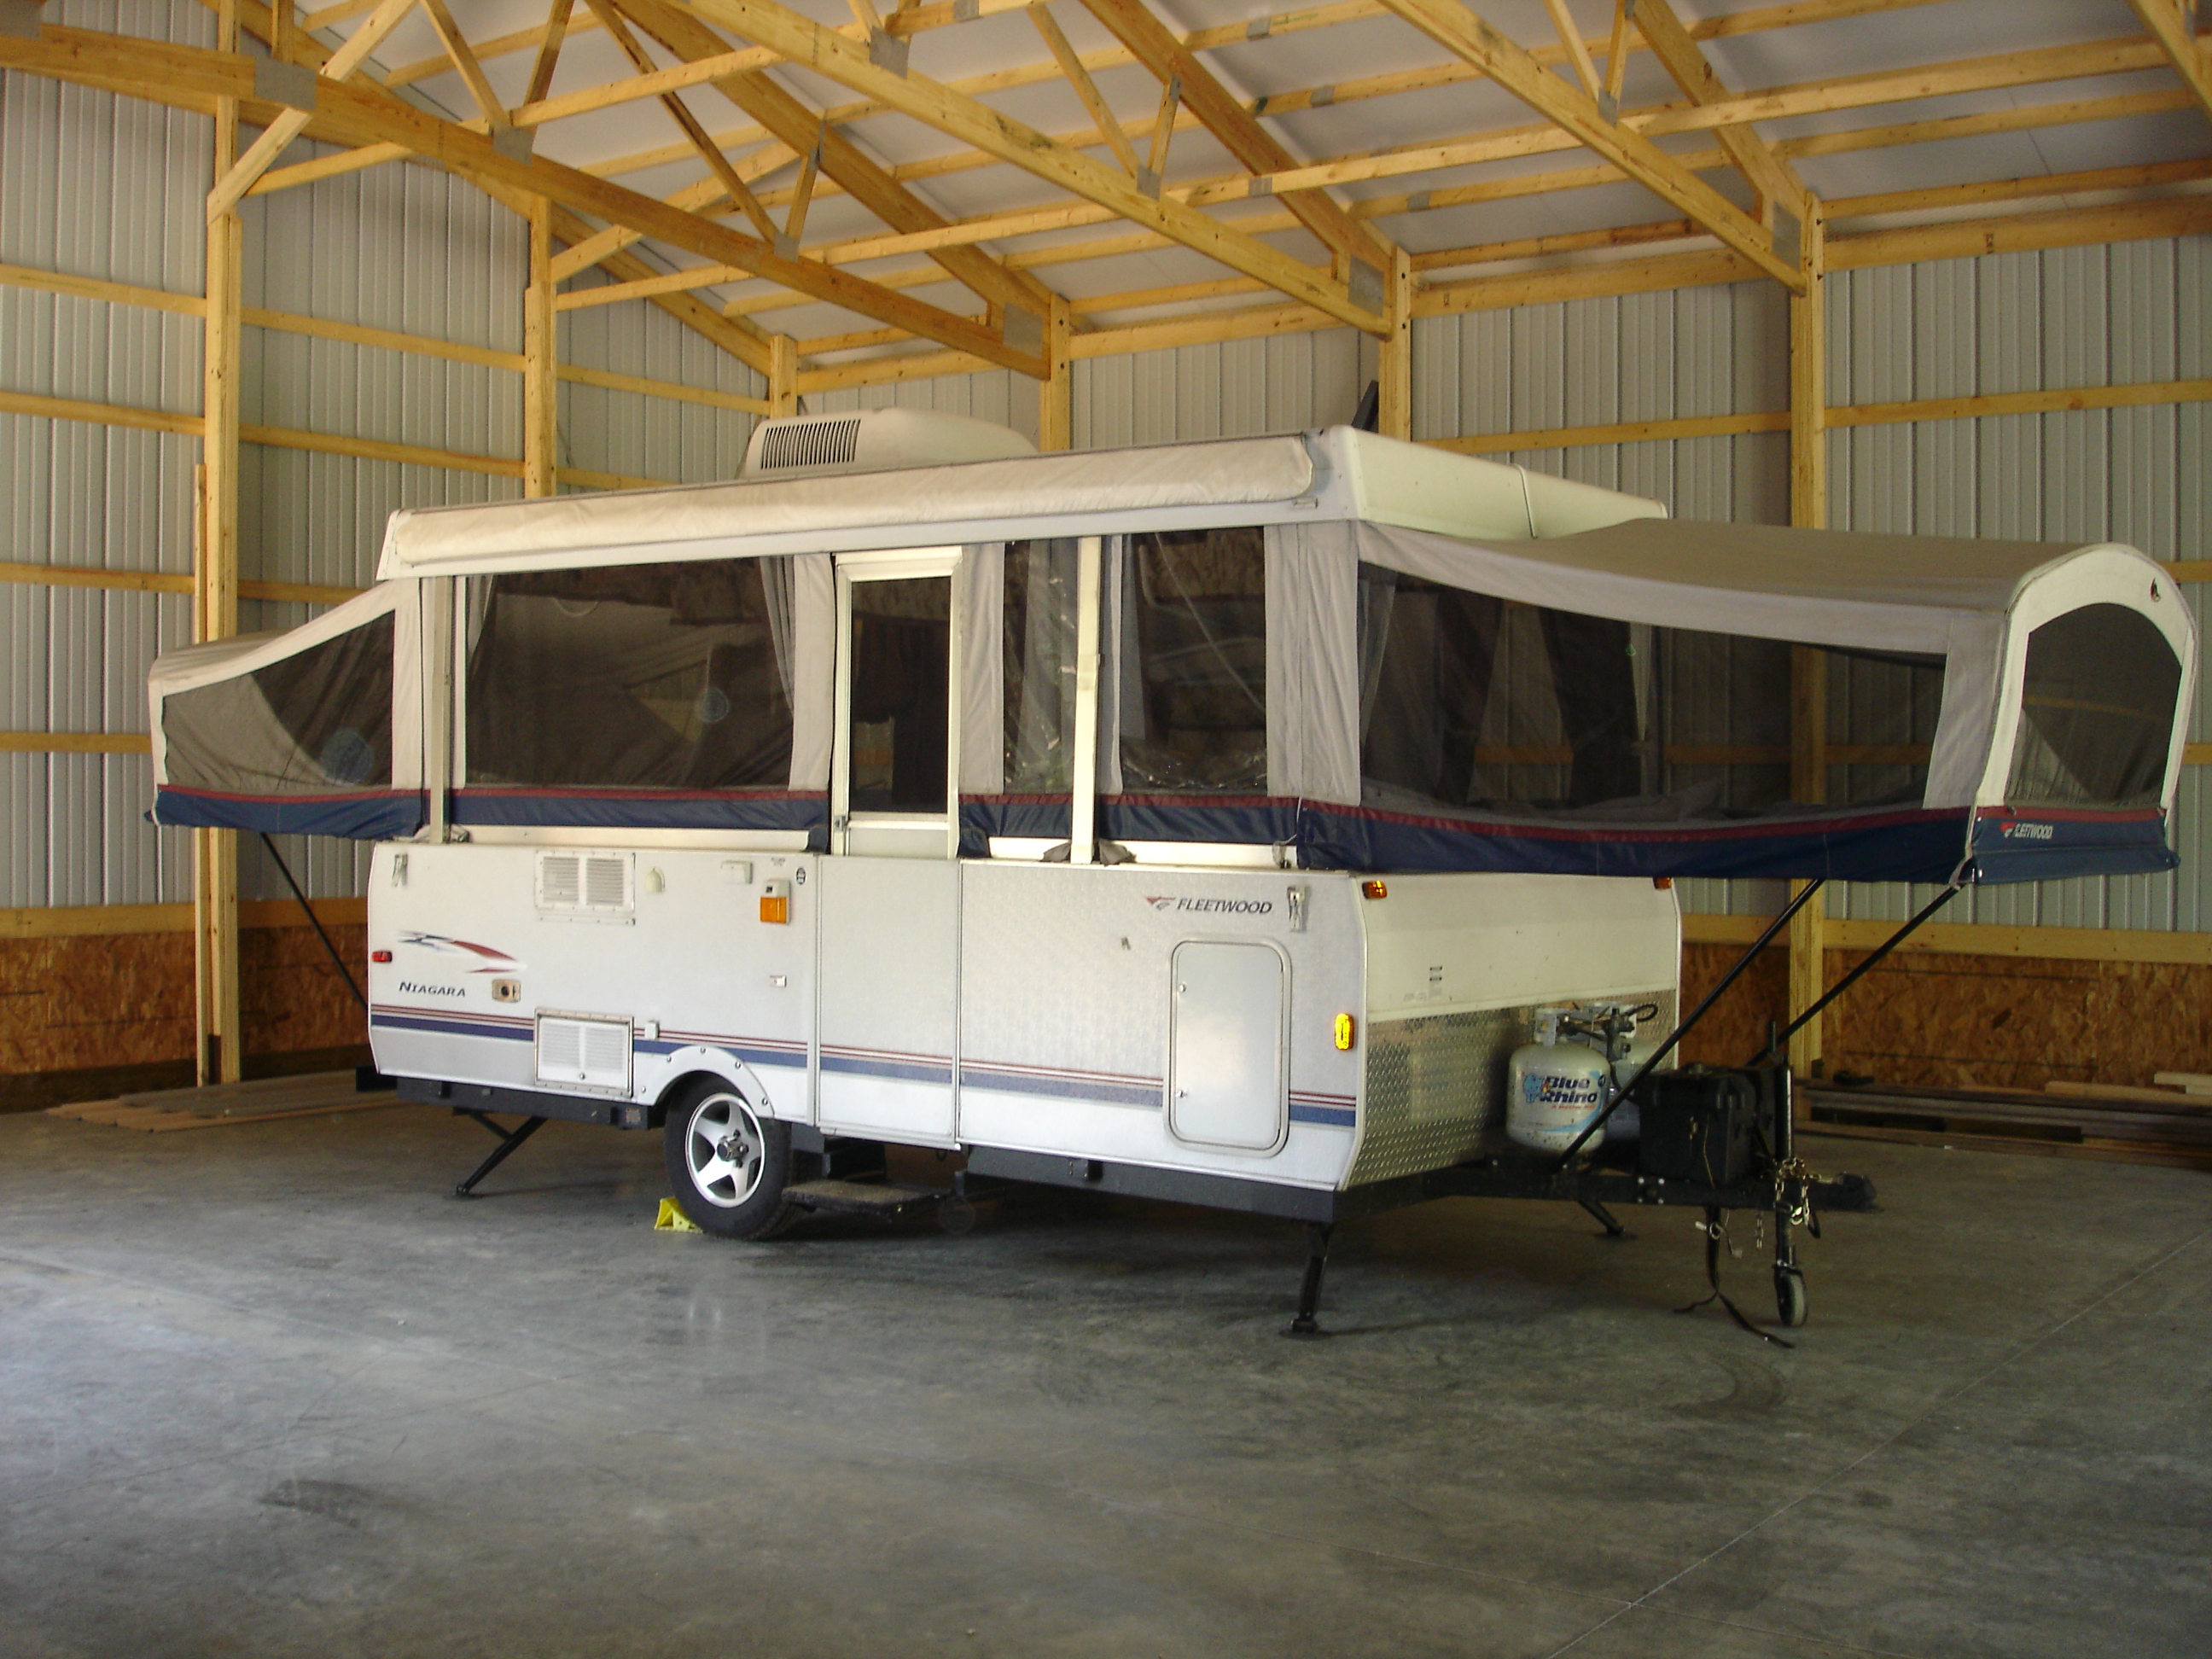
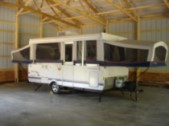
| Here is one of the
pop Up's early on in the process. |
 |
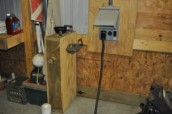
Not
shown above, but when the building was constructed I made sure I had
Water, Electric and Sewer hook ups for any RV we owned inside the
building.
|
|
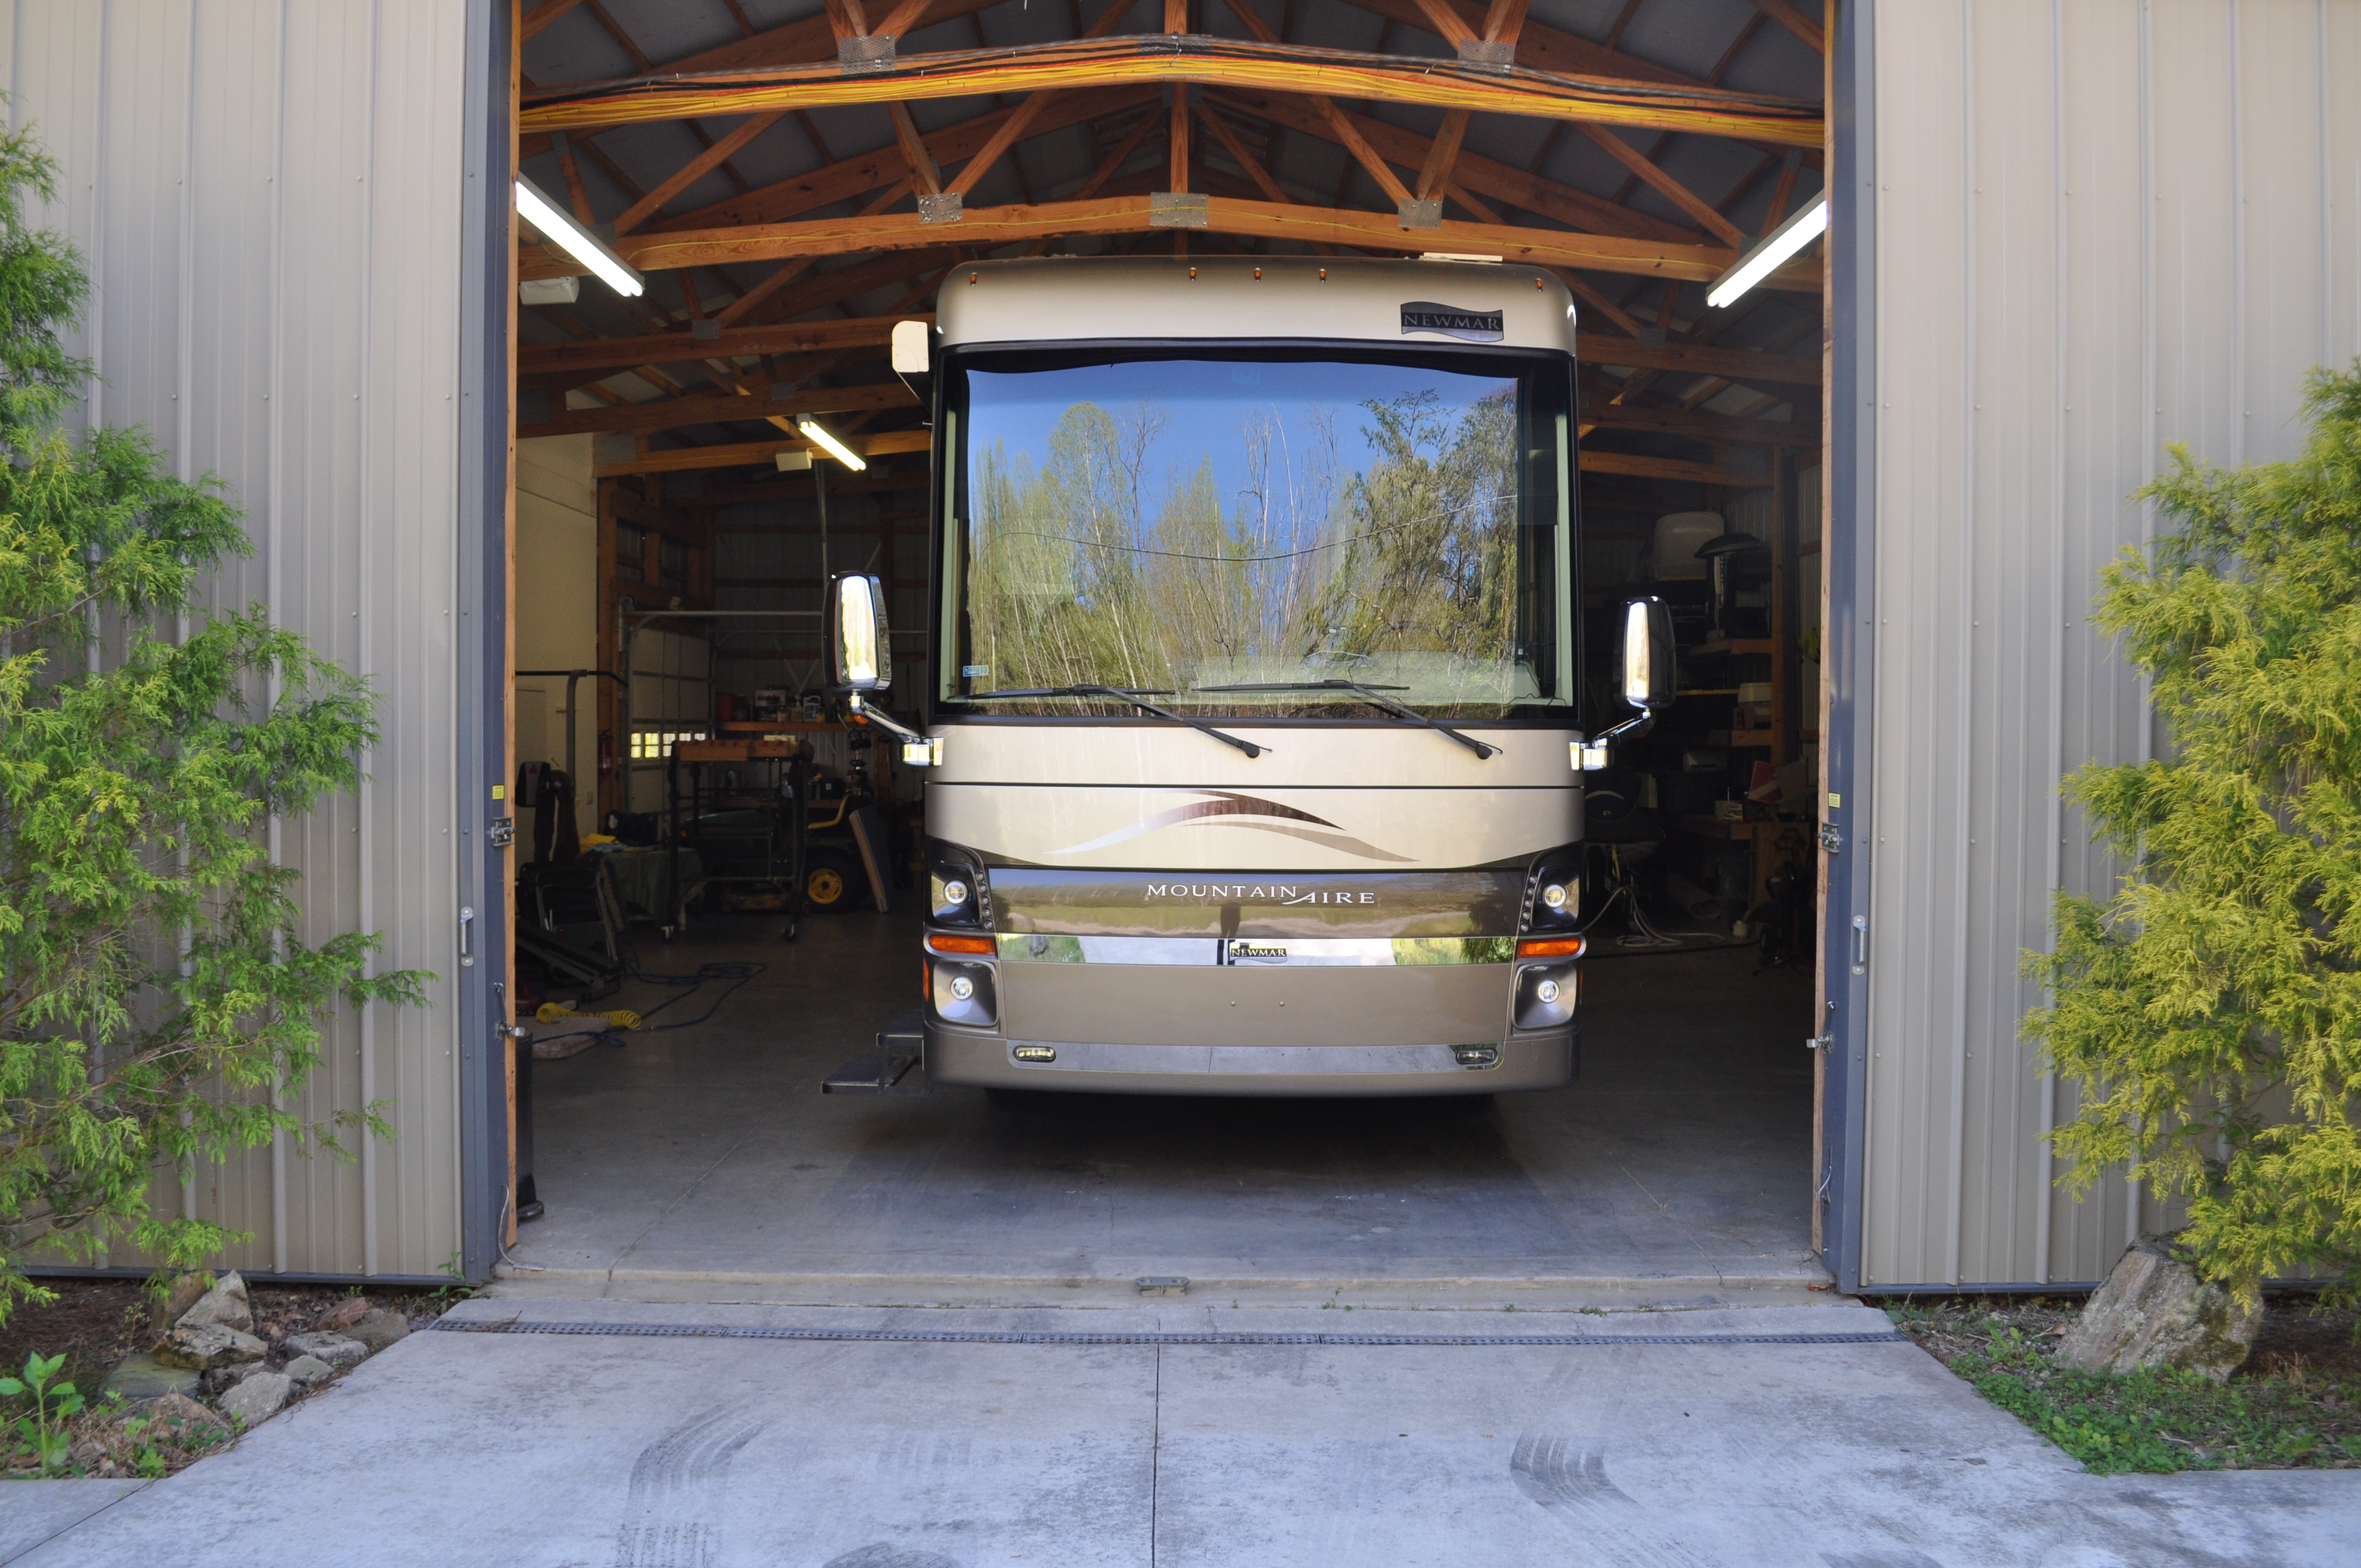
So, here you see the coach in her new home. plenty of room side to side to back in.
|

|
Here is the left
side of the coach with the slides in. There is even room to open
the man awning to allow it to dry after a trip.
|

|
Here is the right side with the slides in. Again, plenty of room to run out the slide and work around it.
|
|
Well, I
have to admit. backing the coach into the barn is easier than any
trailer we have ever had. When I designed it I made sure it had
14' clearance and the doors open to 15' wide.
The barn is 50 feet deep, so there is room to walk around our 43' coach
with room to spare. The "garage" is 36' wide, so there is plenty
of room to have the slides open and still move around with ease.
It's a funny story, when I contacted USAA for the homeowners policy for
this "house" they were kind of confused. It's about a 900 square
foot house with an 1800 square foot garage. We were able to work
it out as a small house with a 15 car garage as that was teh most
"cars" their program alloed for a garage.
While not heated, even when local temperatures drop near 0, I have not ever had to winterize any RV we have owned.
|
|
Revised: January,
2021
|